Chapter 31: New Blender 5.0 feature: faster scattering
Beginners guide to Blender
Hello everyone! I am SaTales, and today it’s time for a new Blender lesson
Last time, I showed you how to use the new Blender 5.0 feature, the Circle array.
As you liked the video and requested more videos with new features, here it is.
So let’s get started! This feature will help you with rendering speeds and with theviewport performance!
Video tutorial:https://youtu.be/McJ1_hkB3aA?si=9IhWwUsutoSQnxq6
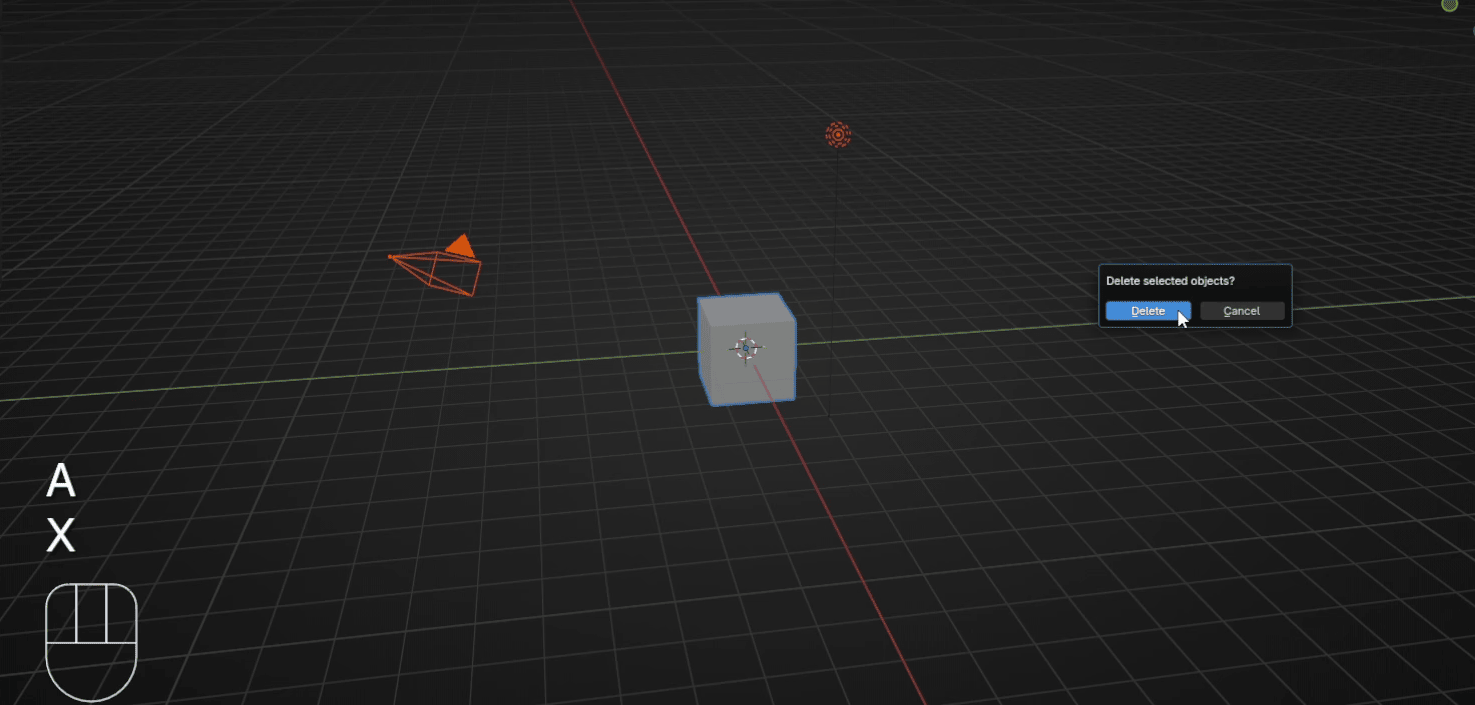
First, select everything from the scene with “A” and delete it with “X”.
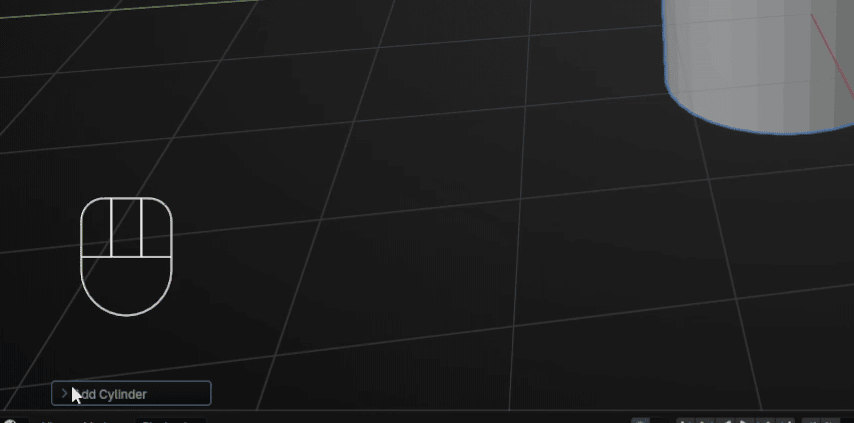
Now go to Add → Mesh → Cylinder

Beginners guide to Blender
Click with the LMB on this part “Add Cylinder.”
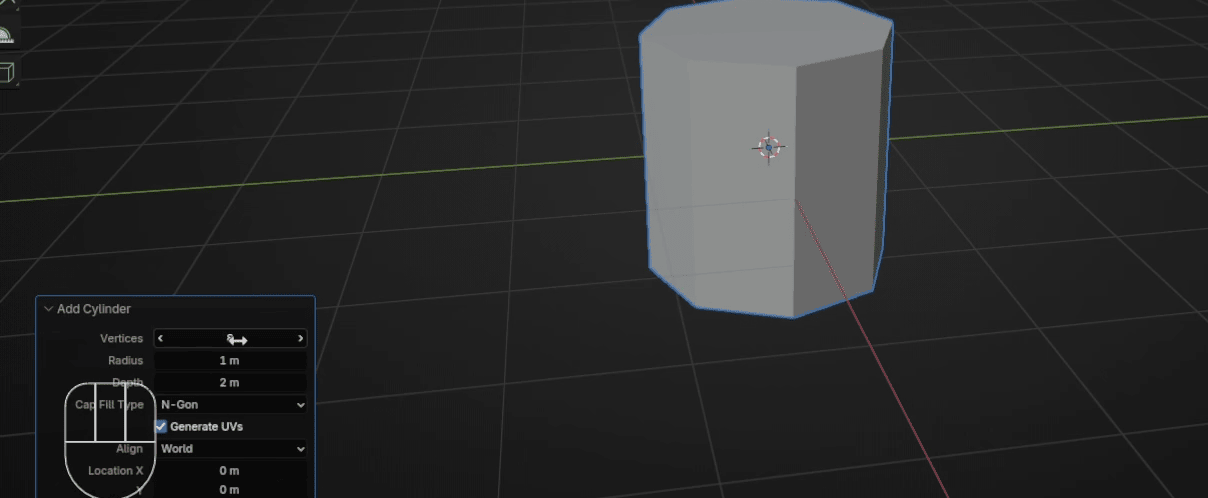
Change the number of vertices from 32 to 8
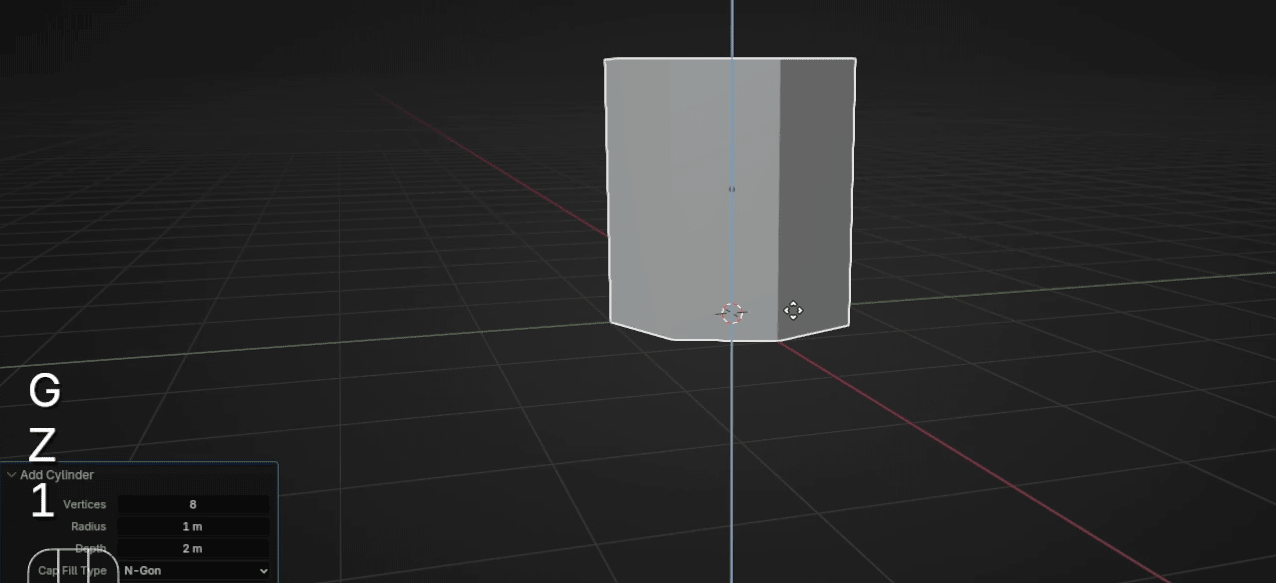
Move it up with “G+Z” +1 so it will be positioned at the world origin.
Beginners guide to Blender
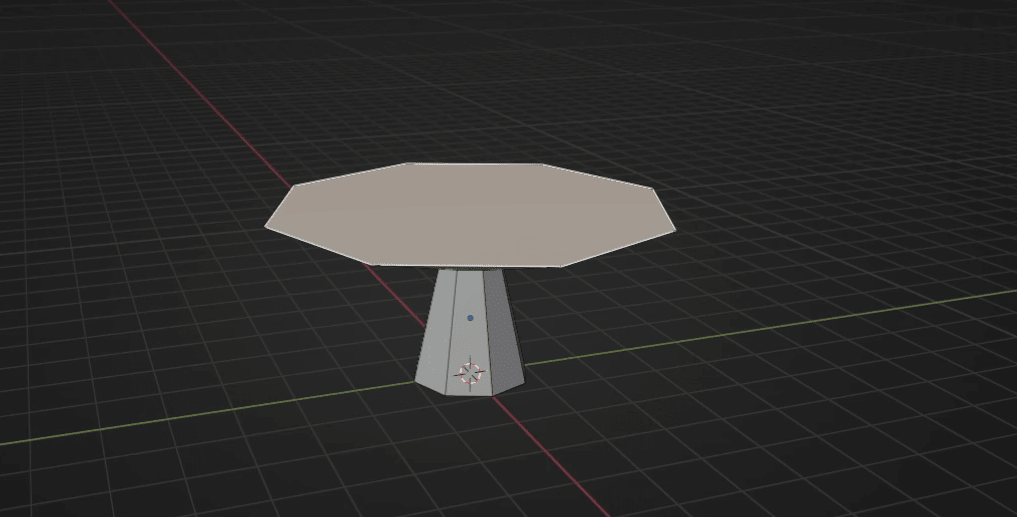
Switch to edit mode with “TAB.”
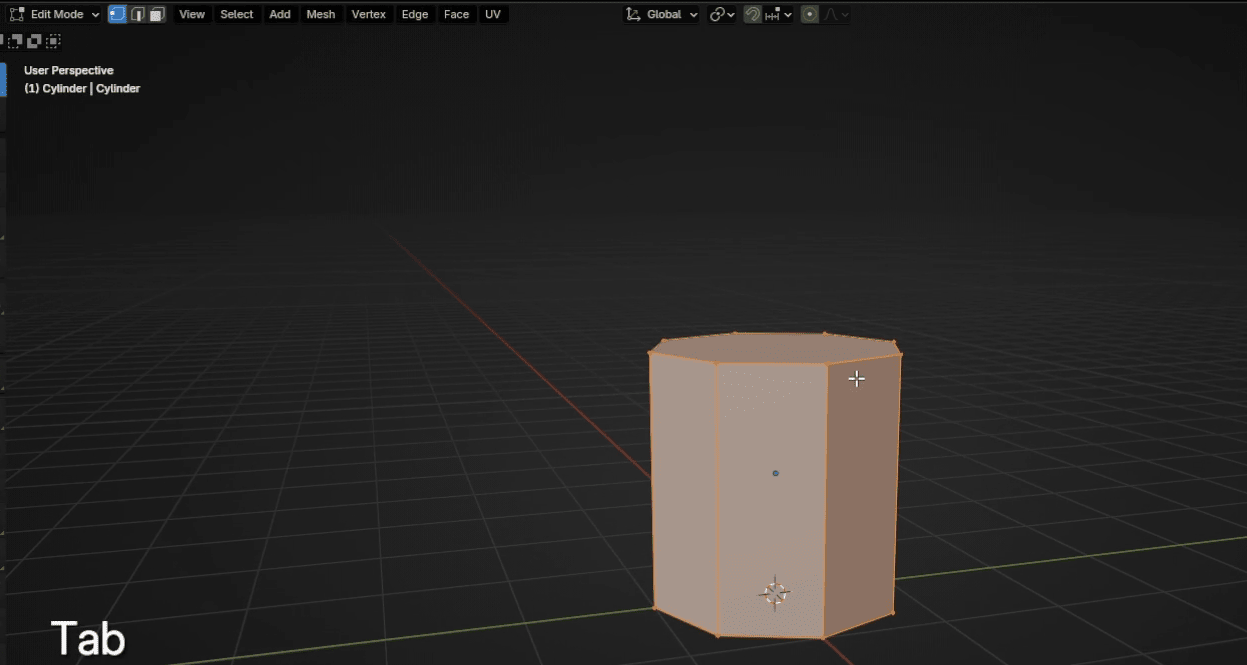
Switch to selecting faces with 3 and select the top face.
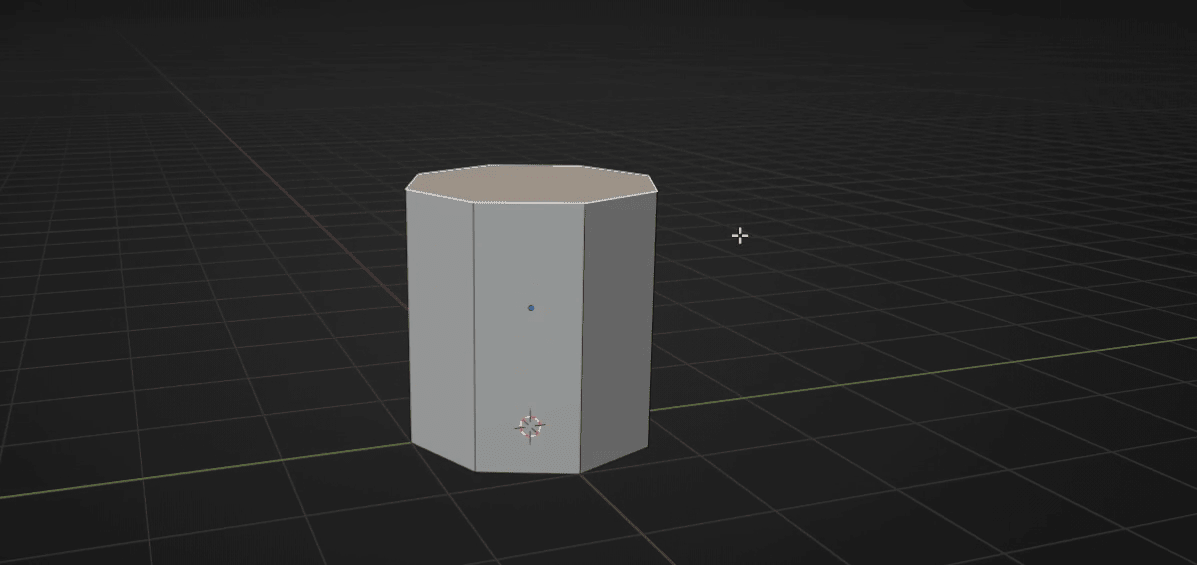
Scale it with “S” for around 0.53
Beginners guide to Blender
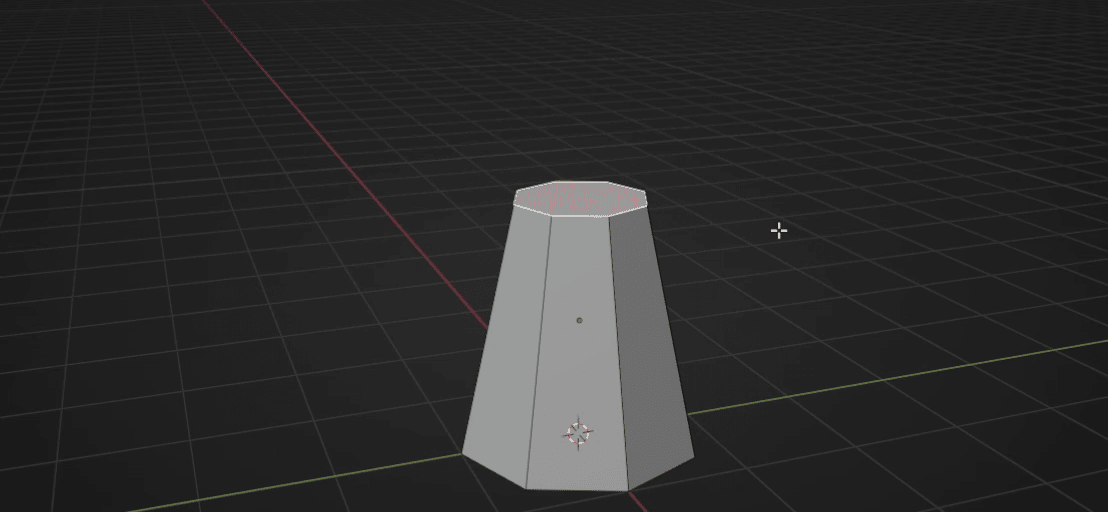
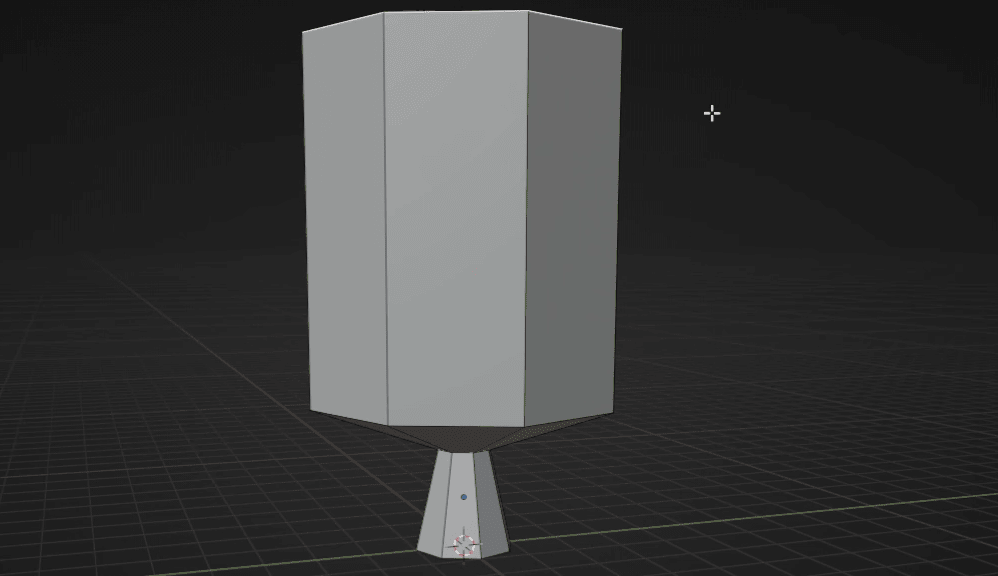
Extrude it with “E” for around 0.9
Scale it with “S” for around 6.17
Extrude it with “E” for around 6.9
Beginners guide to Blender
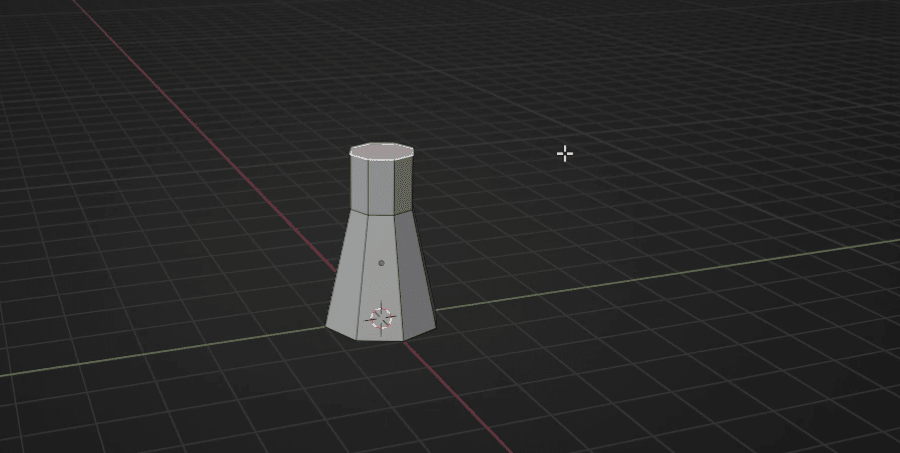
Scale it with “S” for around 0.045
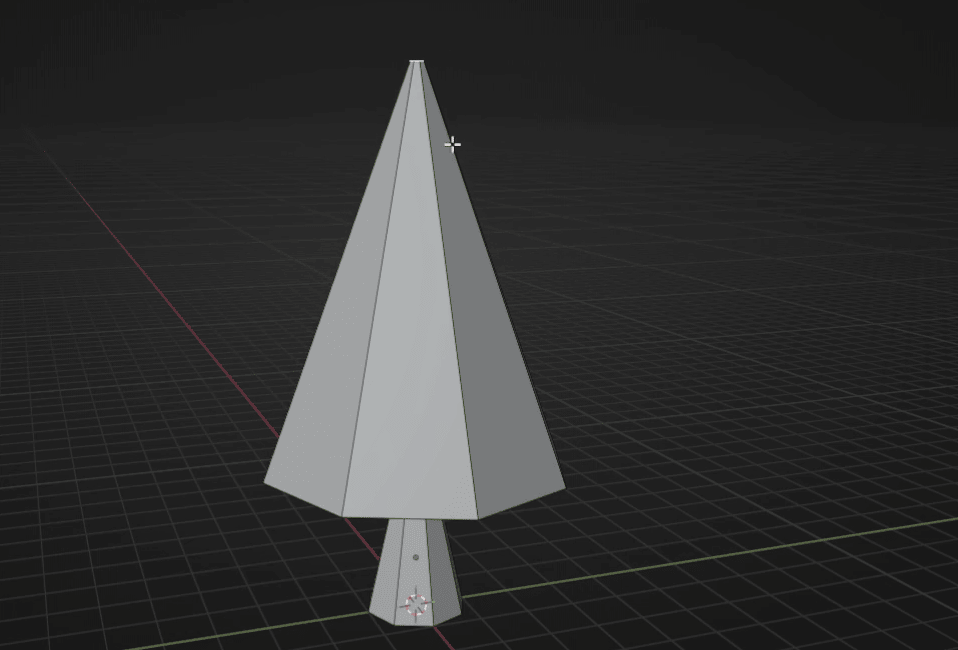
Add four loops with “CTRL+R.”
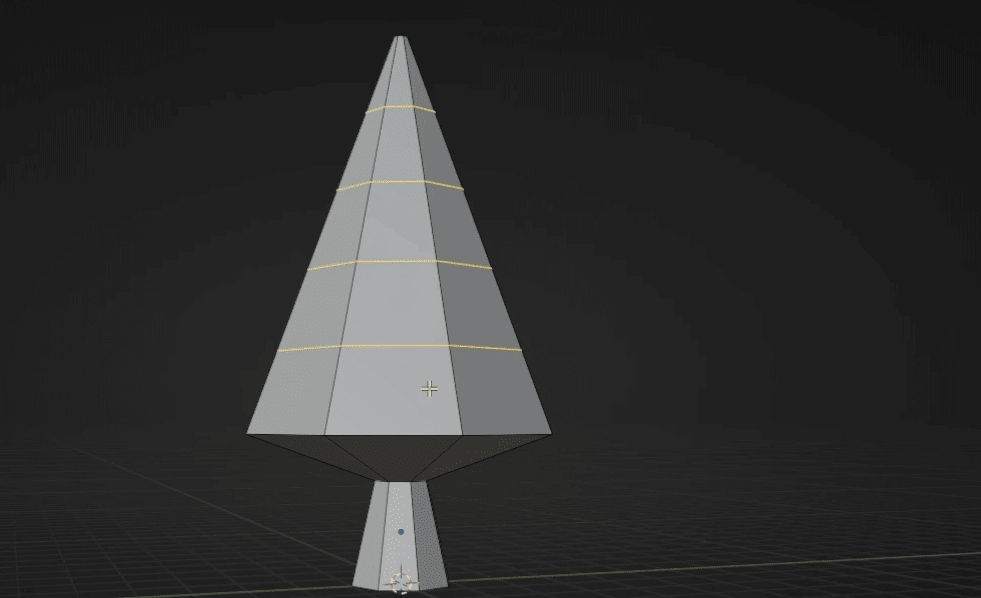
Beginners guide to Blender
Bevel them with “CTRL+B” for around 0.06
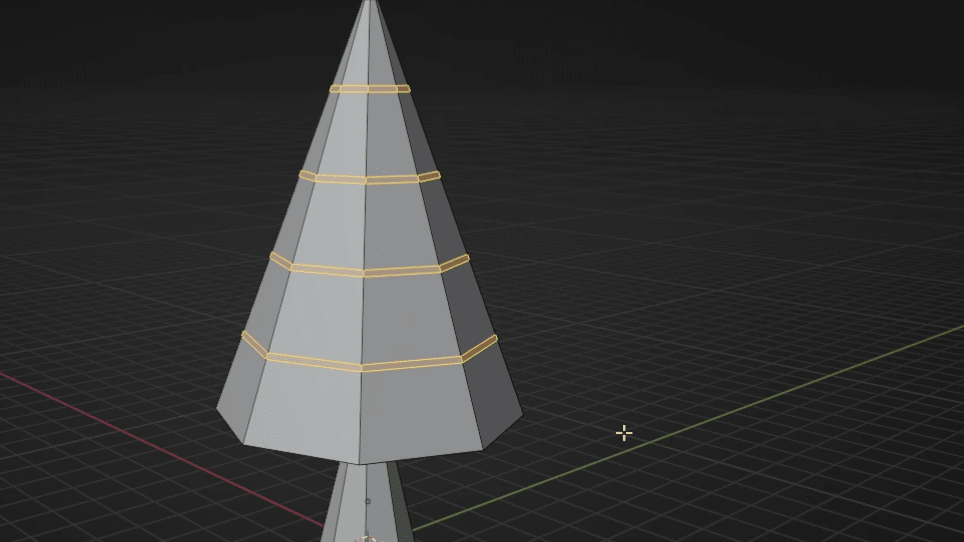
Select these loops while holding LMB and ALT + Shift.
If you scale them with “S” immediately, this will happen
Beginners guide to Blender

Because we want to scale each loop individually, we need to change the Transformpivot point. So, go here and instead of the median point, change to the individualorigins.
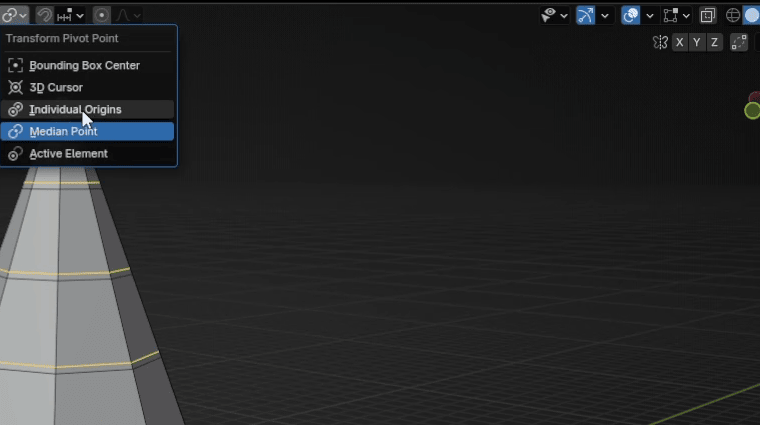
Now you can scale each part individually. Scale it with “S” for around 1.35
Beginners guide to Blender
Now, select only this bottom loop
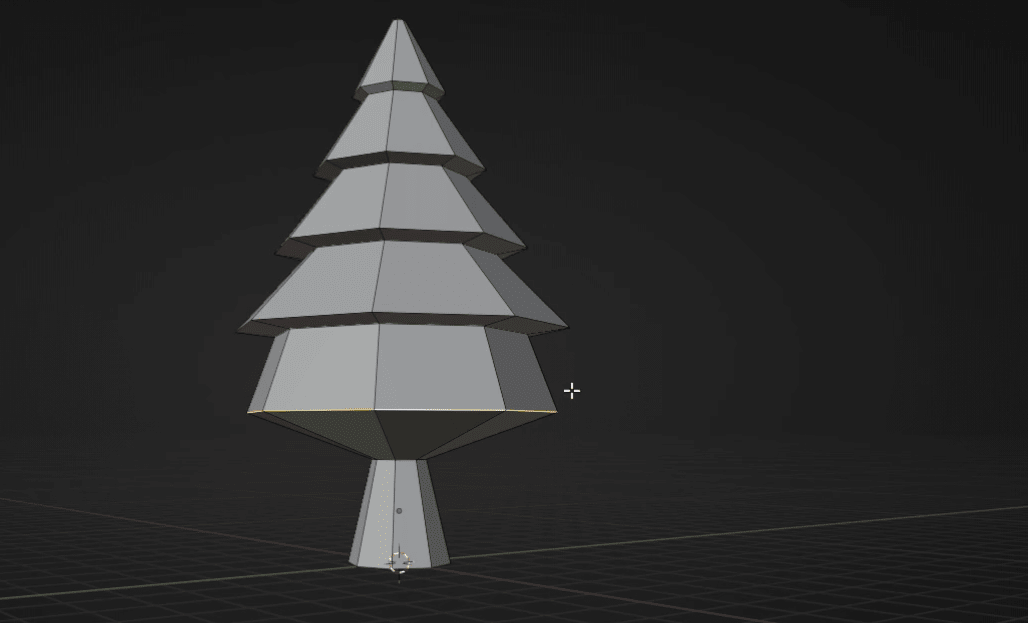
And scale it with “S” for around 1.37

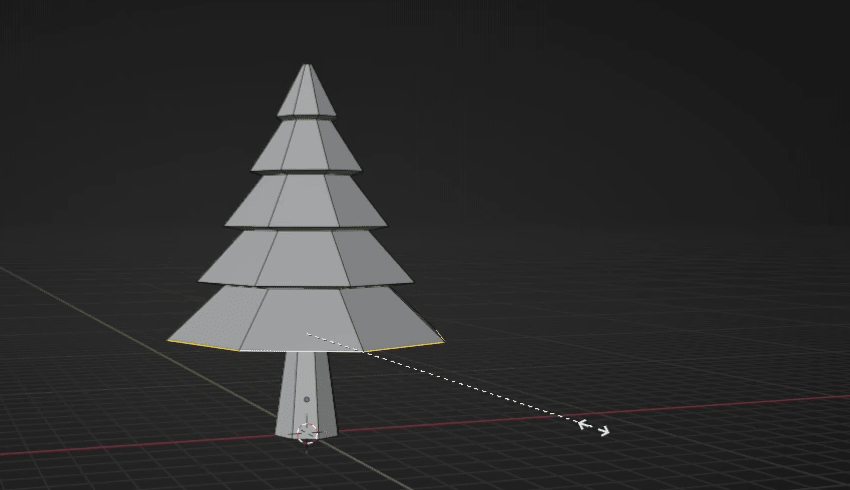
Select this loop
Beginners guide to Blender

Move it up with “G+Z” for around 1.2.
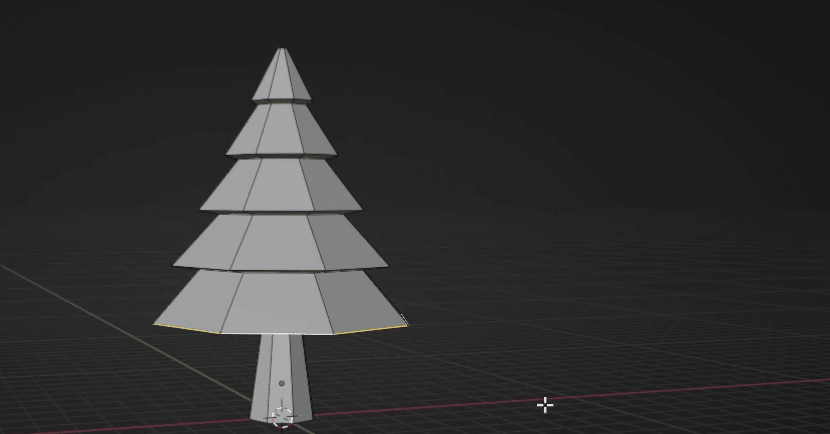
Select this loop
Beginners guide to Blender
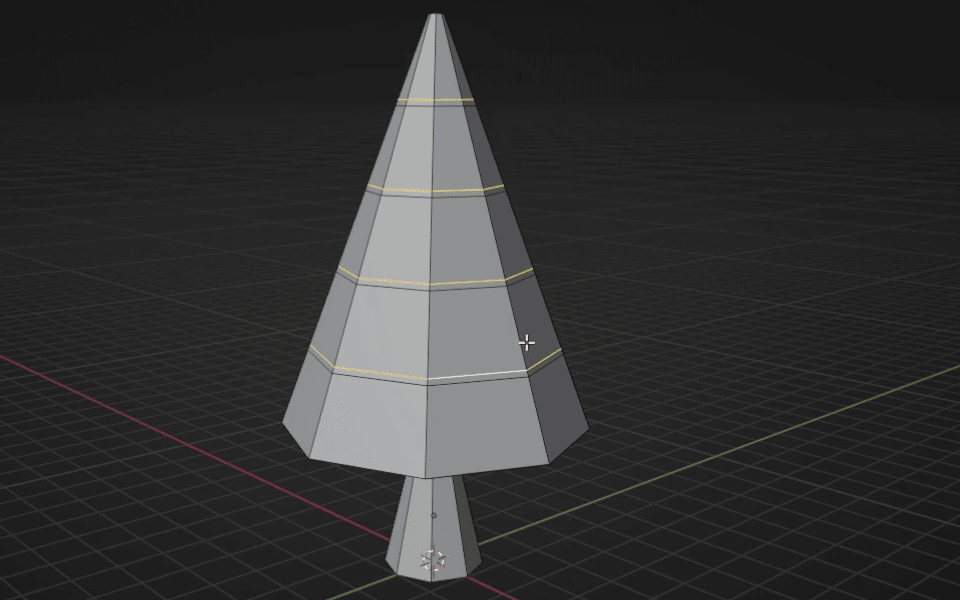
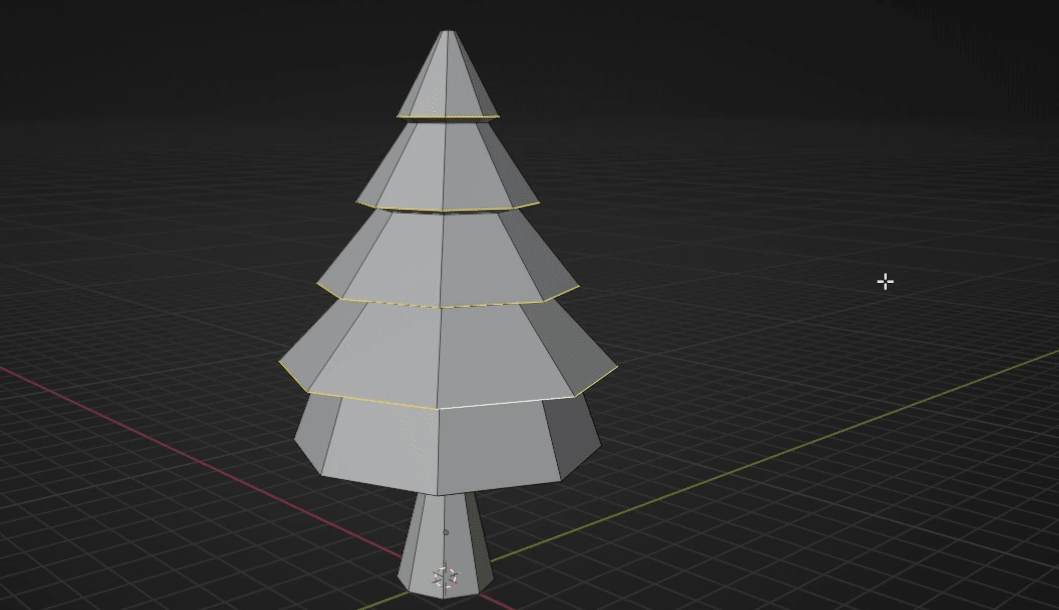
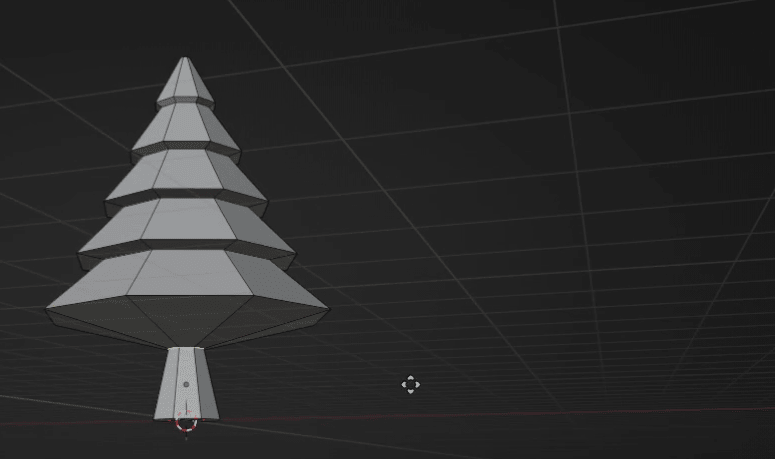
and scale it with “S” for around 0.92.
Now, we have our pine tree model.
Beginners guide to Blender
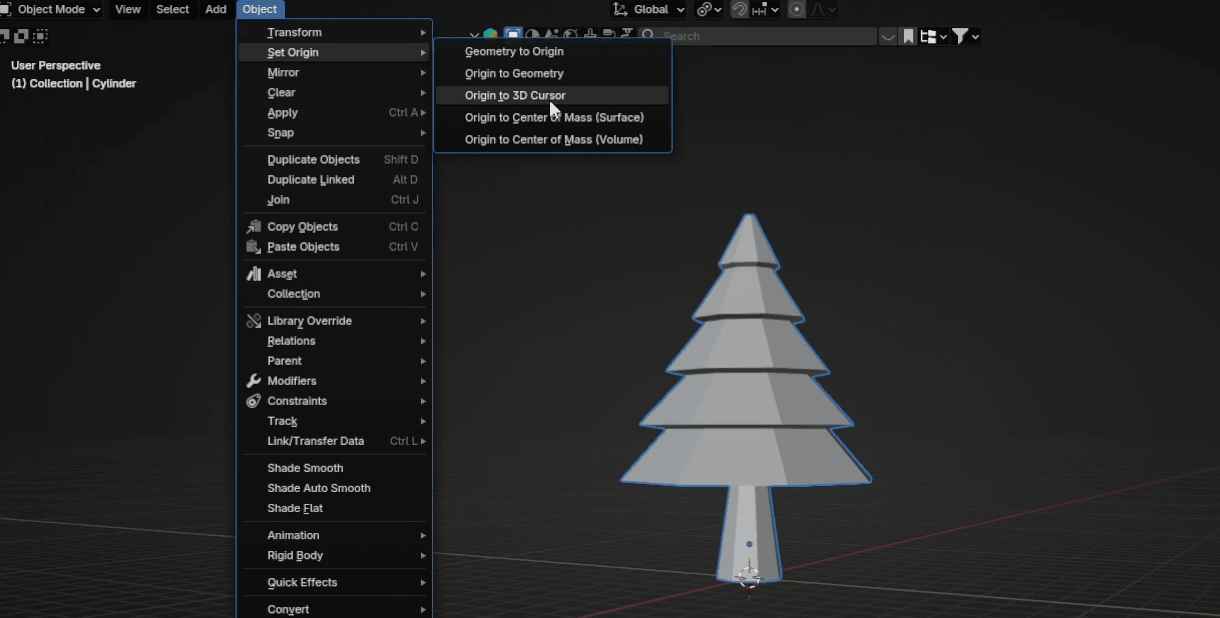
Switch to object mode with “TAB,” go to Object → Set Origin → Origin to 3D cursor
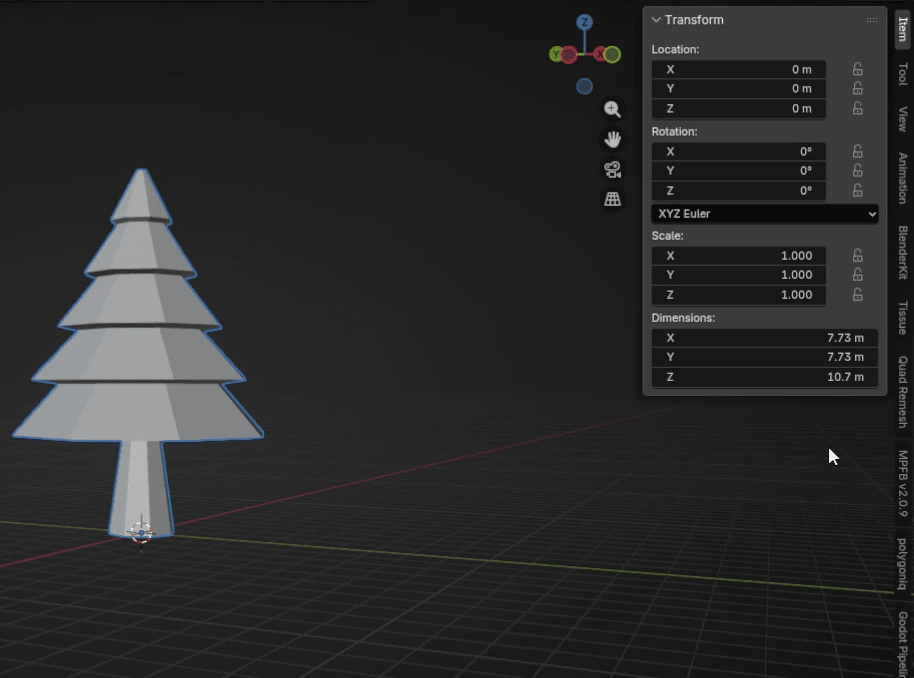
Open sidebar with “N.”
Beginners guide to Blender
Change “Z” or height to 5m
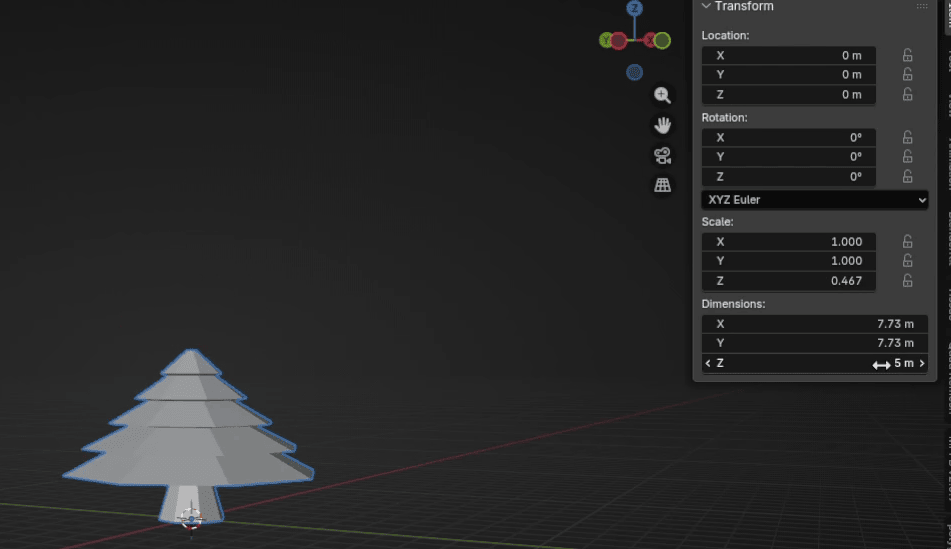
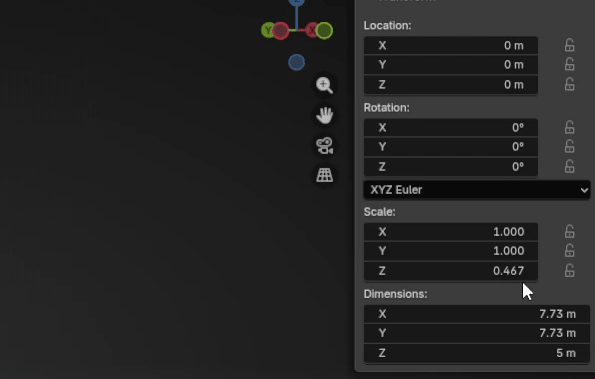
Copy this “Z= 0.467” from the Scale (or any other number if you get different)
Beginners guide to Blender
to X, and Y in Scale.
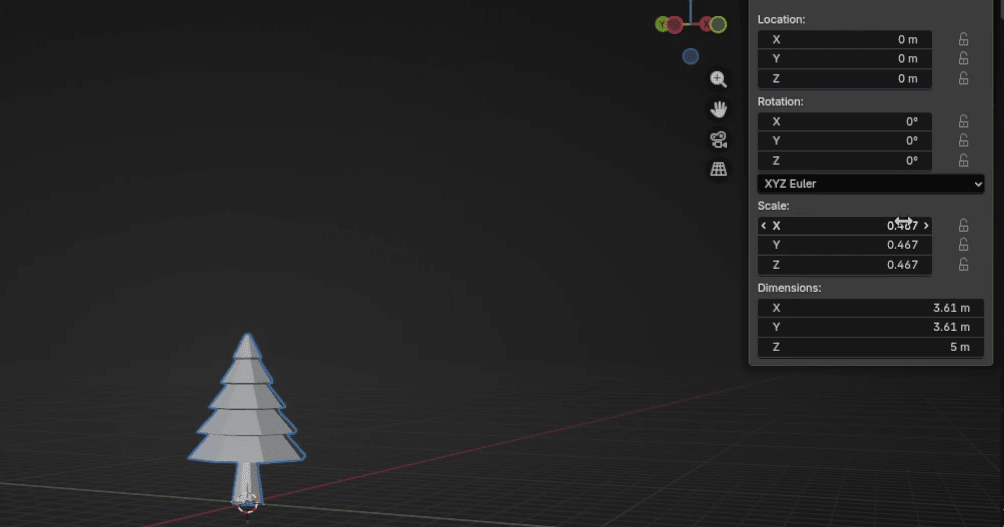
And apply scale with “CTRL+A.”
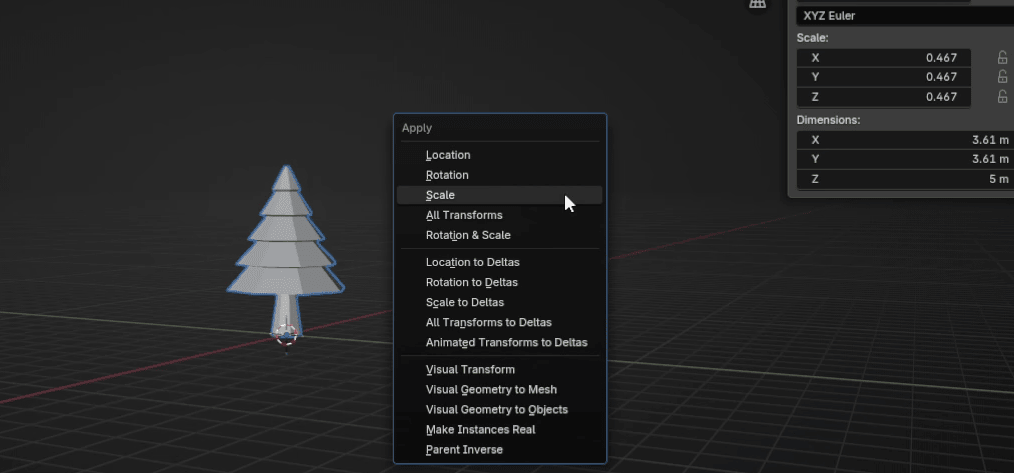
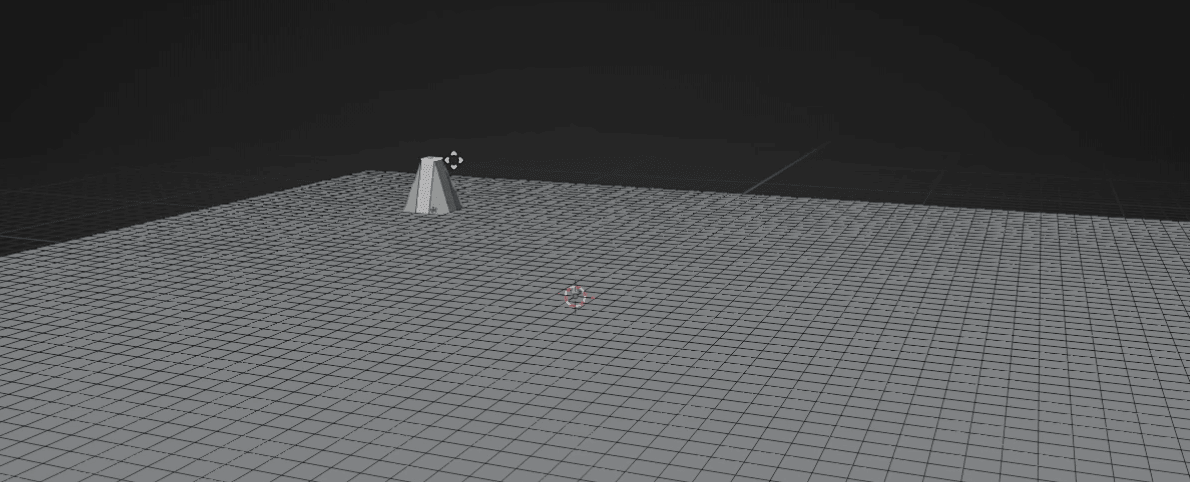
Go to Add → Mesh → Plane
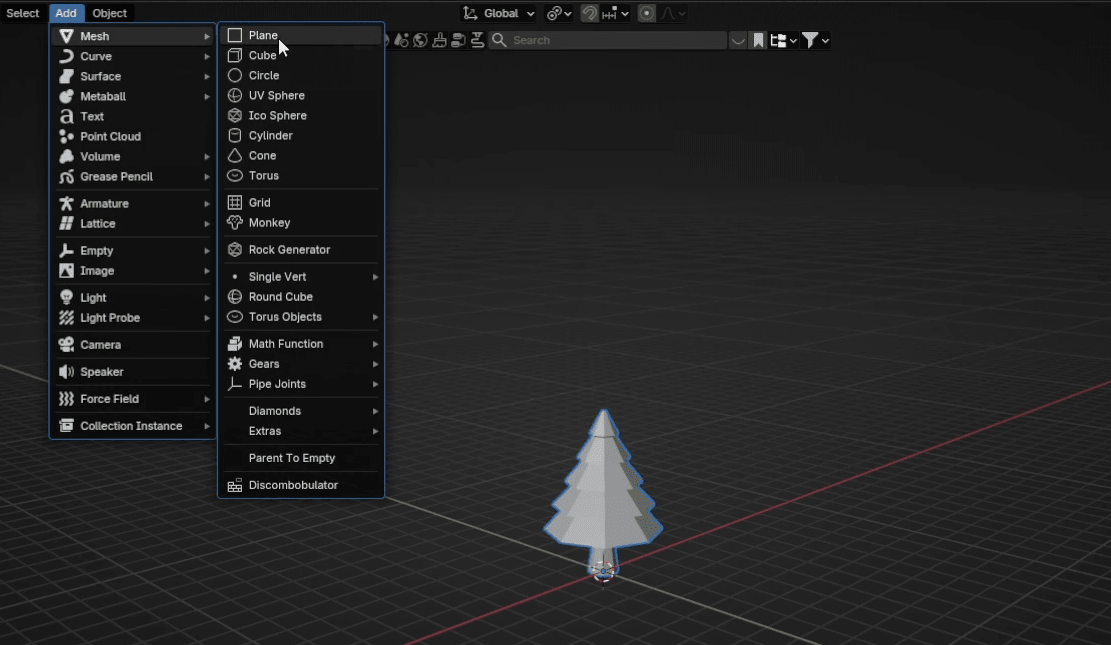
Beginners guide to Blender
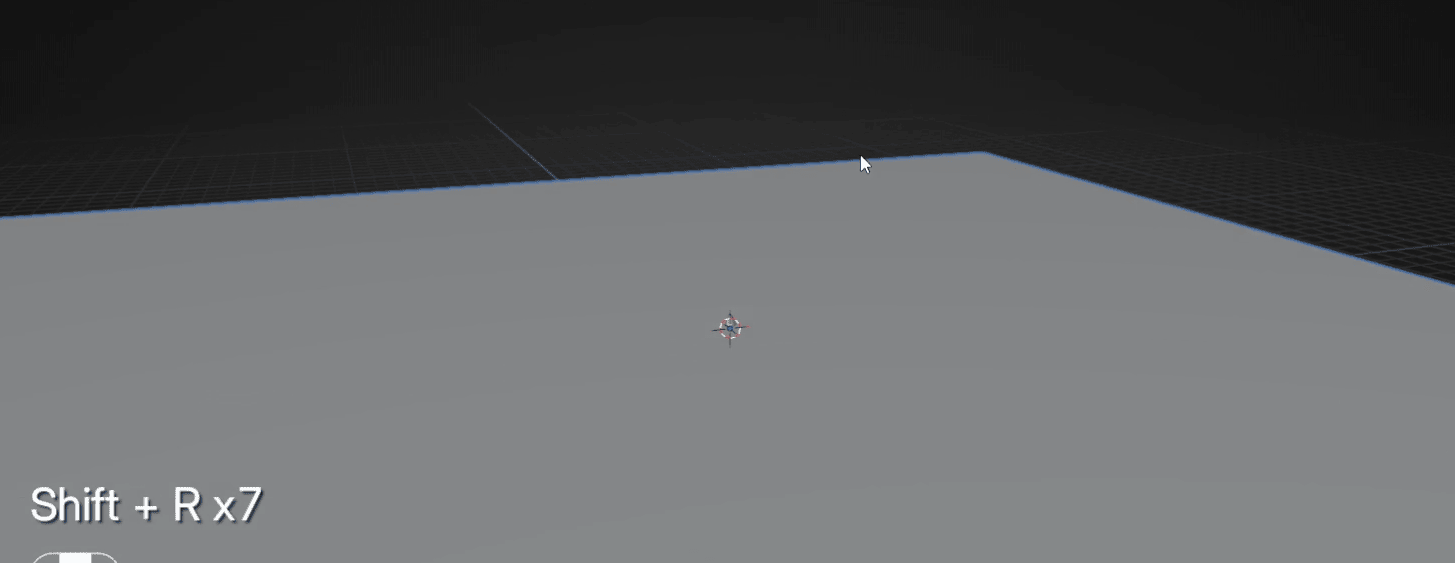
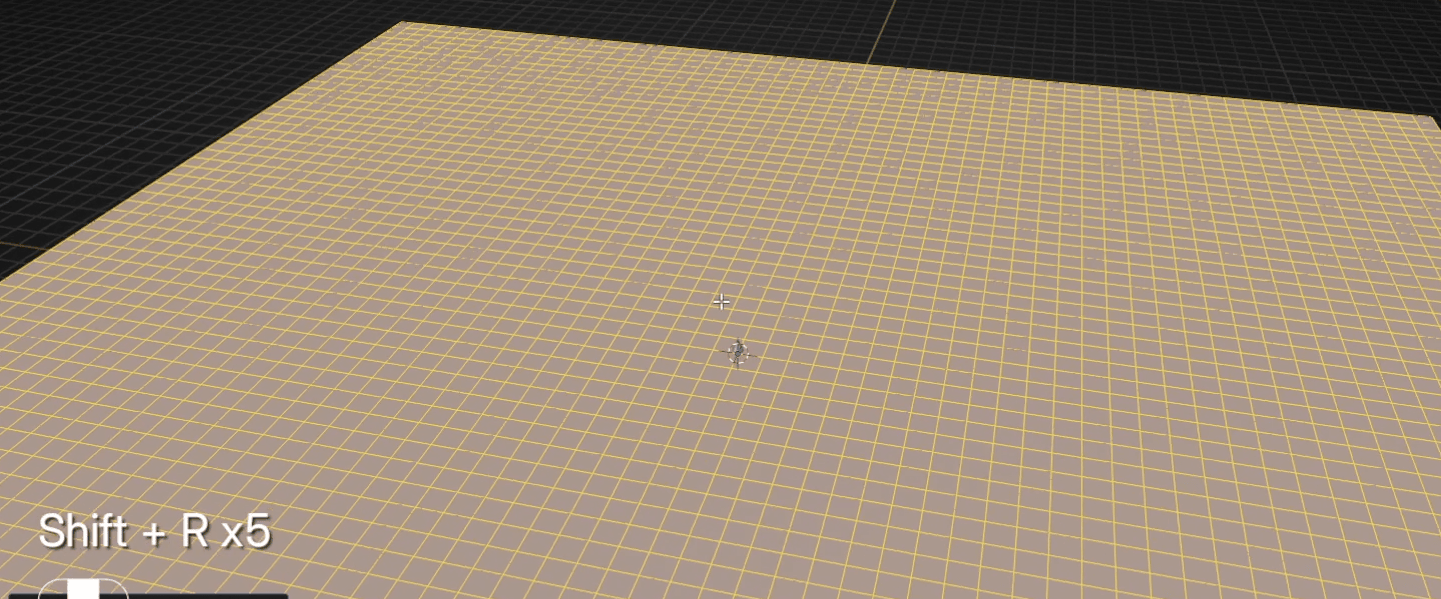
Press “S+2” to scale it for 2.
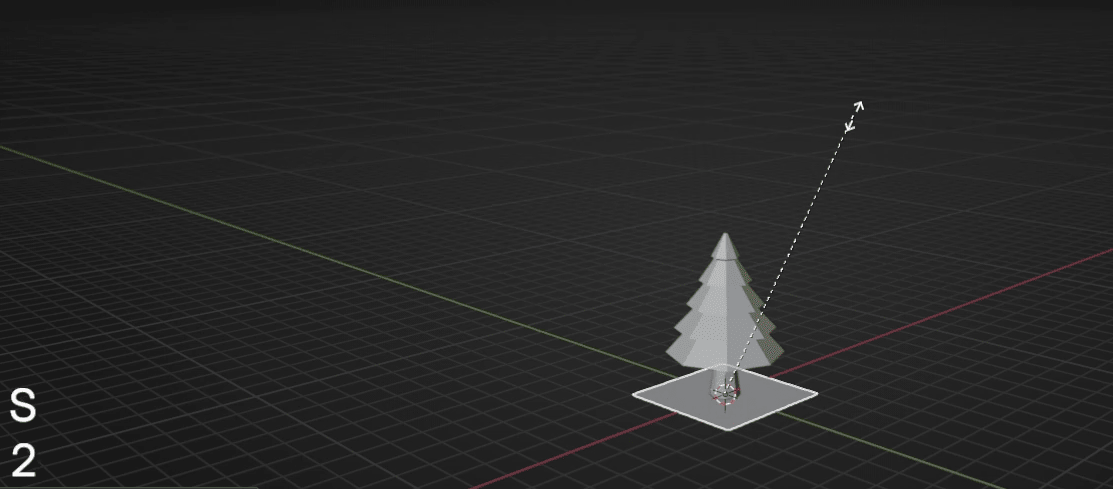
Repeat that action by pressing “SHIFT+R” seven more times.
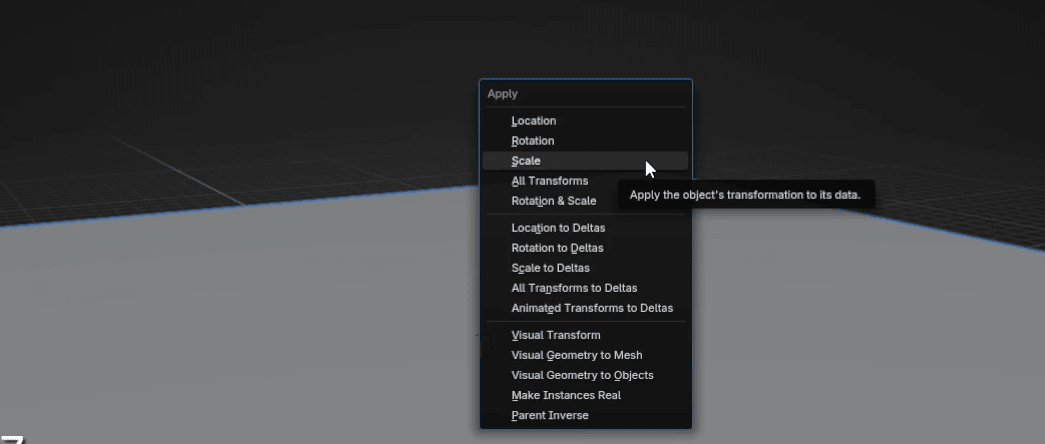
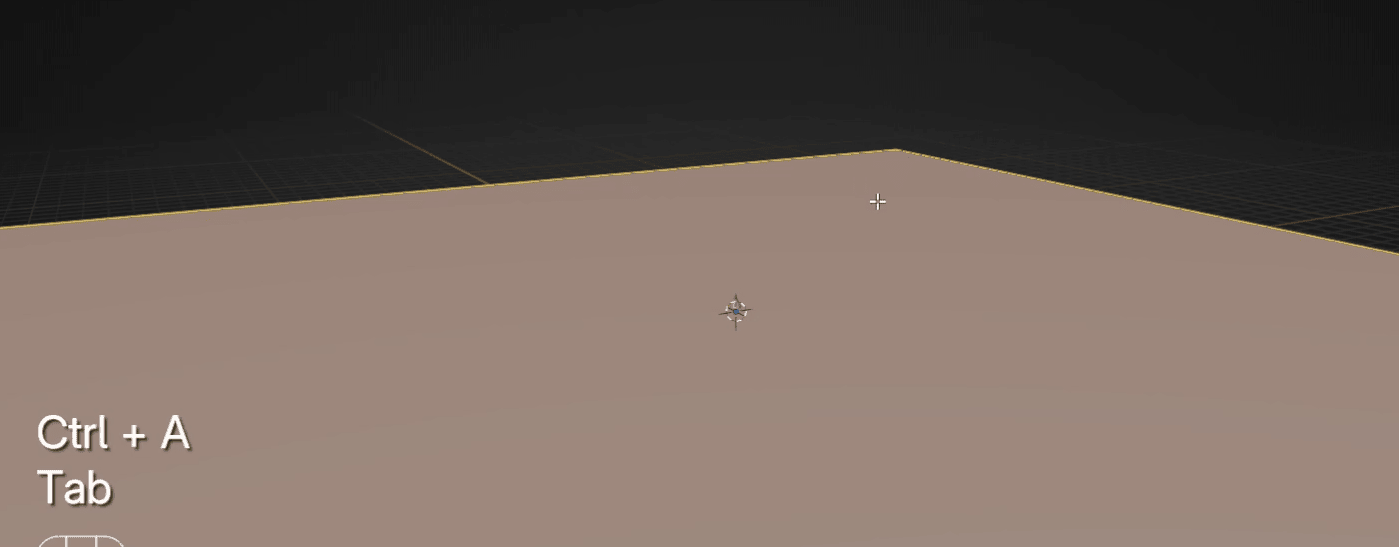
Apply scale with “CTRL+A.”
Beginners guide to Blender
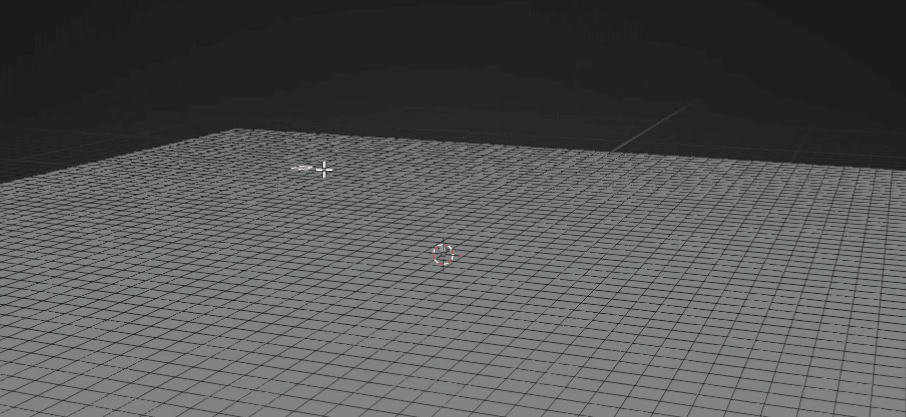
Switch to edit mode with “TAB.”
Click RMB and choose Subdivide.
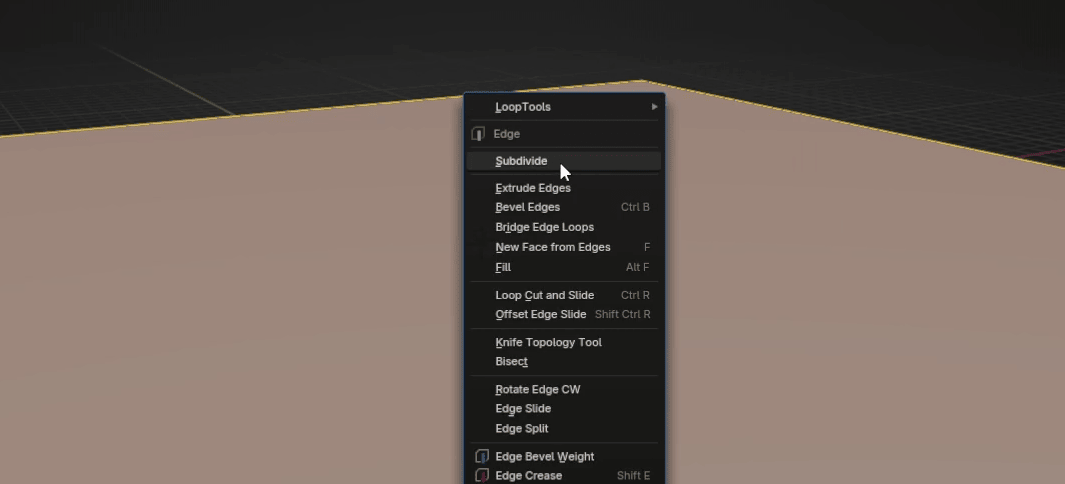
Press “SHIFT+R” five times to repeat the same action.
Beginners guide to Blender
Click here to turn on the proportional editing, or just press “O.”
Switch to selecting faces with “3.”
Select a random face
Beginners guide to Blender
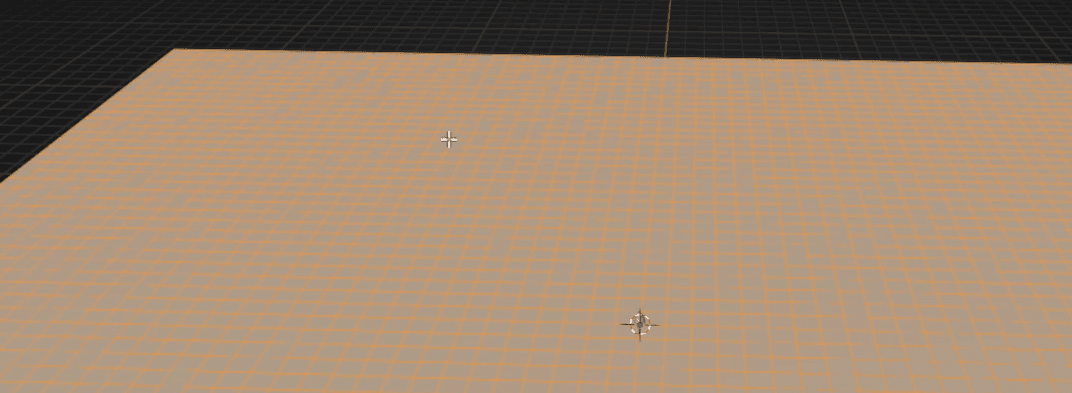
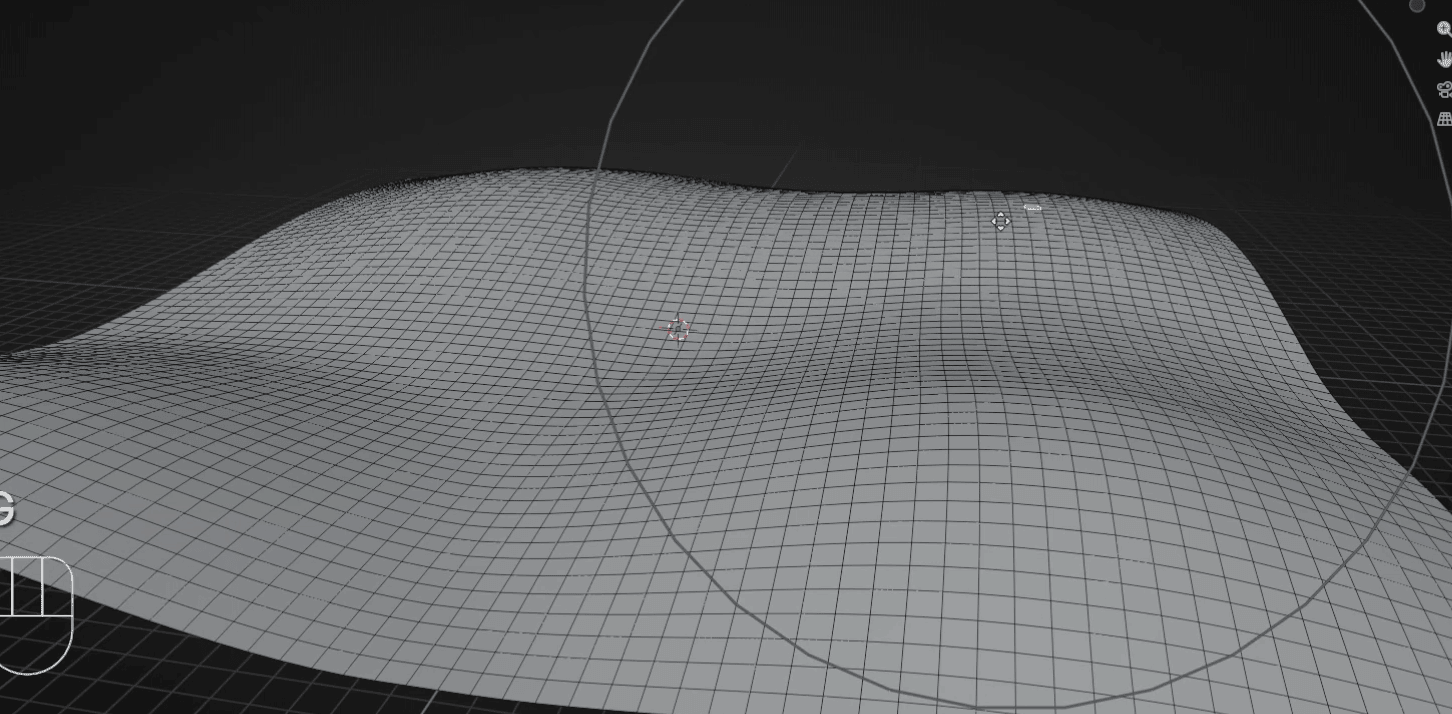
Move it up with “G.”
Scroll the mouse wheel up to increase the proportional size.
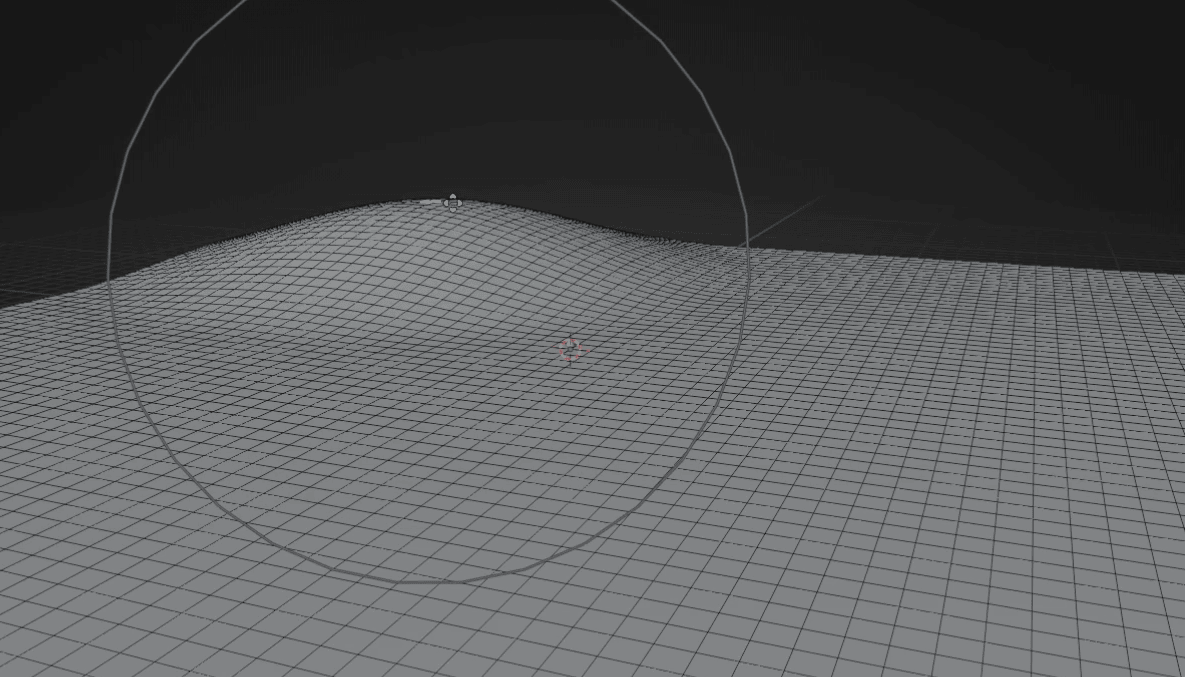
Choose 3 more random faces and do the same. Don’t think too much about if you didit right. This is just an example, so it doesn’t need to be perfect.
Beginners guide to Blender
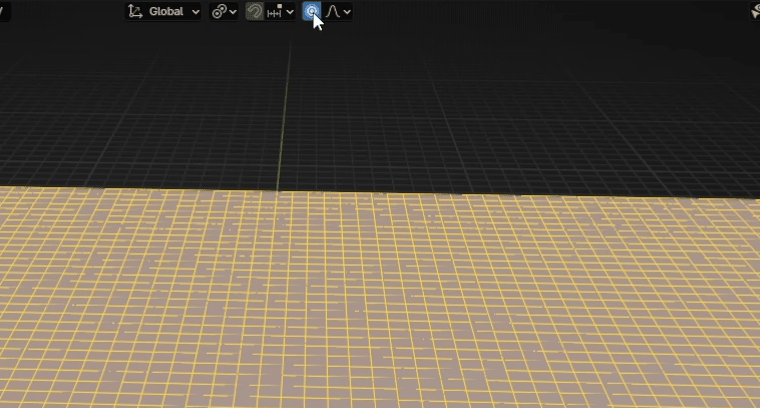
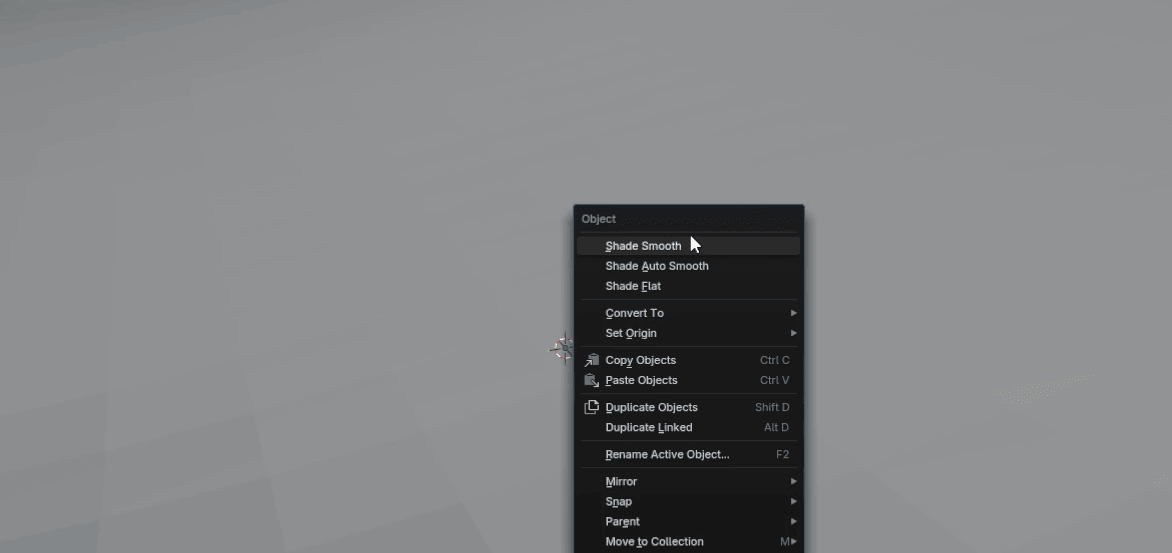
Switch to object mode with “TAB”, click RMB, and choose Shade Smooth.
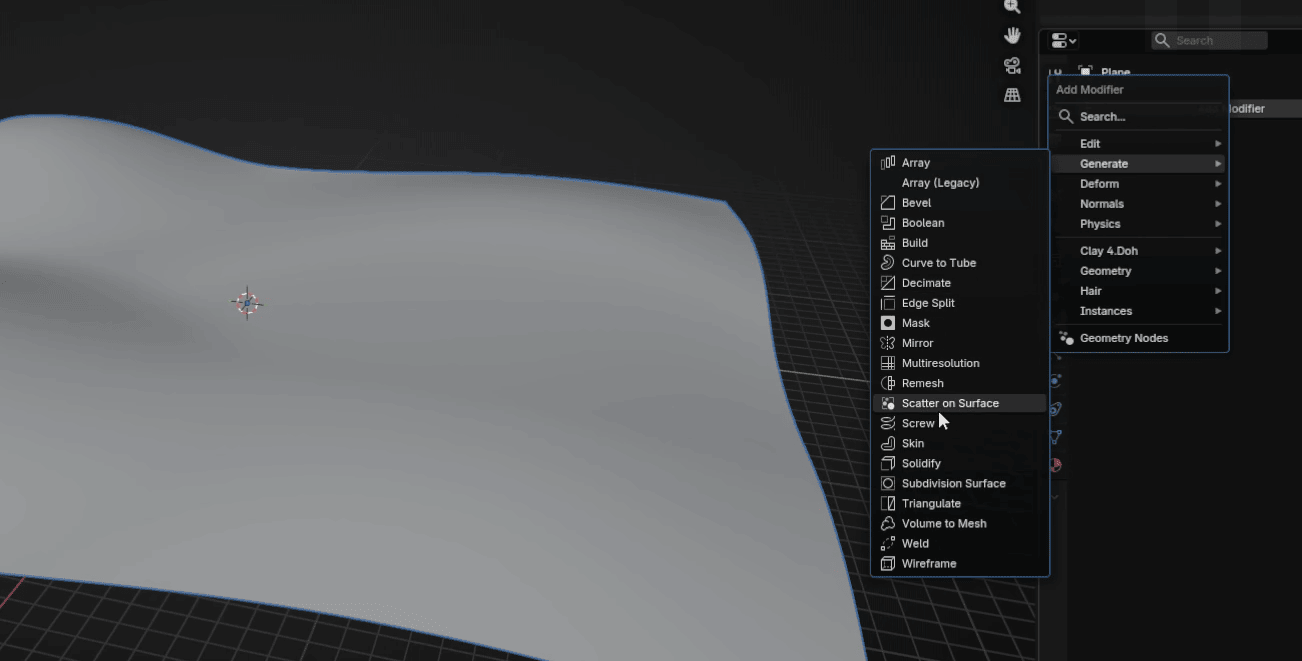
Go to modifiers → Add modifier → Generate → Scatter on surface.
To scatter our trees, we need to select the tree we made (or any other model youwant) as our object that will be scattered.

Beginners guide to Blender
To do that, we need to select our object in Instancing; in this case, it is called cylinderbecause I forgot to rename it.
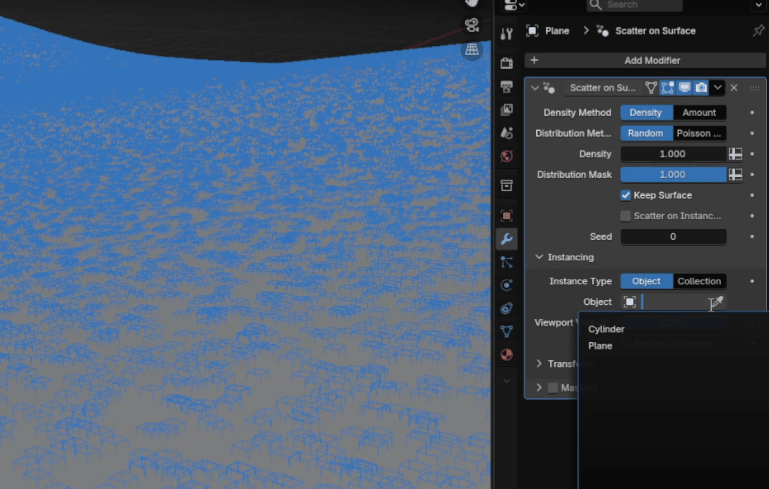
Now our trees are scattered on our plane
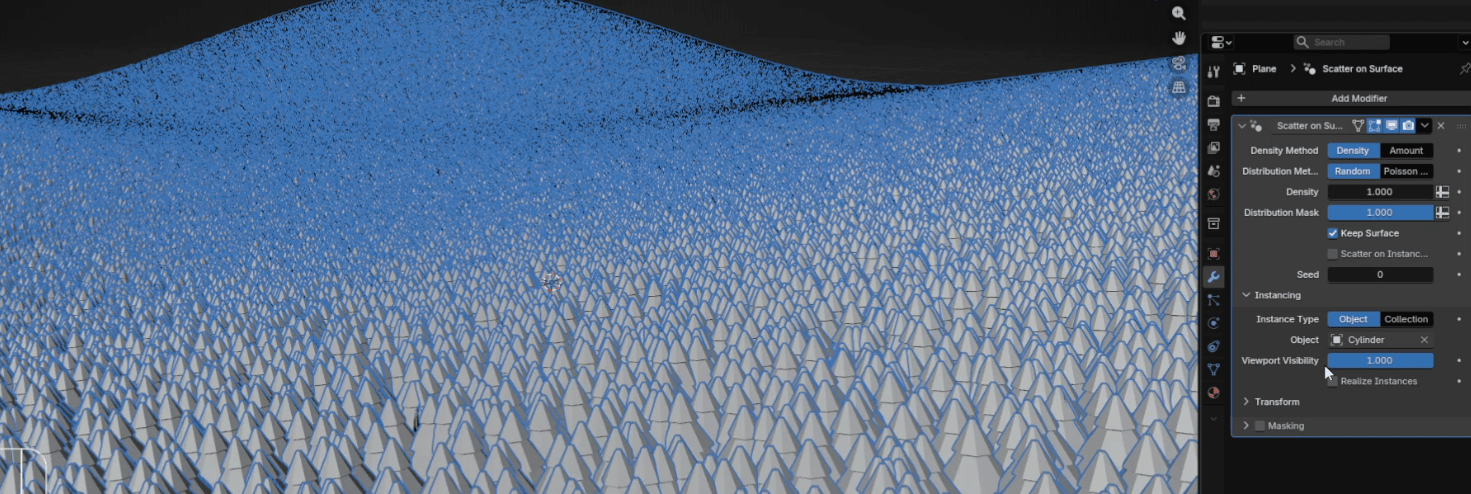
You can check on “Realize instances” if you want to make the data of each treeunique, which is required by some other modifiers. If you keep that option off, youcan see that your polygon count remains as if you only had one tree on the scene.That is because the data of all the trees is shared.

Beginners guide to Blender
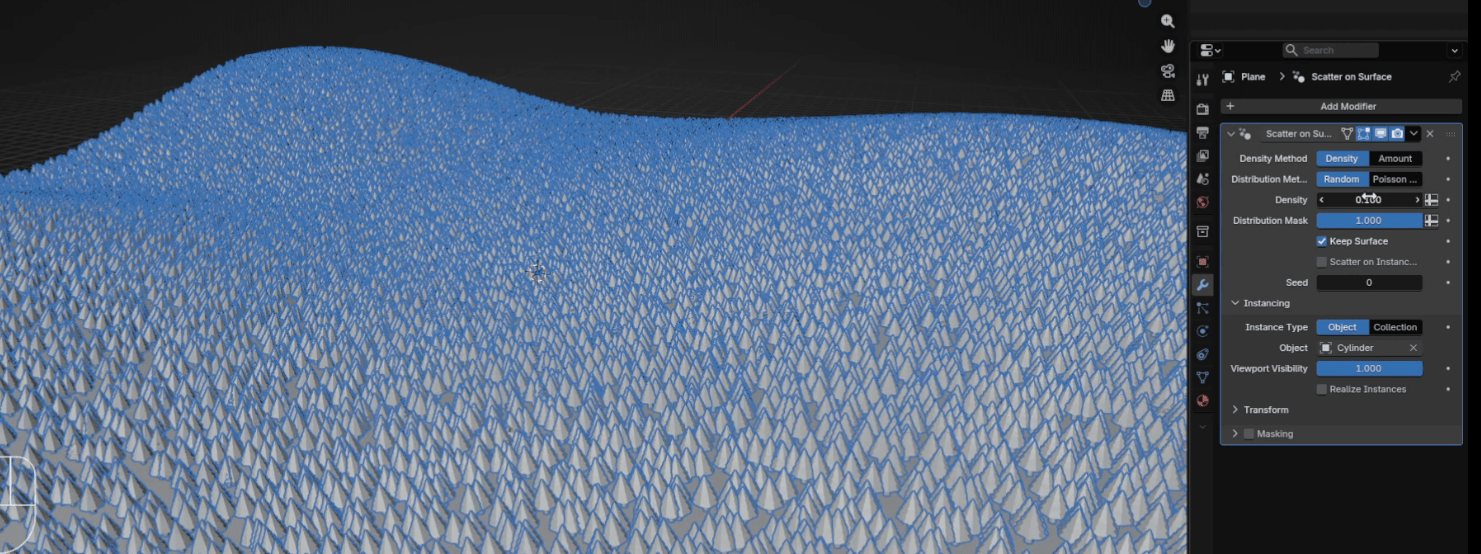
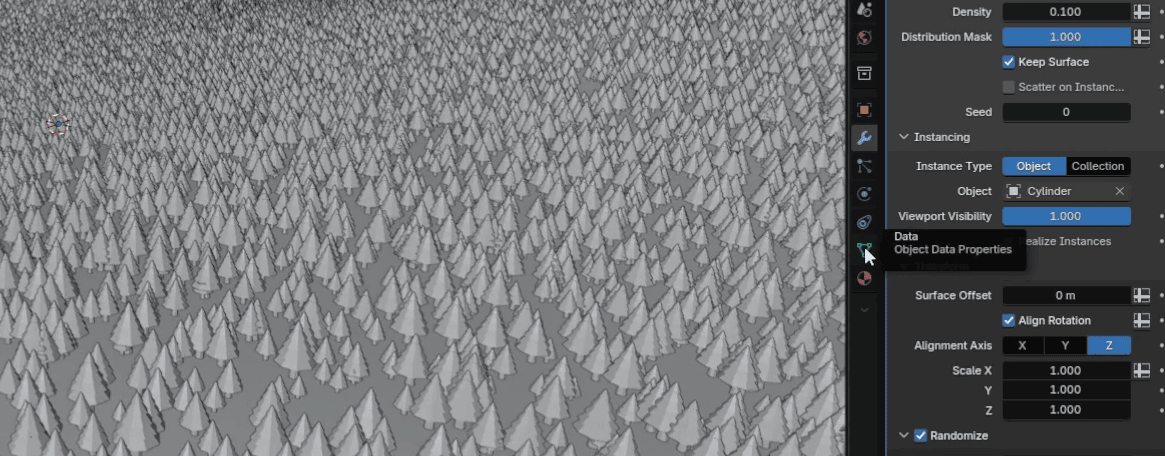
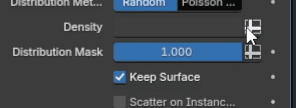
If you want fewer trees, change the density to, for example, 0.1 or even less.
Now click on Transform
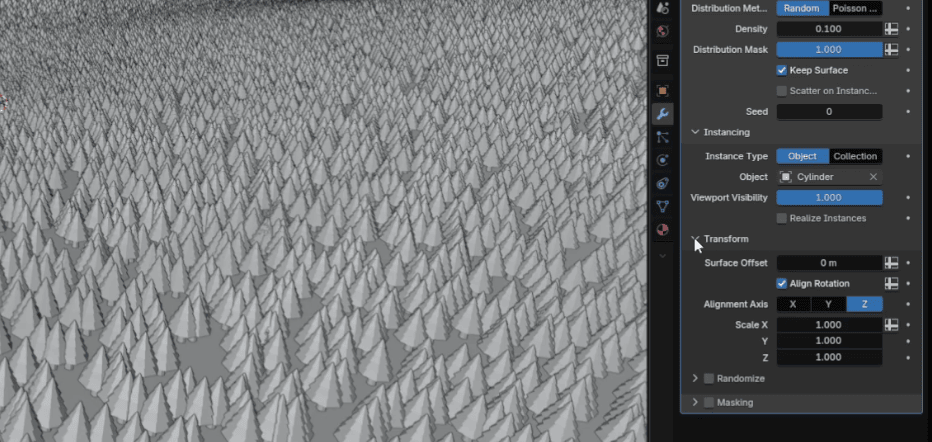
Turn on Randomize
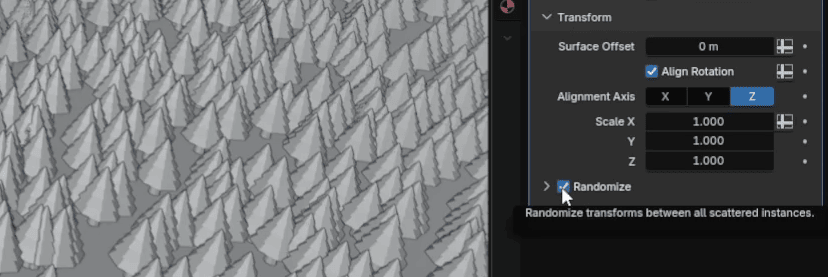
Beginners guide to Blender
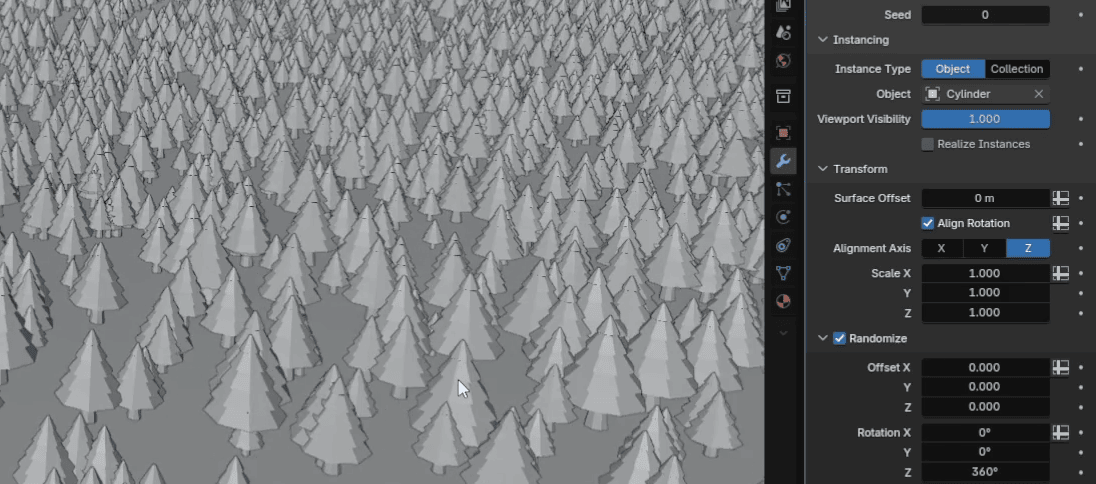
Here, you can adjust the scale so that your trees are randomly scaled, rather than allbeing identical. For this example, I left the scale at 0.631
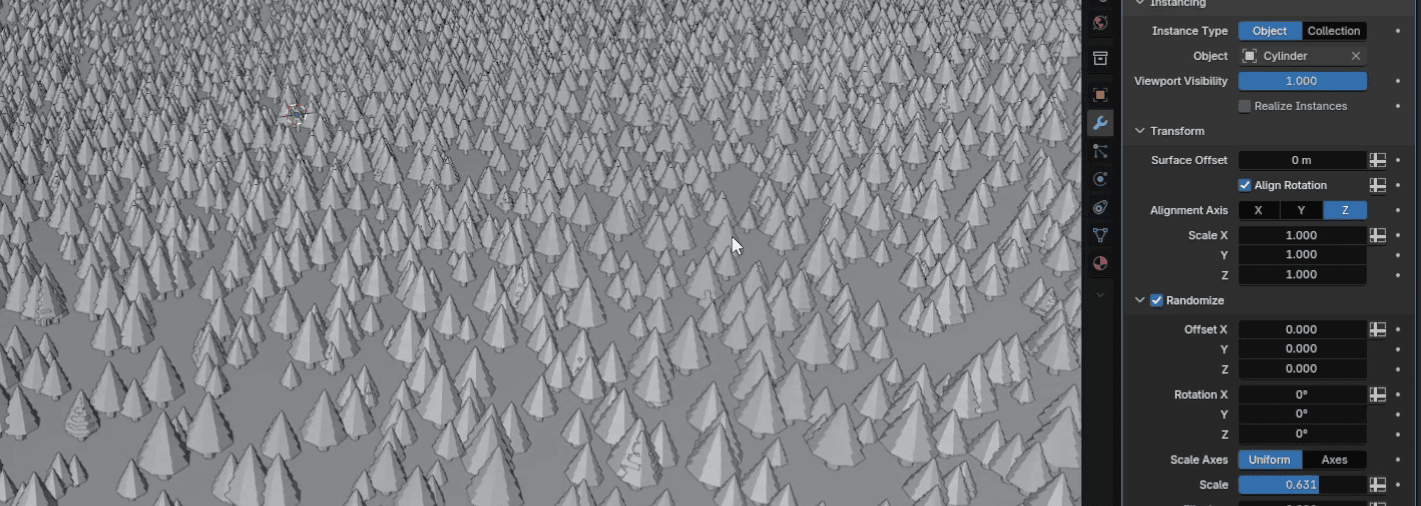
You can also randomize Z rotation. I put it to 360°.
Now go to Data
Beginners guide to Blender
And click on + to add a new vertex group
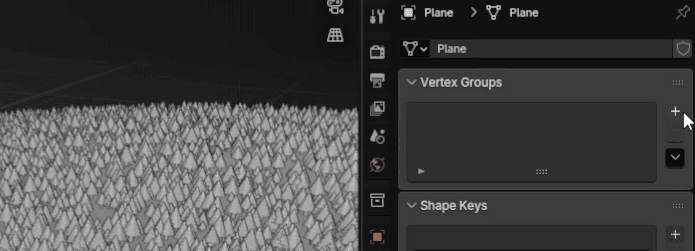
Rename it to density or anything else you like.
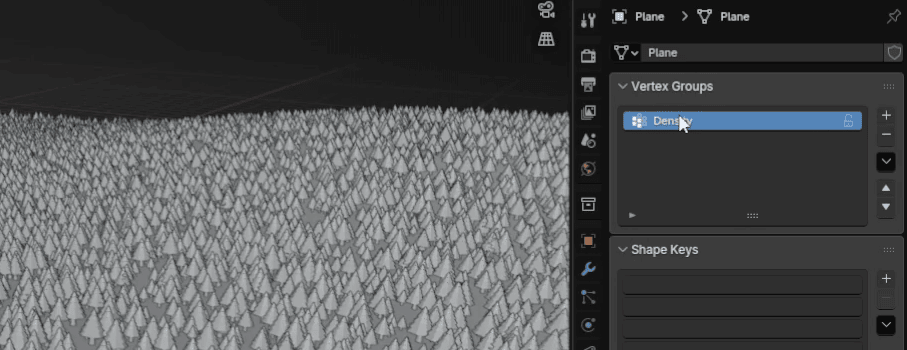
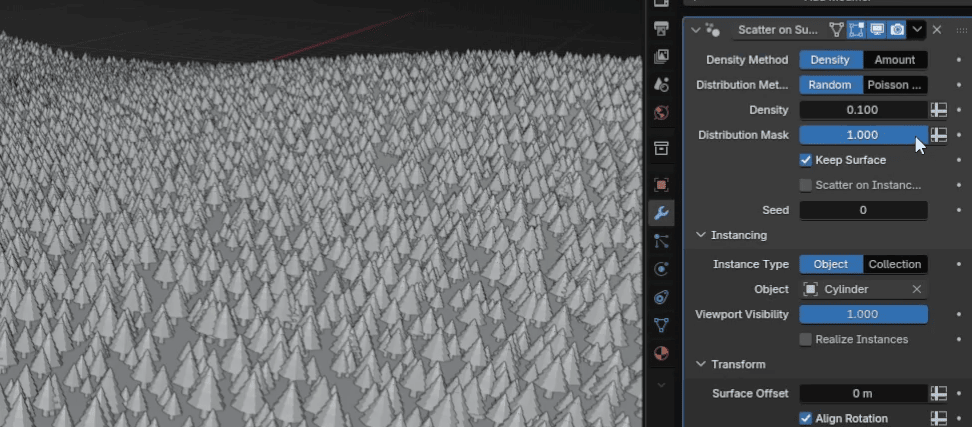
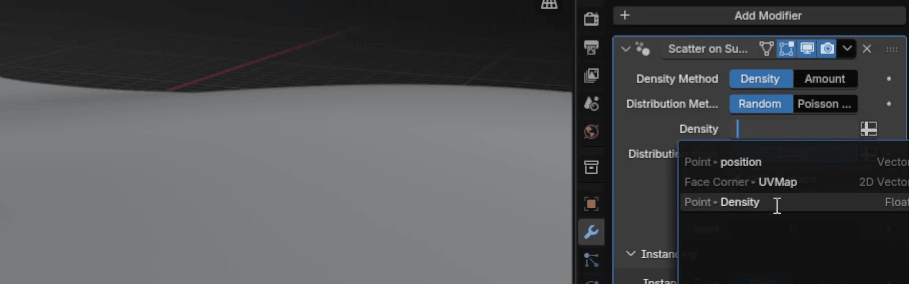
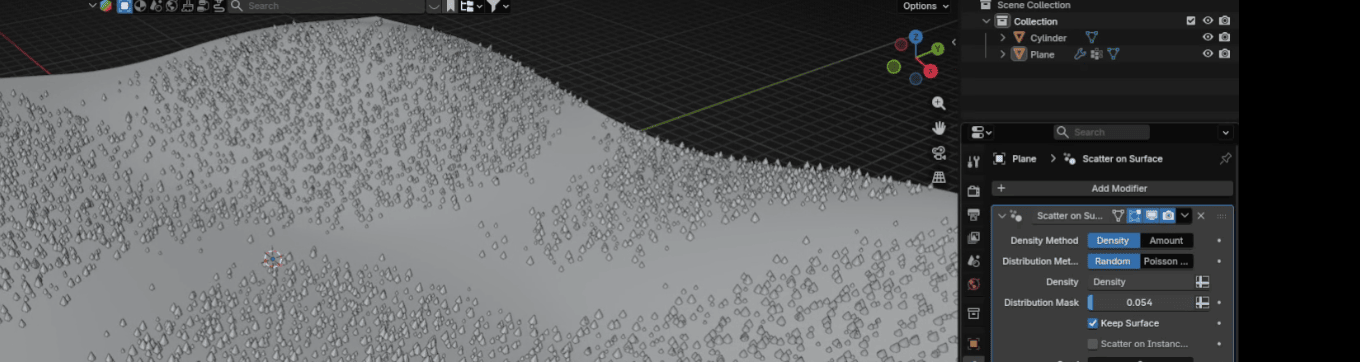
Go back to modifiers
Beginners guide to Blender
Click on Density
and choose Density
Now switch from object mode to weight paint
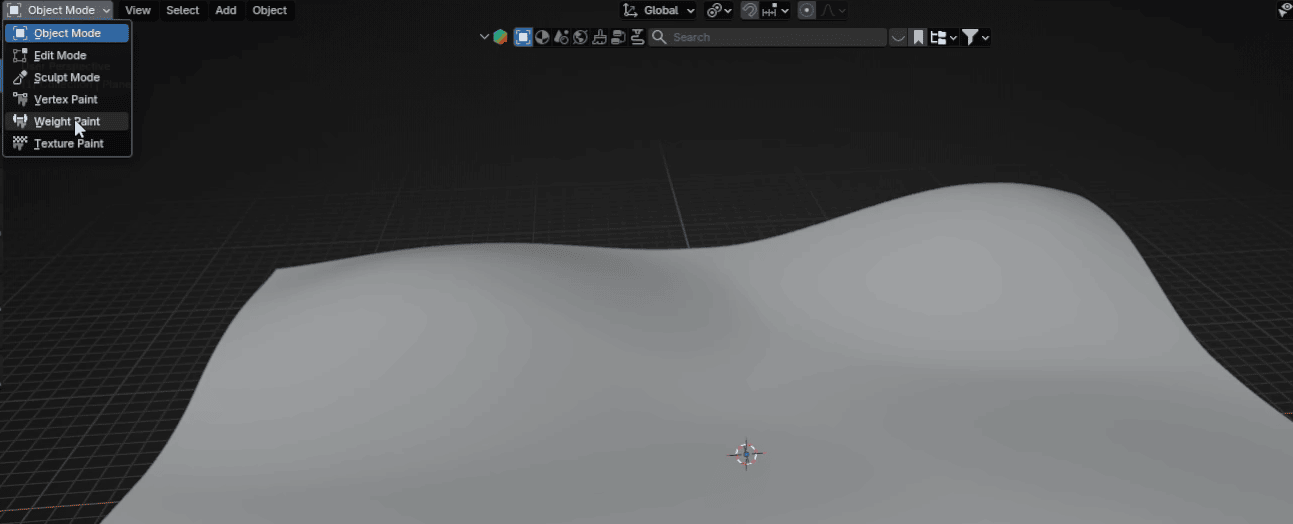
Beginners guide to Blender
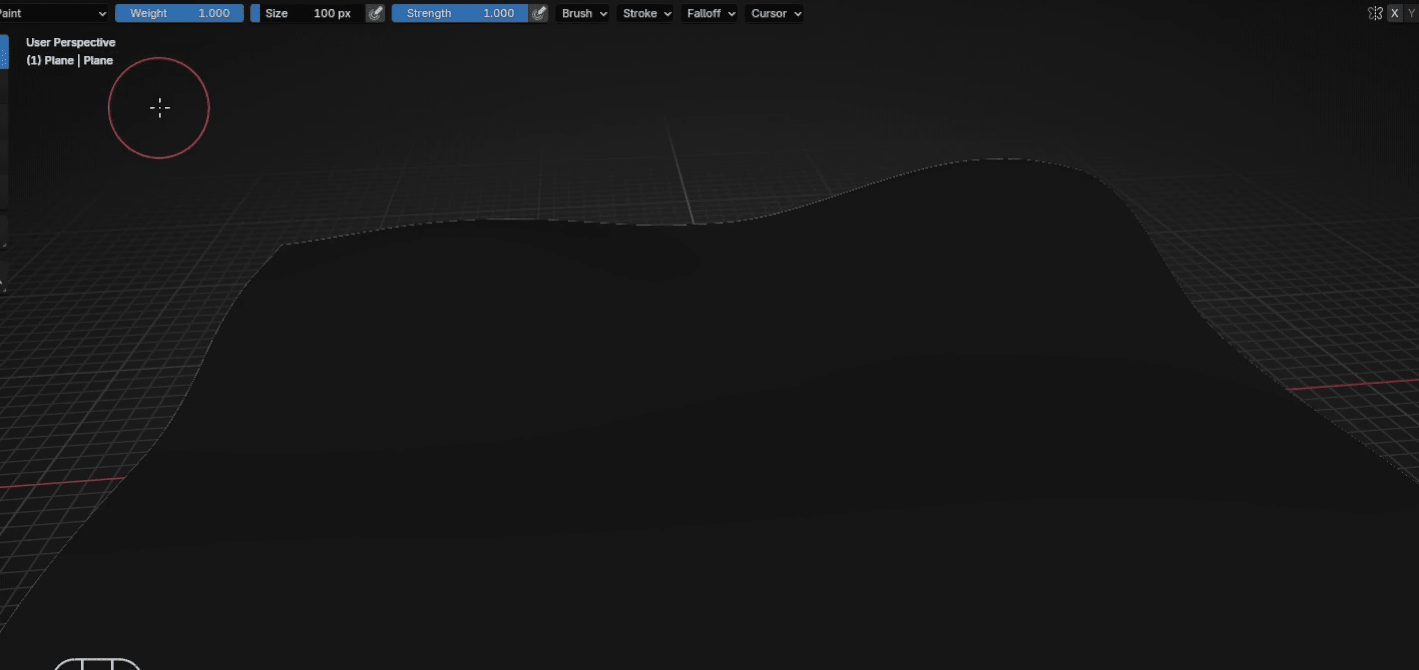
Change the size of the brush to 505px or any other size.
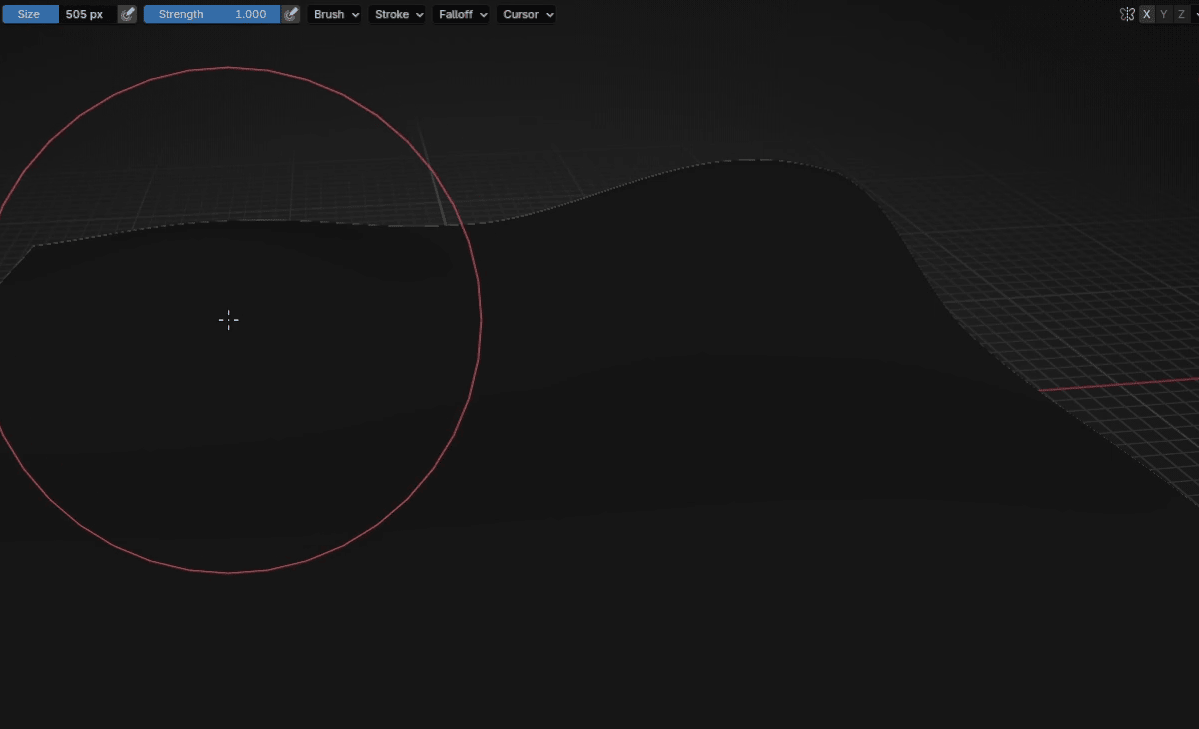
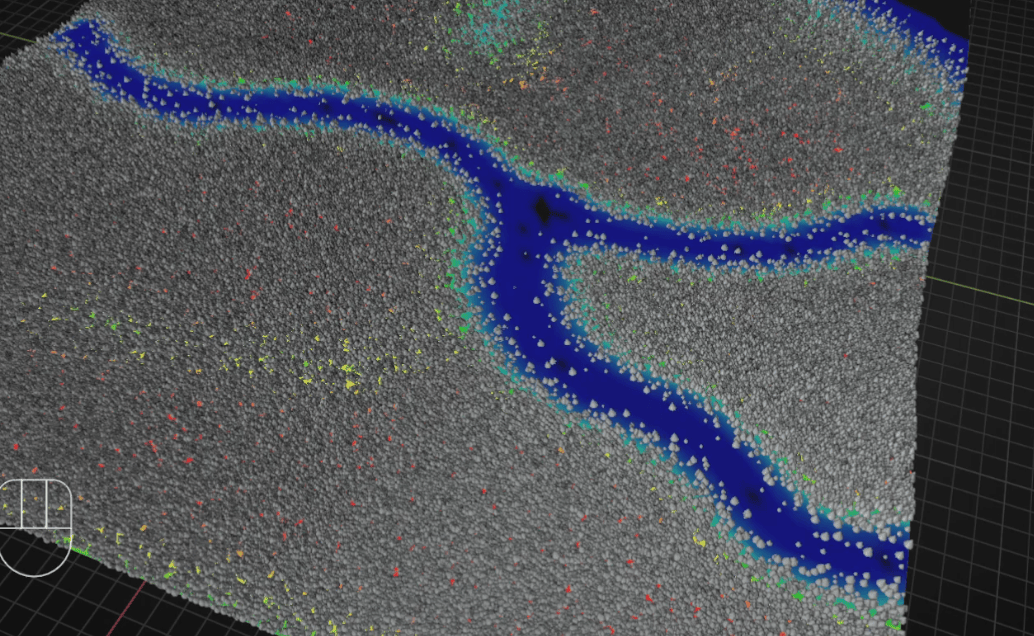
And draw a tree wherever you want the trees to be placed with LMB
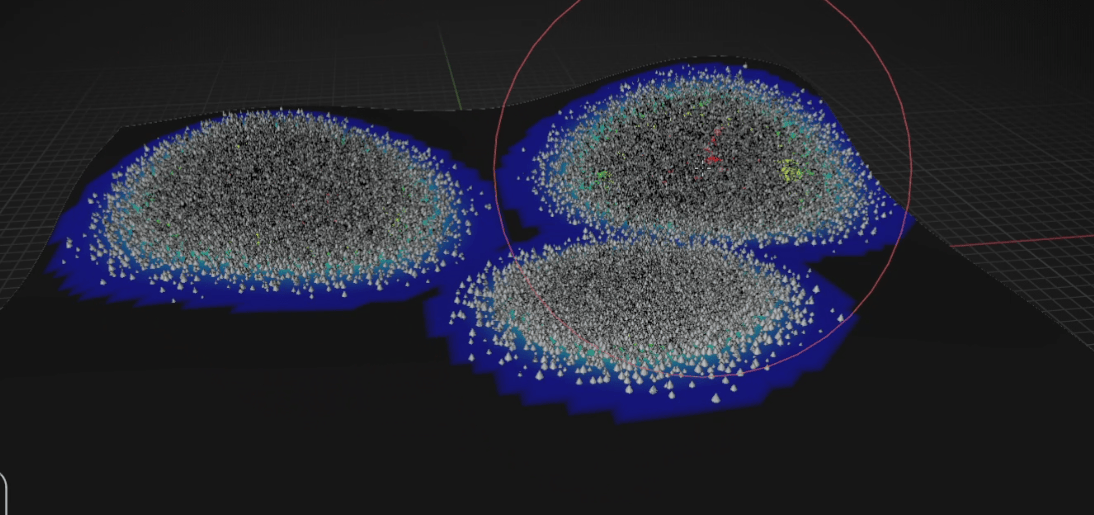
For example, like this
Beginners guide to Blender
Now we want to make a path, so we need to erase some trees. To do that, put theweight to 0
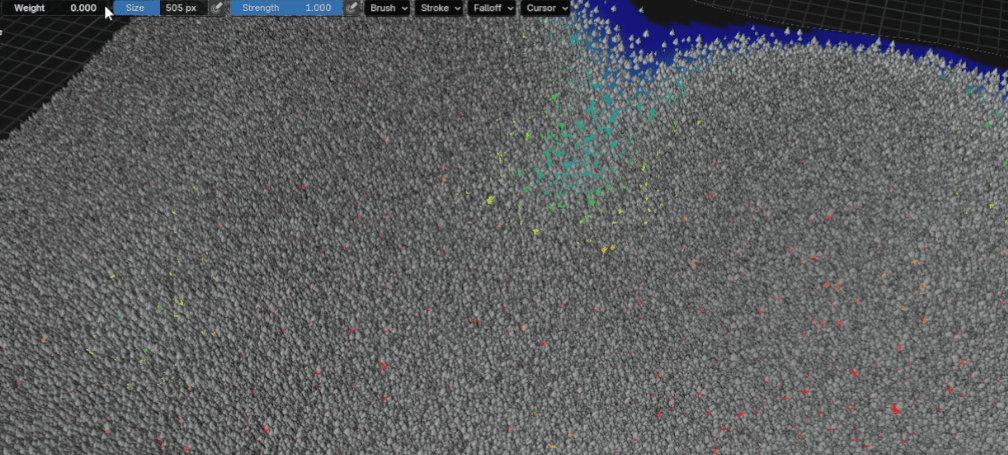
and change the size of a brush to something smaller, like 290 or similar
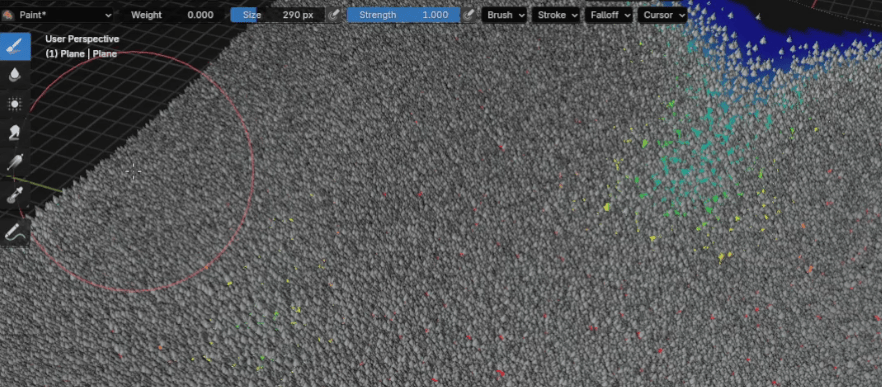
And just draw where you want the path to be
Beginners guide to Blender
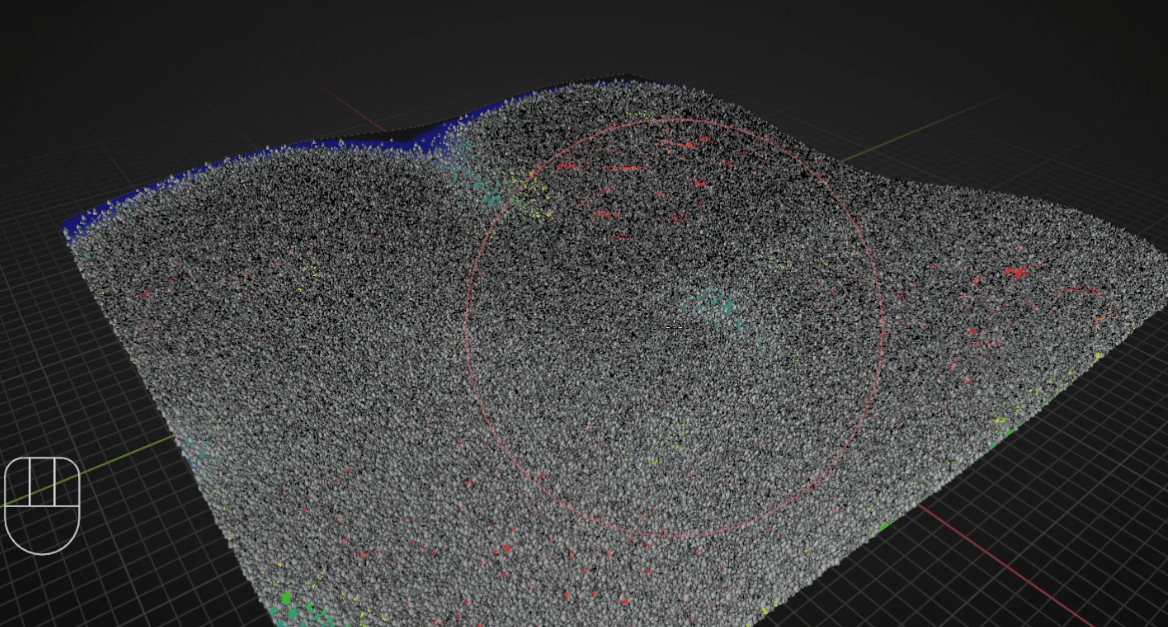
Switch back to object mode and see how it looks
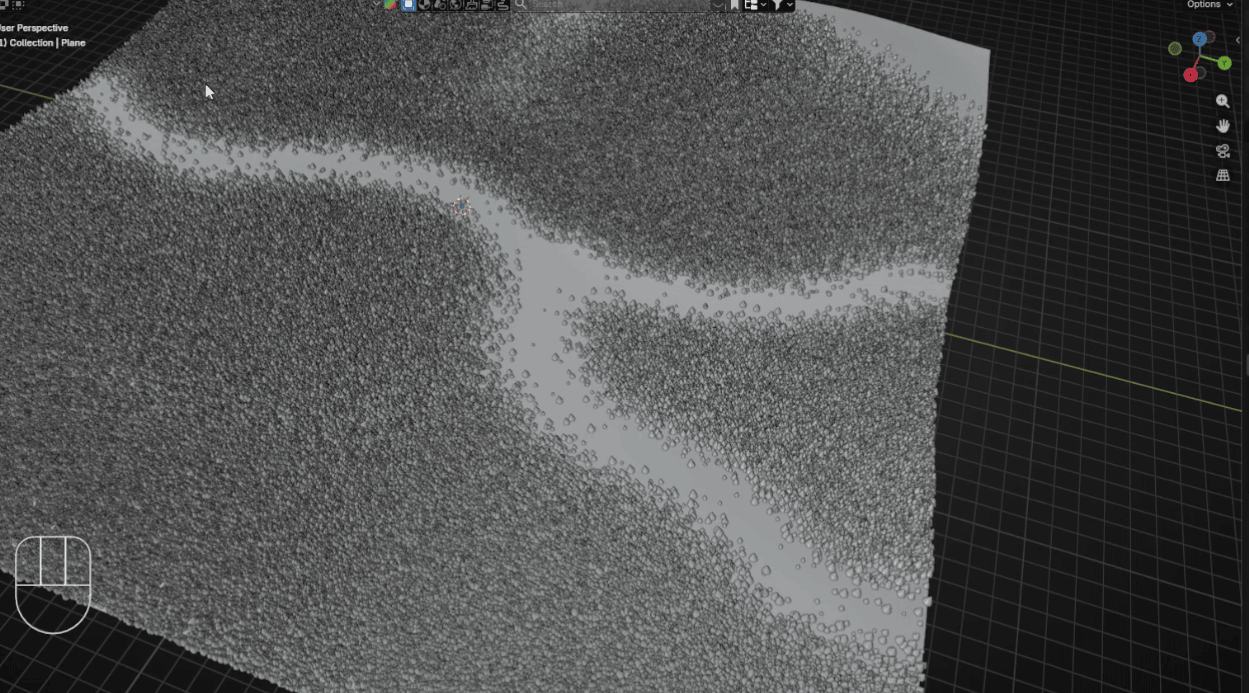
You can change the distribution mask as you want to have more or less trees
This is just one example of how new Blender features can improve modeling inBlender.
Did you think of anything else?
Let me know in the comments!
If you had fun learning with me, don’t forget to subscribe to my channel.
I have a Patreon SaTales with more exclusive content, including 3D models, .blendfiles, and sharing my experience on how to sell your 3D models, how to find clients inArchViz, etc. There is something for both free and paid members, so don’t forget tocheck the it. Happy Blending, everyone! Bye, see you next time.