Chapter 21b: Modeling a hay bale
I decided to teach you how to model a hay bale because it is a good way to introduce you to something new in Blender called particles.
So let’s begin with the modeling. (You can check out a video tutorial on my YouTube channel: https://youtu.be/fw8SMNxWnm8?si=GCreoaZfE1eH-ZhR)
Just as you did while modeling a book, you won’t delete the cube, but you will use it from the start because the most similar shape to the hay bale is a cube.
Until now, you haven’t done any modeling by dimensions, so this time I will teach you how to do that. Those are the dimensions that I decided are the best for my 3D model of a hay bale, but feel free to change the dimensions as you like.
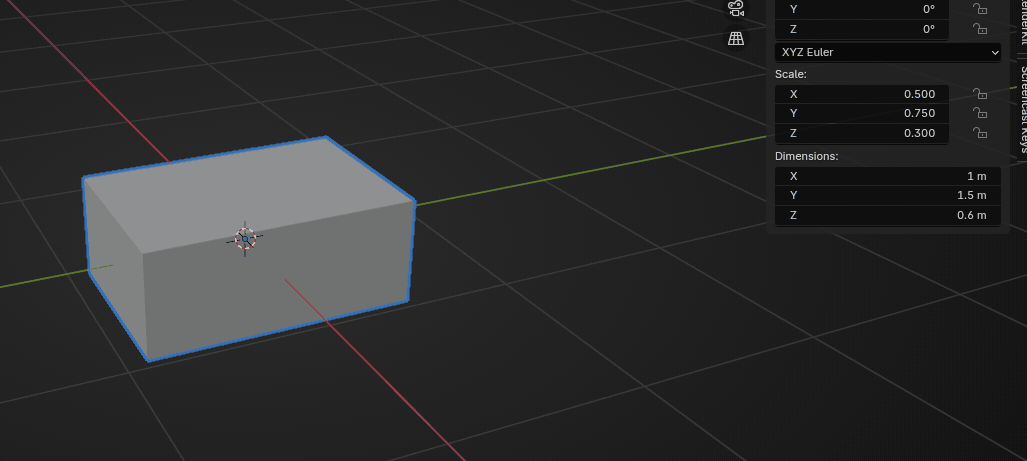
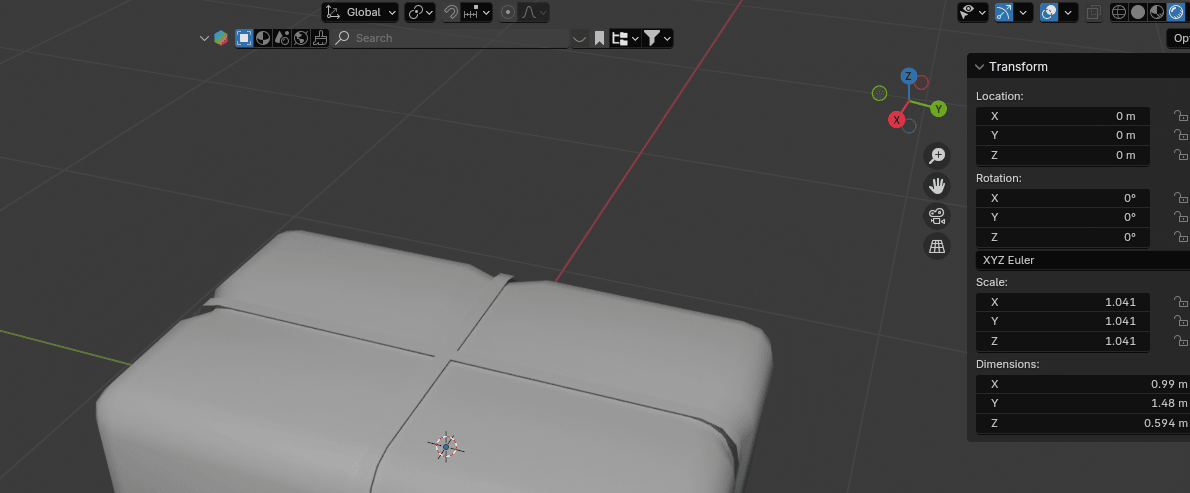
Open the right sidebar with “N”, and choose “Item”.

Current dimensions of this cube are 2x2x2.
Change cube dimensions to x = 1 m, y = 1.5 m, z = 0.6 m (or anything else you think is best).
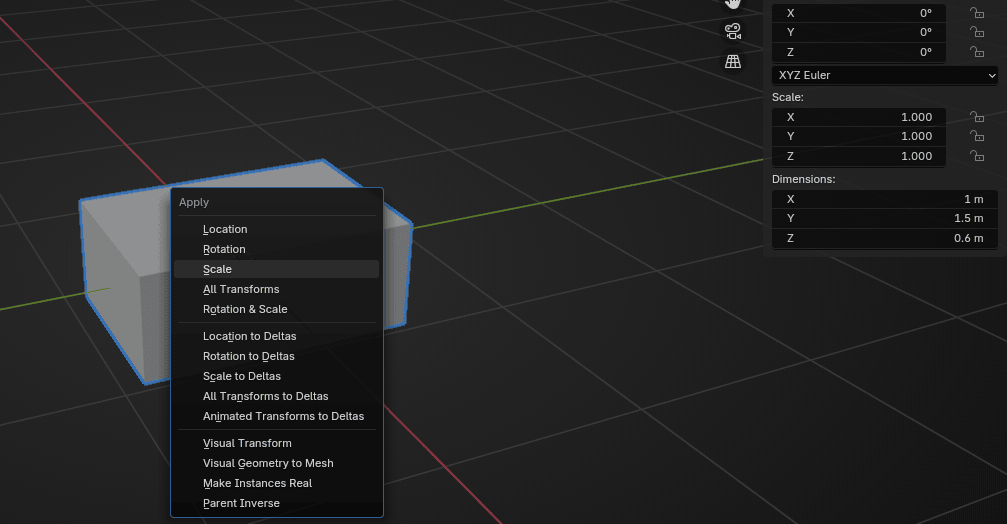
As you have already learned, the scale must be 1, so click “CTRL+A” and apply scale.
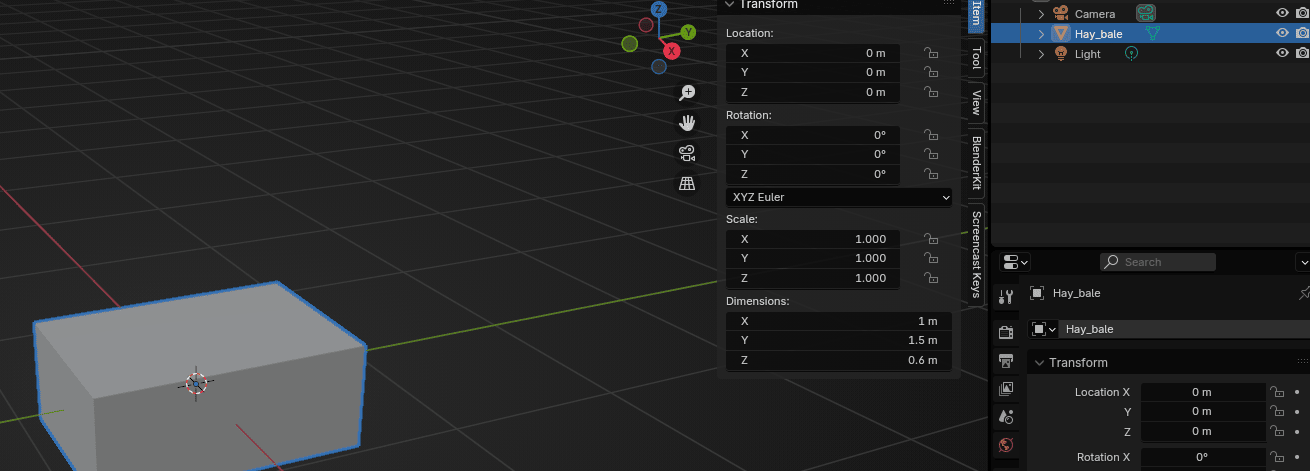
Before you start doing anything else, first rename your object to the name you like. I will rename it to Hay_bale.
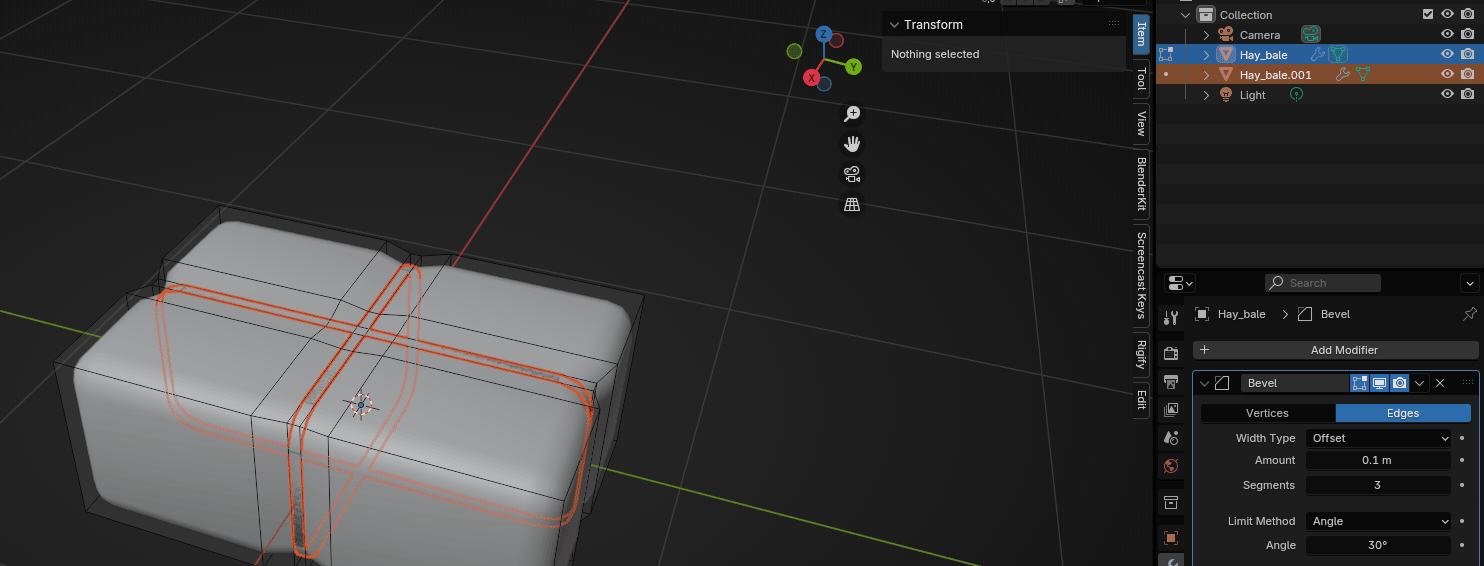
Go to modifier properties and Add Modifier - Generate - Bevel.
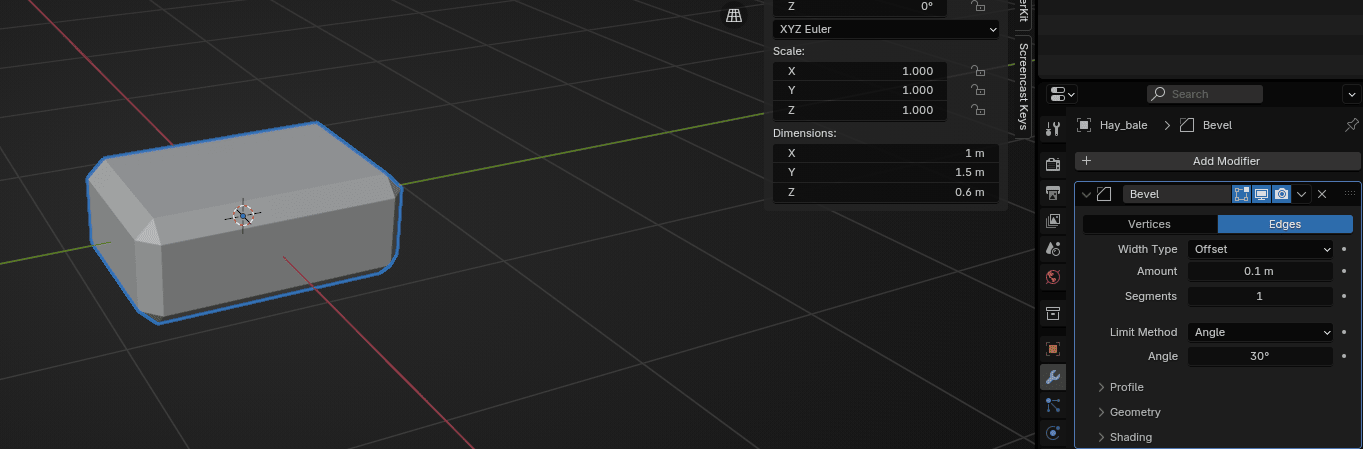
Change segments to 3 (or any other number you think is the best).
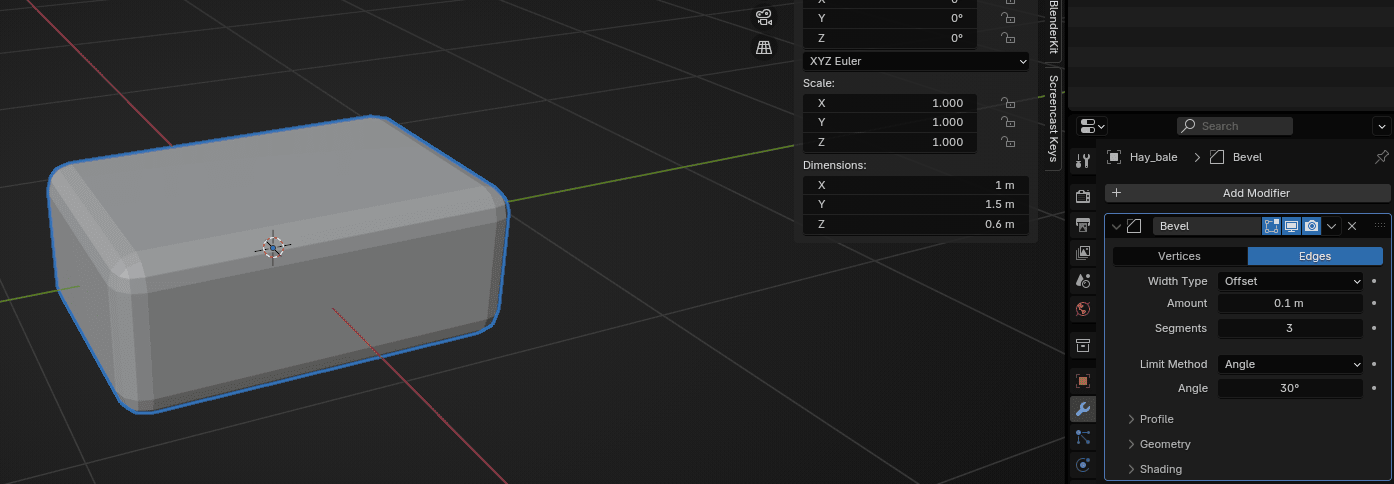
Click the right mouse button and choose shade smooth.

Switch to edit mode with “TAB.”
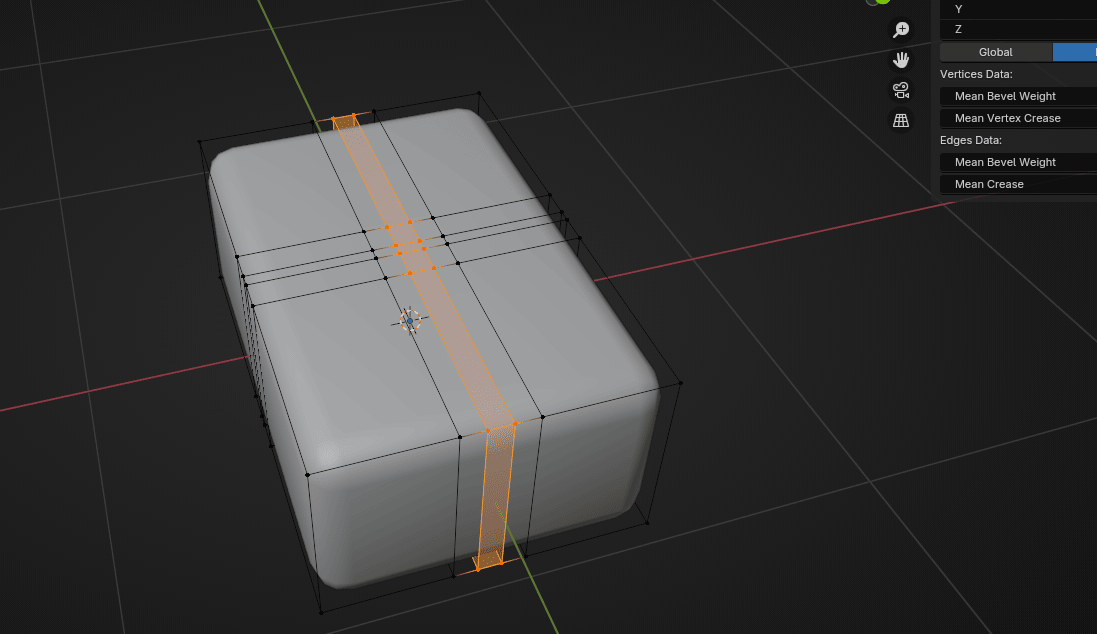
Click “CTRL+R” to add a loop.
Scroll the mouse wheel up to add one more loop. Click LMB to confirm the number and then ESC or RMB to center them.
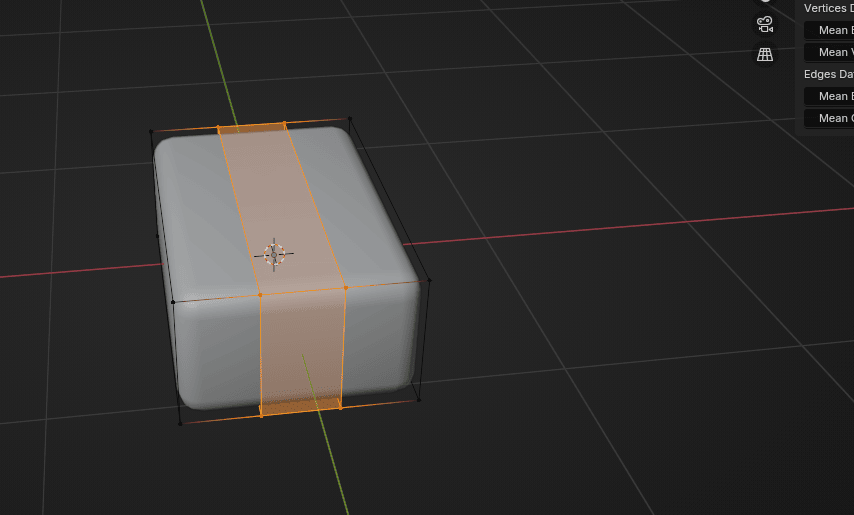
Scale them along the X-axis to the inside with “S+X.”
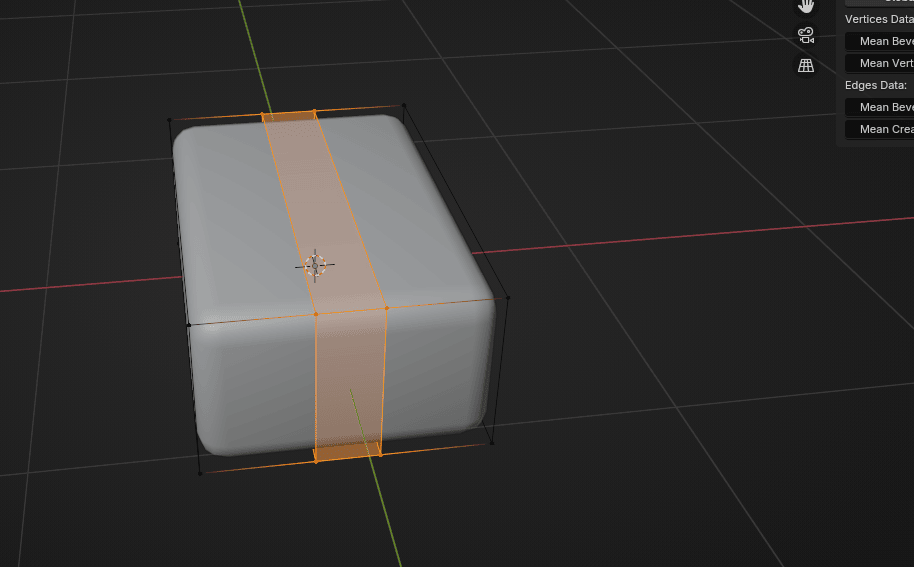
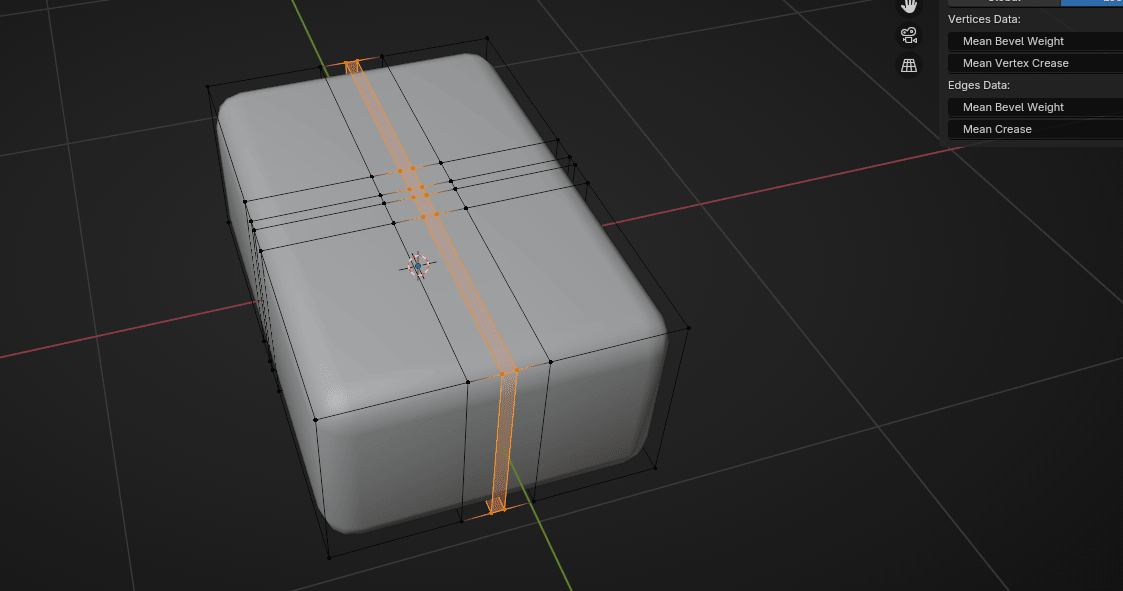
Rotate the view to the other side and add two more loops. Click LMB to confirm the number and then ESC or RMB to center them.
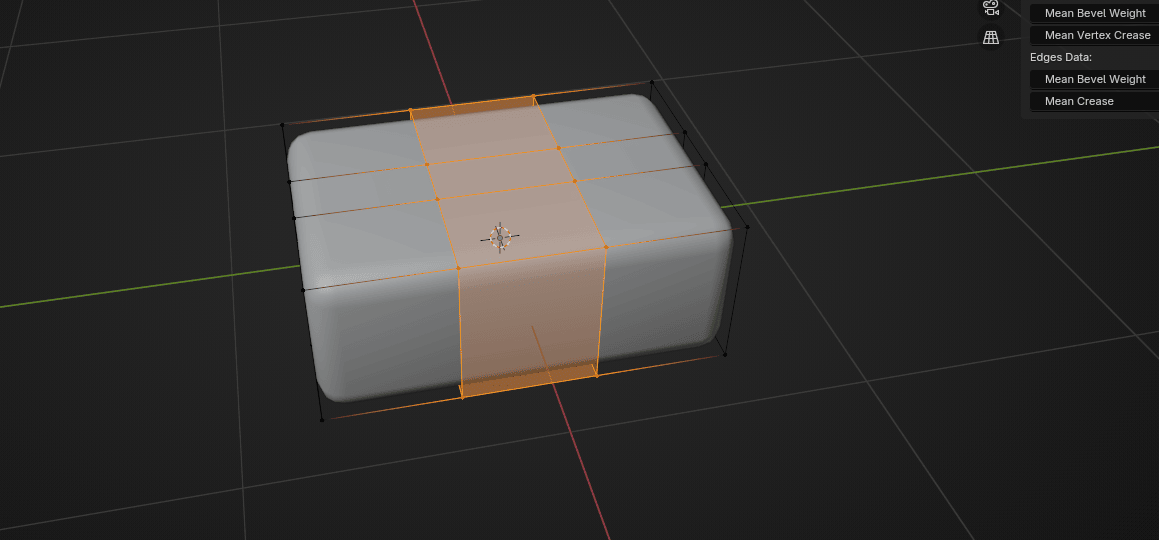
Scale them along the Y-axis to the inside with “S+Y.”
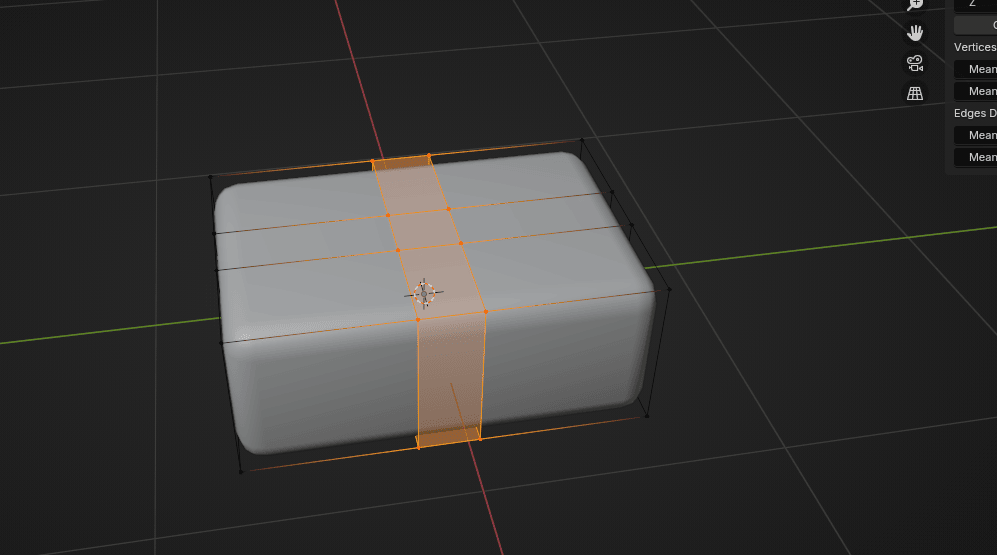
Now add two more loops inside.Click LMB to confirm the number and then ESC or RMB to center them.
Scale them along the Y-axis to the inside with “S+Y.”
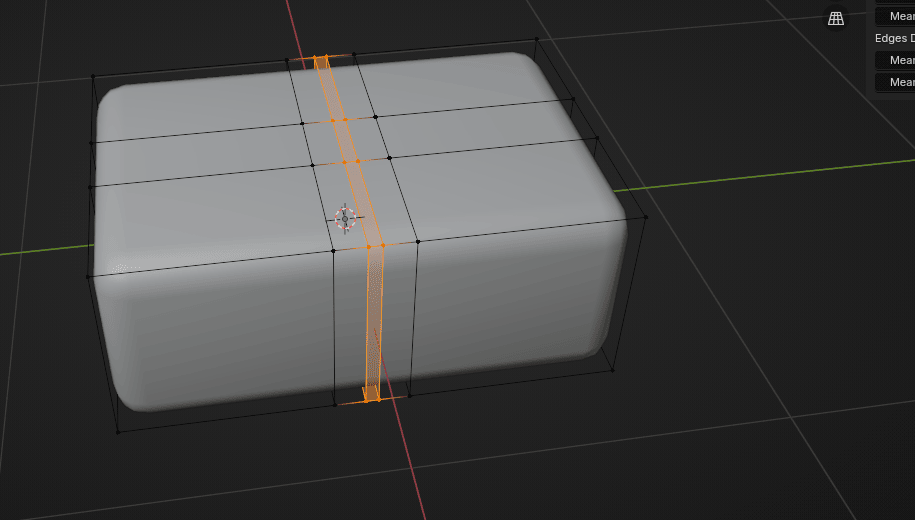
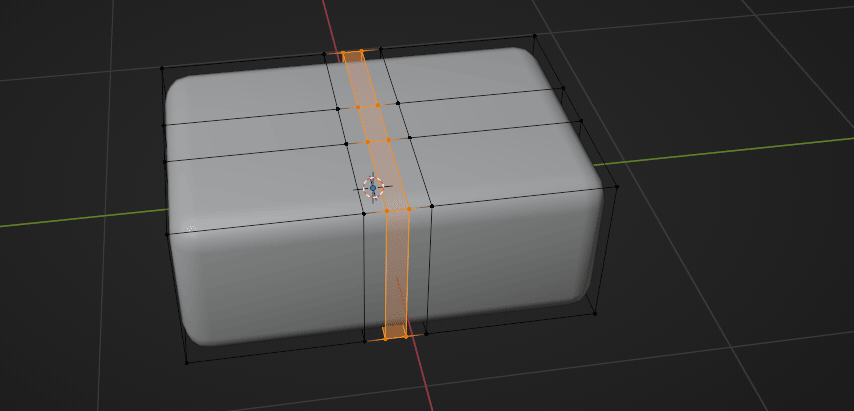
Rotate the view to the other side and add two more loops. Click LMB to confirm the number and then ESC or RMB to center them.
This time, when scaling, scale along the x-axis with “S+X.”
Switch from selecting edges to selecting faces with “3.”
Choose the whole loop with “ALT+ LMB.”

While holding the mouse wheel rotate the view. Hold “SHIFT” and choose the other loop with “ALT+LMB.”
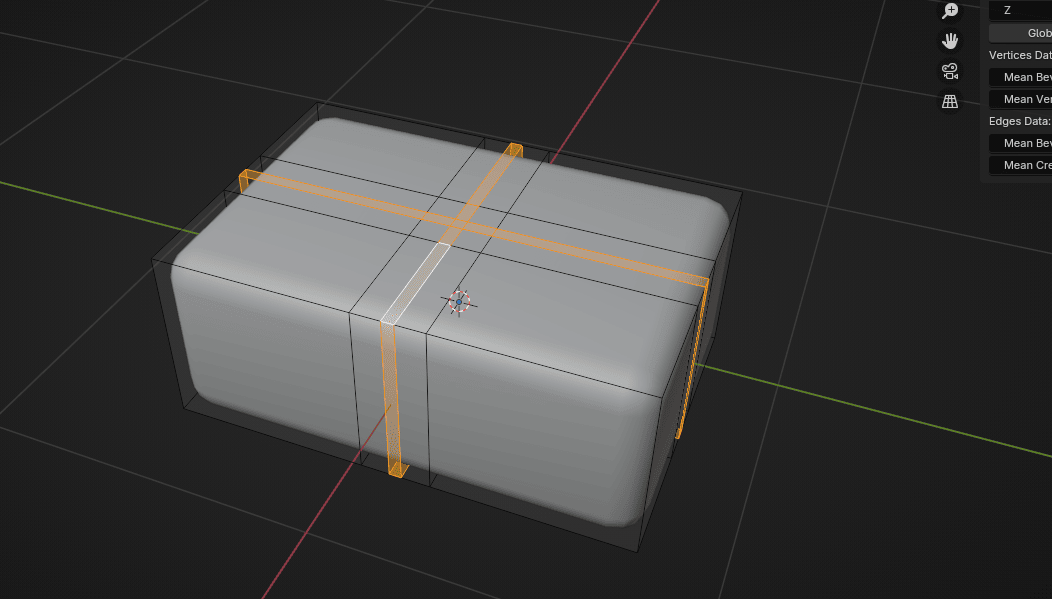
Scale them down with “S”.
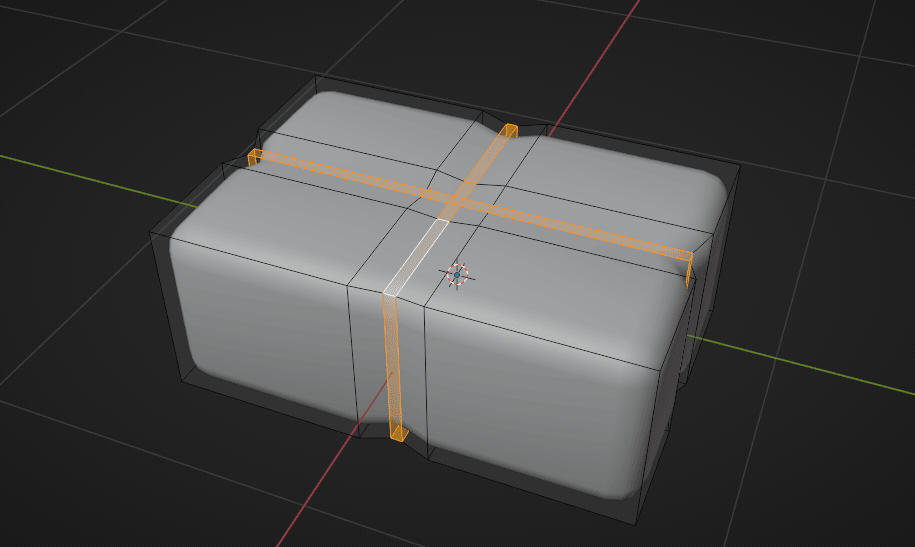
Duplicate them with “SHIFT+D” and press the RMB to return them to the previous position.
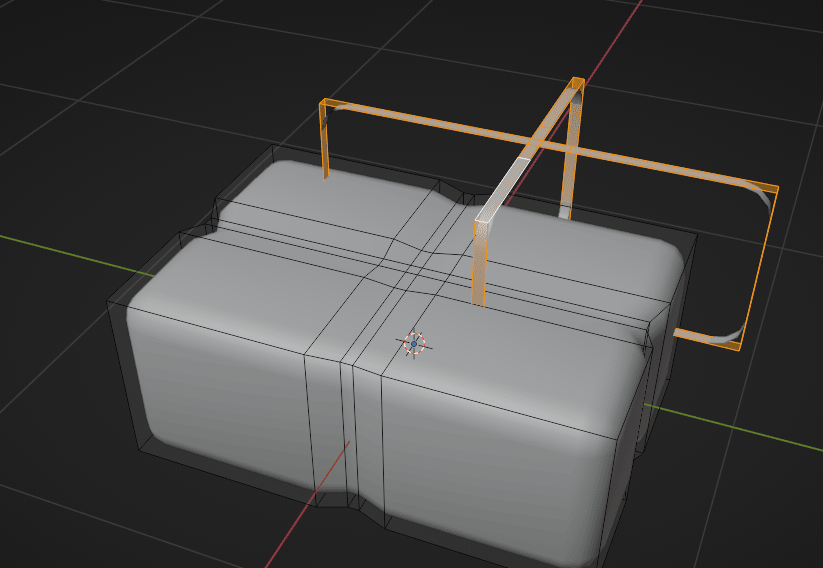
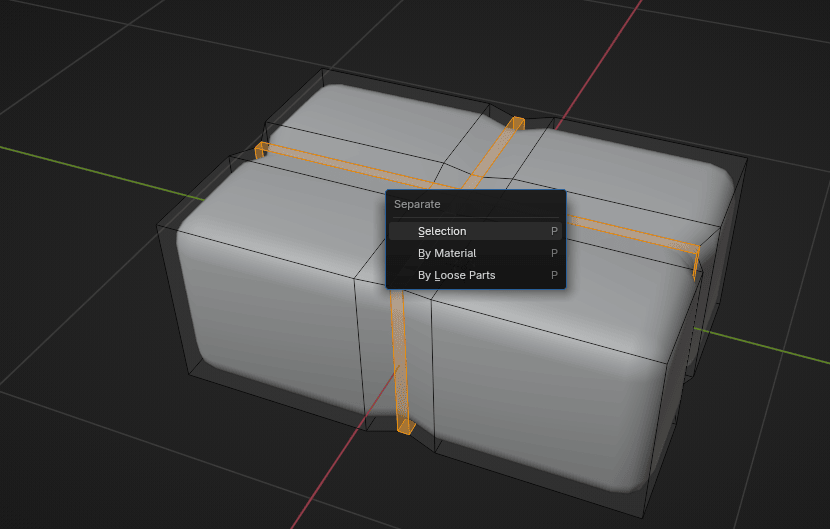
Click “P” selection to make a new separated object out of it.
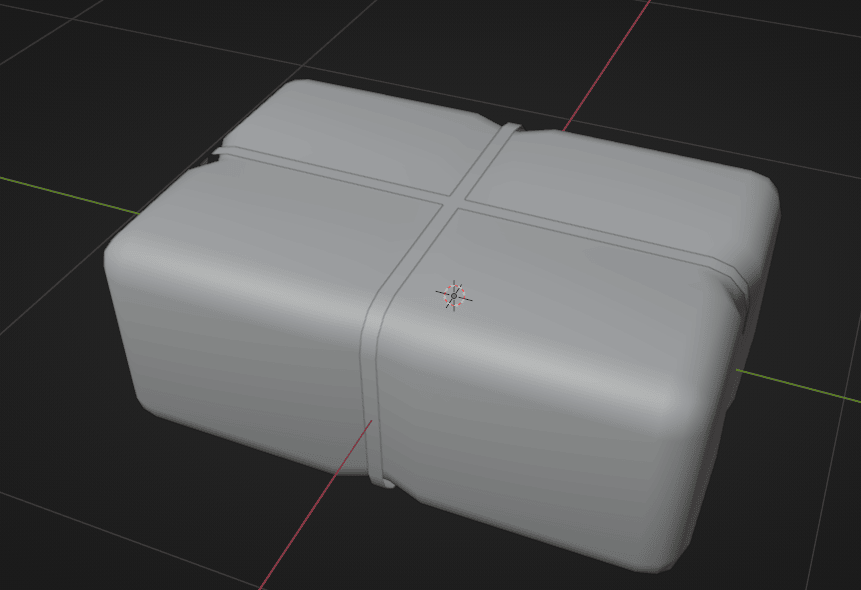
Switch to object mode with “TAB.”
Select the new object and scale it up a bit with “S”.
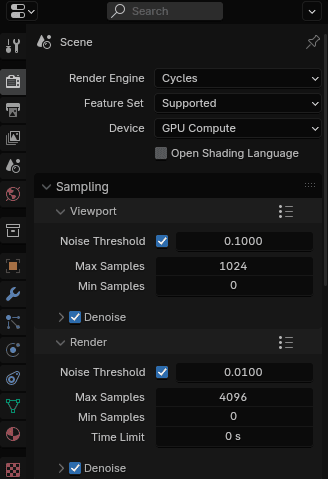
Change the render engine to Cycles and the device to GPU if your graphics card is better than the processor.
Also, turn on denoise in the viewport.
Switch to rendered mode.
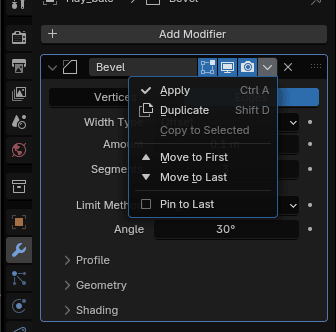
Select the Bale, go to the modifiers - bevel. Click on this dropdown menu and select Apply. When you do that, your bevel modifier is applied to your object, and you can’t modify it anymore.
PARTICLES
Particles are lots of items emitted from mesh objects, typically in the thousands. Each particle can be a point of light or a mesh, and can be joined or dynamic. They may react to many different influences and forces, and have the notion of a lifespan. Dynamic particles can represent fire, smoke, mist, and other things, such as dust or magic spells.
Hair-type particles are a subset of regular particles. Hair systems form curves that can represent hair, fur, grass, and bristles.
(source: https://docs.blender.org/manual/en/latest/physics/particles/introduction.html)
I copied this definition from the official Blender manual because it is the best explanation. Now I will show you a real example of what particles are.
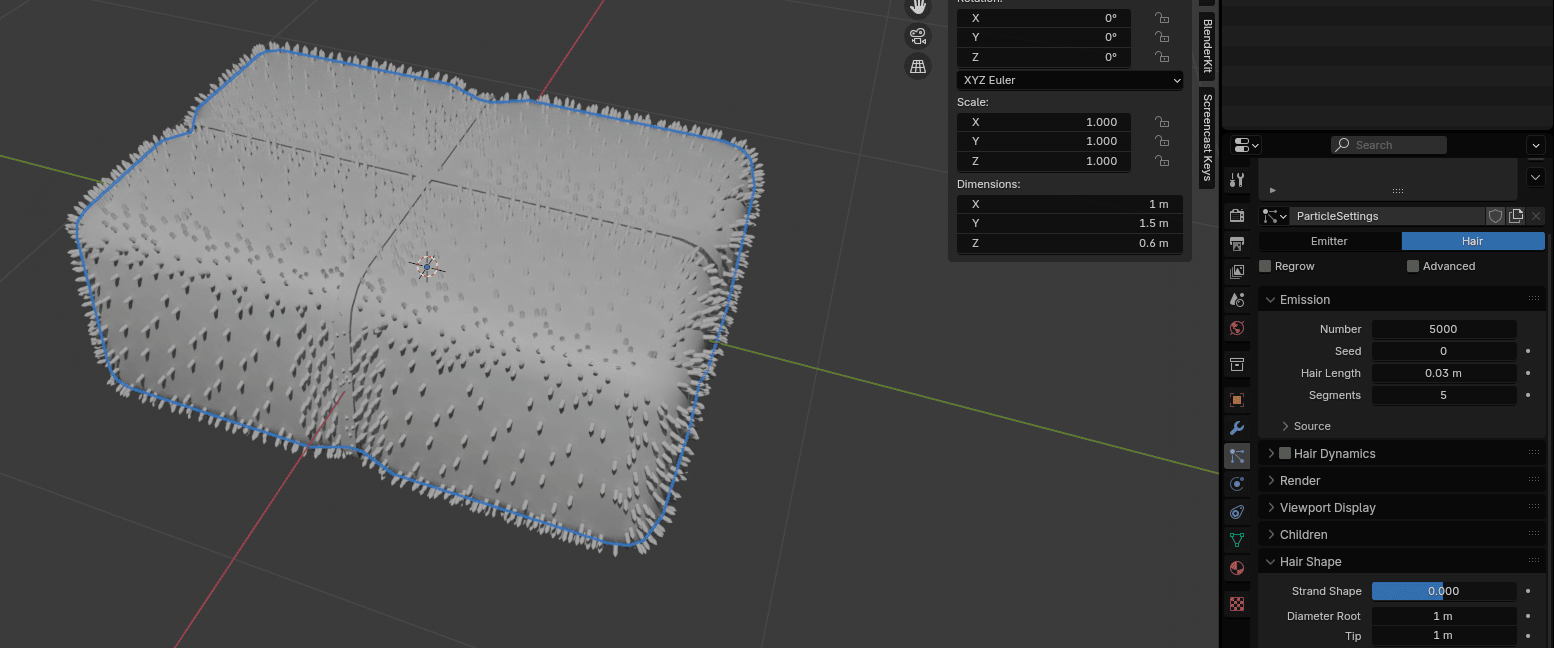
Go to Particle Properties
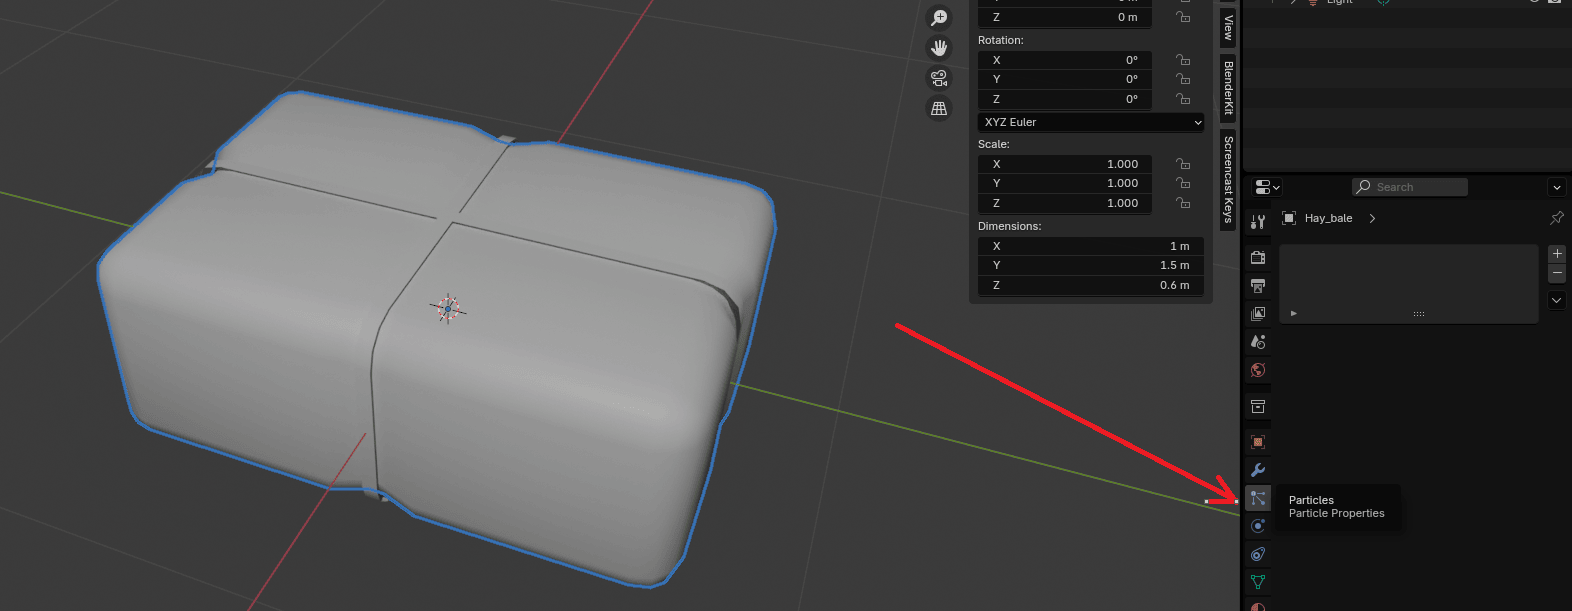
and click on + to add a new ParticleSystem.
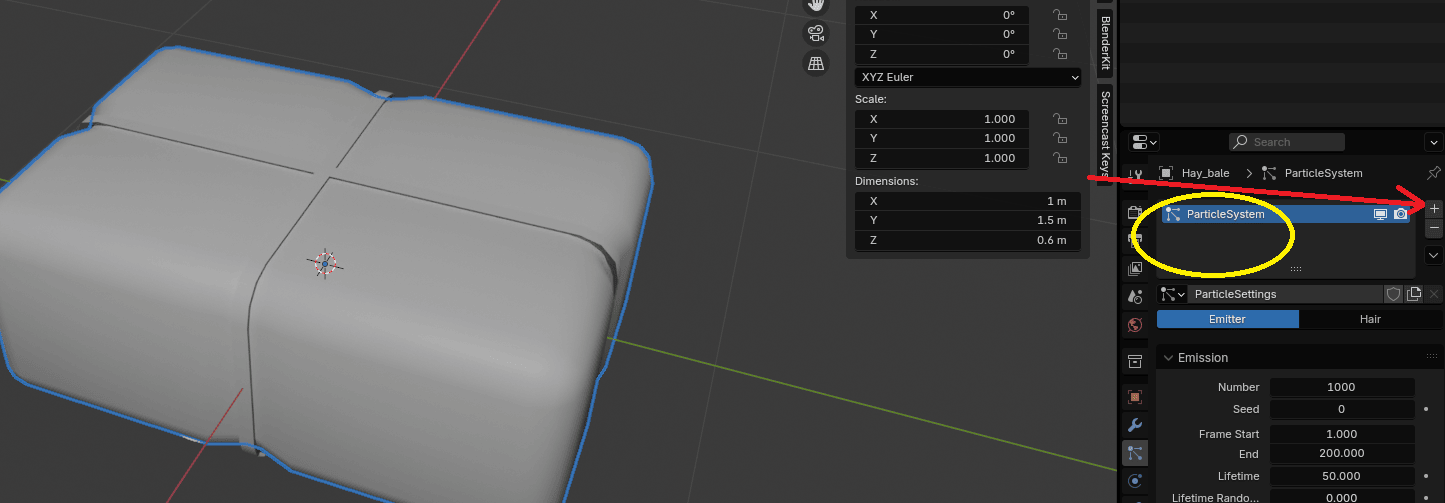
Here you will see two options: Emitter and Hair.

If you choose an emitter, particles are emitted from the object.
If you choose the hair, particles are rendered as strands.
Because I want the second option, I will choose Hair.
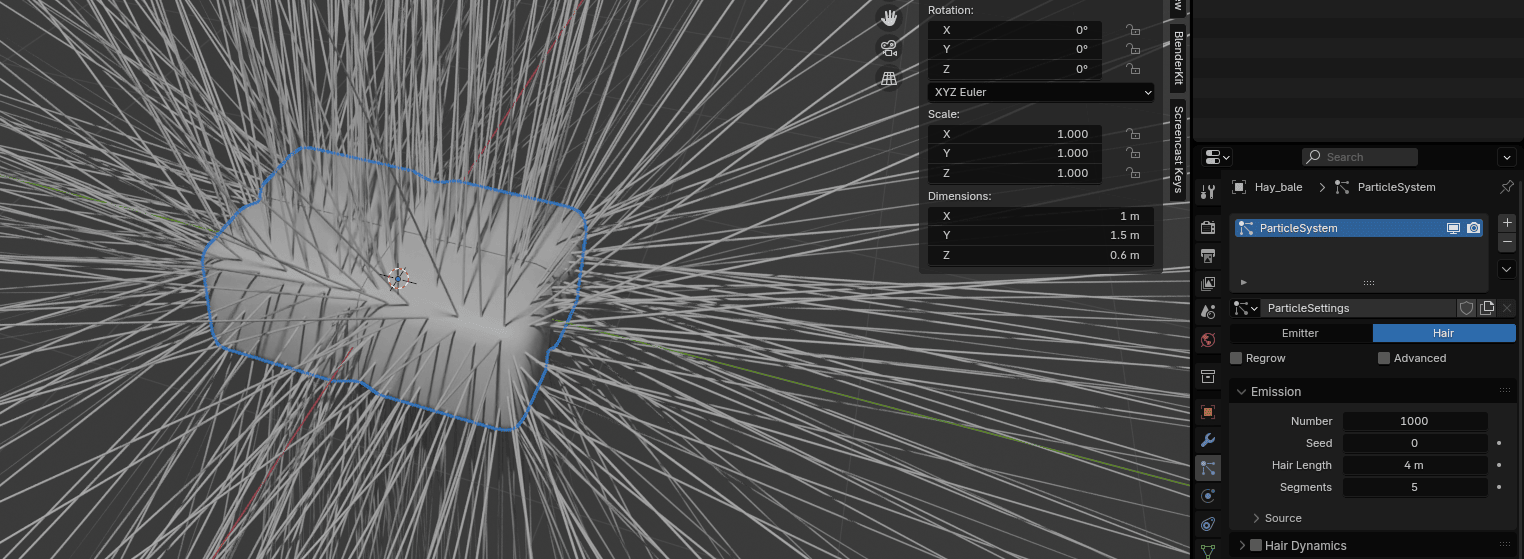
As you can see, the hair length is too long, so I will change the Hair Length from 4m to 0.03m. (You decide which length works best for you).
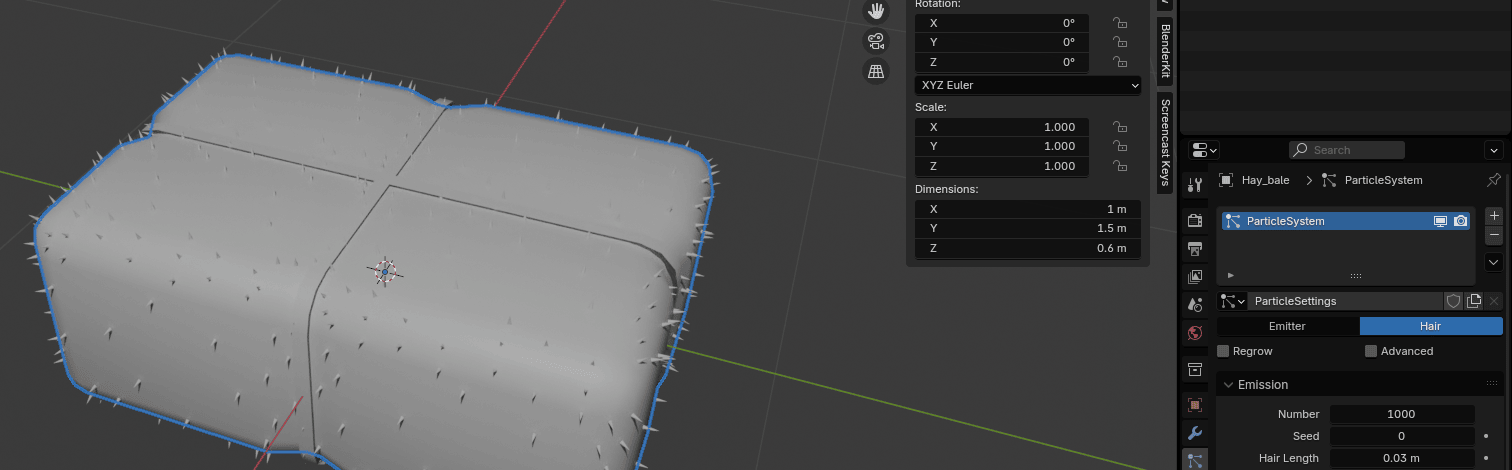
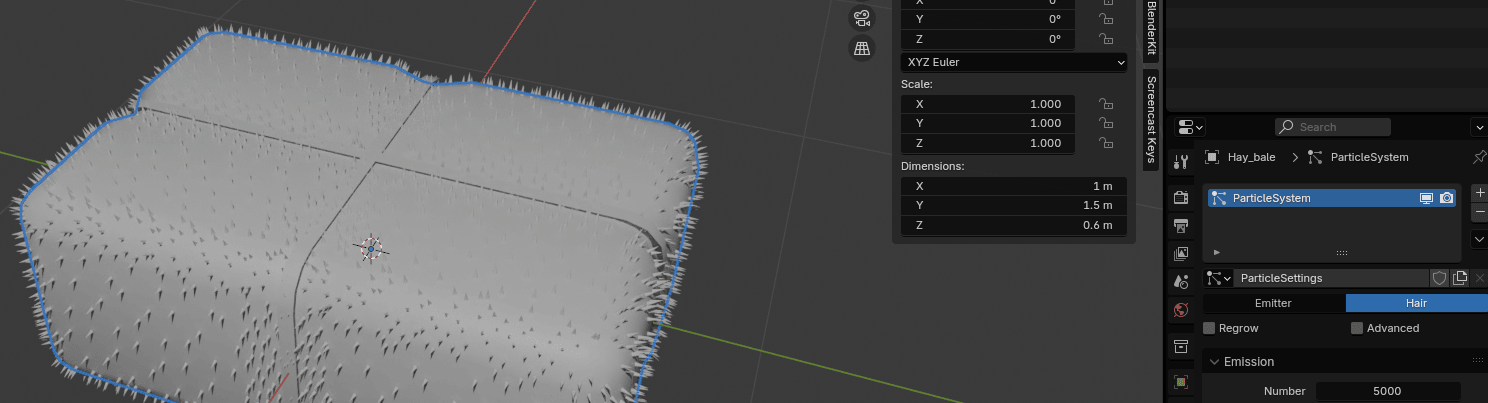
I want to have more strands so I will change the number from 1000 to 5000.
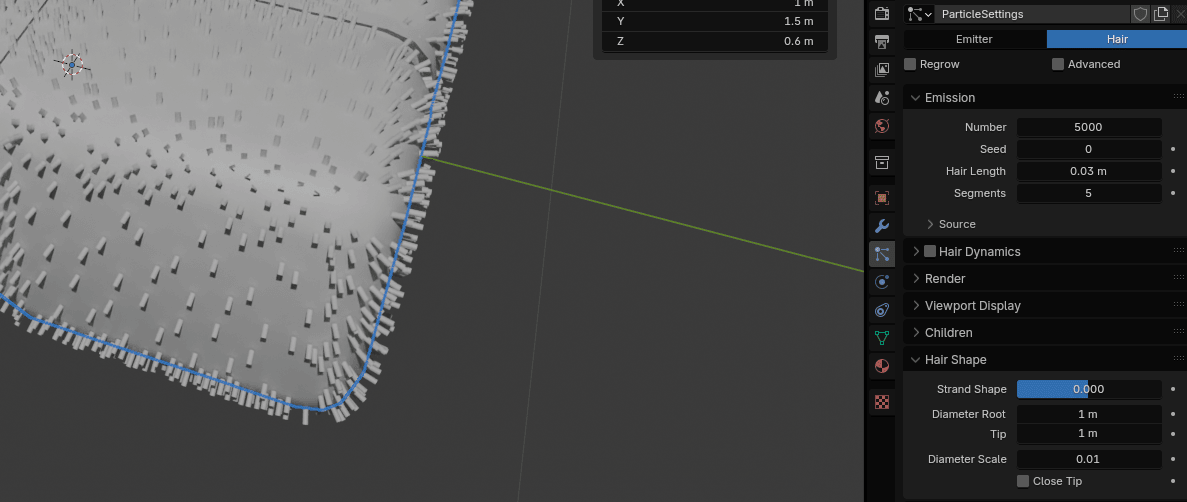
Now scroll down a bit, and go to hair shape.
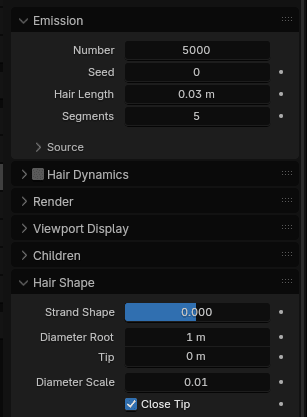
Change Tip from 0 to 1m (With this option you are changing the strand diameter width at the tip.)
And uncheck - close tip because you want your radius tip to be zero.
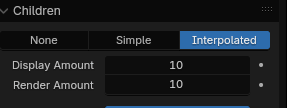
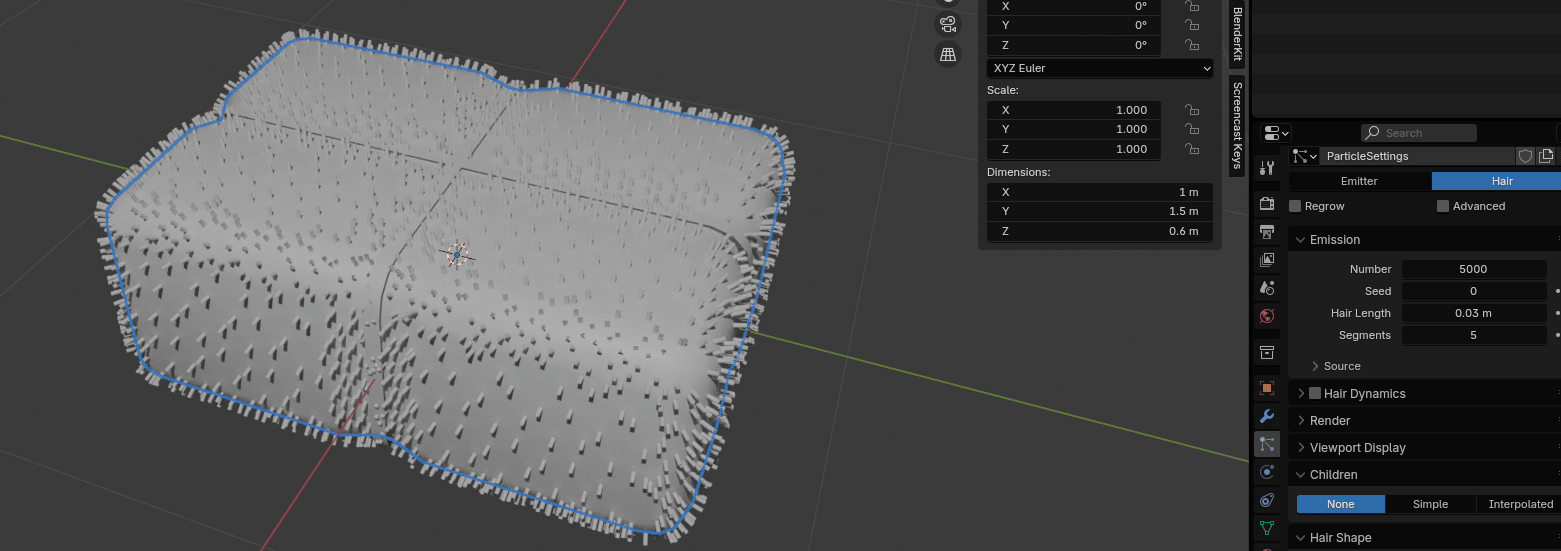
Go to Children.
Children are Hair or Emitter particles originating from individual particles. They make it possible to work primarily with a relatively low amount of Parent particles, for whom the physics are calculated. The children are then aligned to their parents. The number and visualization of the children can be changed without a recalculation of the physics.
If you activate children, the parents are no longer rendered. (source: https://docs.blender.org/manual/en/latest/physics/particles/emitter/children.html)

There are three types of children in Blender: None, Simple and Interpolated.
If you select none, there are no children generated.
If you select, simple, children are emitted from the parent position.
If you select interpolation, children are emitted between the Parent particles on the faces of a mesh.
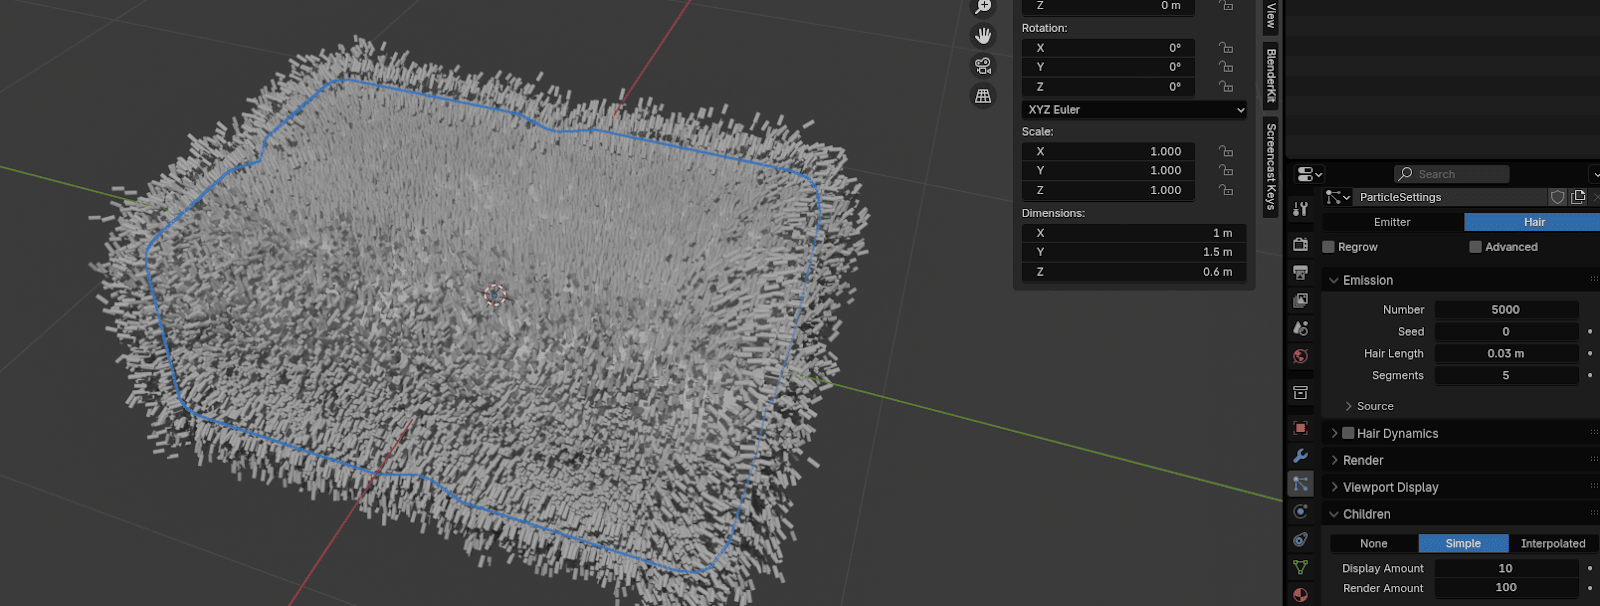
To show you a real example, this is Hay Bale when you choose none children
This is Hay Bale when you choose Simple children
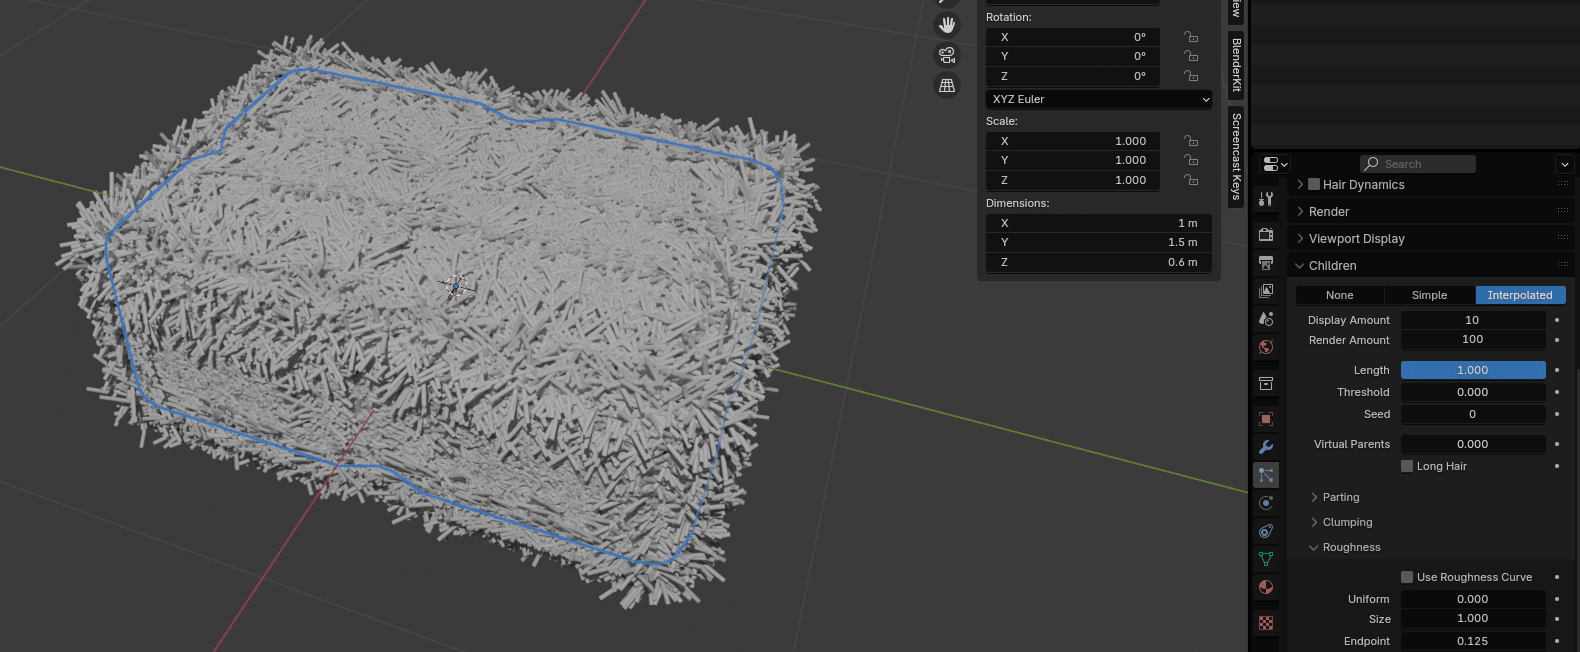
This is Hay Bale when you choose Interpolated children
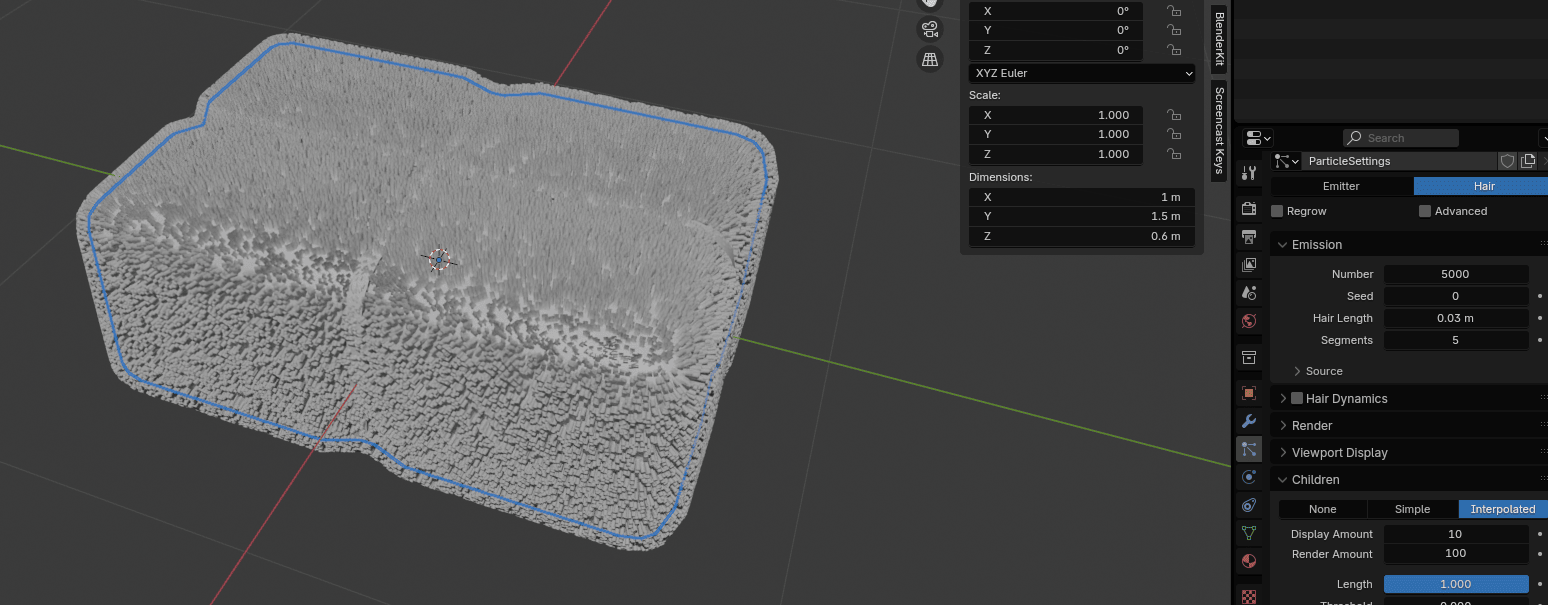
In this case, the best is interpolated, so switch from none to interpolated.
Go to Roughness
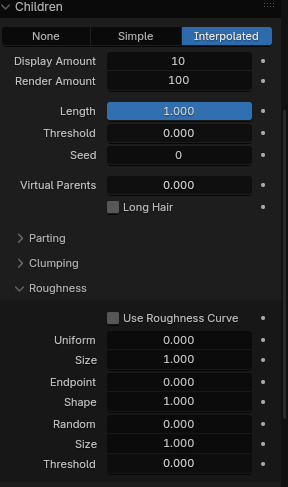
and change Roughness Endpoint to around 0.125.
Change the render amount from 100 to 10 because otherwise, your computer will have a hard time rendering.