Chapter 20: Modeling a book
Time to practice modeling and texturing more.
This time, you will learn how to model and texture a book in Blender.
Let’s start!
This time, you will not delete the cube, but you will use it from the start because you are modeling a book, and the most similar shape to the book is a cube.
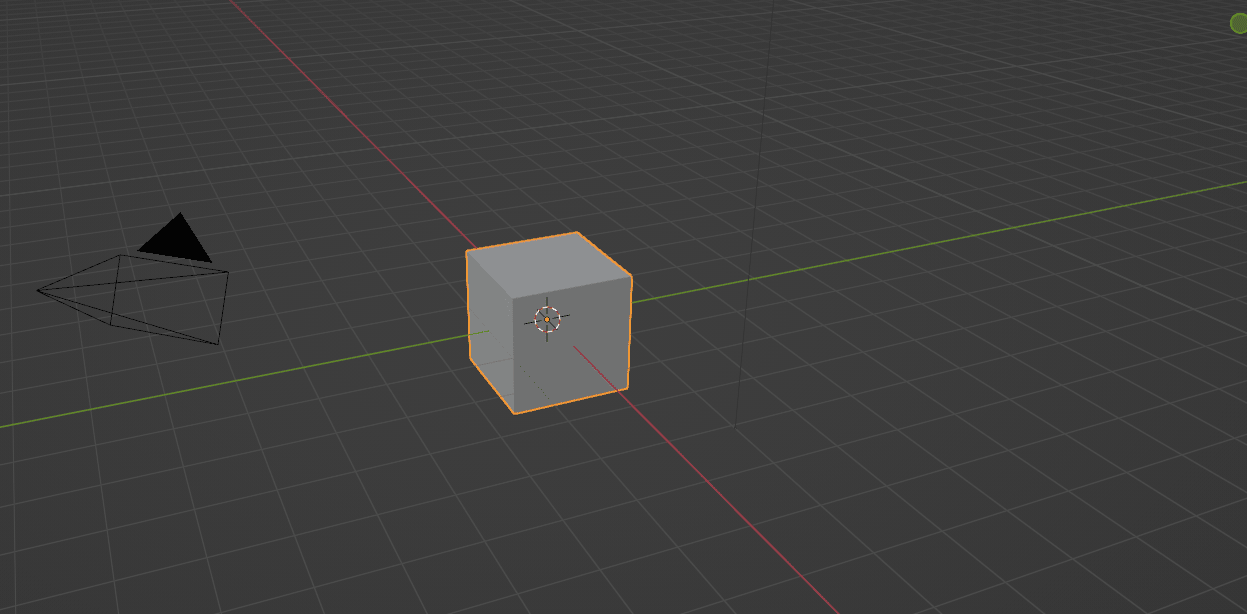
Select the cube with the left mouse button (LMB) and click “S+Z” to scale it along the Z-axis.
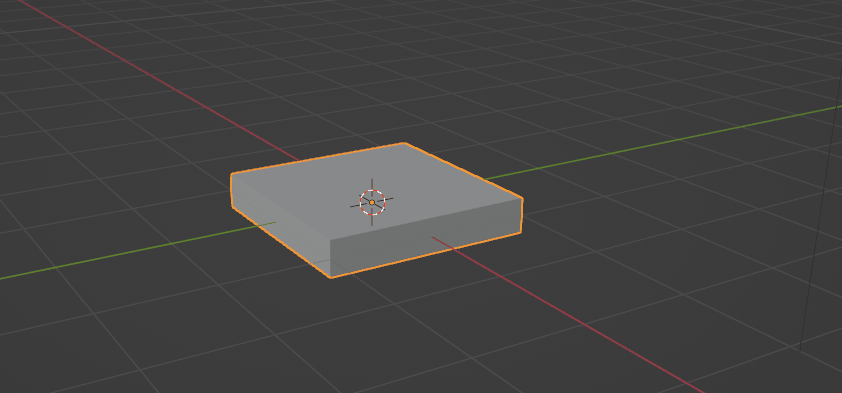
After that, scale it once more, but this time with “S+Y” along the Y-axis.

You can adjust its thickness and size more by scaling it along the y and z axes if necessary.
Click “CTRL+A” and apply scale.
IMPORTANT!
You are doing this because if you do not apply the scale when you enter edit mode, the object will behave relative to its original size, despite it visually being different.
So it will neither scale nor move properly within the edit mode.
You should always apply scale unless your object mode edit of the object is supposed to be temporary.
If you haven’t applied your scale/location/rotation, you can always press ALT+S/G/R to reset it to the original shape.
Switch from object mode to edit mode with “TAB” so you can add and edit some geometry.
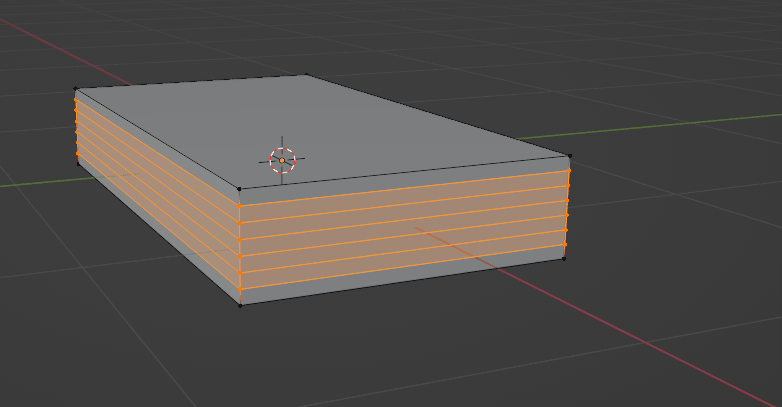
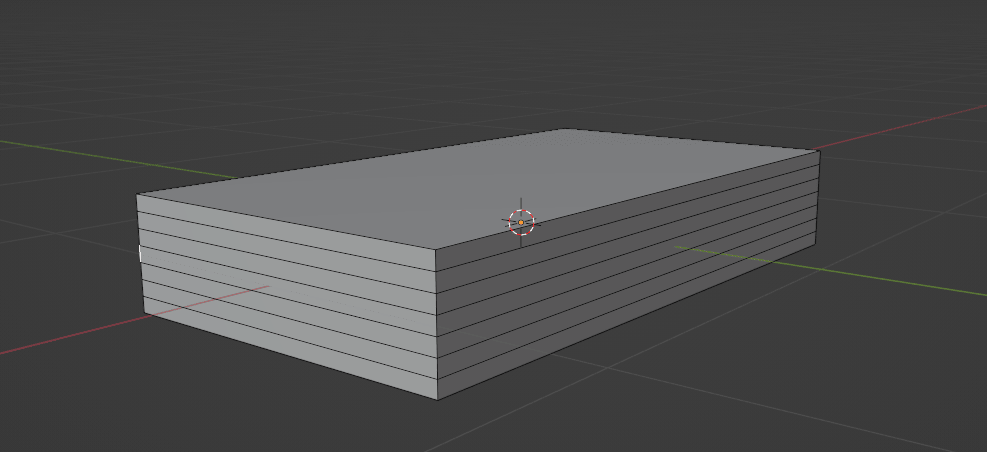
You want to add some loop cuts. I want to have 6 loops (you can have fewer or more), so I will scroll the mouse wheel up 6 times and confirm it with LMB.
You want these loop cuts to be centered, so click the right mouse button (RMB) to keep it centered.
Switch from selecting vertices to selecting faces with 3.
Select this face with LMB
rotate the scene by holding the pressed mouse wheel, and hold “SHIFT”
and select this face with LMB.
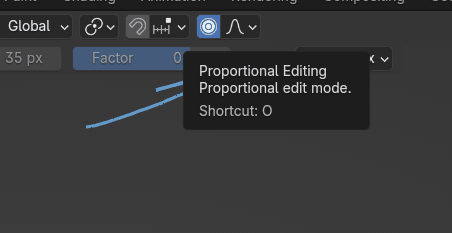
It is time to learn a new tool -> proportional editing.
Proportional editing is used to edit nearby vertices proportionally to the distance from the selected vertex, edge, or face.
The nearer something is to the selected vertex, the more it will be influenced by your edit.
So if you have a grid of vertices, selecting one and moving it will also affect nearby vertices depending on how near they are to the selection.
Let me show you so you can understand what I am talking about.
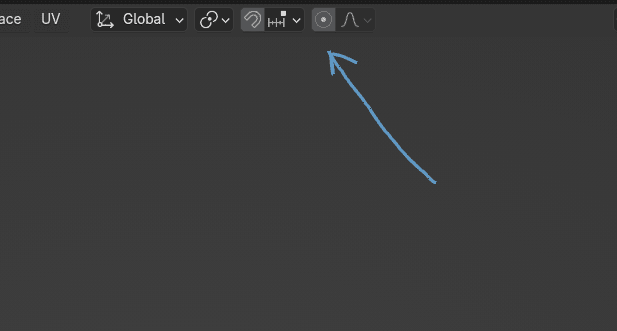
Turn on the proportional editing with “O” or by clicking here.
Click “G+Y” to move faces as shown along the Y-axis.
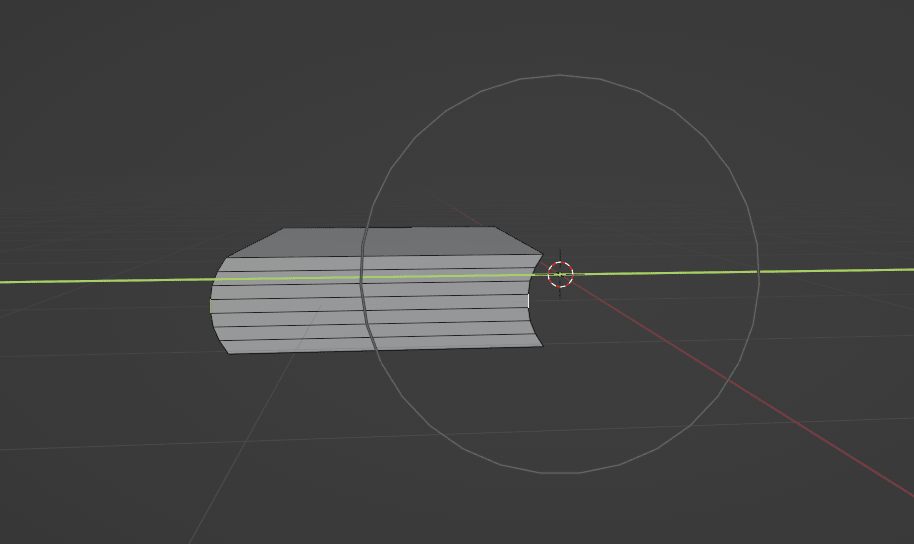
While scrolling the mouse wheel up, the area of influence becomes bigger, and when scrolling the mouse wheel down, the area of influence becomes smaller.
So you need to scroll it down a bit.
Play around a bit with proportional editing.
You don’t need to make it exactly as I did; this is just to show you one of the ways to do it. So scale it differently, and experiment; that way, you will learn the fastest.
Turn off the proportional editing with “O” or by clicking here.
Click “A” to select everything and move the book to the right with “G+Y” along the Y-axis back to the middle.
Select this front face with LMB,
And while holding “CTRL,” select the rest of the faces as I did.

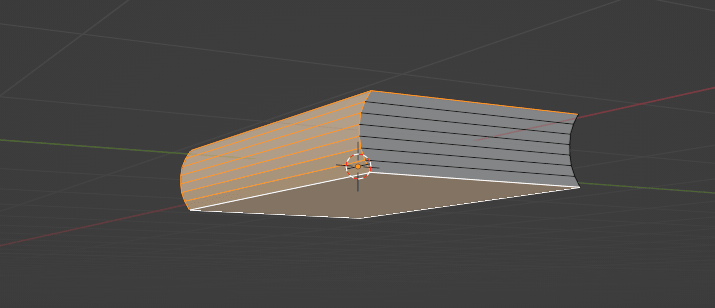
Now click “ALT+E”, choose extrude faces along normals, and move your mouse up to extrude it outward or down to extrude it inward. In this case, move your mouse up.
If you want to have even thickness on the whole book, turn on even thickness by pressing “S”.
With this, you added more geometry to the book.
Click on this edge and press “ALT” to select this whole loop.
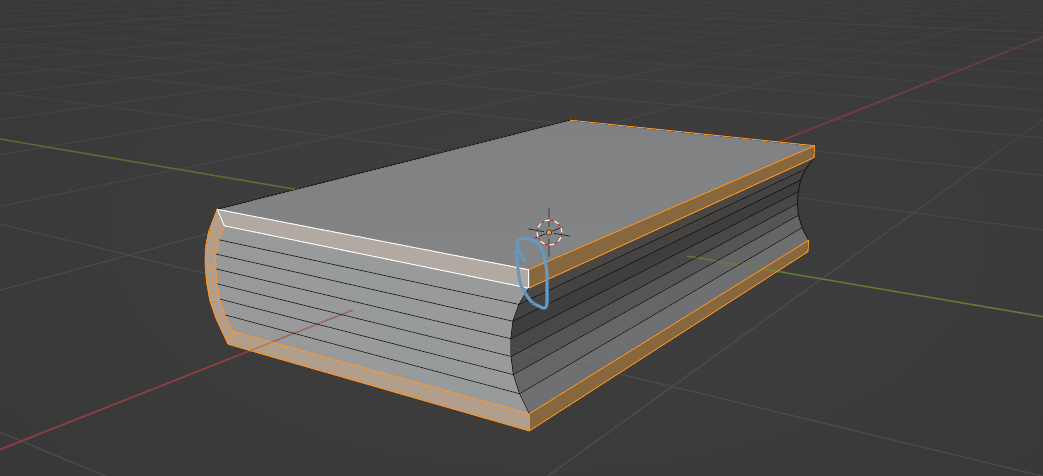
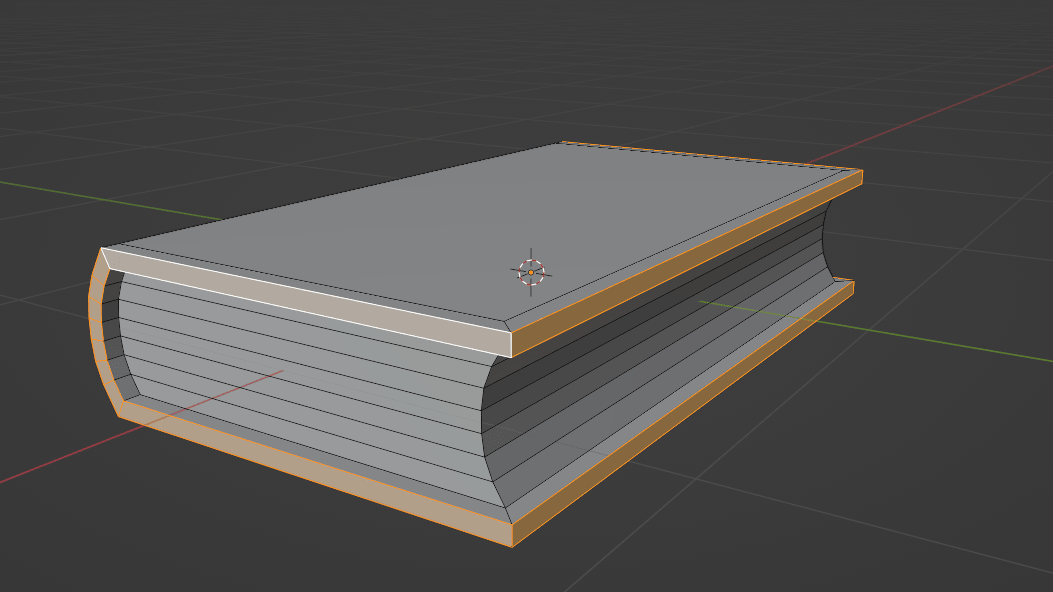
Again, click “ALT+E”, choose extrude faces along normals, and move your mouse up to extrude outward. Again, click S to turn on even thickness.
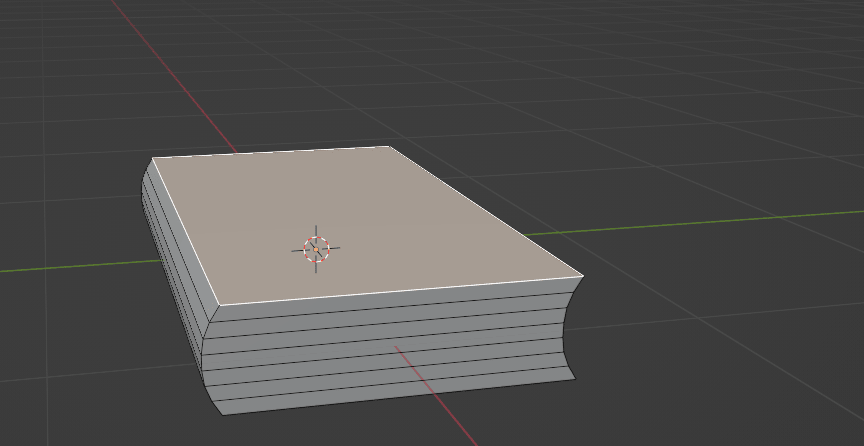
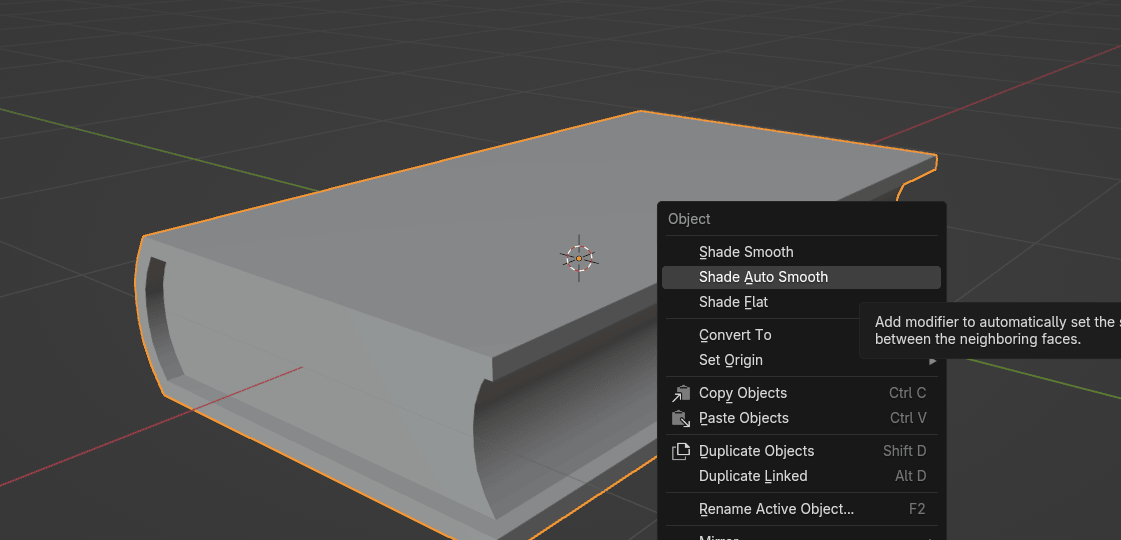
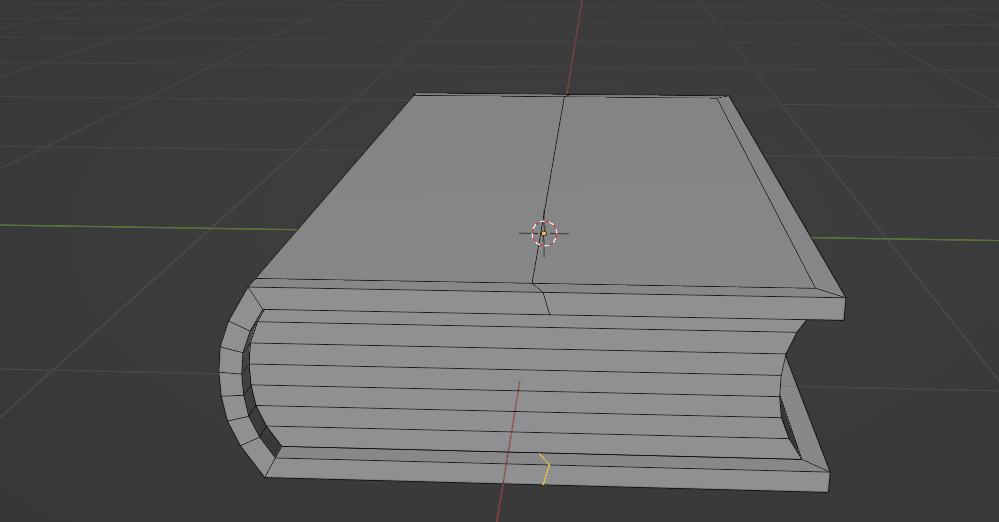
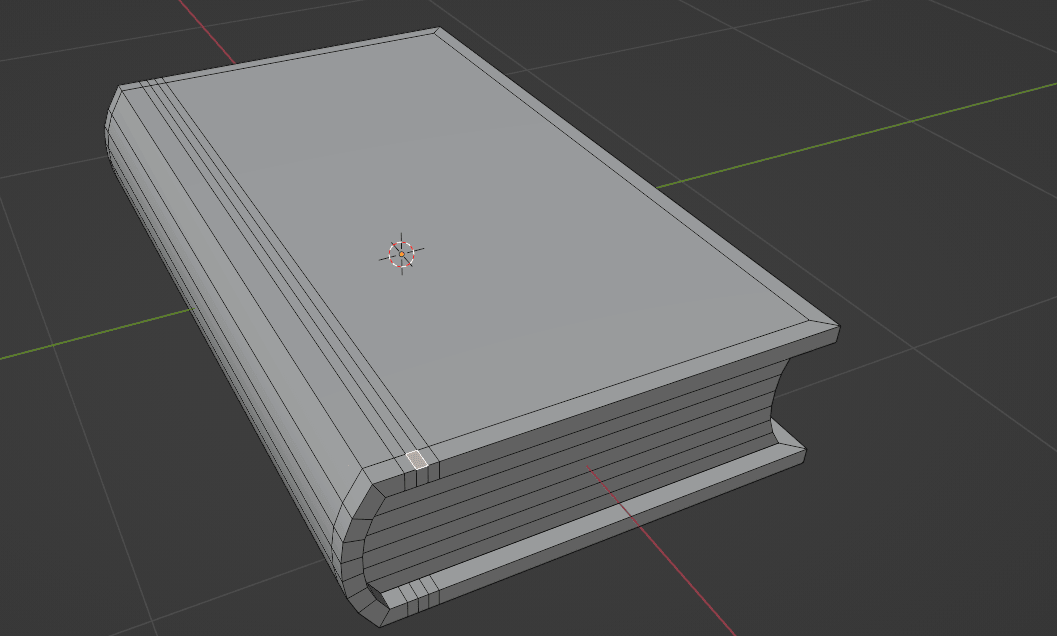
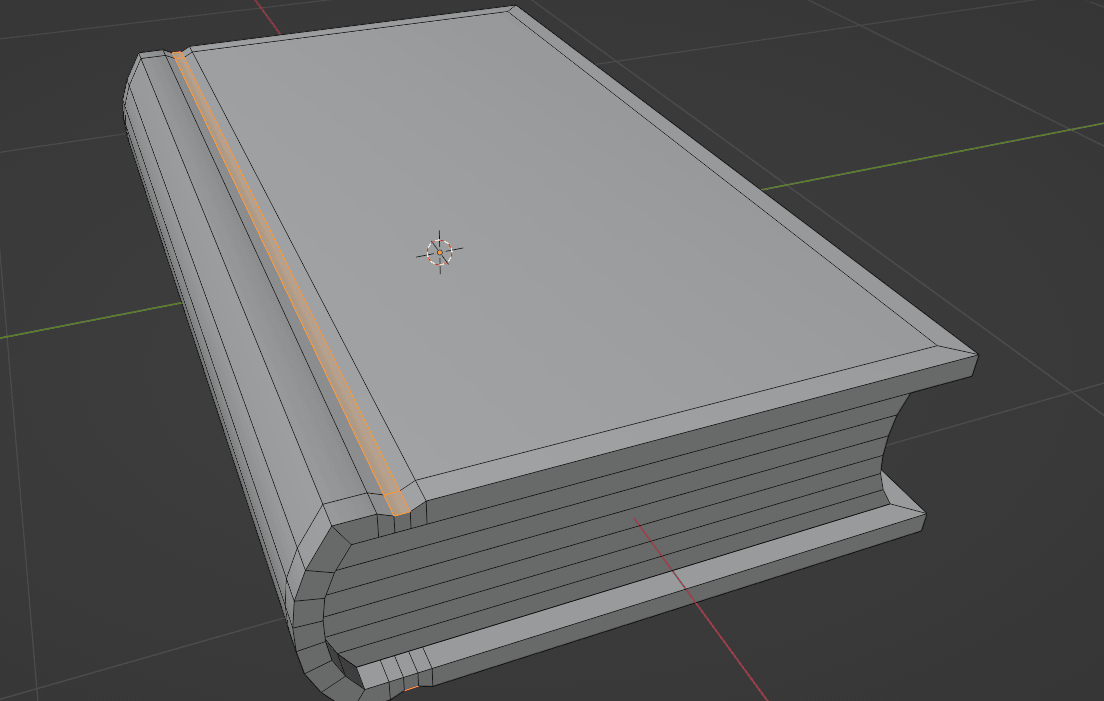
Click the right mouse button (RMB) and choose Shade auto smooth.
This is used to visually get rid of sharp corners based on the angle wherever they're not needed.
Switch from object mode to edit mode with “TAB”.
Select this face with LMB
and then move your mouse pointer to the face that you want,
and press CTRL to select all from the first to this face.
Press and hold “SHIFT” to select faces on this side without deselecting faces that you selected previously.
Release “SHIFT” and again with LMB move your mouse pointer to the face that you want, and press CTRL to select all from the first to this face.
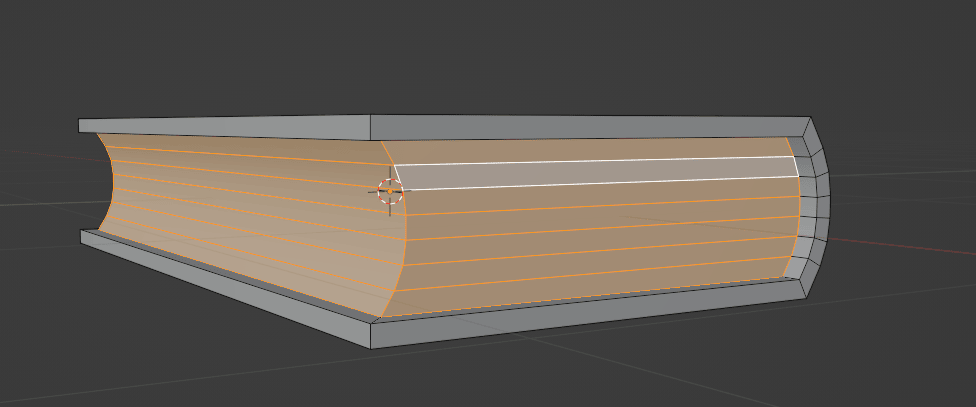
Rotate to this side by holding the pressed mouse wheel, and do the same as you did previously to select all faces on that side.
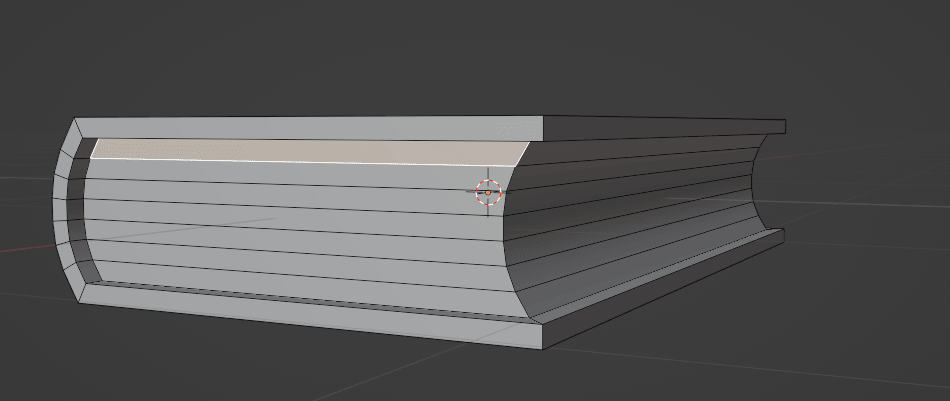
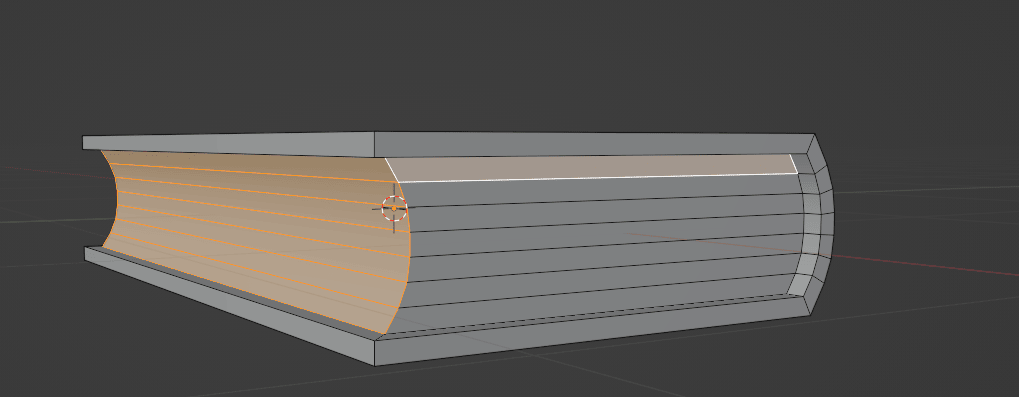
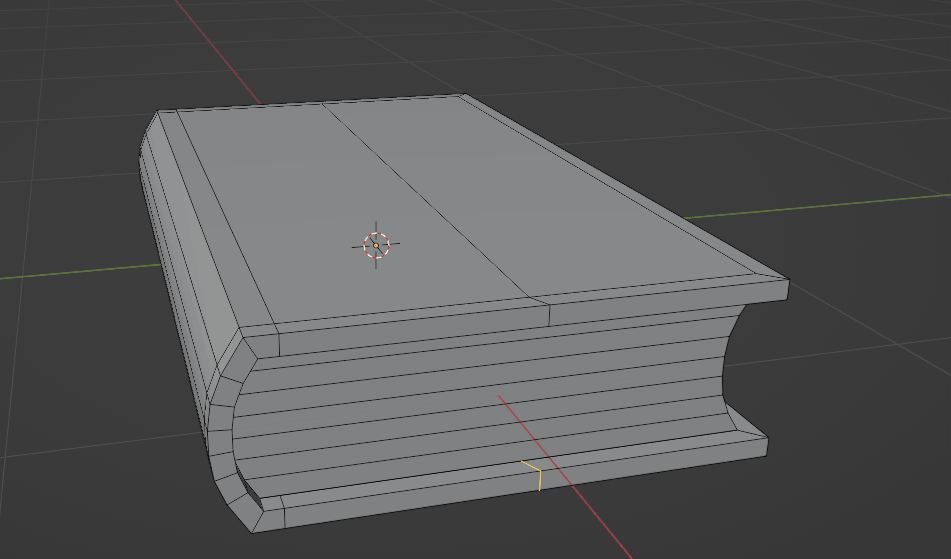
Now click “Y” to split off selected geometry from connected unselected geometry.

If you move inside faces, you will realize that they are separated now from the book cover.
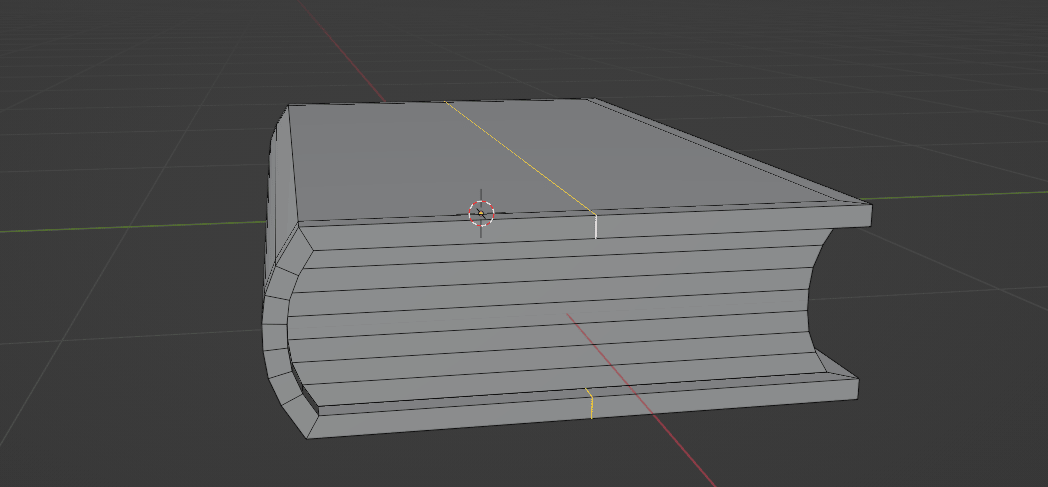
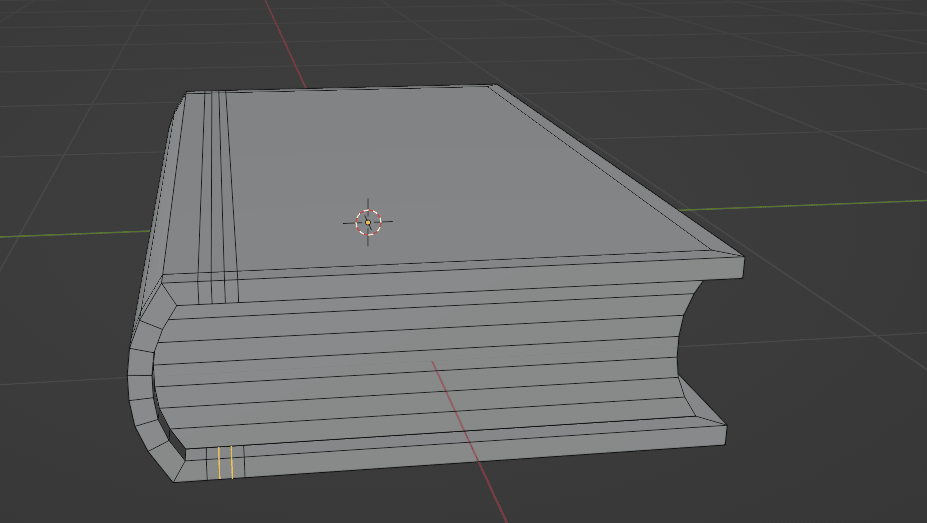
Add loop cuts again with “CTRL+R”.
Add one on the top - here,
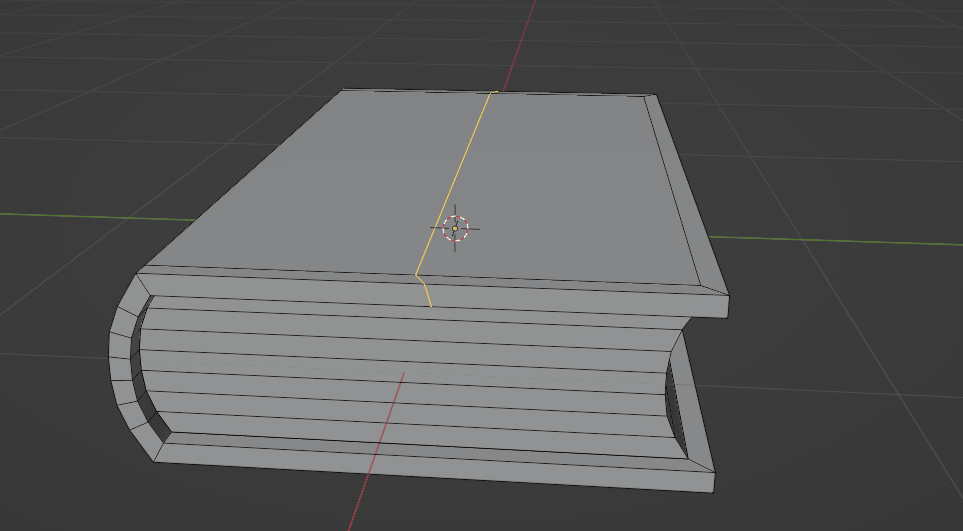
and one on the bottom - here.
Now select this whole loop cut with “ALT”

And while holding “SHIFT”, select this bottom loop with “ALT” as well.
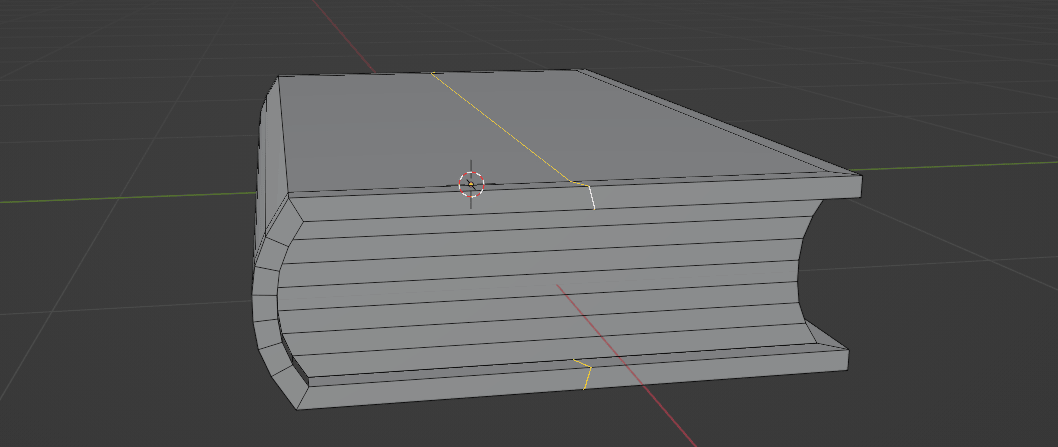
You want to align both of them with the Y axis, and you will do that with “S+Y+0” and confirm it with the LMB.
Now move them to the left along the Y-axis with “G+Y”.
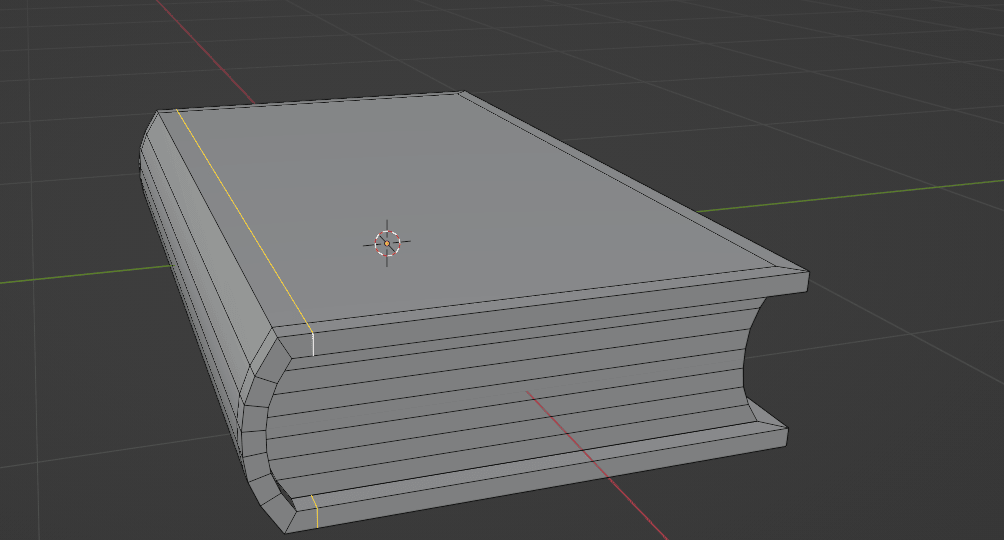
Again, add two more loops
and repeat everything you did in the previous step.

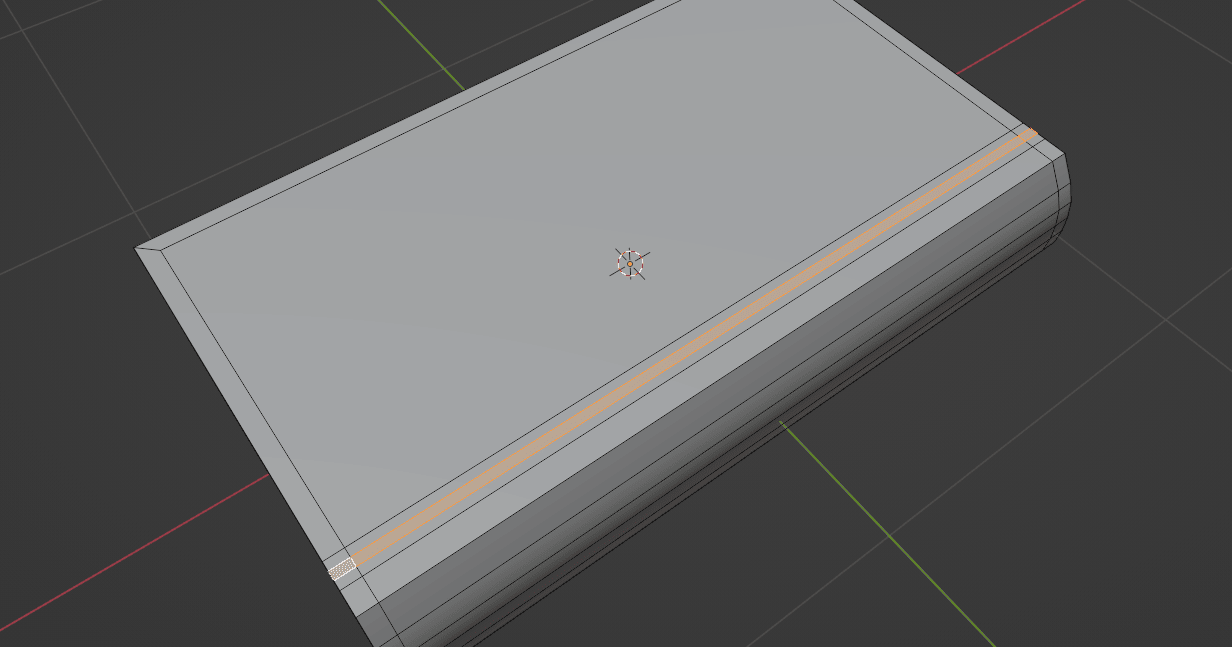
Now add two loop cuts between those two loops with “CTRL+R”
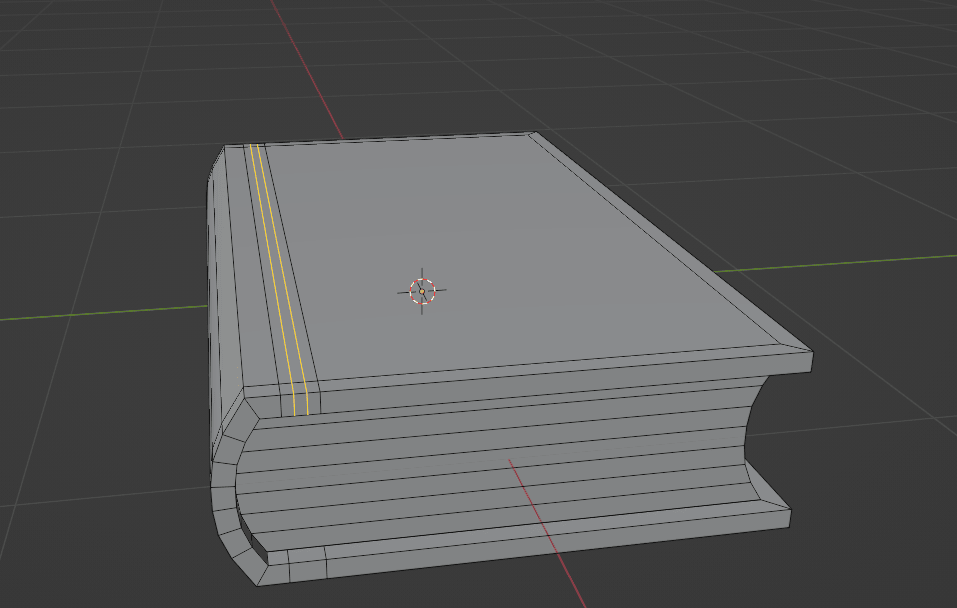
and click “ESC” to keep them centered.
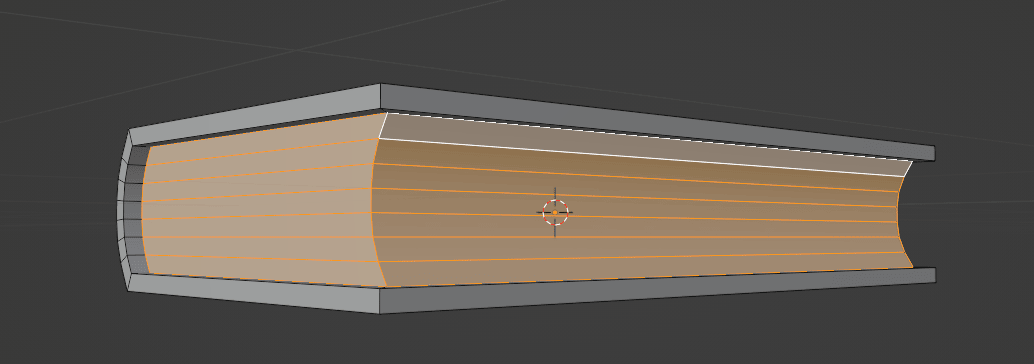
Switch to selecting faces with 3.
Select this face with LMB
and then move your mouse pointer to the face that you want, and click CTRL to select all from the first to this face.
Rotate to this side by holding a pressed mouse wheel, press “SHIFT” , move your mouse pointer to the face that you want, and click CTRL to select all from first to this face.
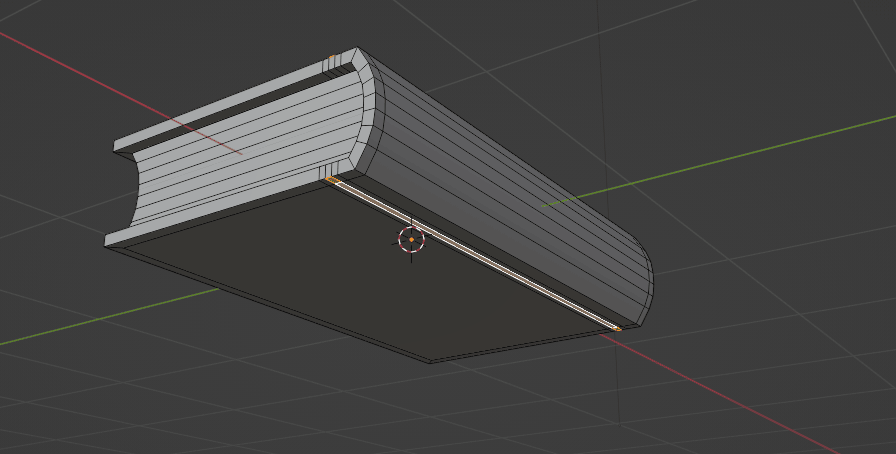
Click “S+Z” and scale it down along the Z-axis.
Switch to the object mode with “TAB”.
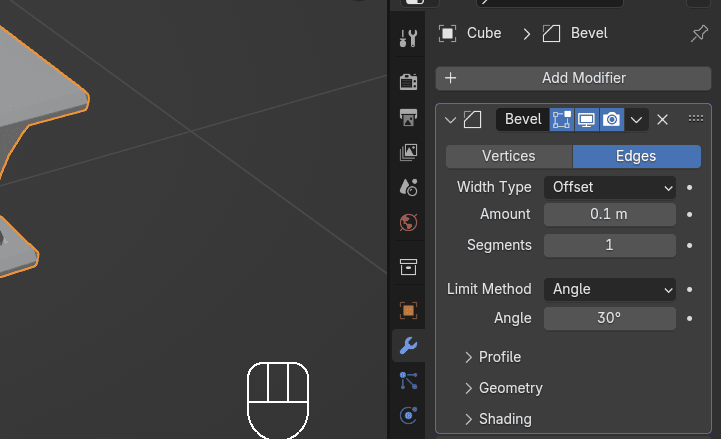
Click on modifiers.
Add modifier - generate - bevel.
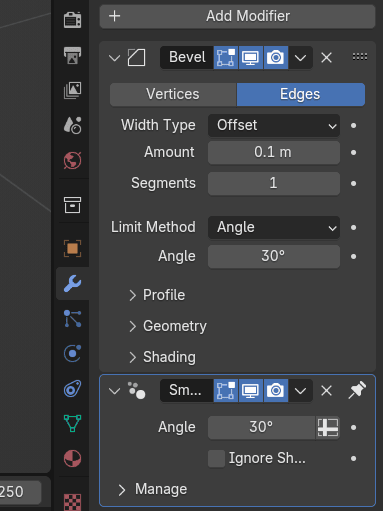
If you are modeling in Blender 4.2 like I do, you will already have one more modifier before you add bevel.
It is called Smooth by angle.
It is automatically added when you add shade auto smooth, so don’t worry, it is just a new thing in Blender.
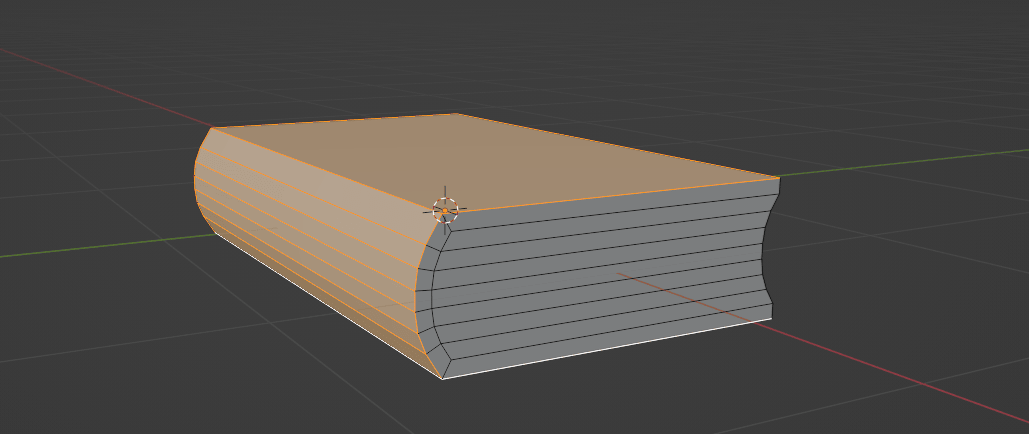
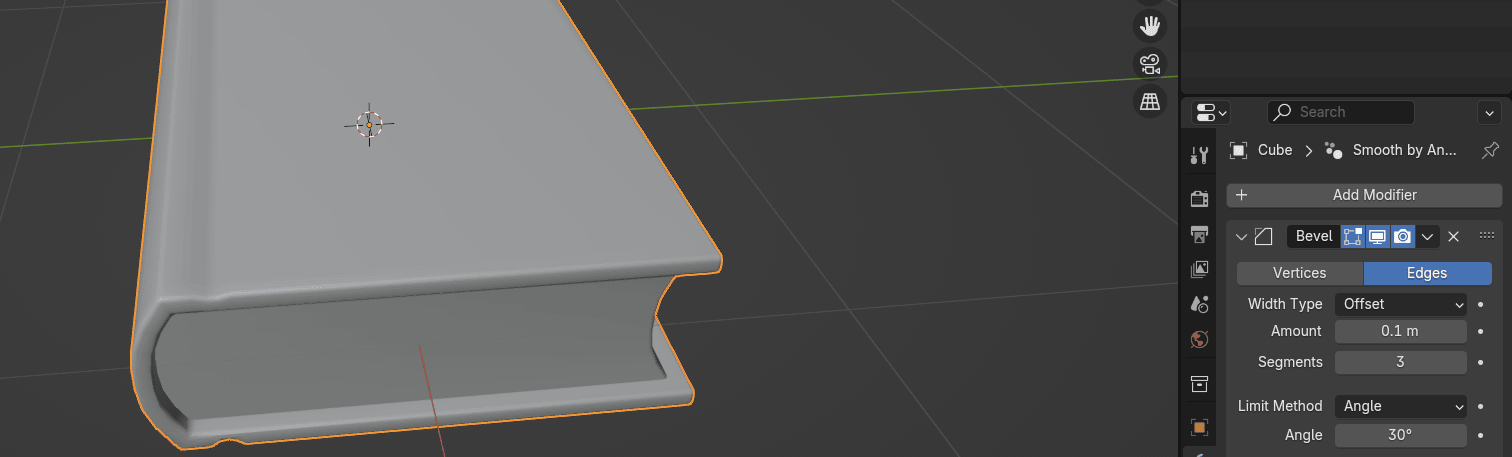
Change the bevel segments to 3 or any other number that looks best to you.
Until now, you have been in solid mode. Now you will switch to the Rendered mode so you can add lights and materials and see how your book looks with proper lighting.
You already learned how to adjust render properties to Cycles, how to switch to GPU, and turn on denoise, so I won’t repeat that.
Select the point light that is already in your scene.
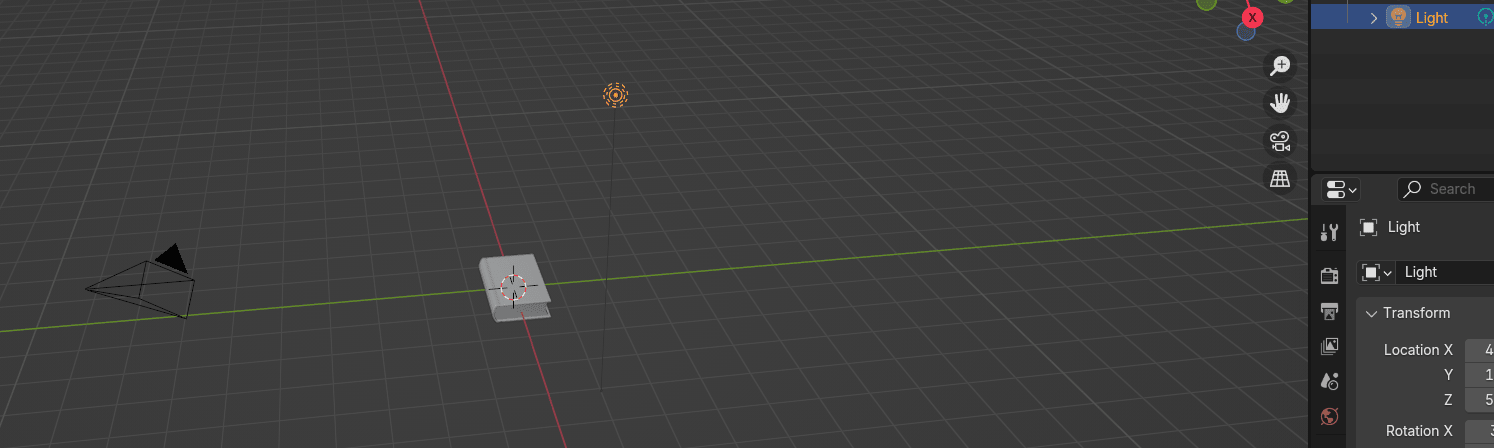
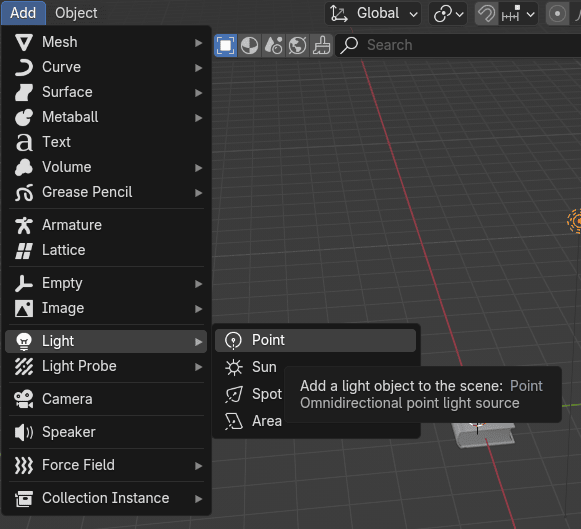
If you deleted it, just go to Add → light → point.
Move it with “G+Y” to the right along the Y-axis.

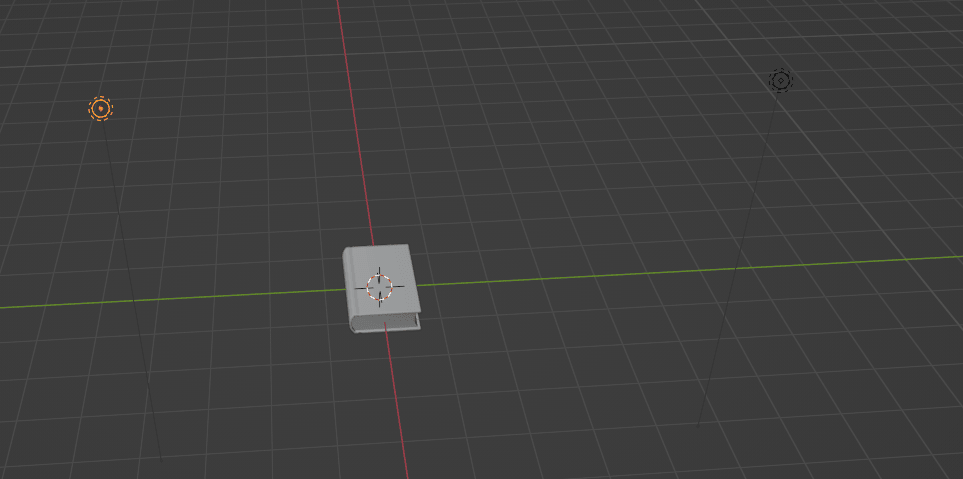
Duplicate it with “SHIFT+D” and move to the left with “Y”.
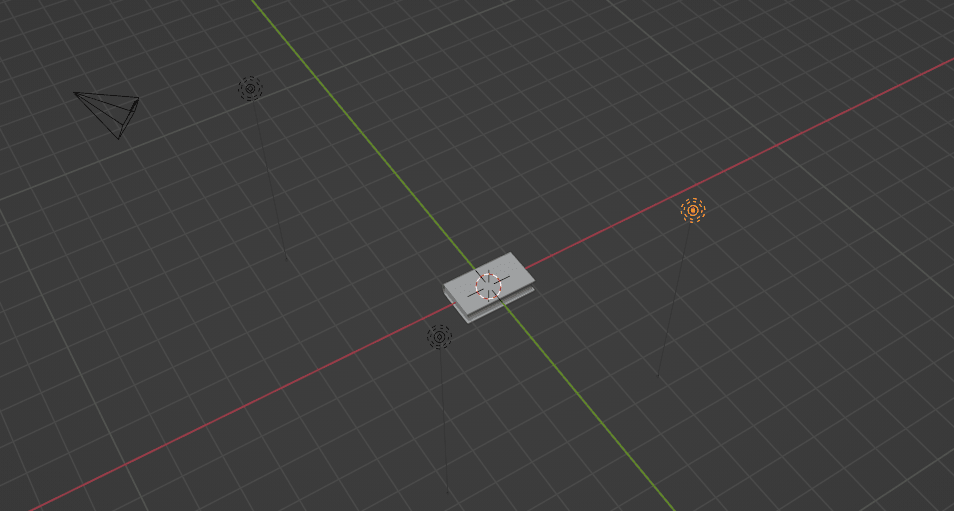
Select the first light again, and duplicate it with “SHIFT+D”.
This time, move it with “X” along the X-axis.
Select the book.
Click on the material and rename it to Book_covers.
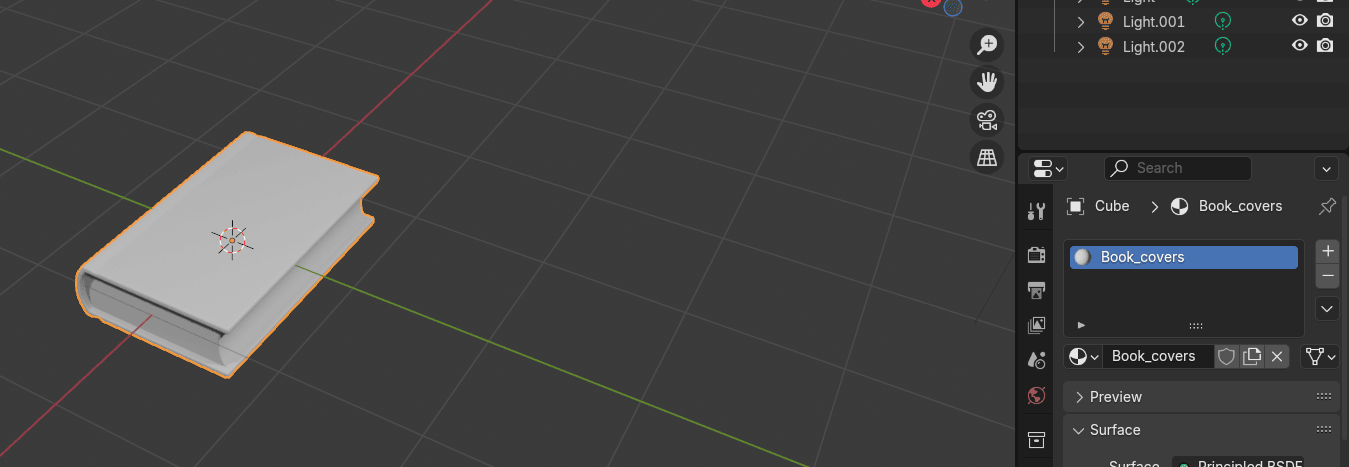
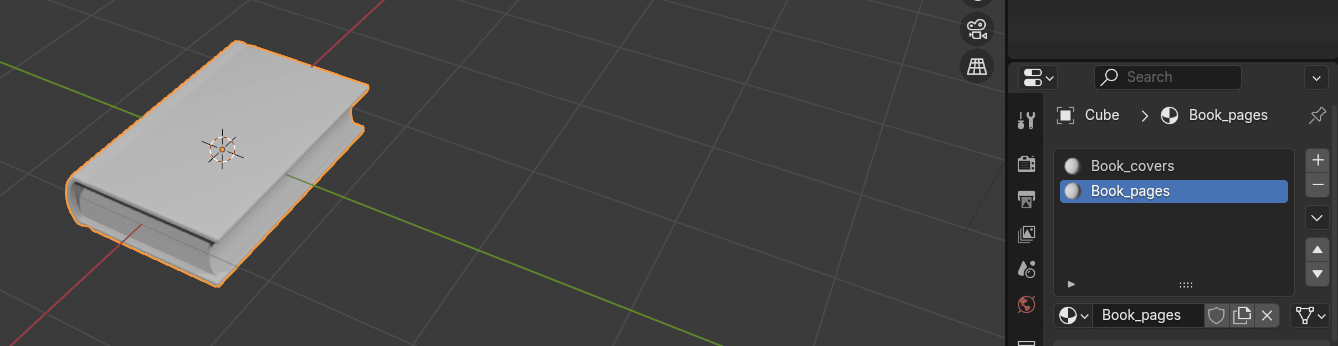
Click + and new once again to add the second material.
Rename this one to Book_pages.
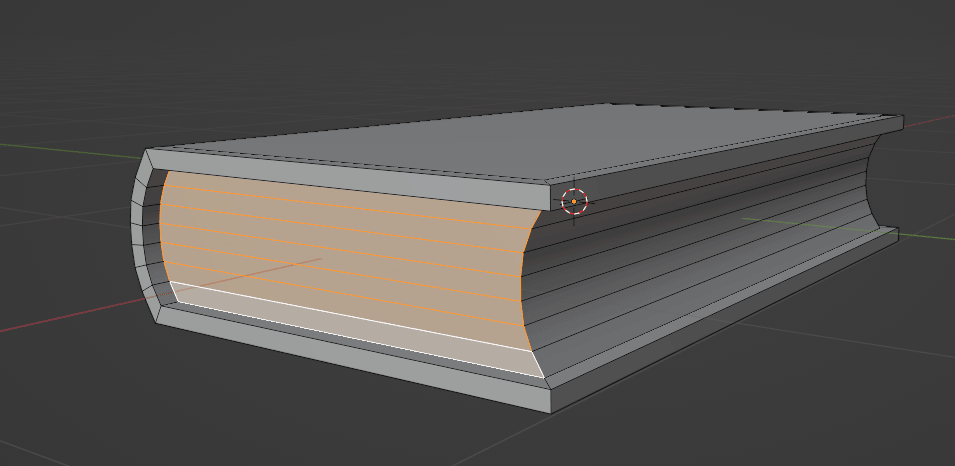
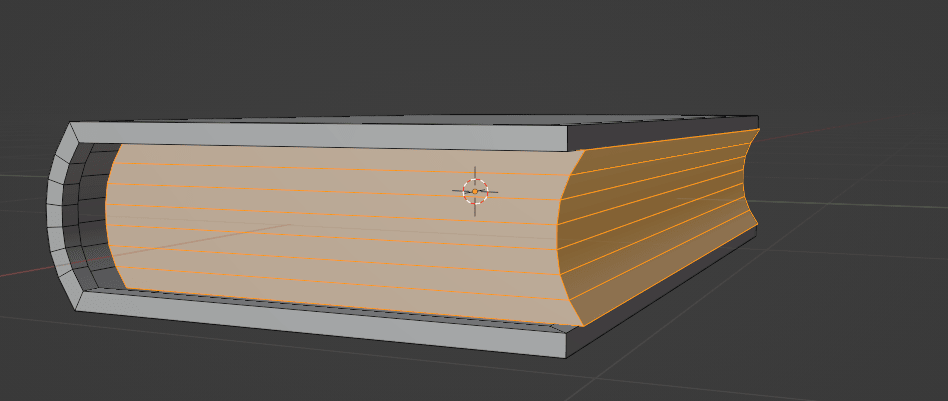
Switch to edit mode with “TAB”.
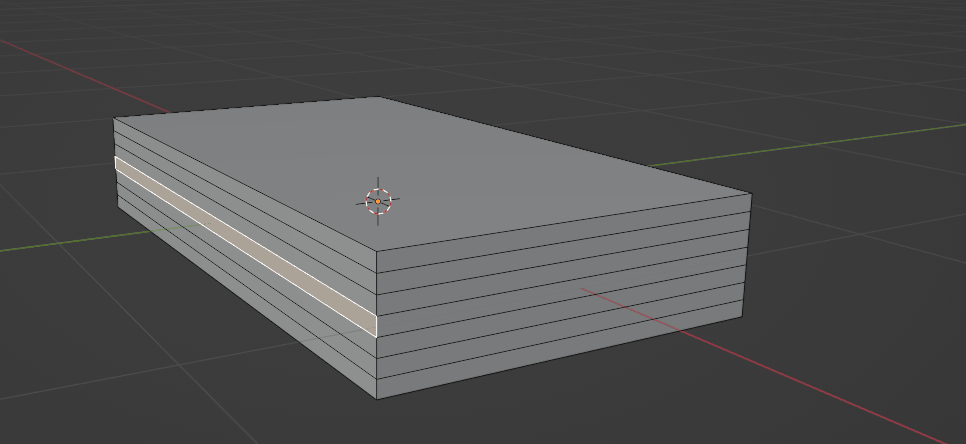
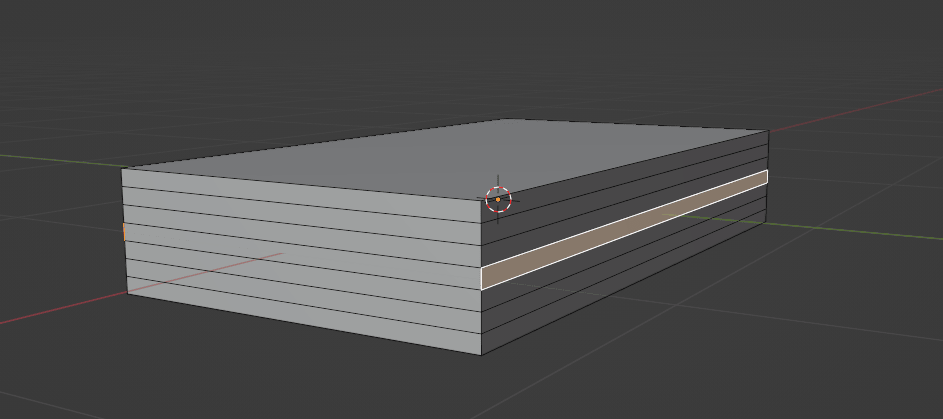
Move your mouse pointer to the pages and click “L” to select linked pages.
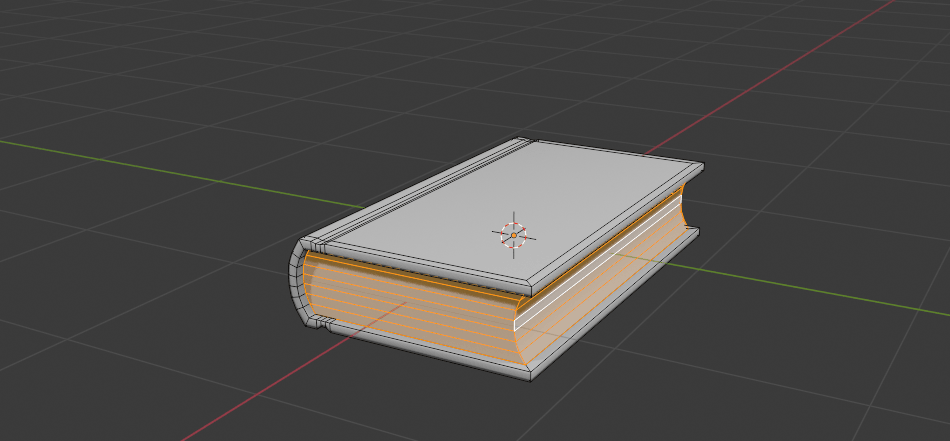
Selecting linked just means that you can select a group of vertices based on a seam, material or normals.
Select BookPages in the material part and click assign.
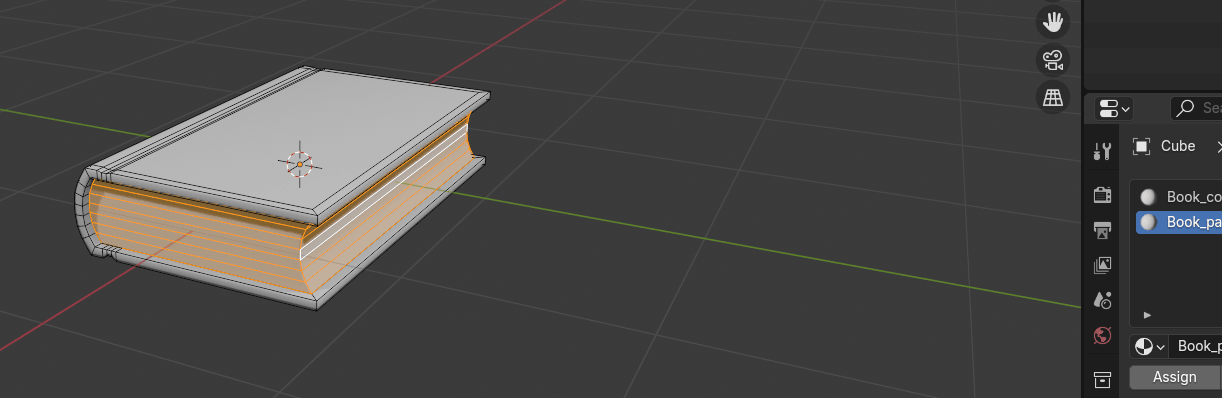
Now you have assigned that material to the book pages.
Switch to object mode with “TAB”.
This time I will stop here because there is a bit more complicated texturing part and I want you to learn it slowly, step by step and not to feel overwhelmed.
For those who still want to learn more or just follow this tutorial in the form of a video, you can check out this tutorial on my YouTube channel:
https://www.youtube.com/watch?v=onF5s2bXhZ0&t=2s
I hope you enjoyed the new chapters! I tried to write as much as I could so you can learn a lot of new stuff.
Happy Blending and see you next week 🙂