Chapter 27: Rigging a cute 3D Mushroom character
Beginners guide to Blender
(Blender Version 4.2.0)
Rigging
Hello everyone! Thank you so much for supporting me on Patreon! It means a lot!
I hope you’ll enjoy this tutorial. It is the 3rd part where I will teach you how to rig this CuteMushroom Character. If you want to learn how to model and texture it, check out my PatreonSaTales , and if you subscribe to the 1st tier which is less than the price of a coffee you willget access to this tutorial and many more.
If you want video tutorial check my YouTube channel:https://youtu.be/SeiSyuQzcW8?si=xjhgTyKQRYijhyDa
Now, let’s begin with rigging!
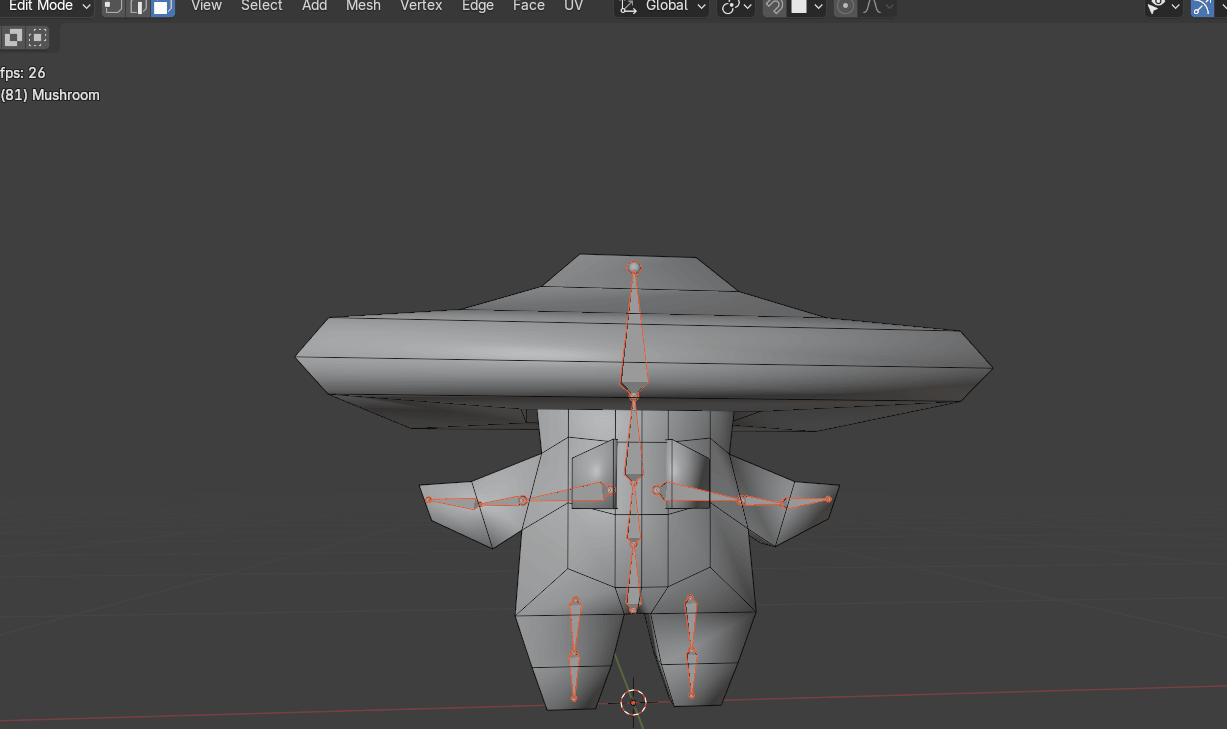
Switch to Solid mode
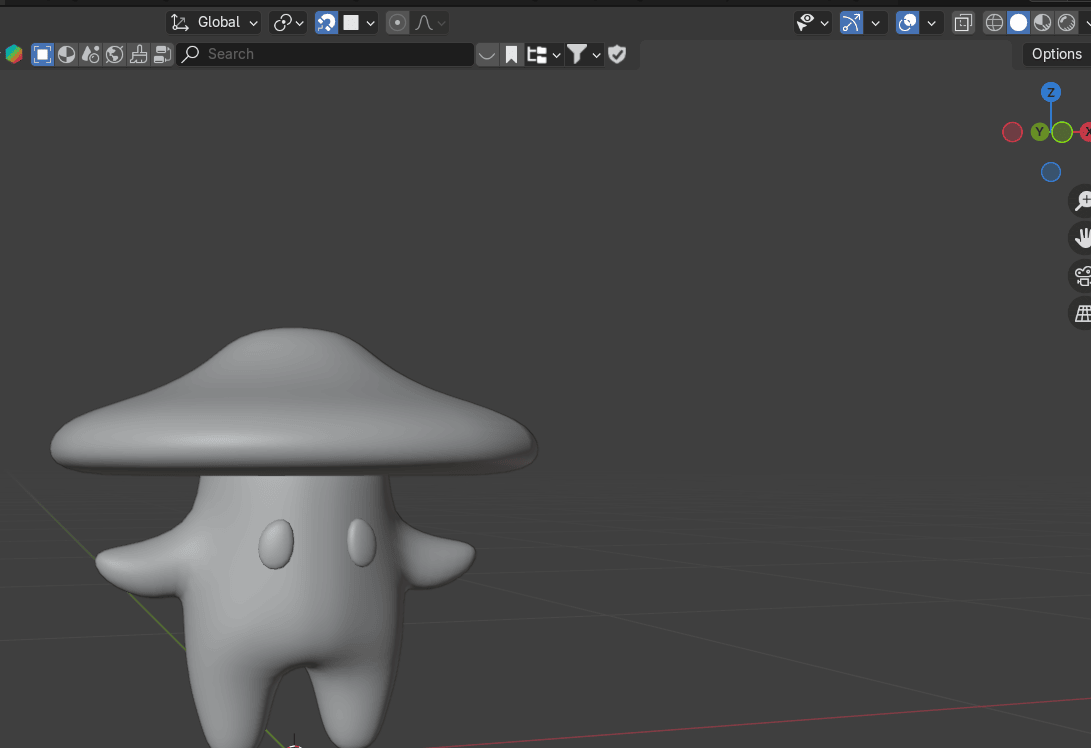
Switch to the front orthographic view by clicking on that green -Y on Gizmo or pressing“CTRL+ Numpad 1”
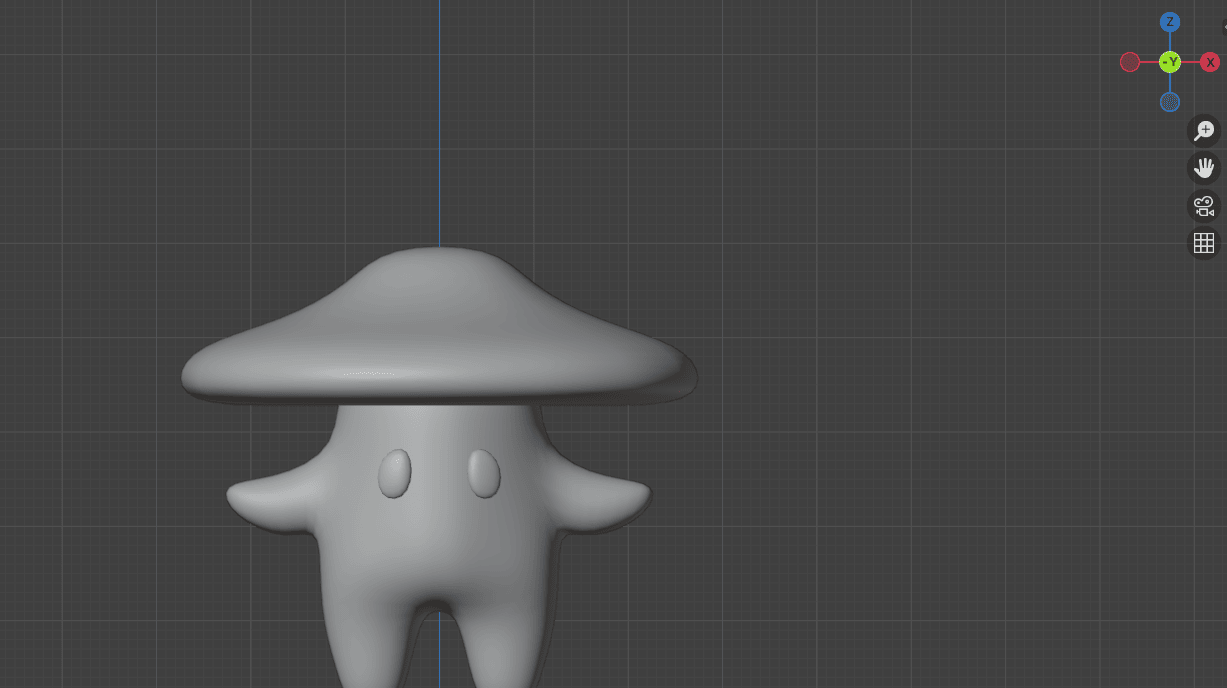
Go to Add → Armature (Single Bone - if you have an older version of Blender, if not, just clickon Armature)
Beginners guide to Blender

Select the bone and switch to edit mode with “TAB”
Select all with “A” and scale it with “S” for around 0.22
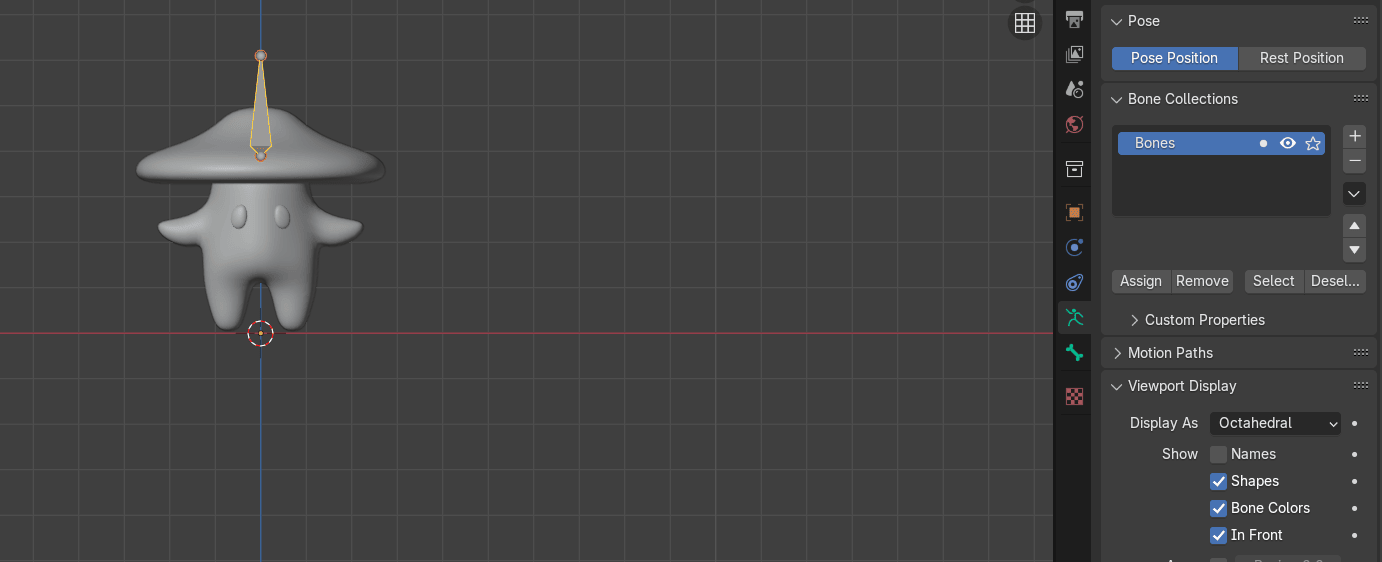
Turn off snapping with “SHIFT+TAB” and go to Object Data Properties
Beginners guide to Blender

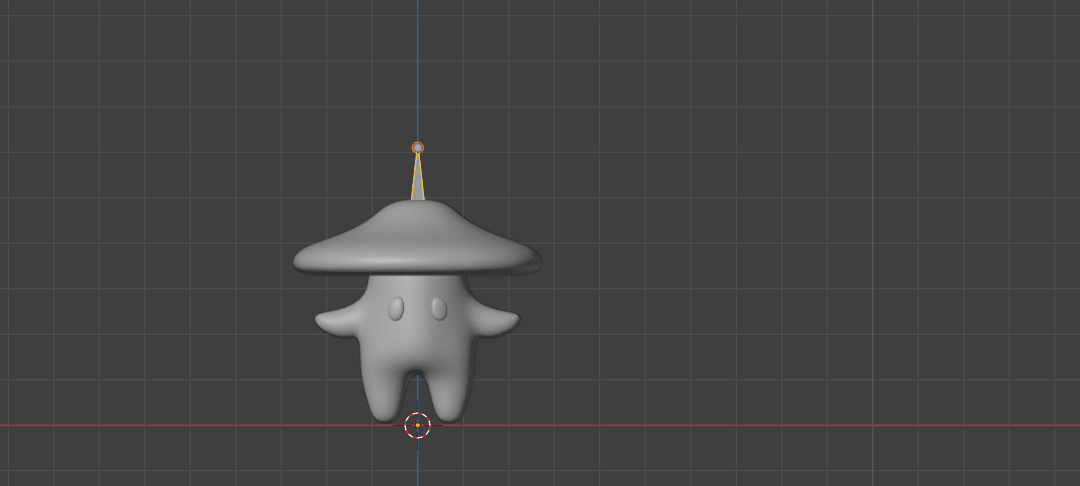
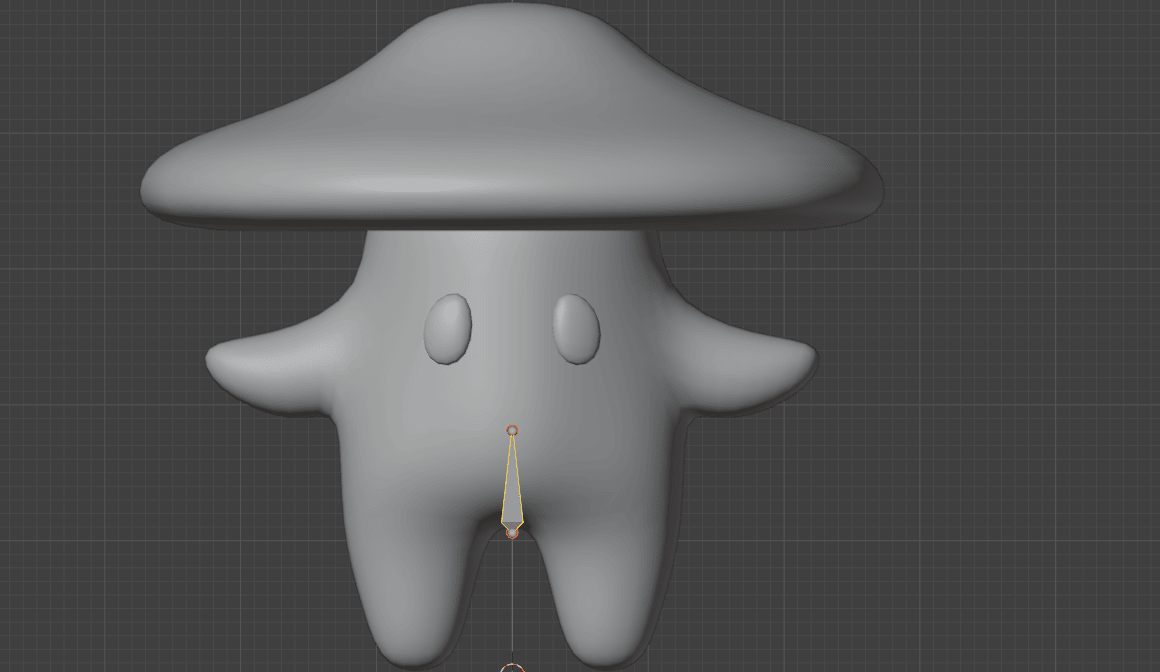
Go to Viewport display and turn on In Front so you can see bones in front of your character
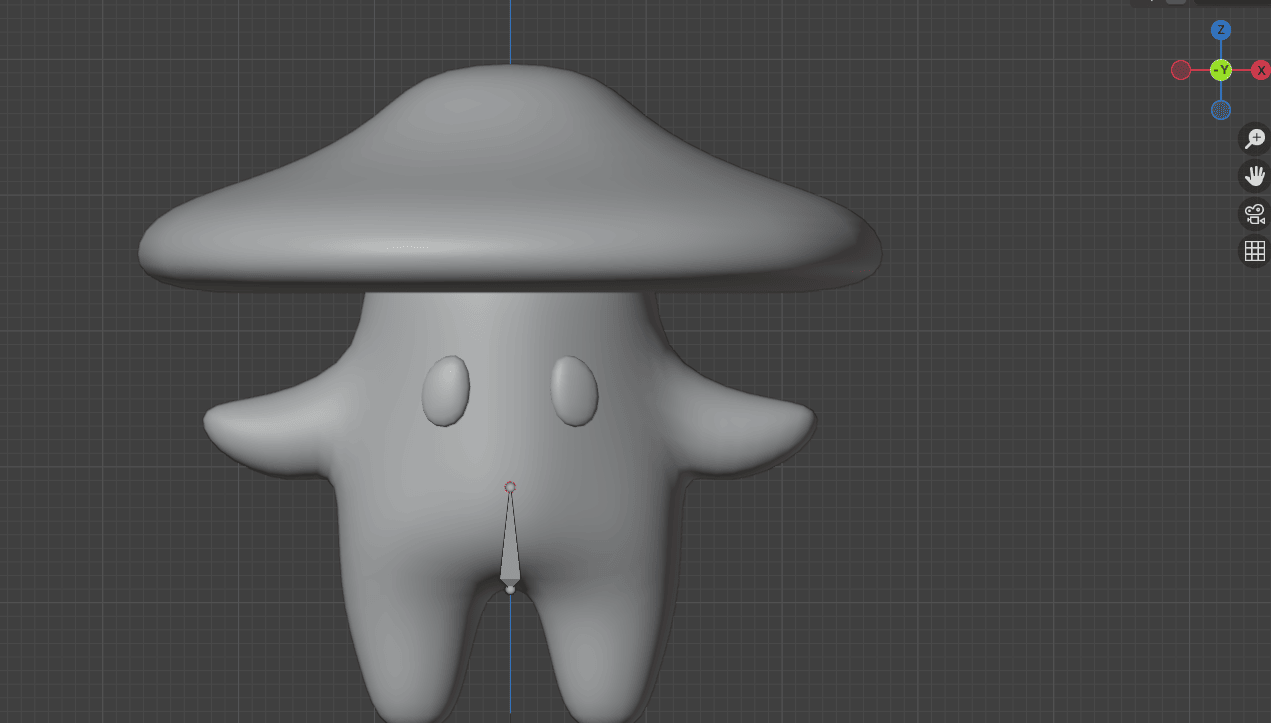
Move the bone down with “G+Z” for around -0.28
Select only this top part of the bone
Beginners guide to Blender
Move it with “G+Z” for around -0.14
Select all with “A”
Move it with “G+Z” for around -0.004
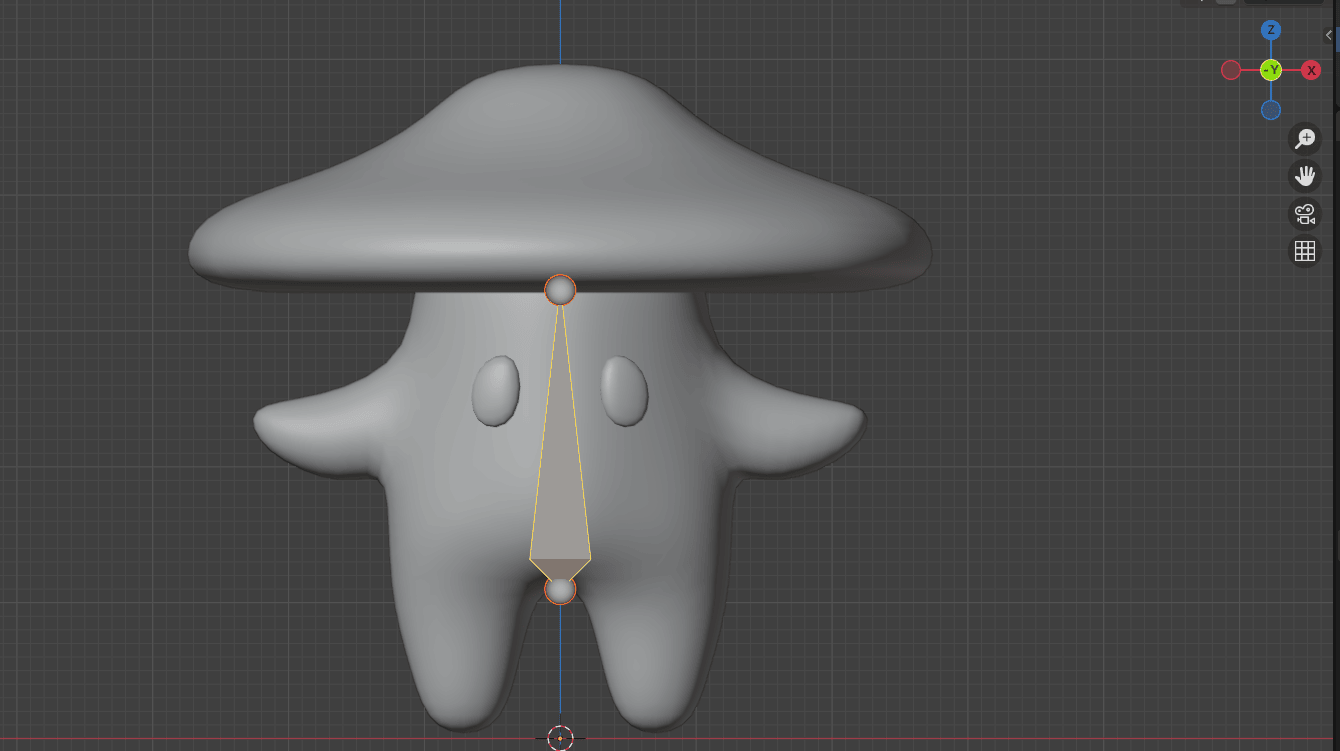
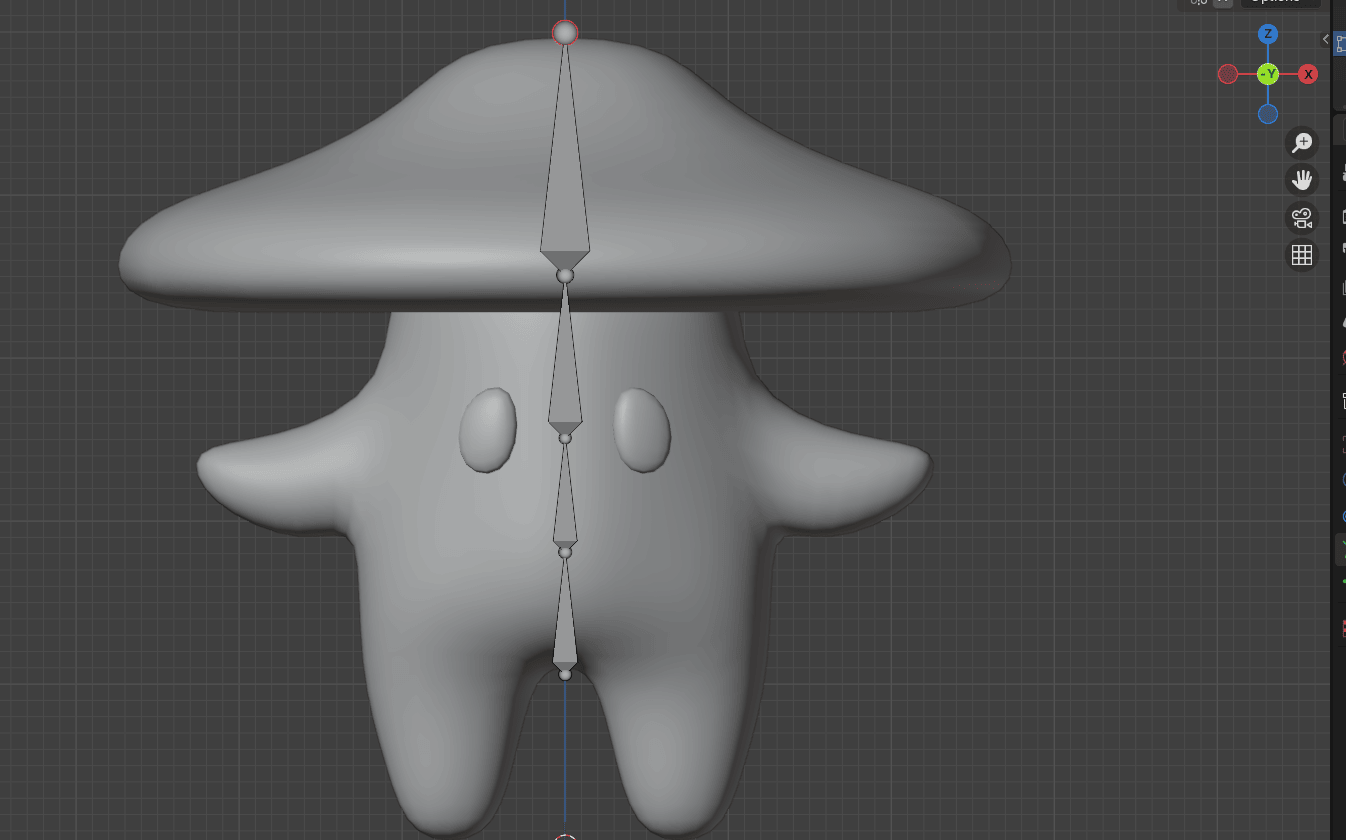
Extrude it with “E+Z” for around 0.07
Beginners guide to Blender
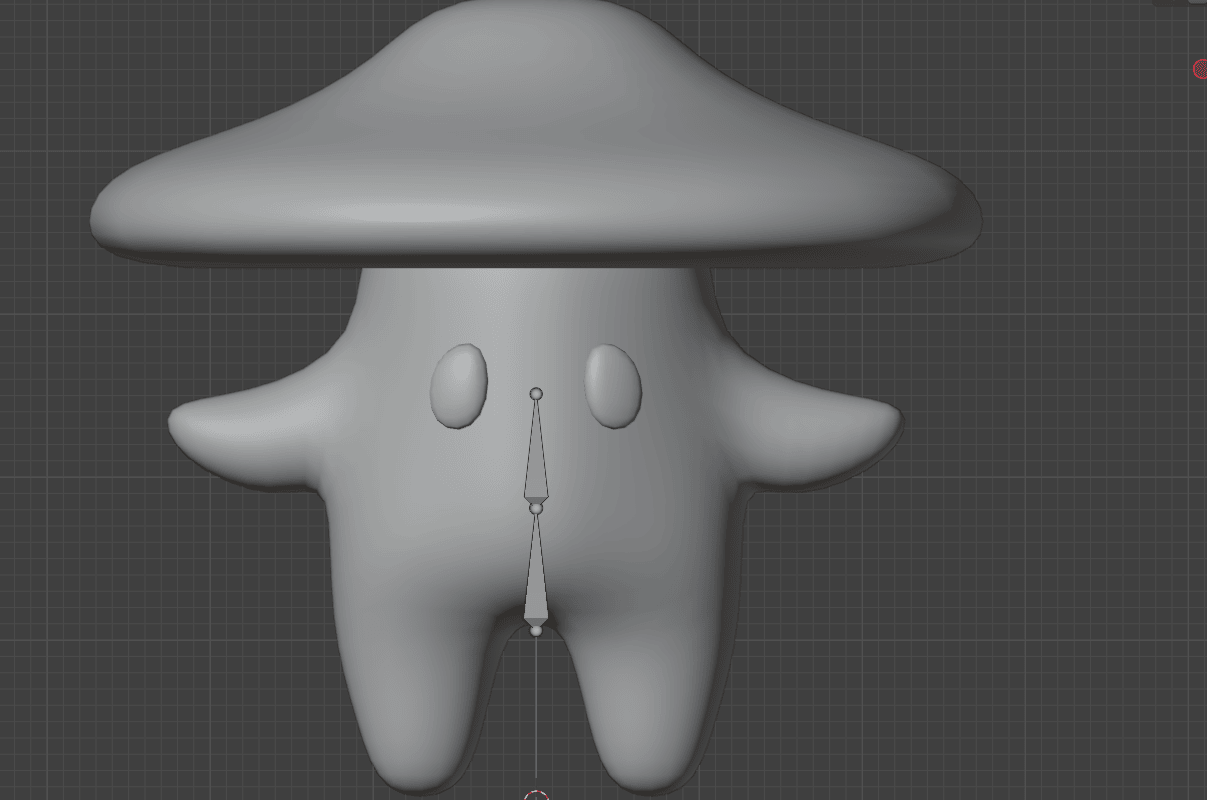
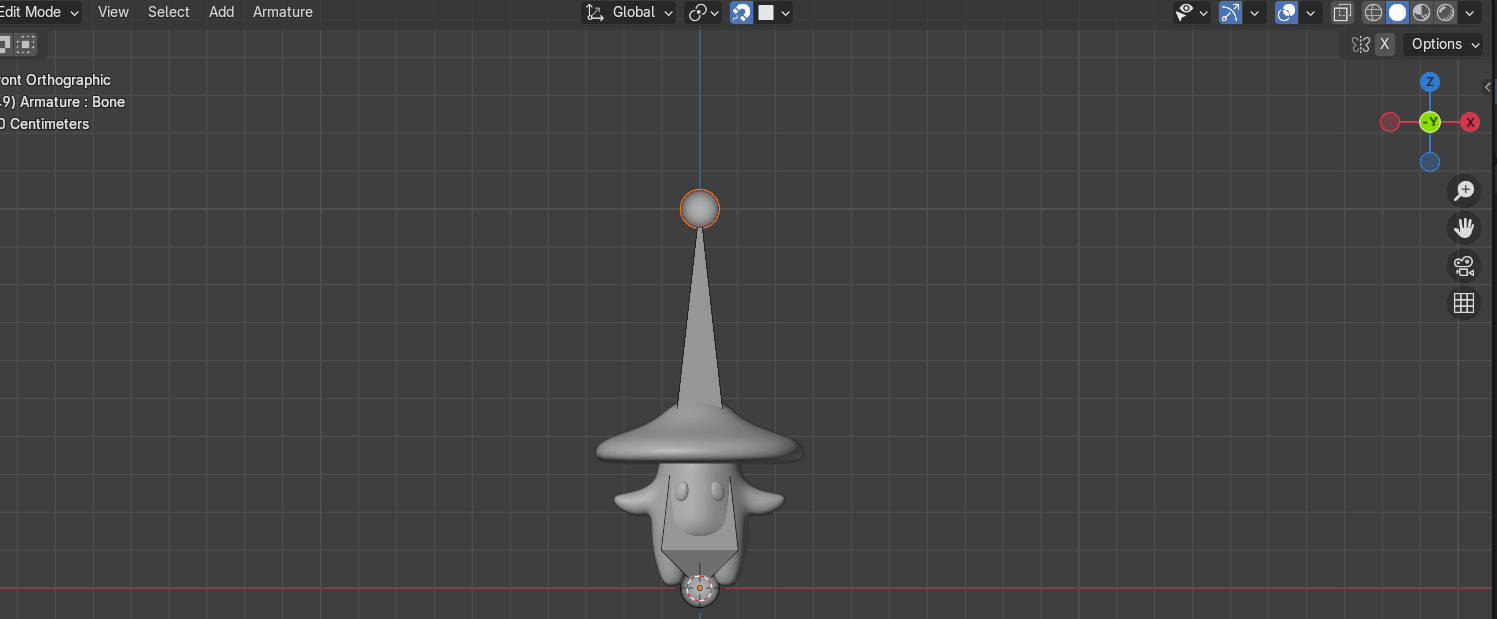
Select only the top of the bone
Extrude it with “E+Z” for around 0.1
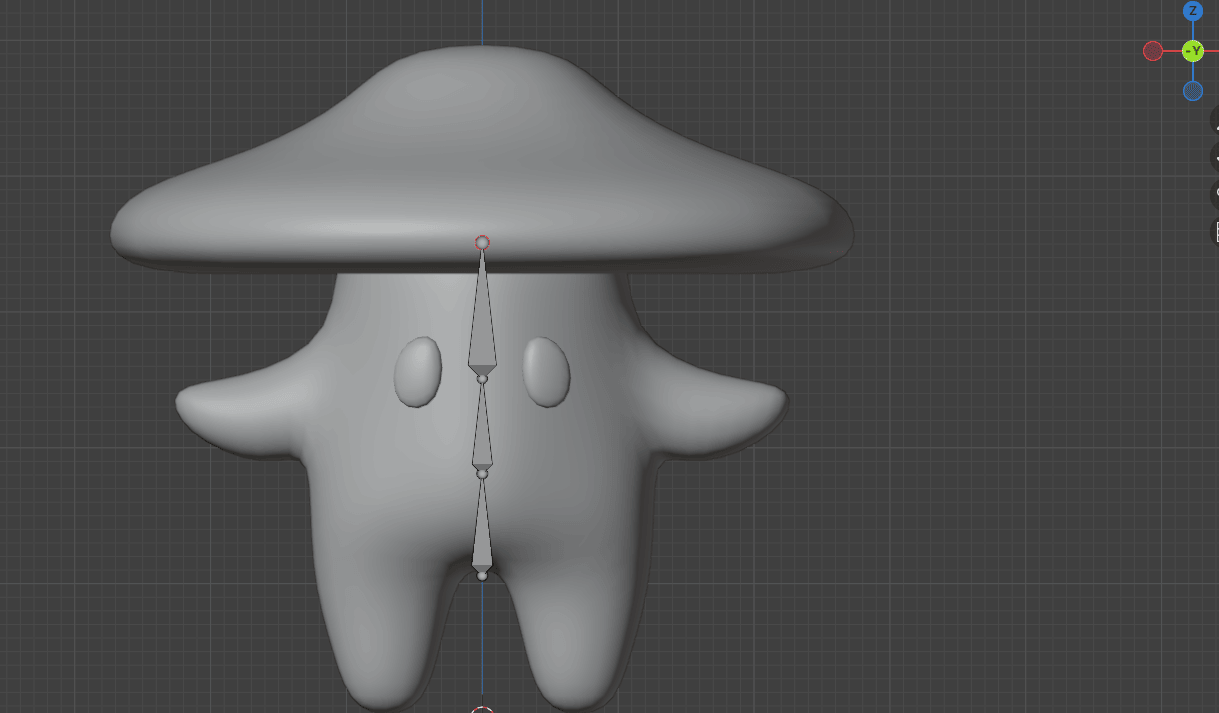
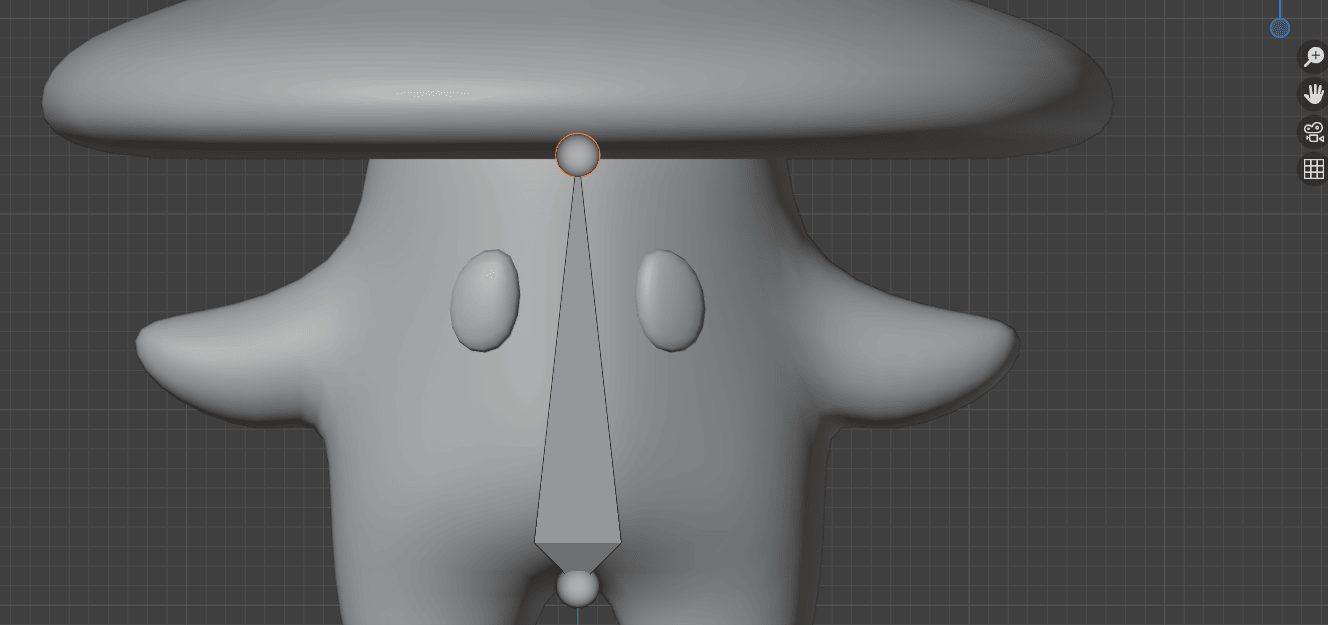
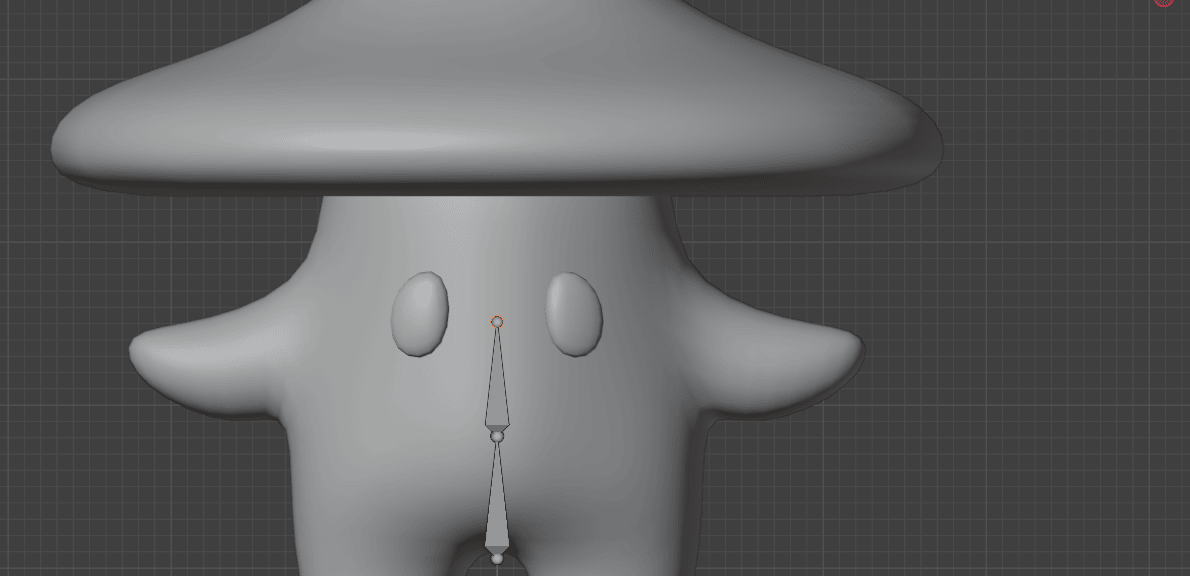
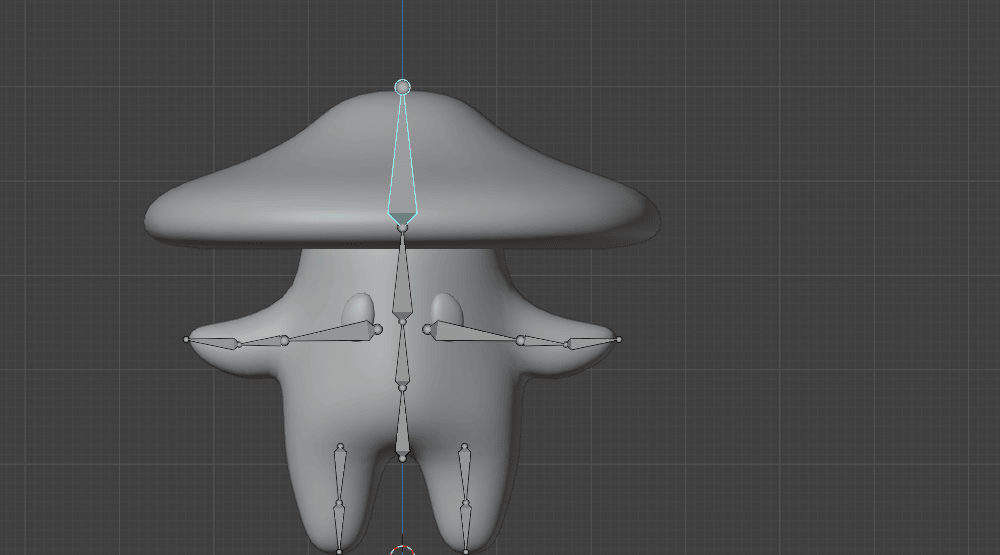
Select only the top of the bone and extrude it with “E+Z” for around 0.15
Beginners guide to Blender
Select this bone
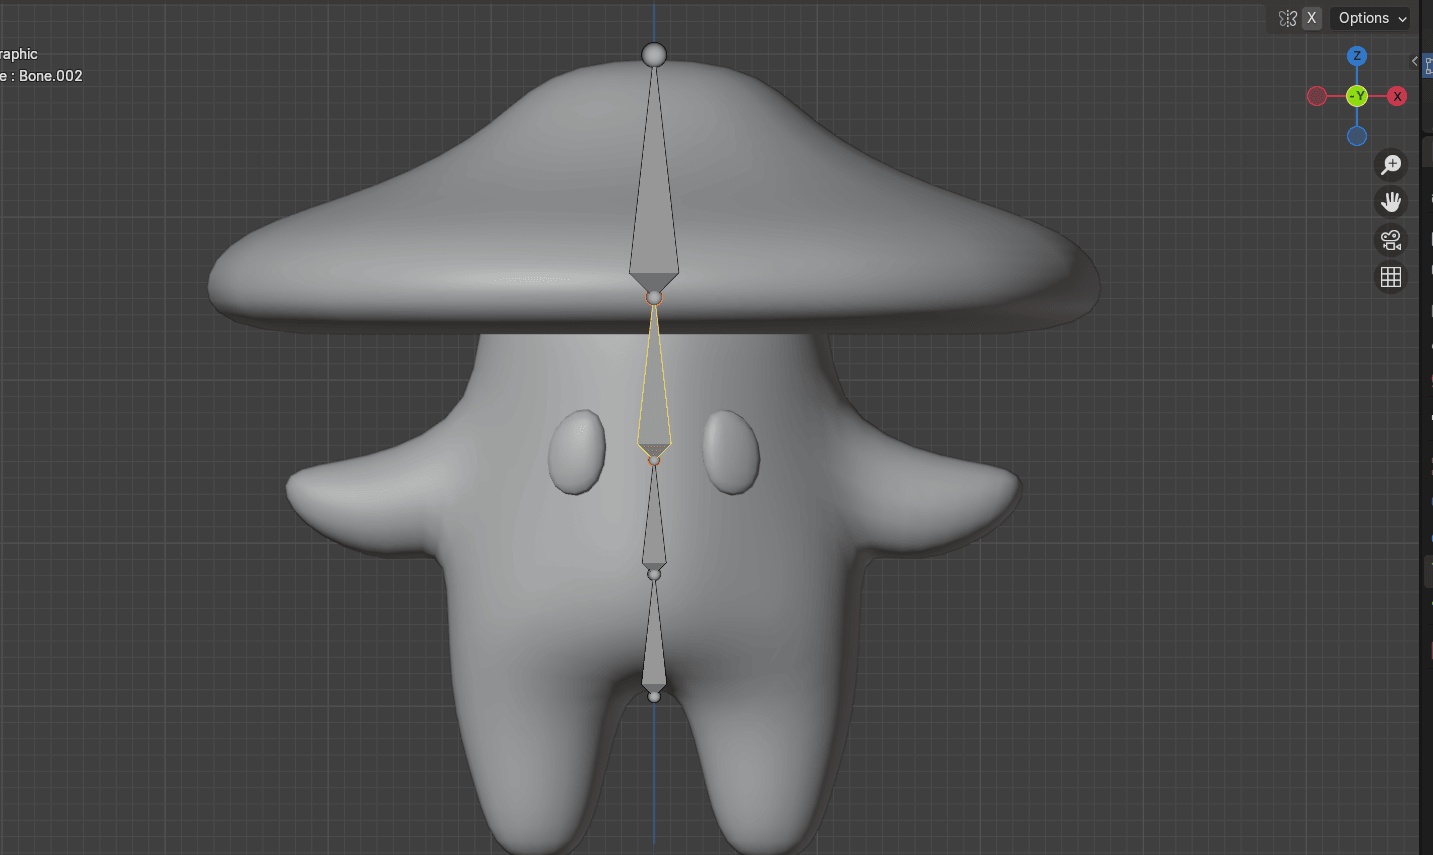
Duplicate it with “SHIFT+D”
And move it with “G”, something like this
Beginners guide to Blender
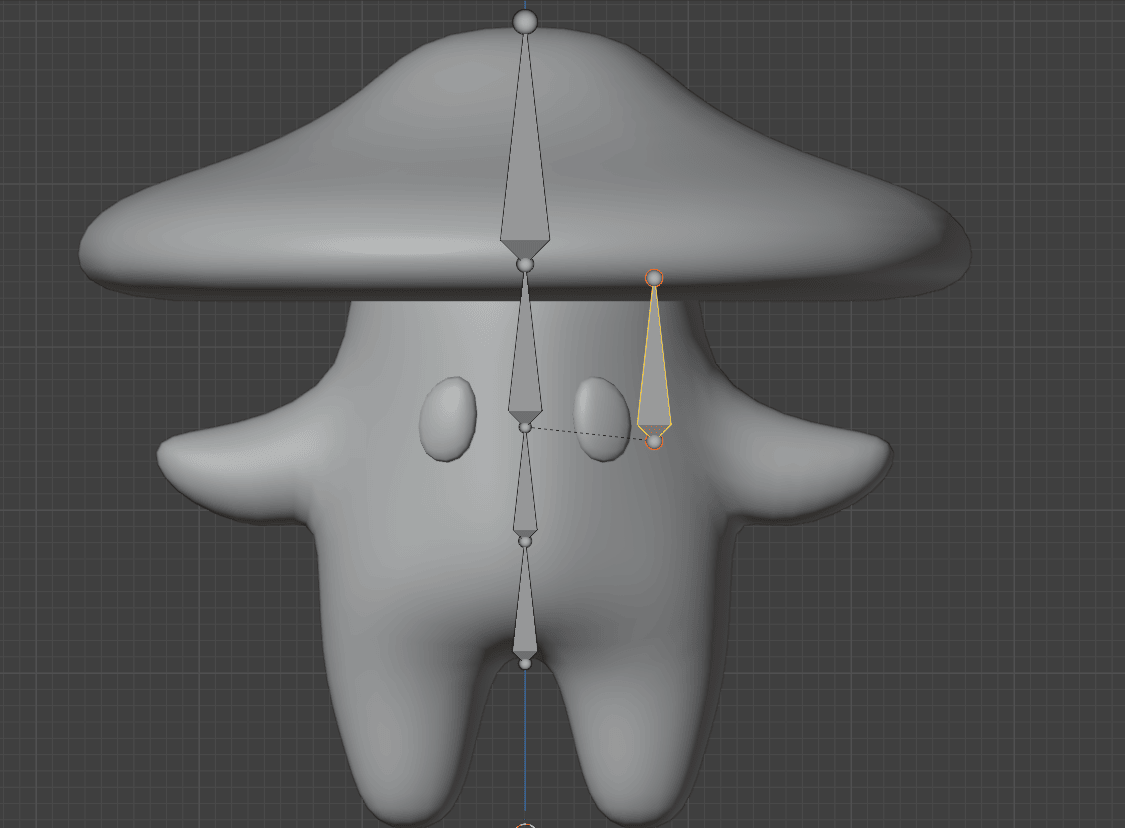
Rotate it for around 108°
and move it with “G”
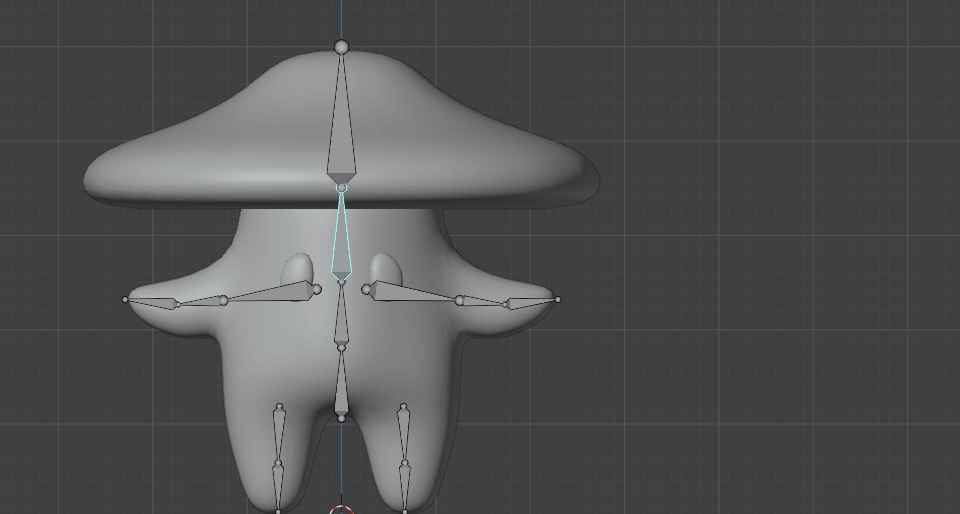
Select this part of the bone
Beginners guide to Blender
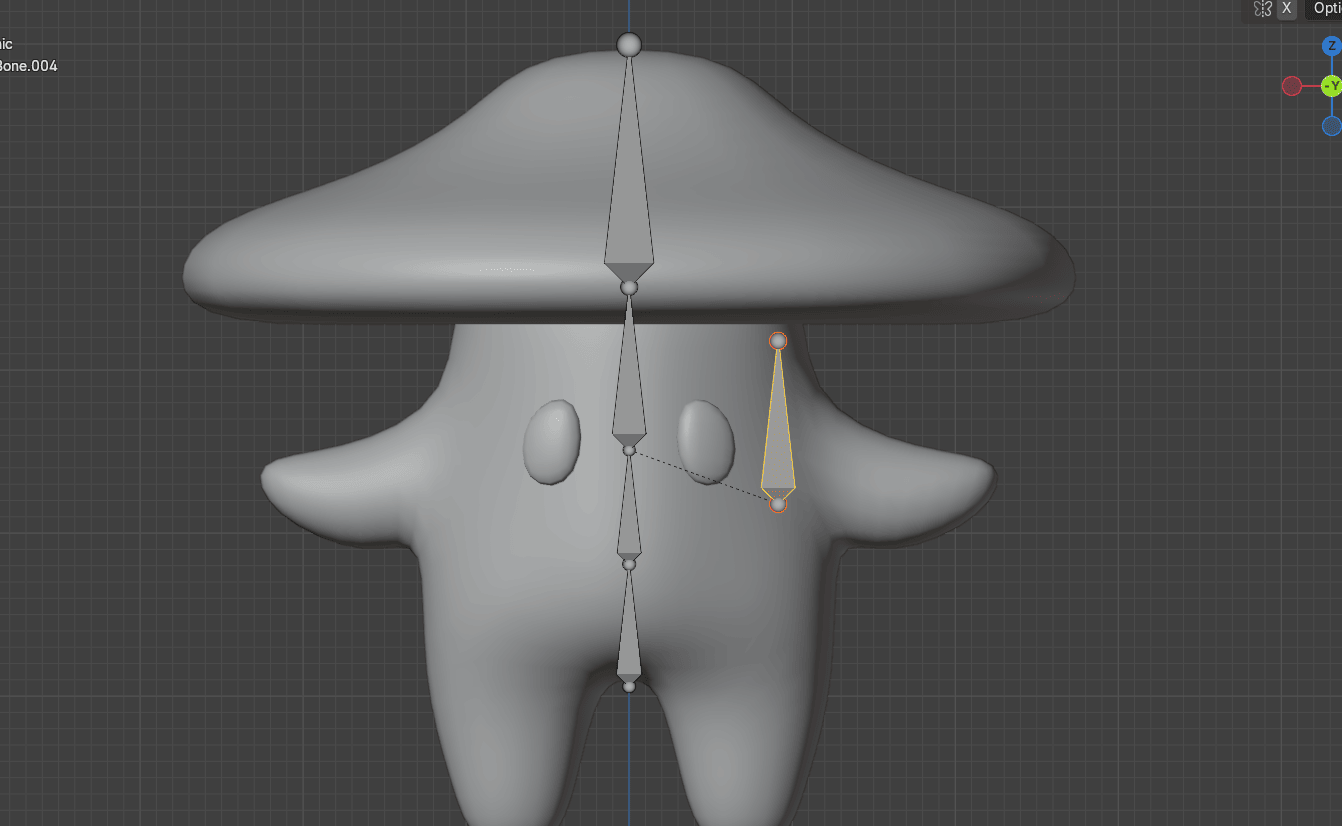
Move it with “G”
Extrude it with “E” 2x
Beginners guide to Blender
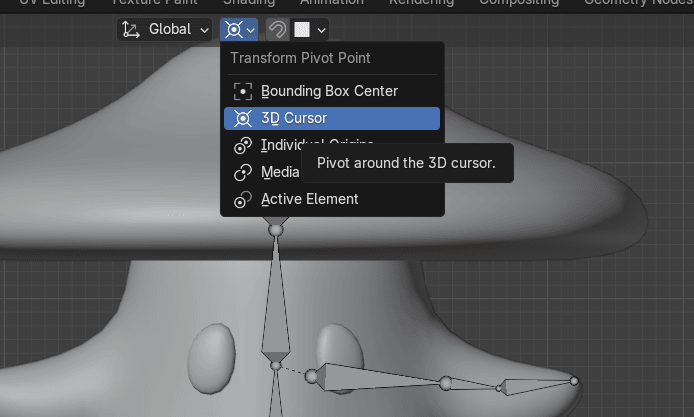
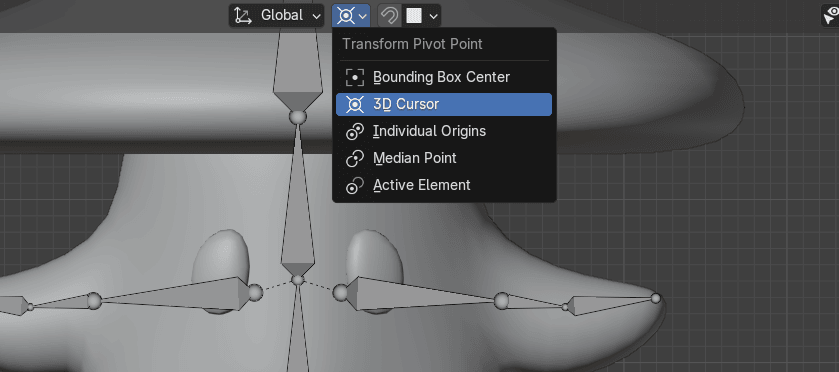
Change from Median Point to 3D cursor so that all the transforms are based around theworld origin.
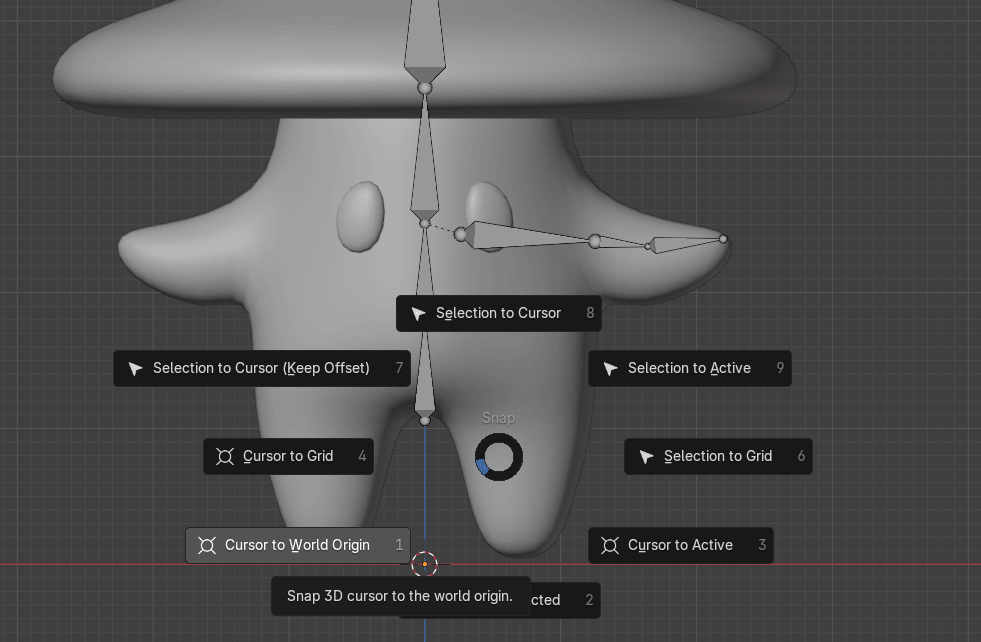
If you placed your 3D cursor somewhere else, you can press “SHIFT+S” and choose Cursorto World Origin to reset its position.
Beginners guide to Blender
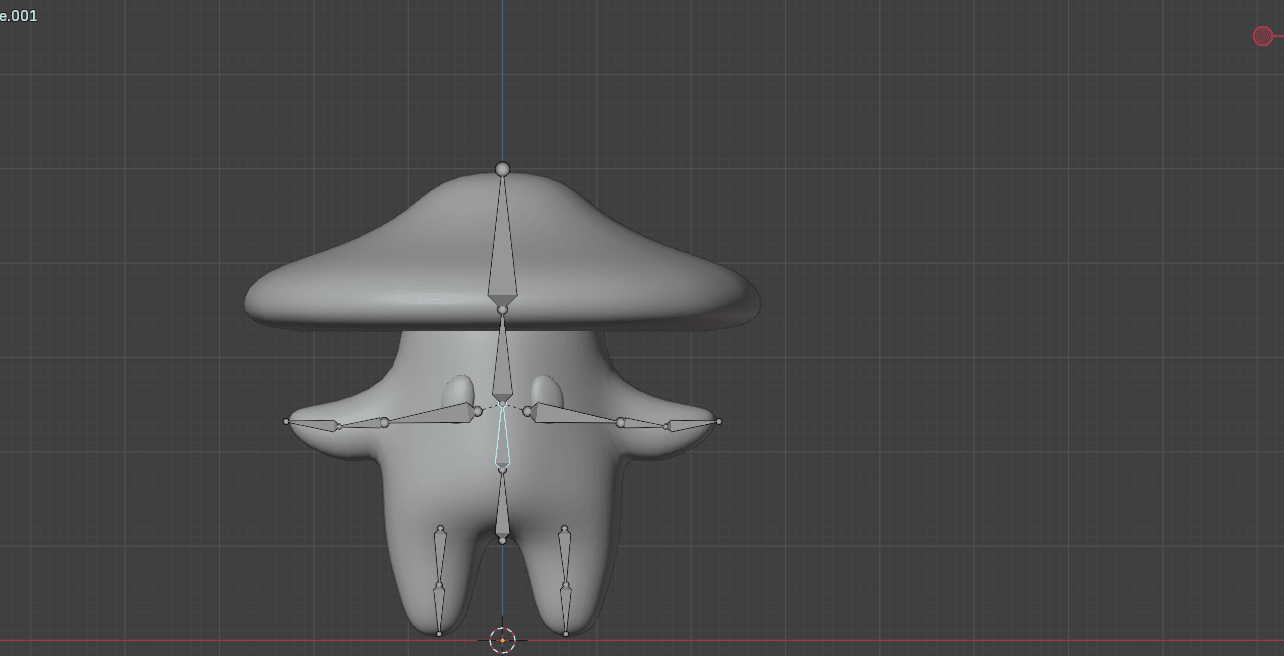
Select these bones
Since we placed the 3D cursor at the world origin and our character and the armature arecentered on the X-axis we can mirror the bones by duplicating them with “SHIFT+D” andscaling them with “S+X” -1.
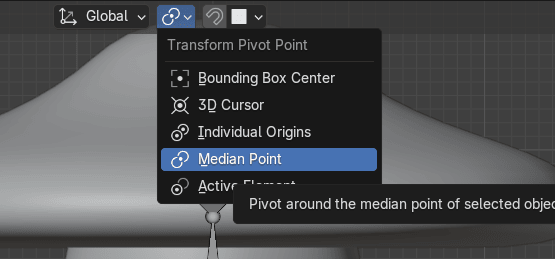
Change from 3D Cursor to Median Point
Beginners guide to Blender
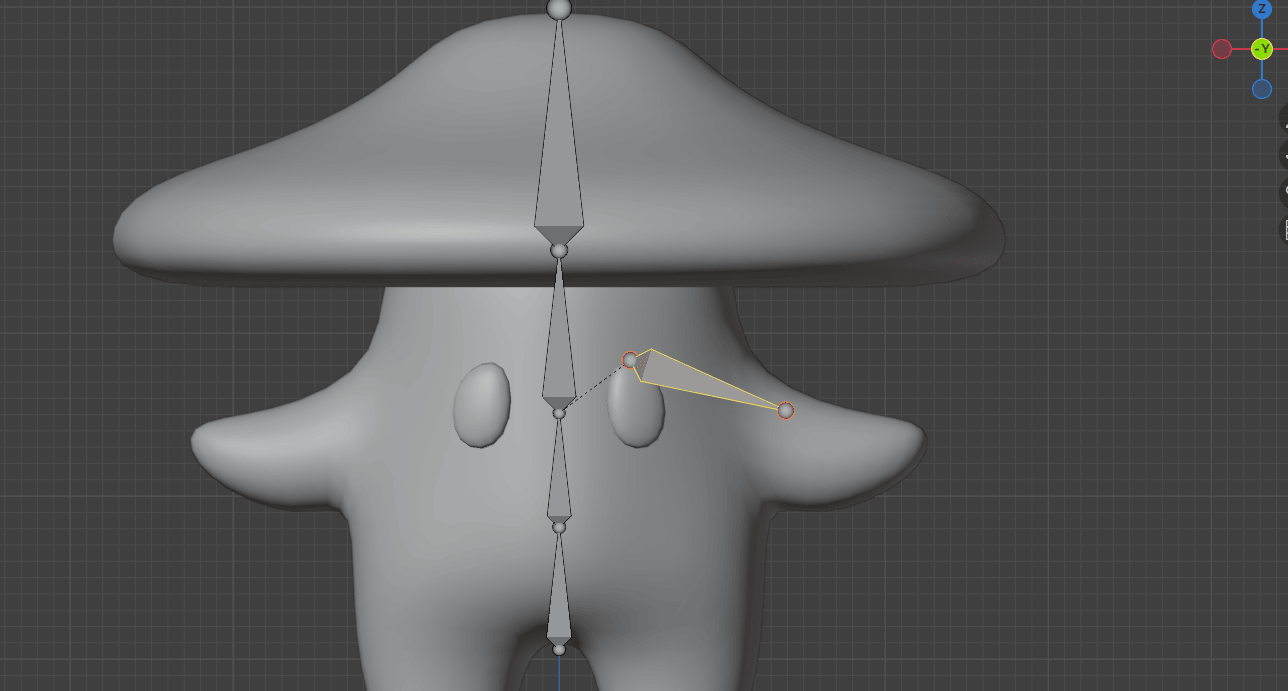
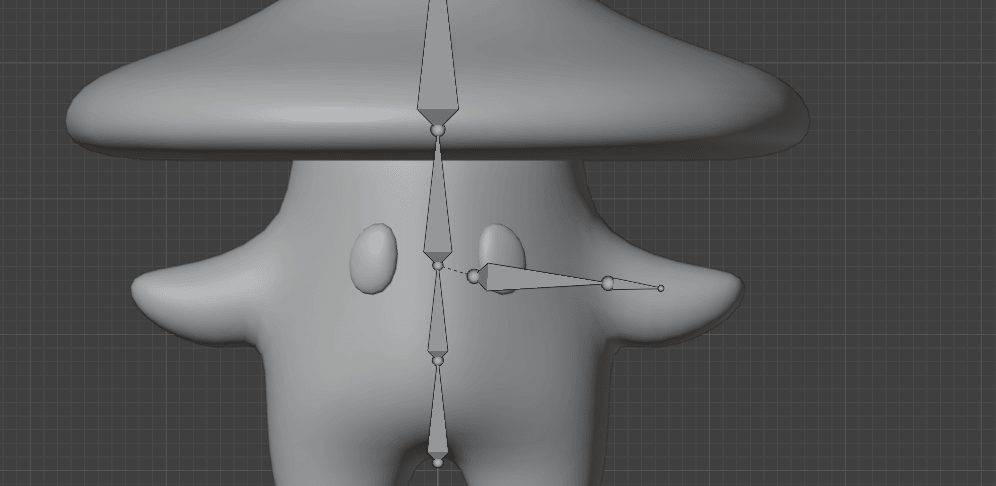
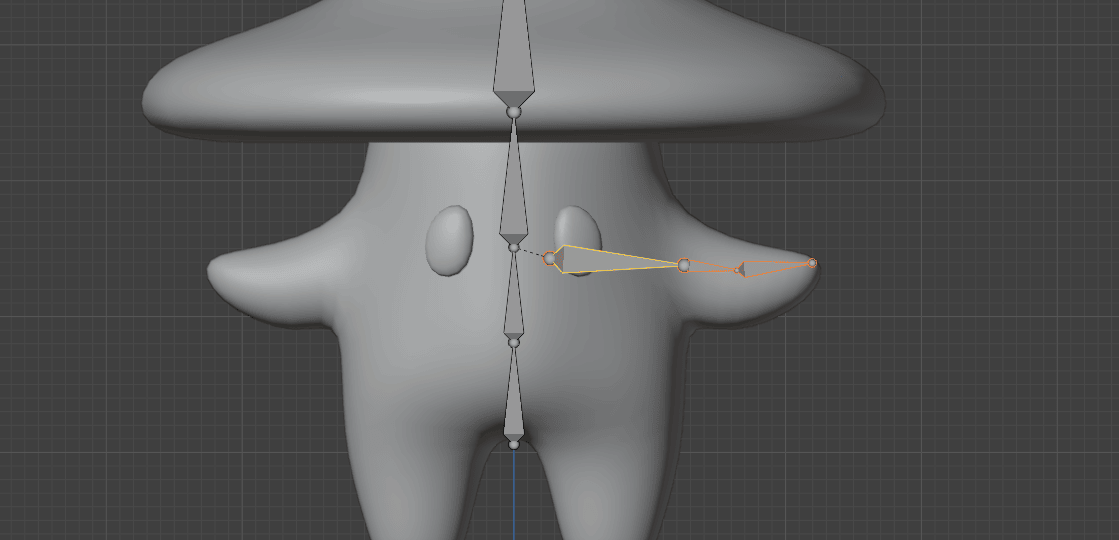
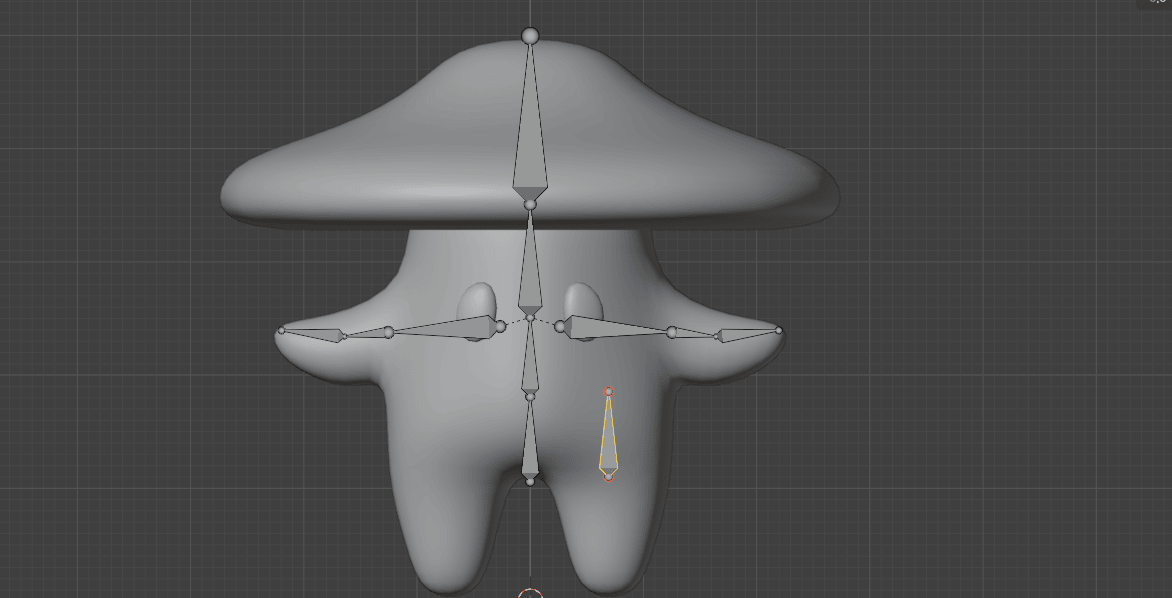
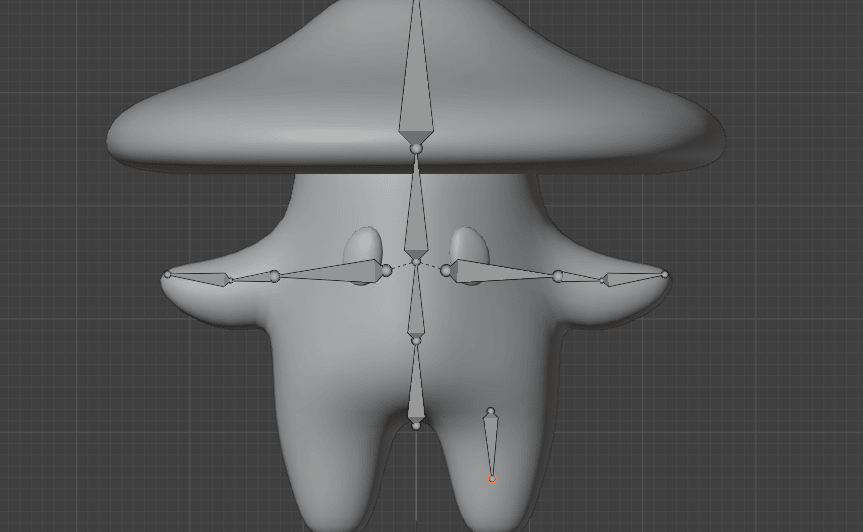
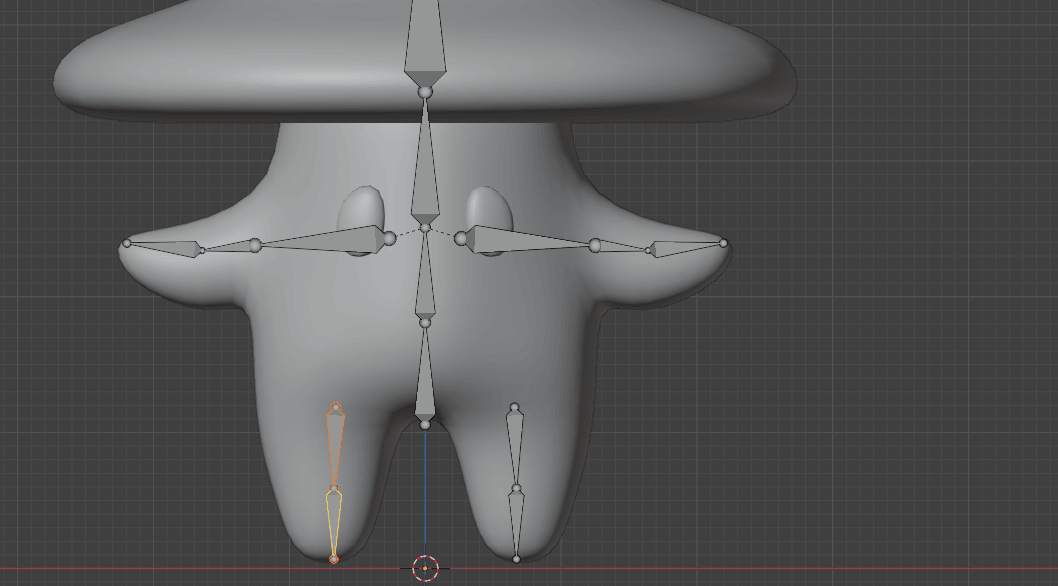
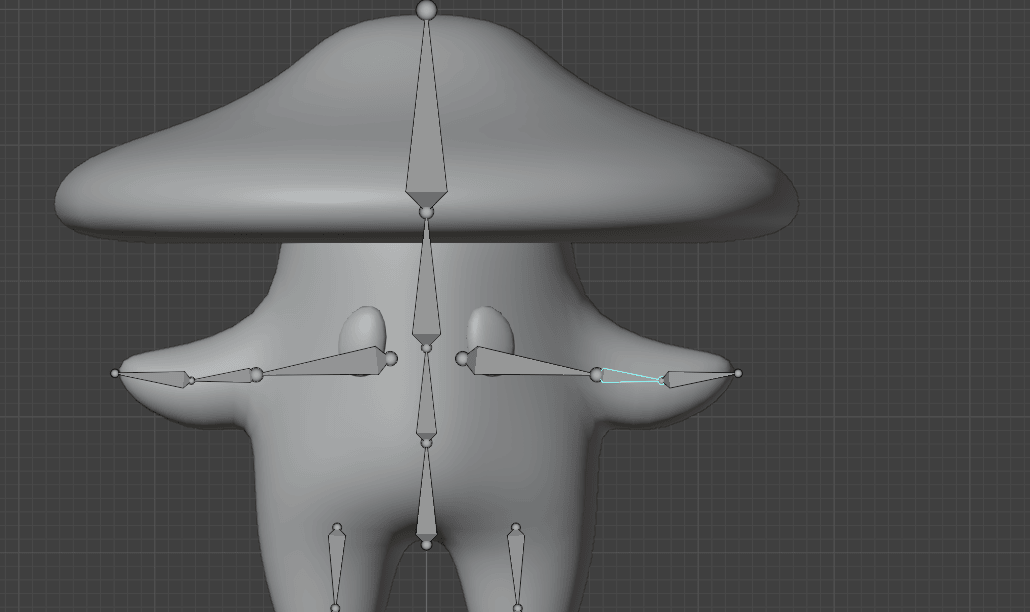
Select this bone
and duplicate it with “SHIFT+D” and move it with “G”
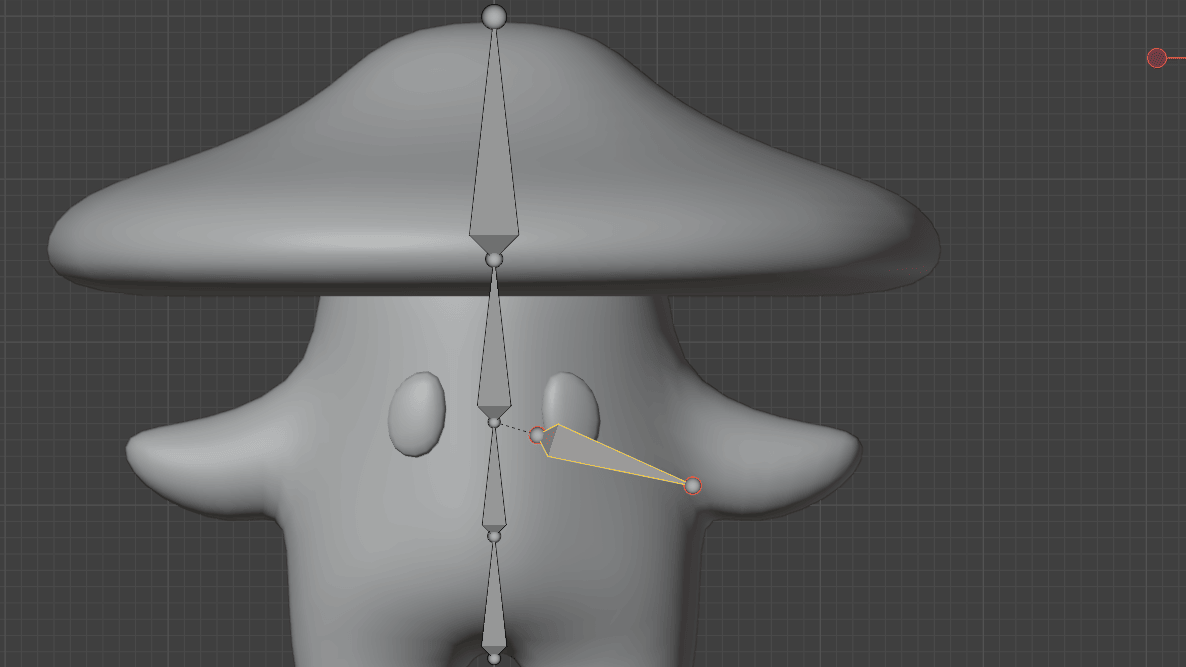
Rotate it for around 178°
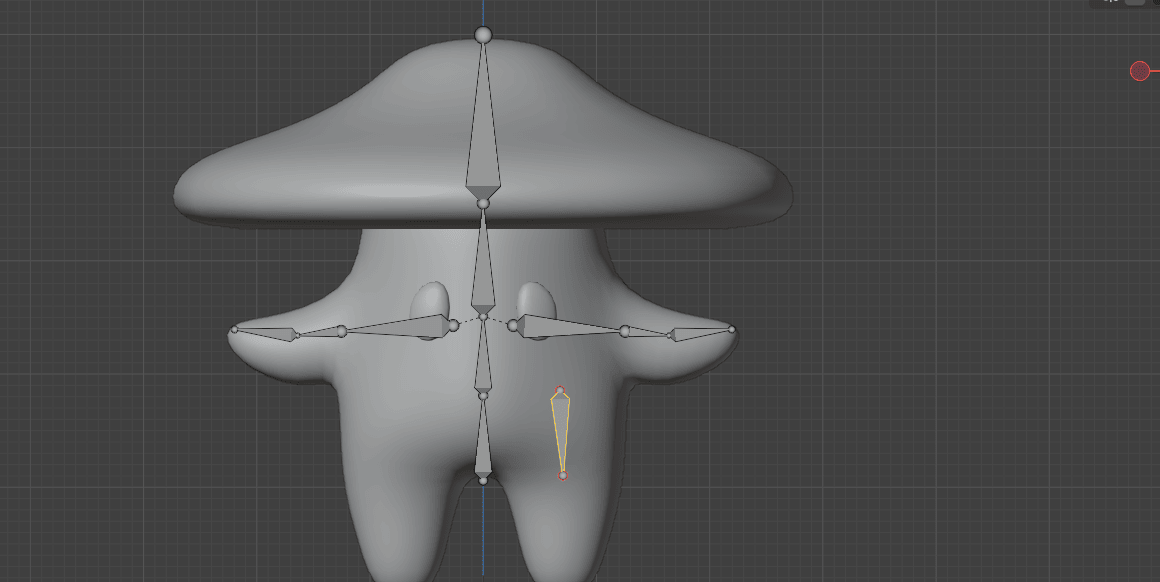
Beginners guide to Blender
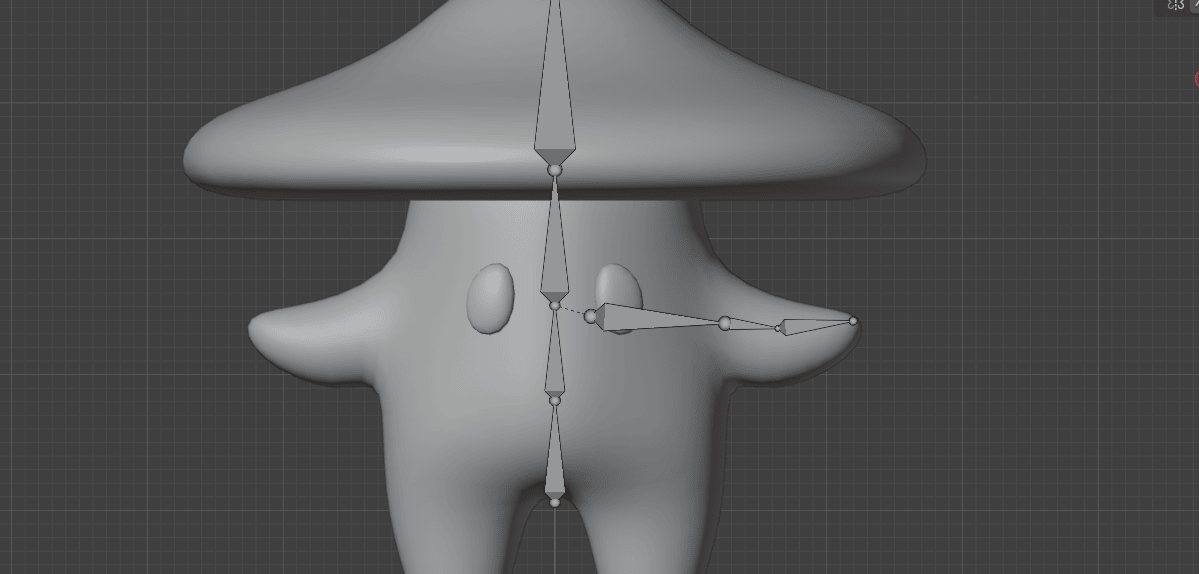
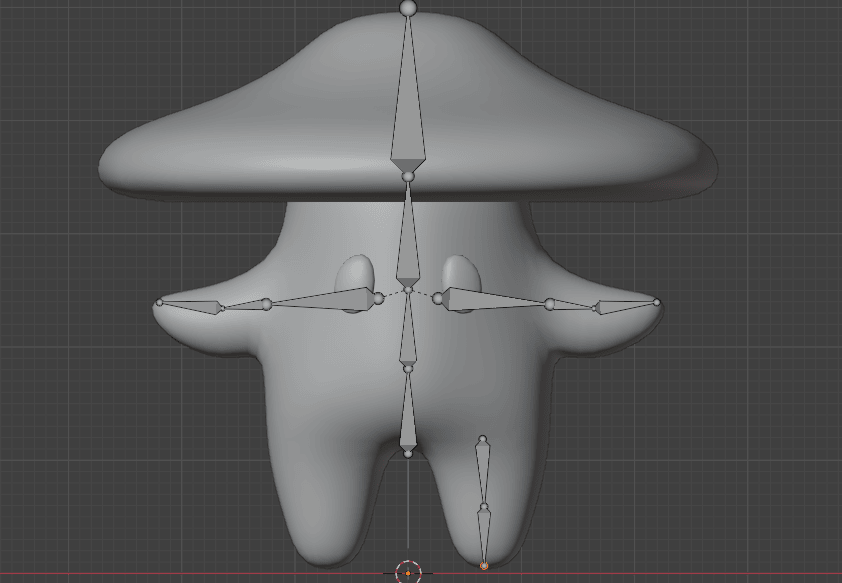
Move it with “G”
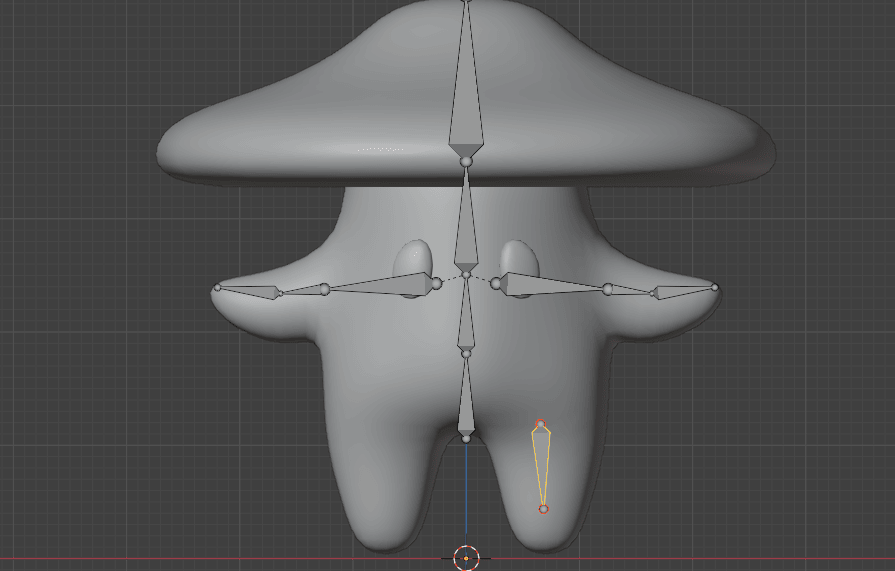
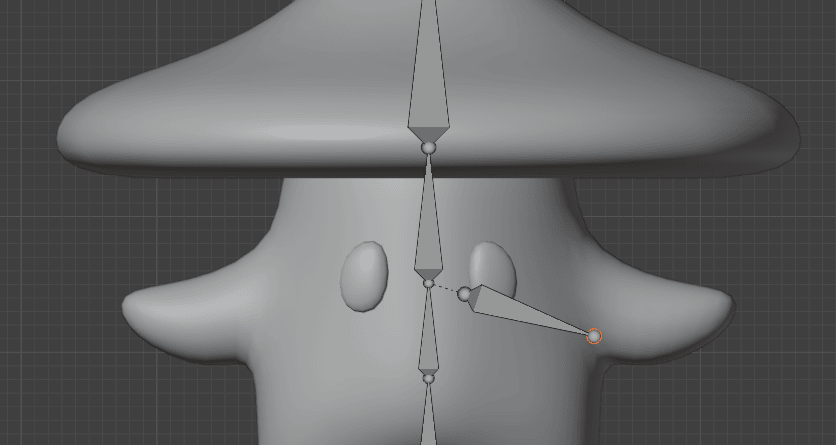
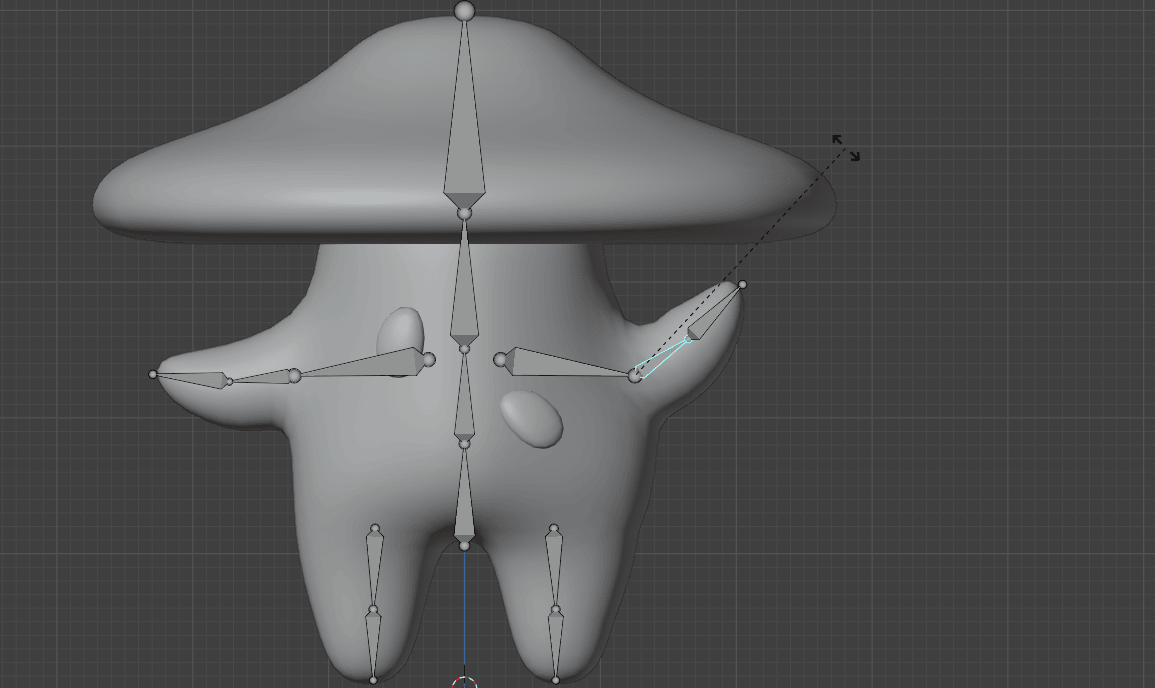
Select this part
and move it with “G”
Beginners guide to Blender
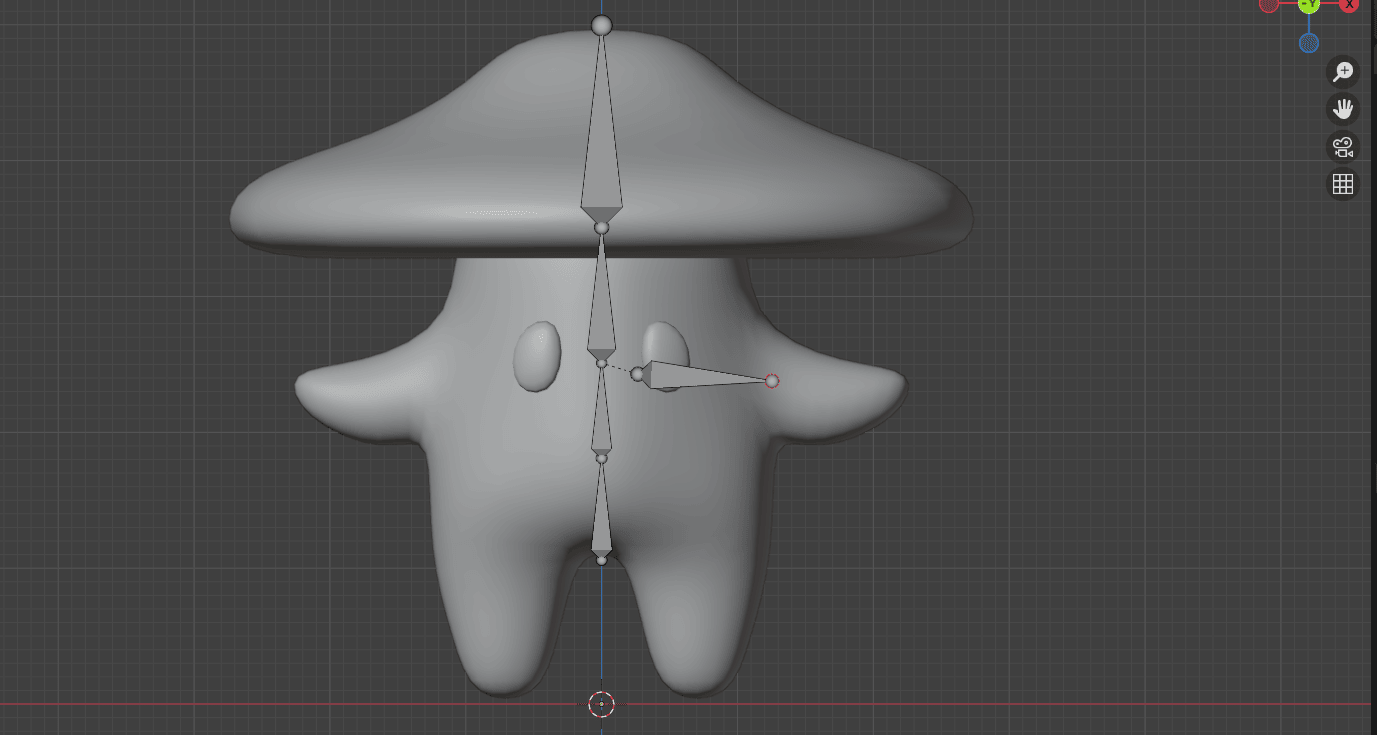
Extrude it with “E+Z” so that the end goes a bit past the leg
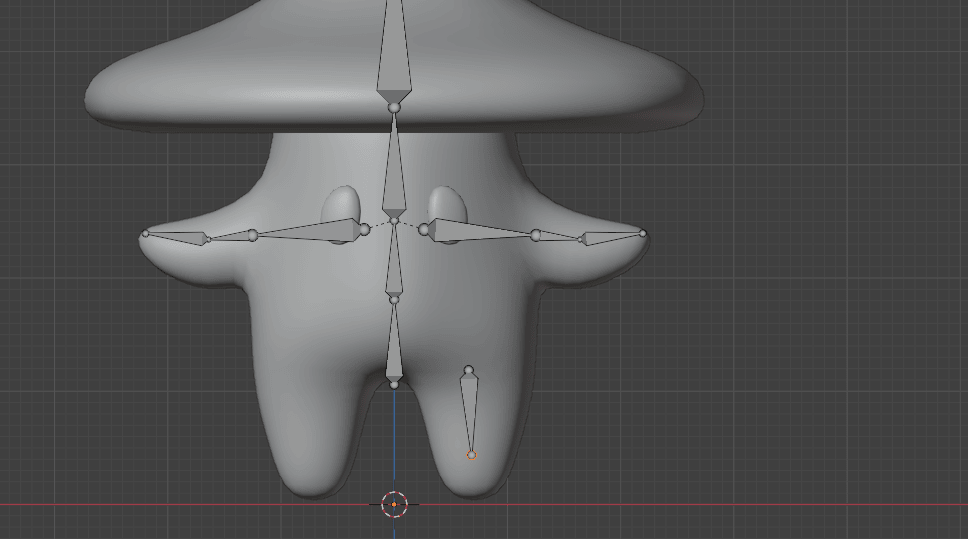
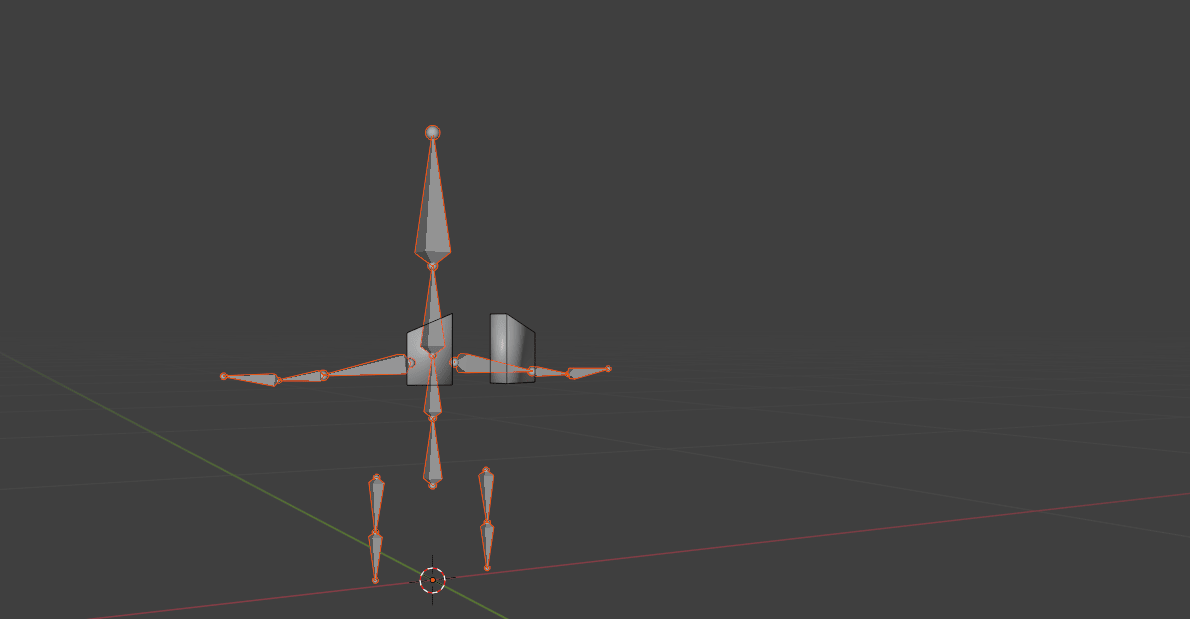
Select both bones
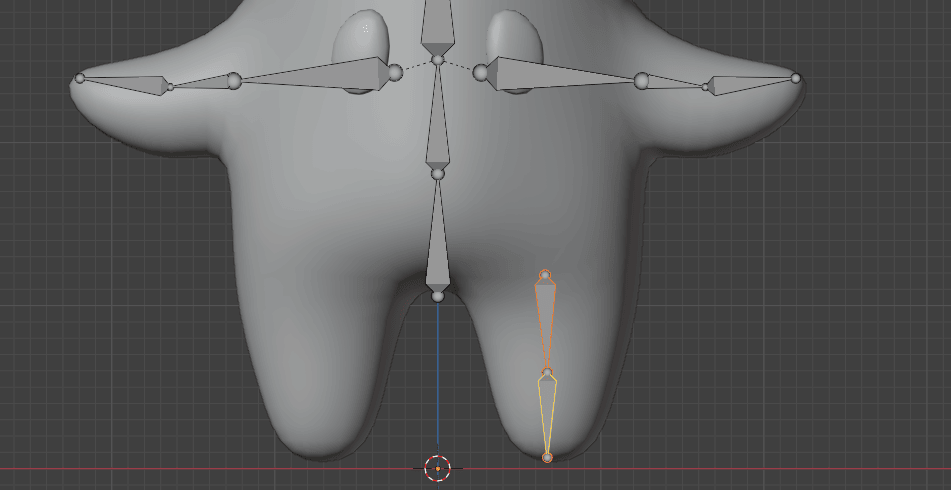
Change from Median point to 3D Cursor
Beginners guide to Blender
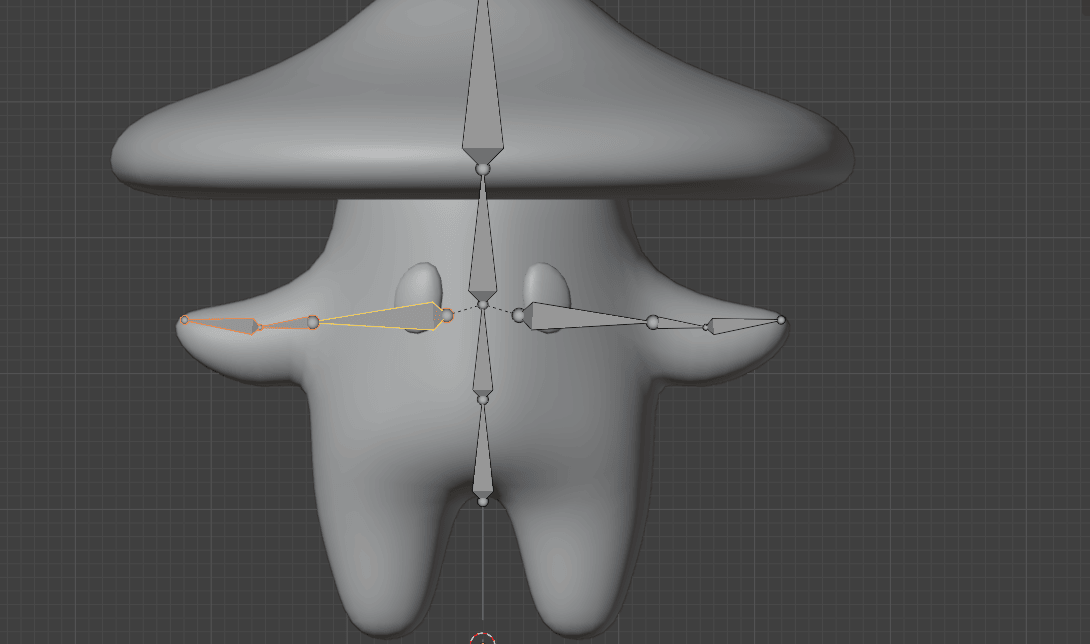
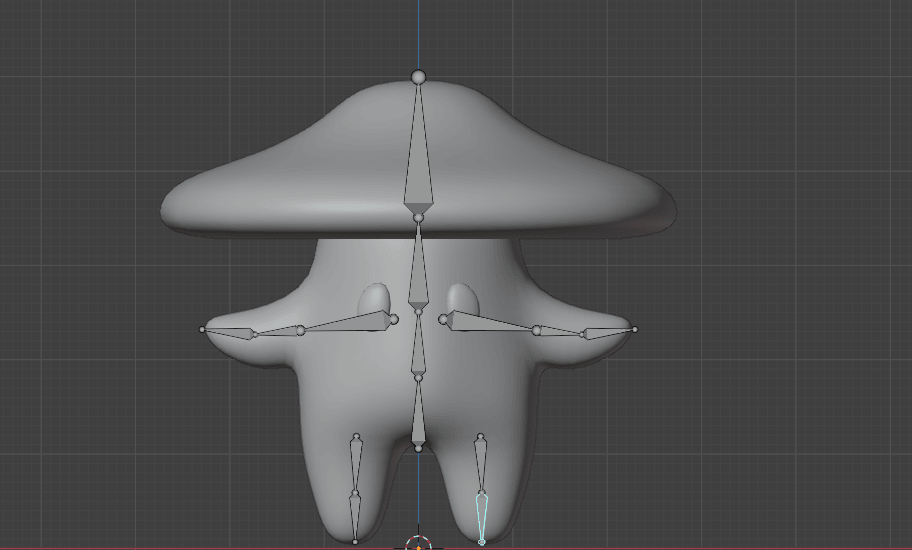
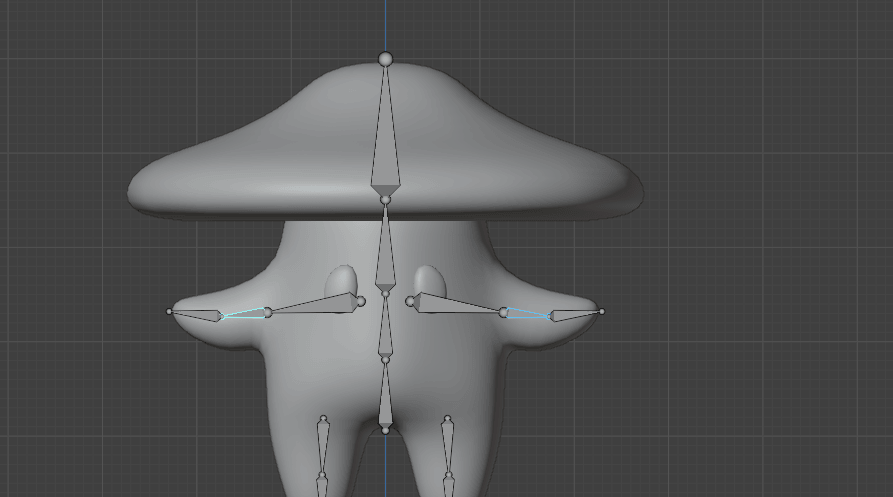
Duplicate them with “SHIFT+D” and scale them with “S+X” -1
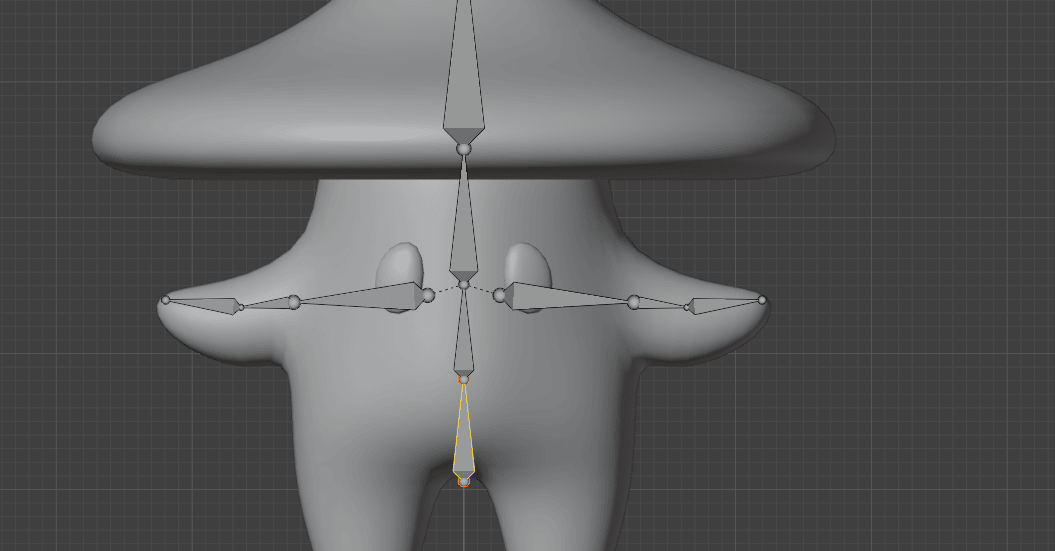
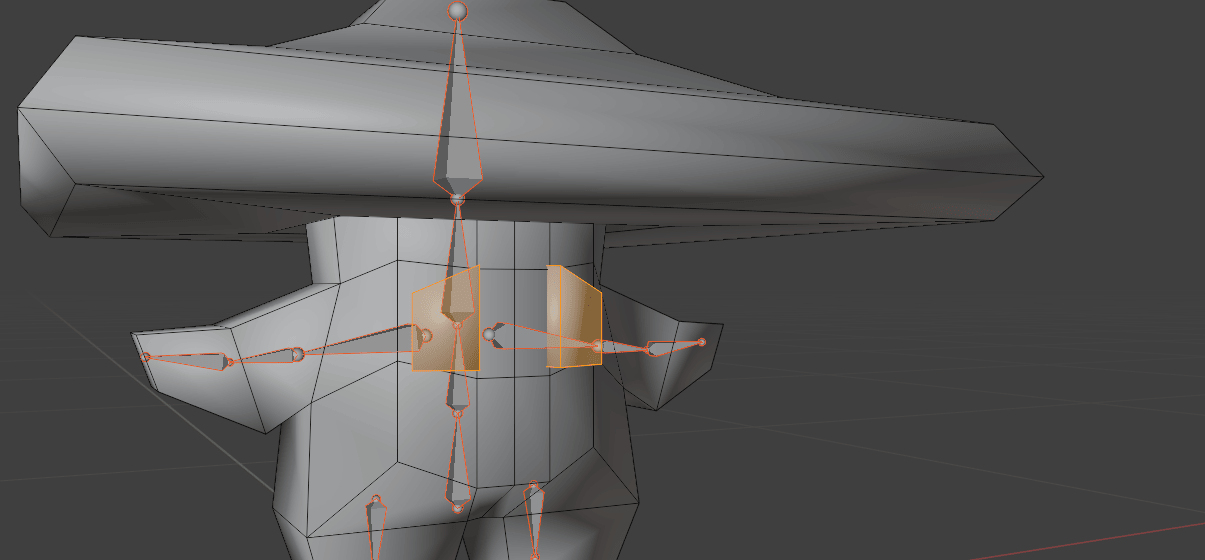
Select these two bones

And this one in the middle
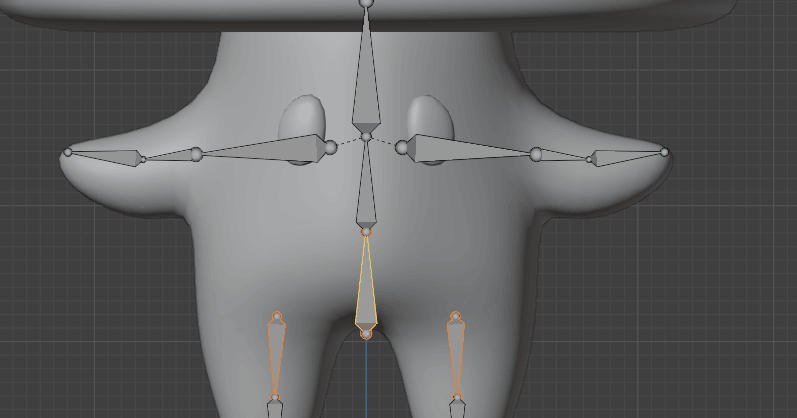
Beginners guide to Blender
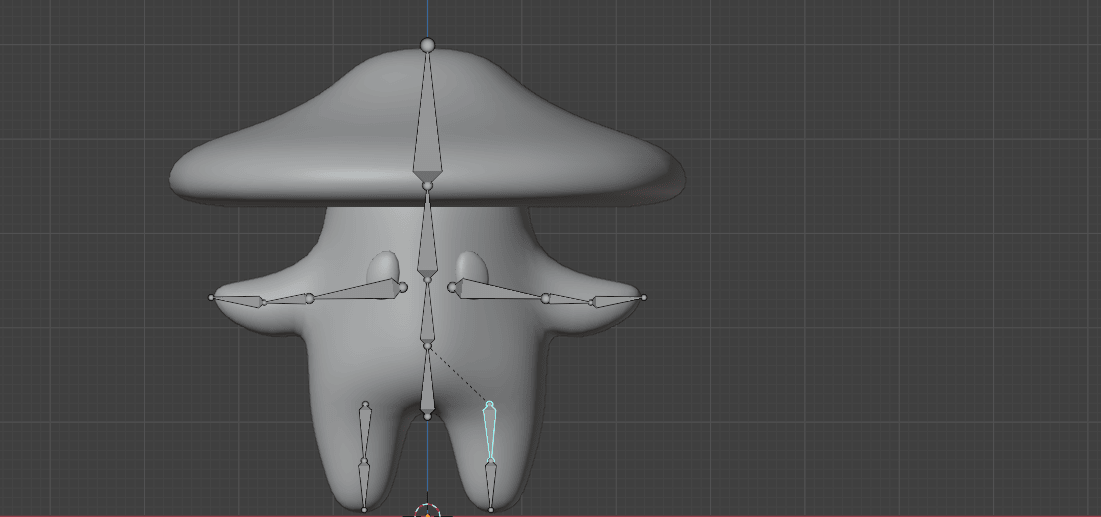
Press “CTRL+P” and choose Keep Offset. That way we can parent leg bones to our rootpelvis bone so that when we move the root bone, leg bones also move. Else, if we were tomove our character the legs would just stay in place while the rest of the body moves about.
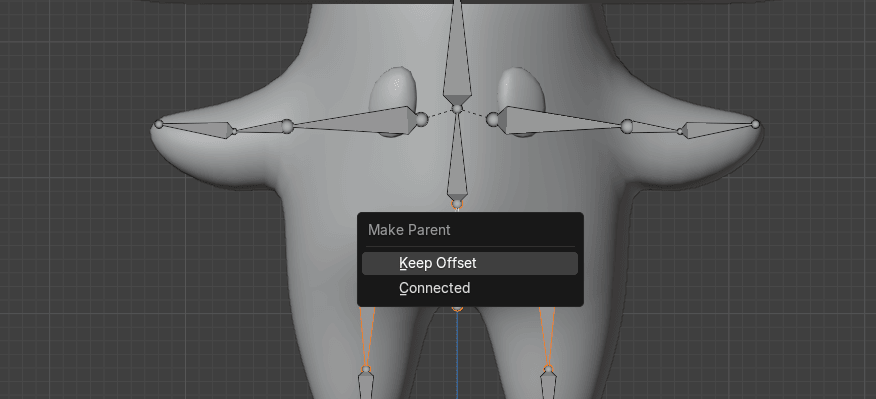
Now, these bones are connected

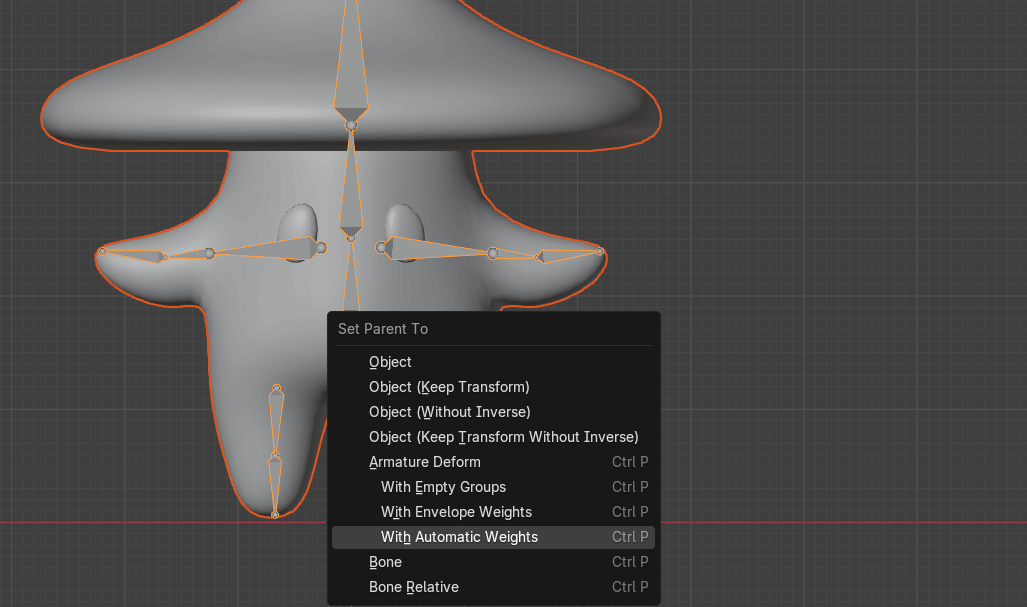
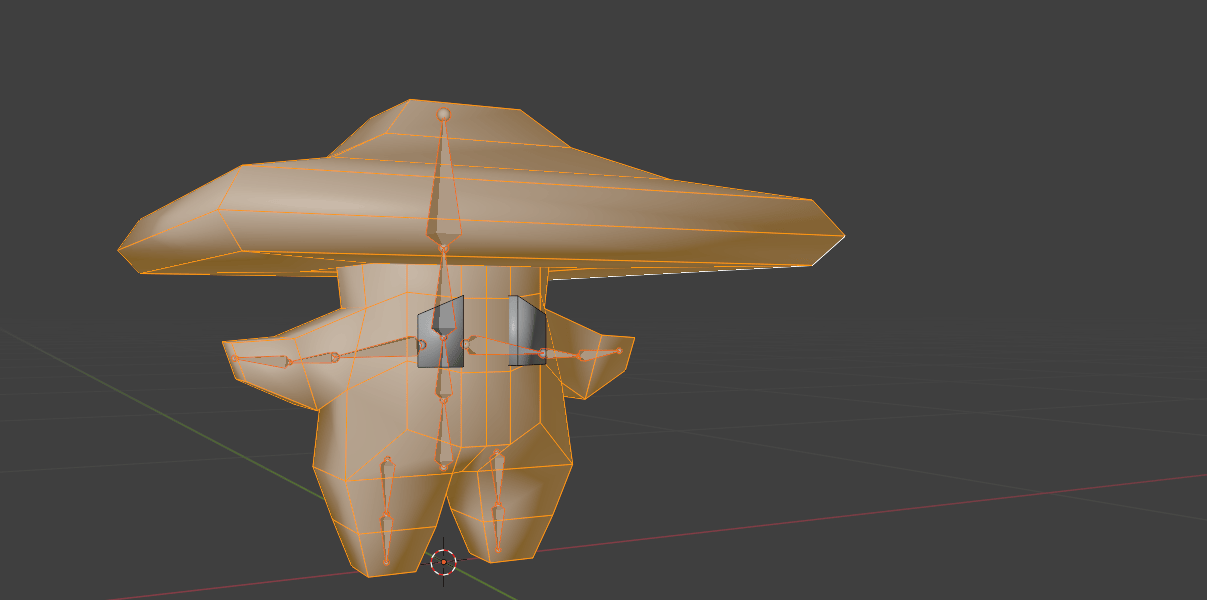
Switch to object mode with “TAB” and select in the Outliner first Mushroom and then whileholding “CTRL” select Armature
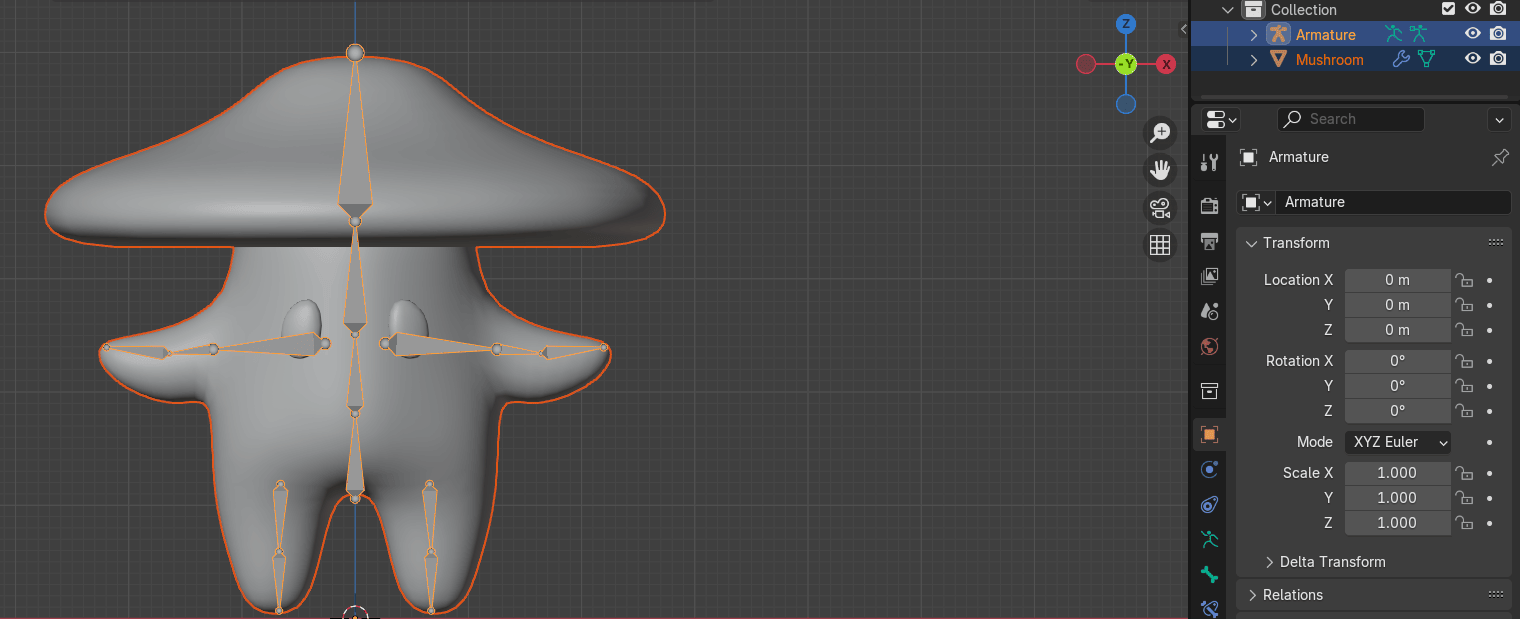
Beginners guide to Blender
Press “ALT+P” and choose with Automatic Weights. By choosing this option, Blenderautomatically sets bone influence to different parts of the mesh. It’s not perfect but works wellfor simple characters and saves some time.
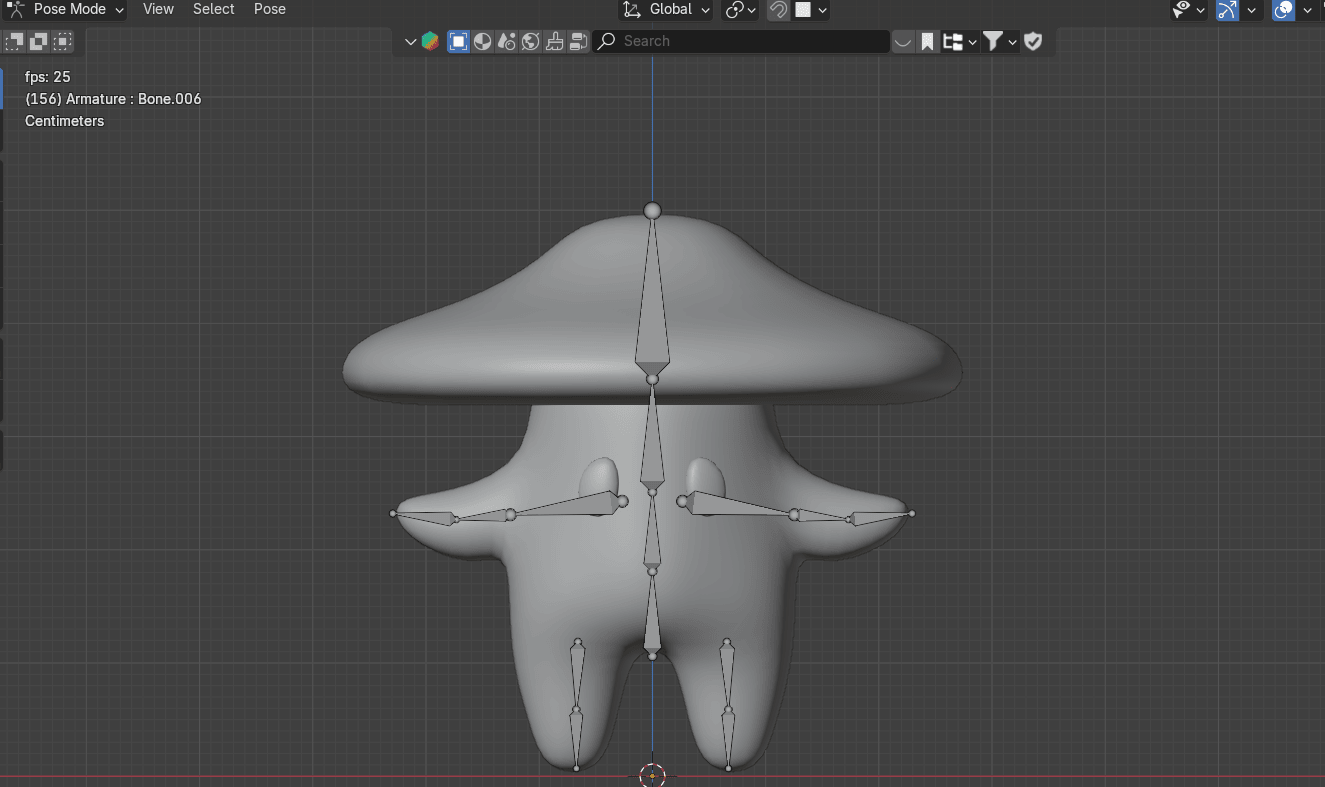
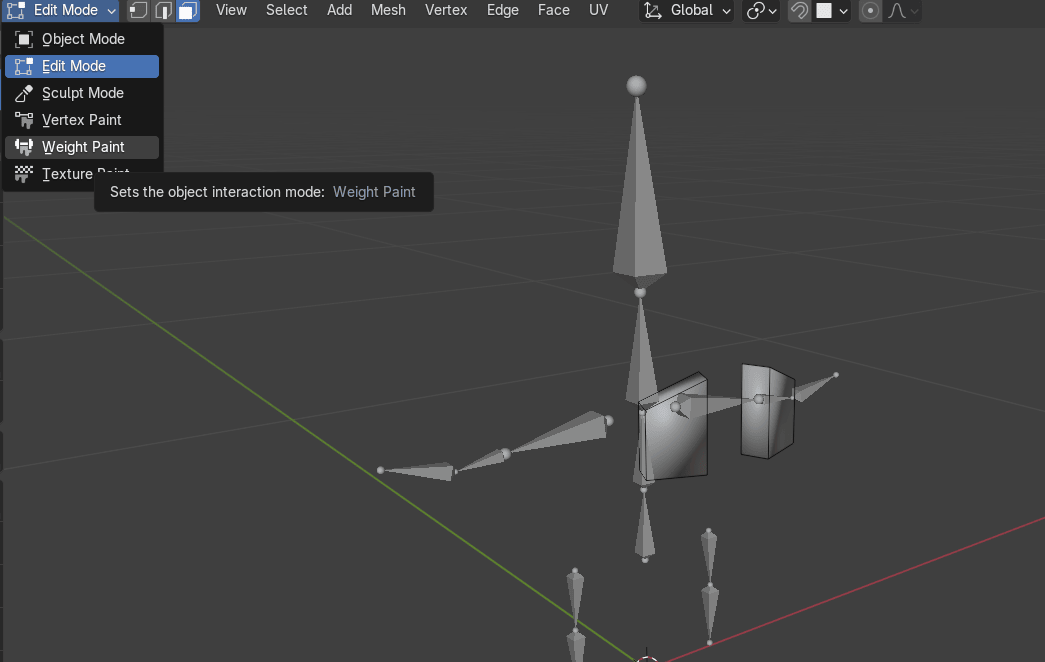
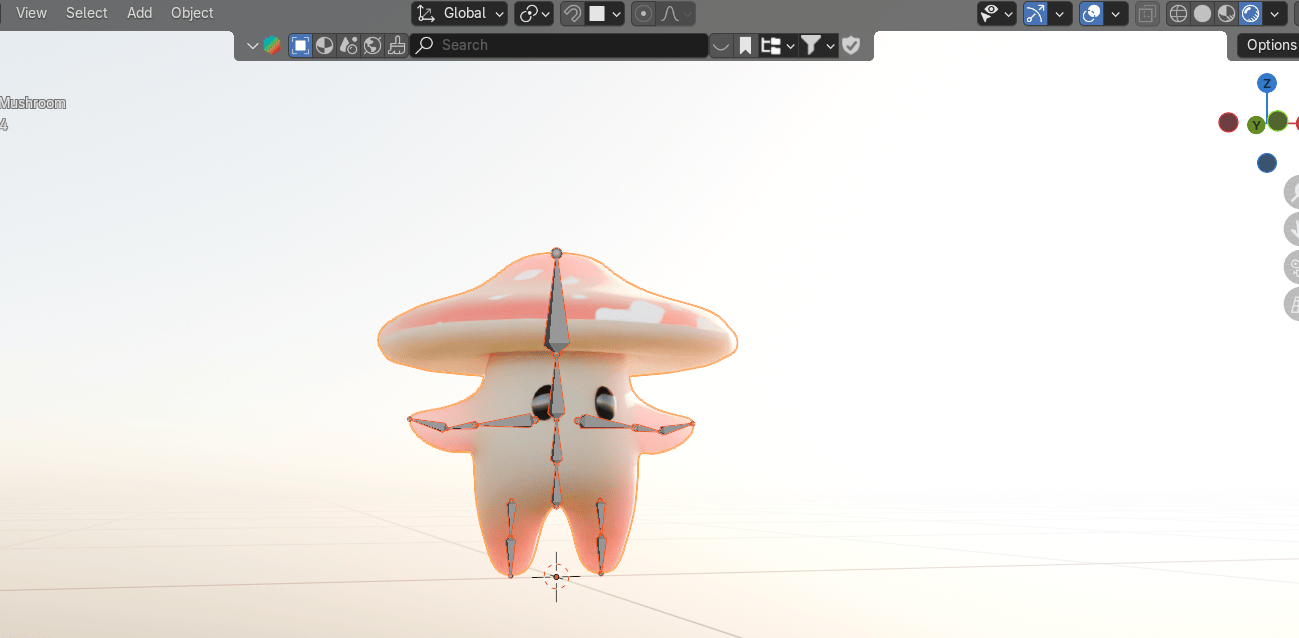
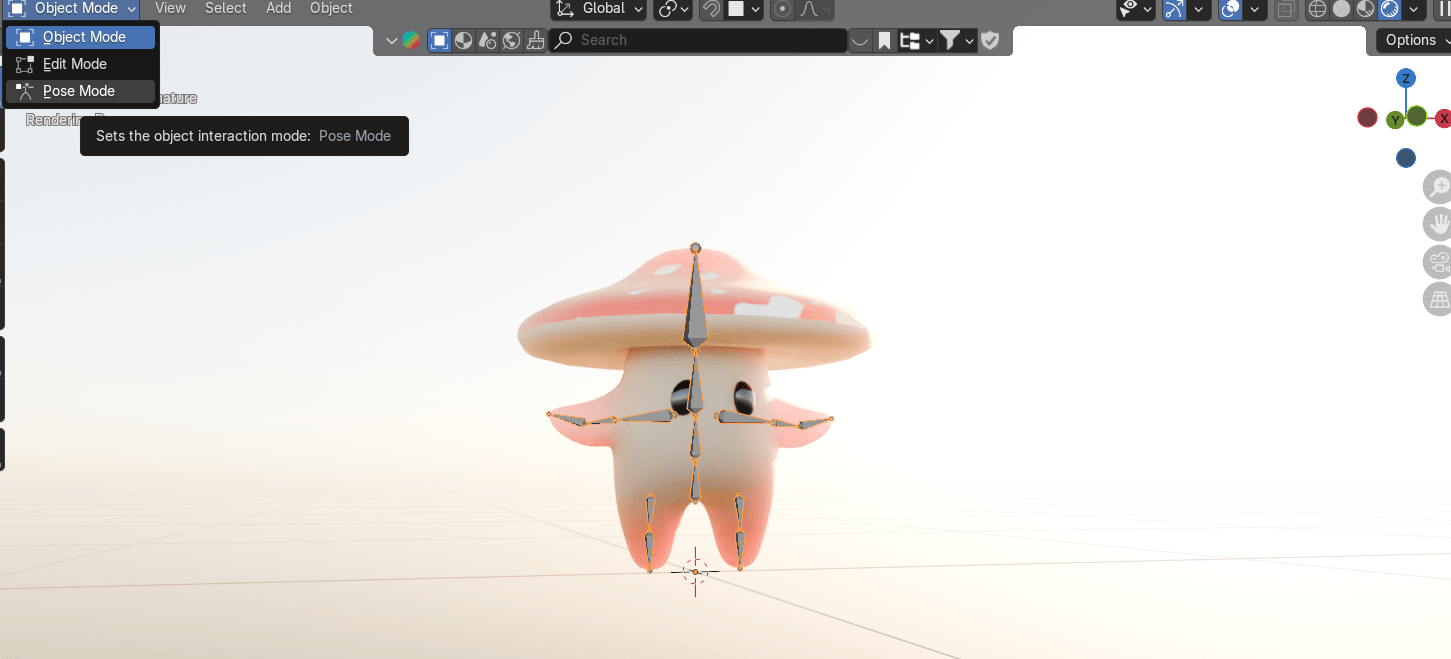
Switch from Object Mode to Pose Mode. In Pose mode you can move, scale, and rotate eachbone of the armature and see how it influences the mesh of your character.
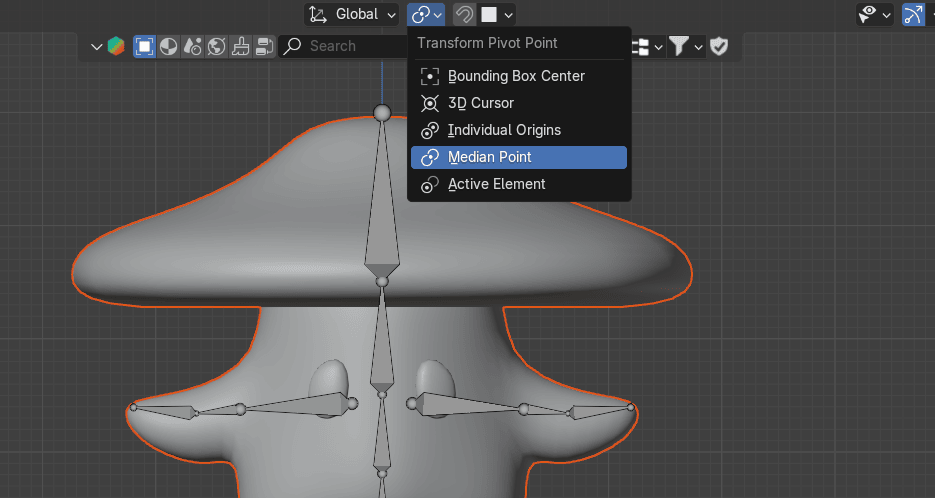
Switch from 3D Cursor to Median Point
Select this bone
Beginners guide to Blender
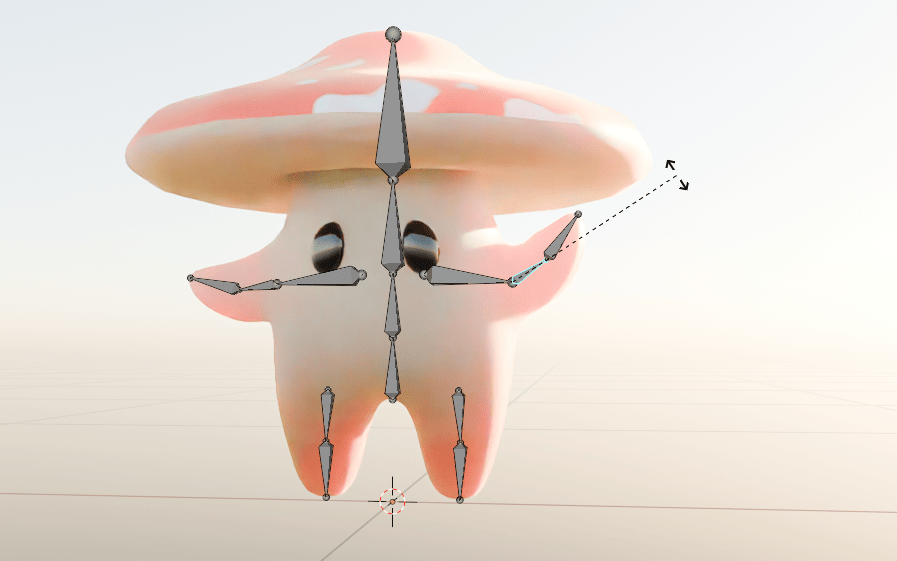
And move it with “R” to see if anything is influenced when you move this bone

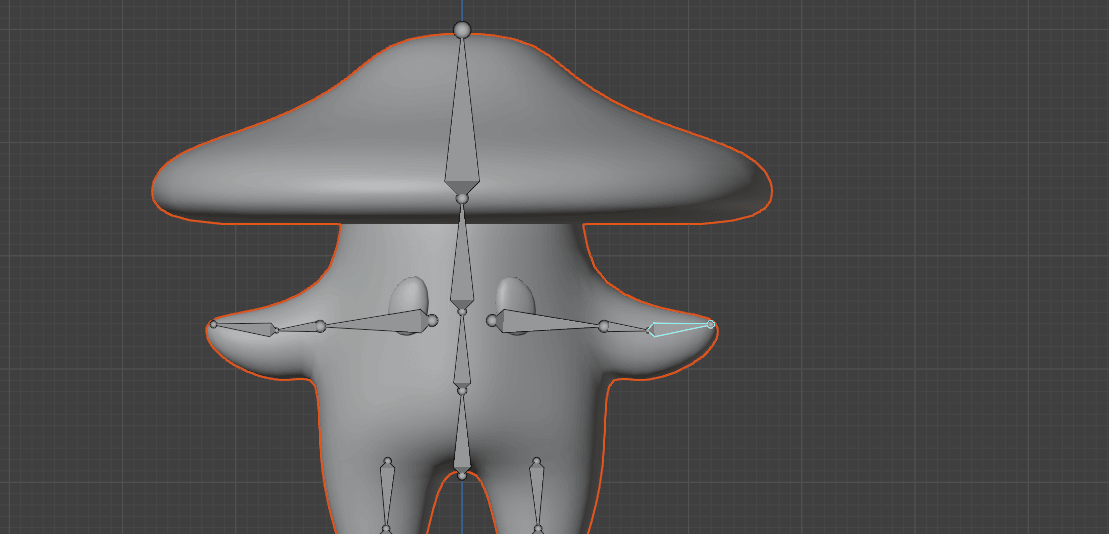
Select this bone
Rotate it with “R”. As you can see, the eye is moving when you move the bone and thatshouldn’t be happening.
Beginners guide to Blender
Select this bone and check it
and this one
And this
Beginners guide to Blender
And this
Beginners guide to Blender
and this
As you can see, the first problem is those bones are influencing the eye so let’s fix that first.
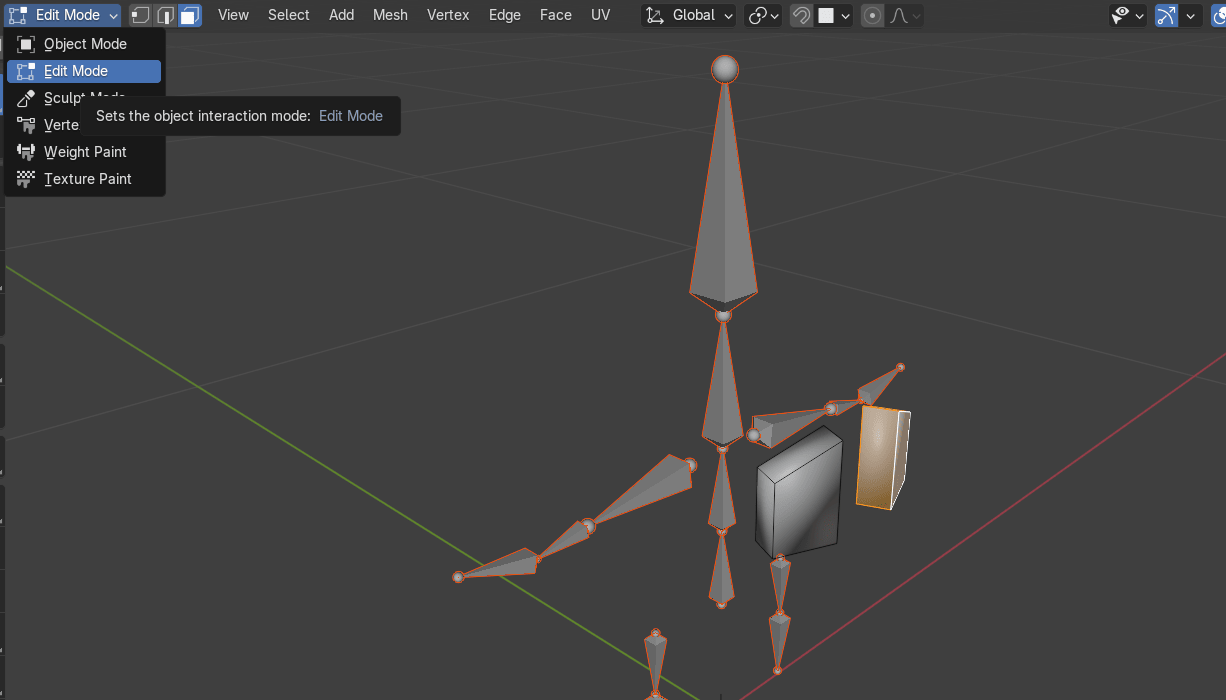
Switch to object mode, select the character, and while holding SHIFT select the armature.

Switch to Edit Mode
Beginners guide to Blender
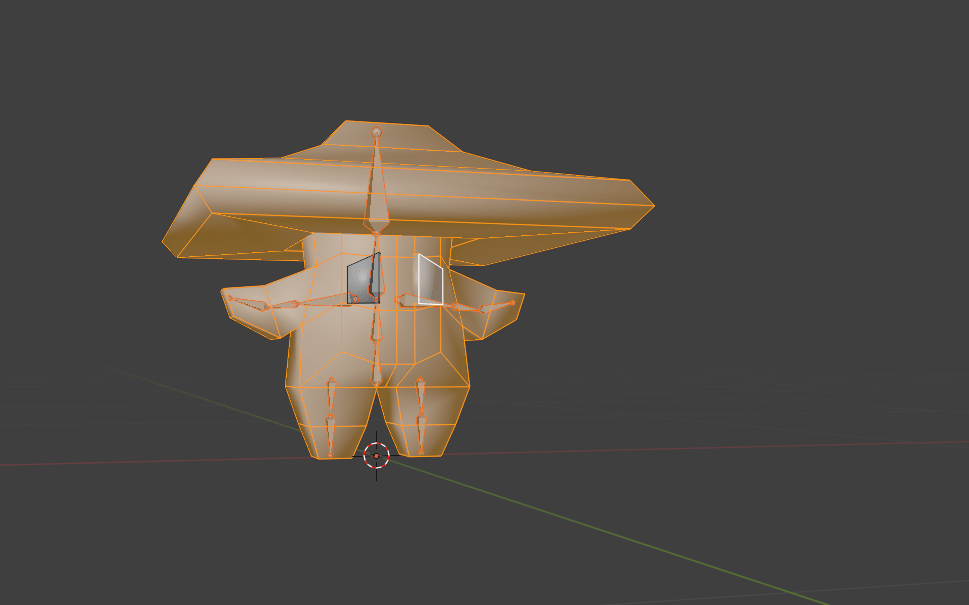
Select both eyes with “L” for linked
Press “CTRL+I” for inverted selection
And press “H” to hide
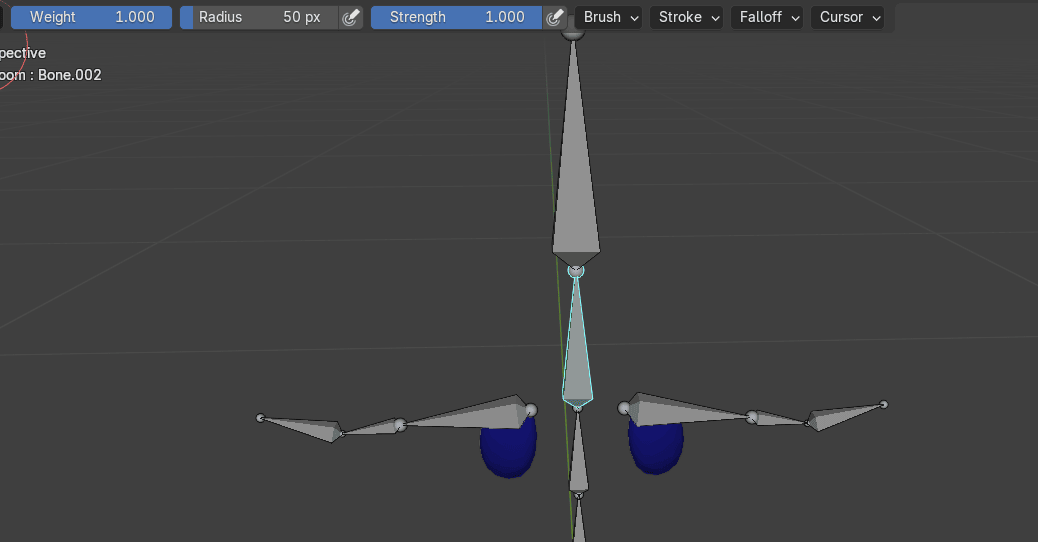
Switch from Edit mode to Weight Paint. In Weight Paint mode you can manually adjustweights (influence) of each bone.
Beginners guide to Blender
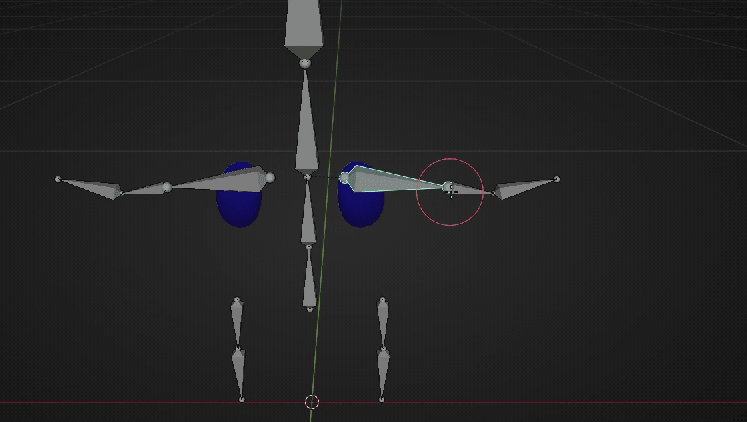
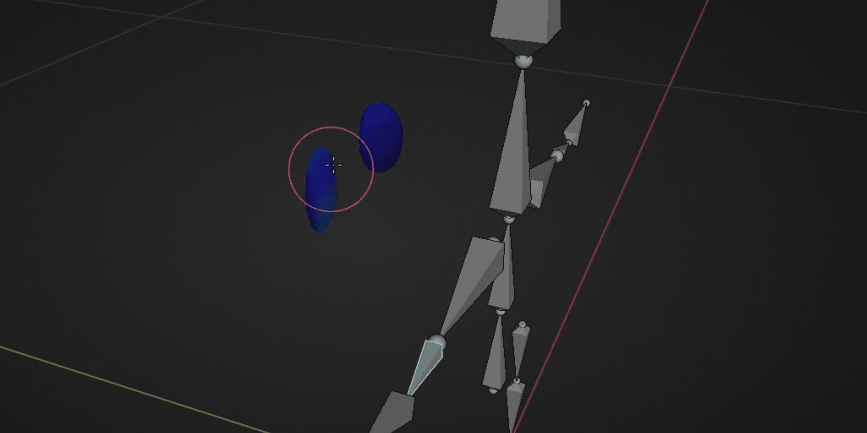
Select this bone with “ALT” + LMB. You can see that when you click this bone, eyes are blue.That means that this bone doesn’t have any influence on the eyes.
Maybe your skeleton will show differently. It all depends on the position and size of yourbones and automatic weights.
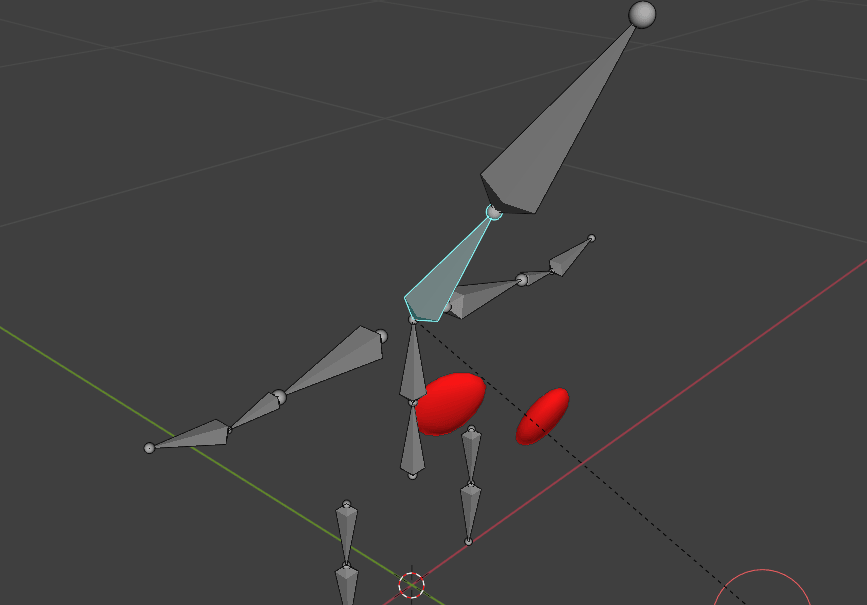
Click on every bone and try to find the one that shows either one or both eyes in red. You canalso check influence by rotating the bone with “R”.
Beginners guide to Blender
For example, this bone is showing red eye

and when you rotate it, the eye is moving. This is obviously wrong since arm bones shouldn’taffect the eyes.
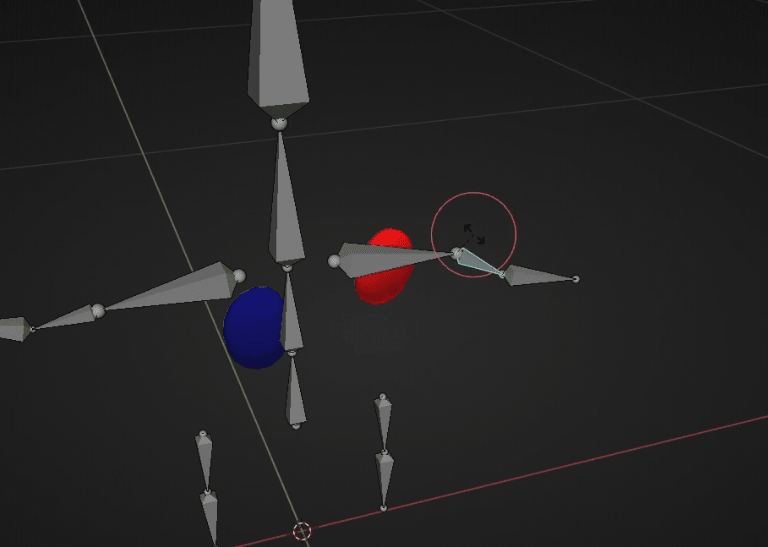
So how to fix it?
Beginners guide to Blender
Put weight to zero. That means that when you paint your eye, you will paint it blue whichmeans it has zero influence and your bone won’t affect this part of the mesh.
So paint it like this from all sides
If you didn’t paint it well somewhere, your eyes will still move when you rotate your bone.
Like this
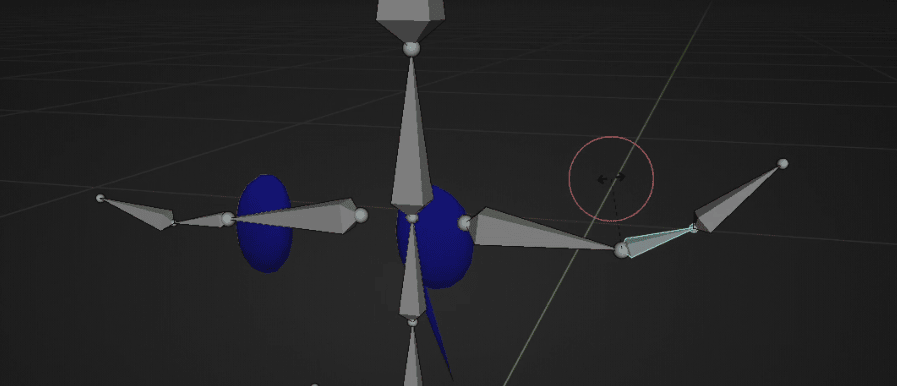
So keep coloring it until it is not moving. Now it’s good.
Beginners guide to Blender
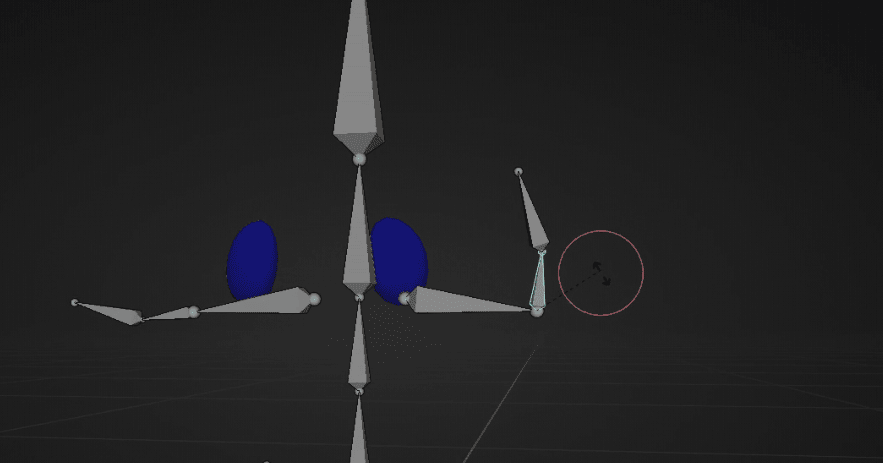
Select this bone, as you can see the eye is red, so do what you did previously, paint it blueuntil it is not moving when you are rotating the bone.
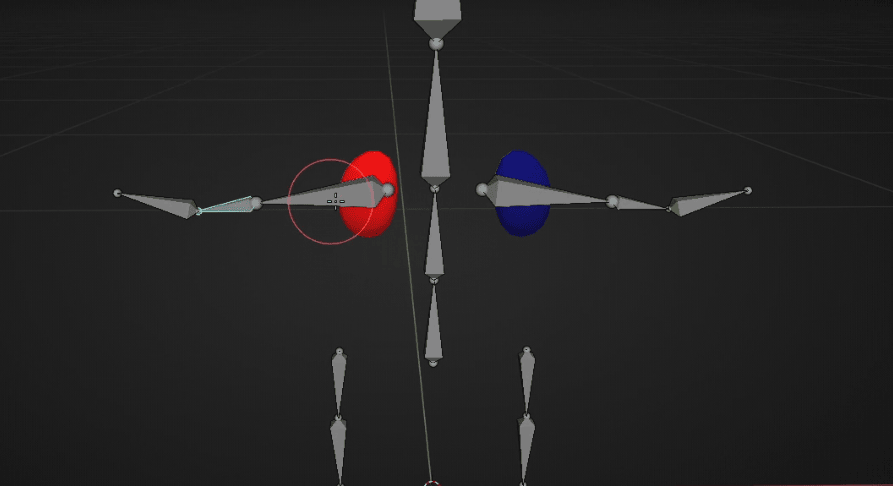
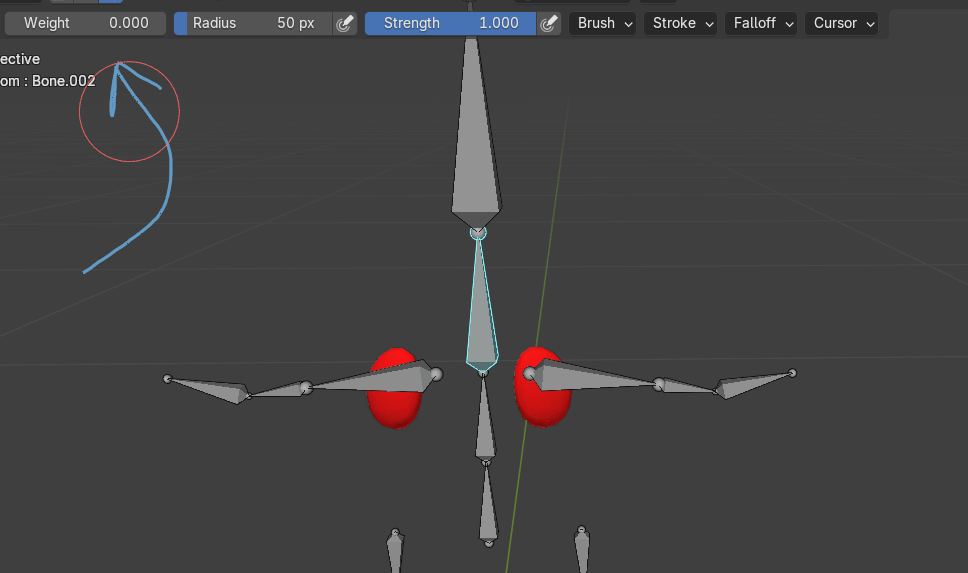
Select this bone and try to rotate it. Eyes are not moving, but they should.
It’s the bone for the head part so check it and if it is not affecting the eyes then you need topaint them red while this bone is selected.

If you want to increase the influence of the bone, change weight to 1.
Beginners guide to Blender
and paint both eyes red. They are now moving so it is all good.
Now switch back to edit mode
Unhide everything with “ALT+H”
Beginners guide to Blender
Switch to object mode with “TAB” and rendered mode.
Select the armature and switch to the pose mode.
Beginners guide to Blender
Select each bone and rotate it with “R” to see if it’s working properly.

Beginners guide to Blender
If it’s working it’s all done, if it is not, you can go again to the weight paint and correct it.
Now you know how to rig a character!
If you want to learn how to model and texture it and see .blend file, you can subscribe to myPatreon to 1st tier which is less than a price of the coffee and get access to exclusivetutorials, models, etc.
That’s all for today!
If you had fun learning with me, don’t forget to subscribe to my channel.
I recently started a Patreon with more exclusive content like tutorials, 3D models, .blend files,behind-the-scenes videos, etc. I am also often sharing free 3D models, making quizzes, etc.
There is something for both free and paid members, so don’t forget to check it out.
And if you have any questions, write them down in the comments :D
Happy Blending everyone! Byeee, see you next time.
Chapter 28- Modeling and texturing a cute3D cartoony grain sack