Chapter 30a: How to import 3D models from CGTrader to Blender
Beginners guide to Blender
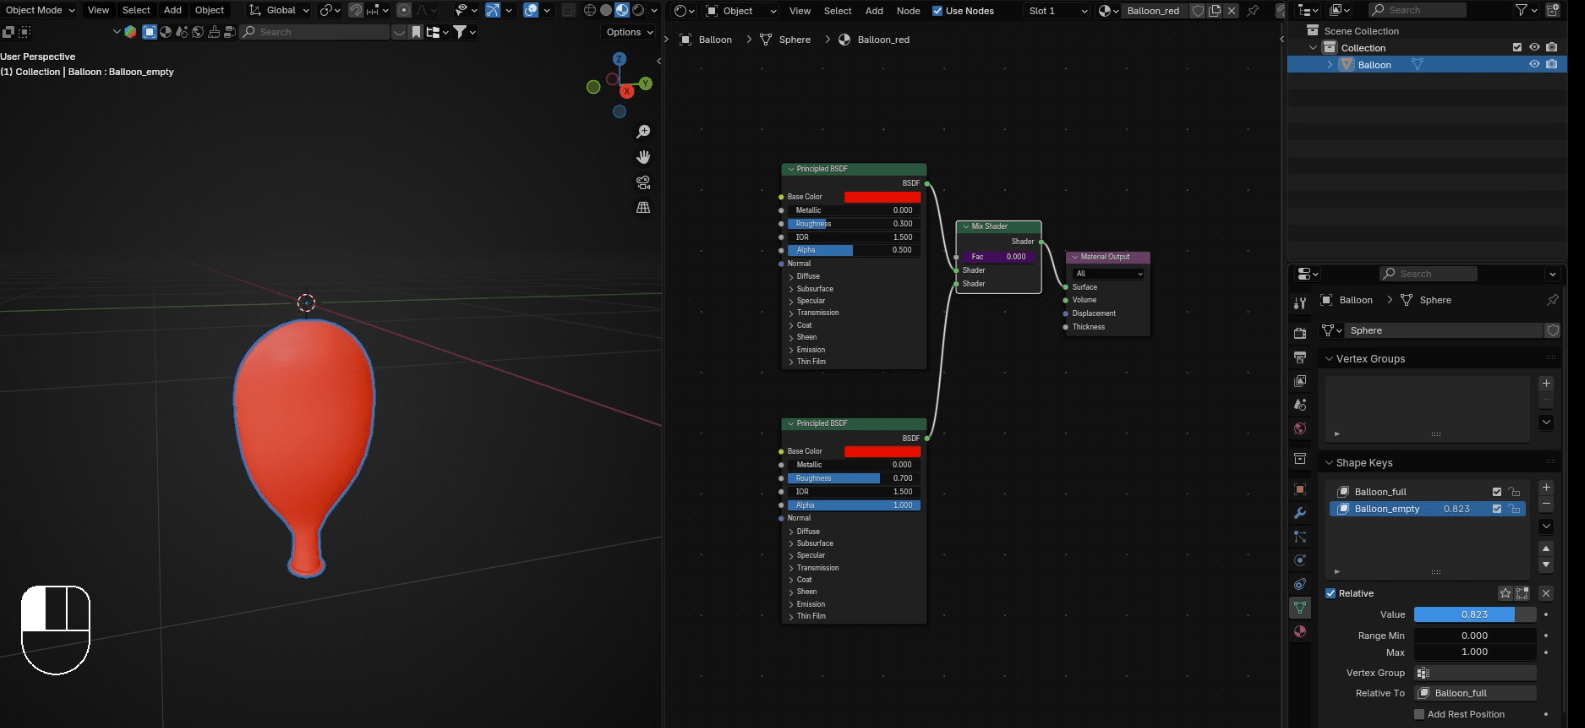
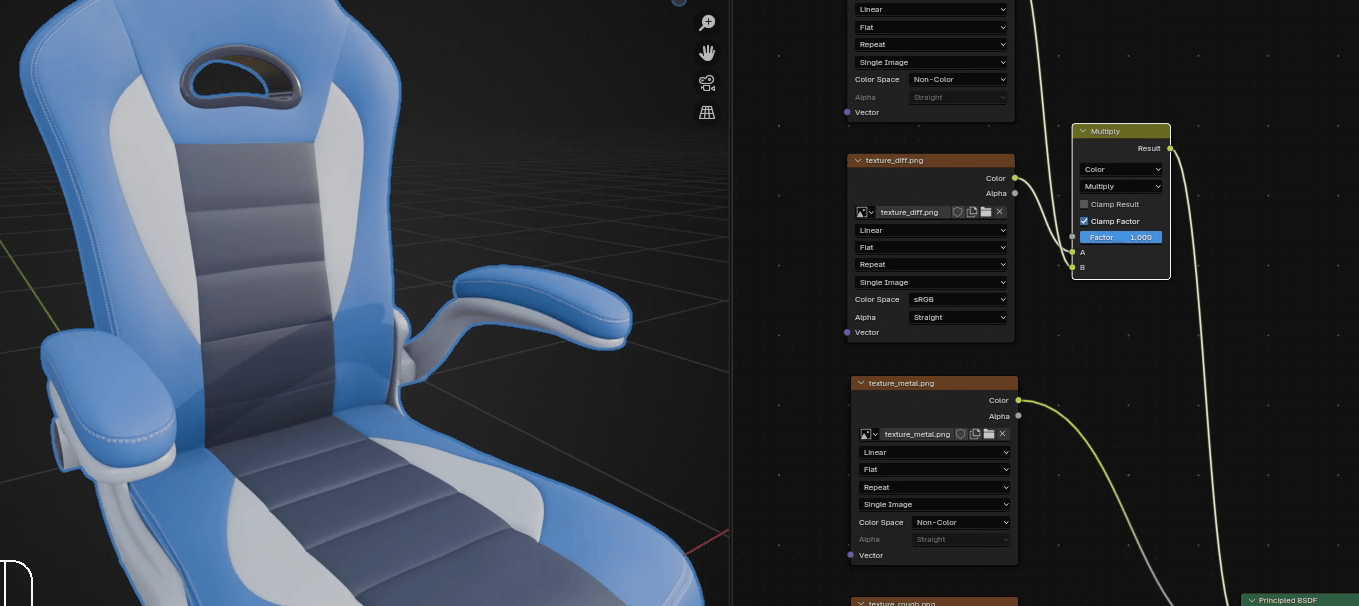
Now you can easily animate it by just changing the value.
That’s all for today!
If you had fun learning with me, don’t forget to subscribe to my YouTube channel SaTales..
I recently started a Patreon with more exclusive content like tutorials, 3D models, .blend files,behind-the-scenes videos, etc. I am also often sharing free 3D models, making quizzes, etc.You can find .blend file with animation on my Patreon 1st tier.
There is something for both free and paid members, so don’t forget to check it out.
And if you have any questions, write them down in the comments :D
Happy Blending everyone! Byeee, see you next time.
Beginners guide to Blender
ambient occlusion included) | Step-by-stepguide
Hello everyone, my name is SaTales, and today we will learn how to import 3D models withtextures like metallic, ambient occlusion, roughness, and displacement from CGTrader toBlender.
YouTube link(https://youtu.be/vGDYKE4XQ70)
First, go to CGTrader (or any other site with 3D models) and find a free (or paid) 3D modelthat you want to download.
I chose this chair.
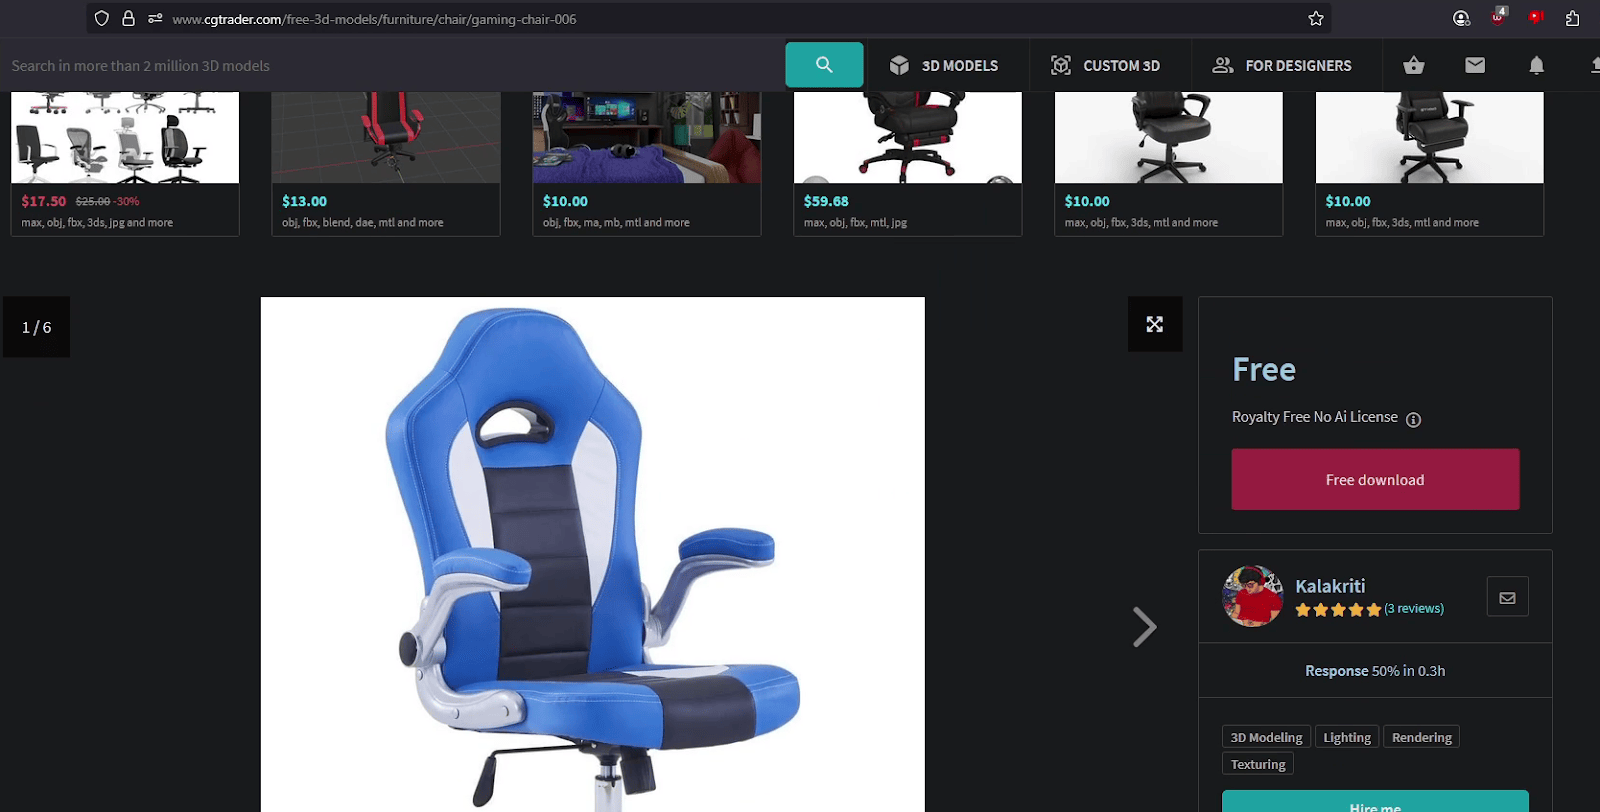
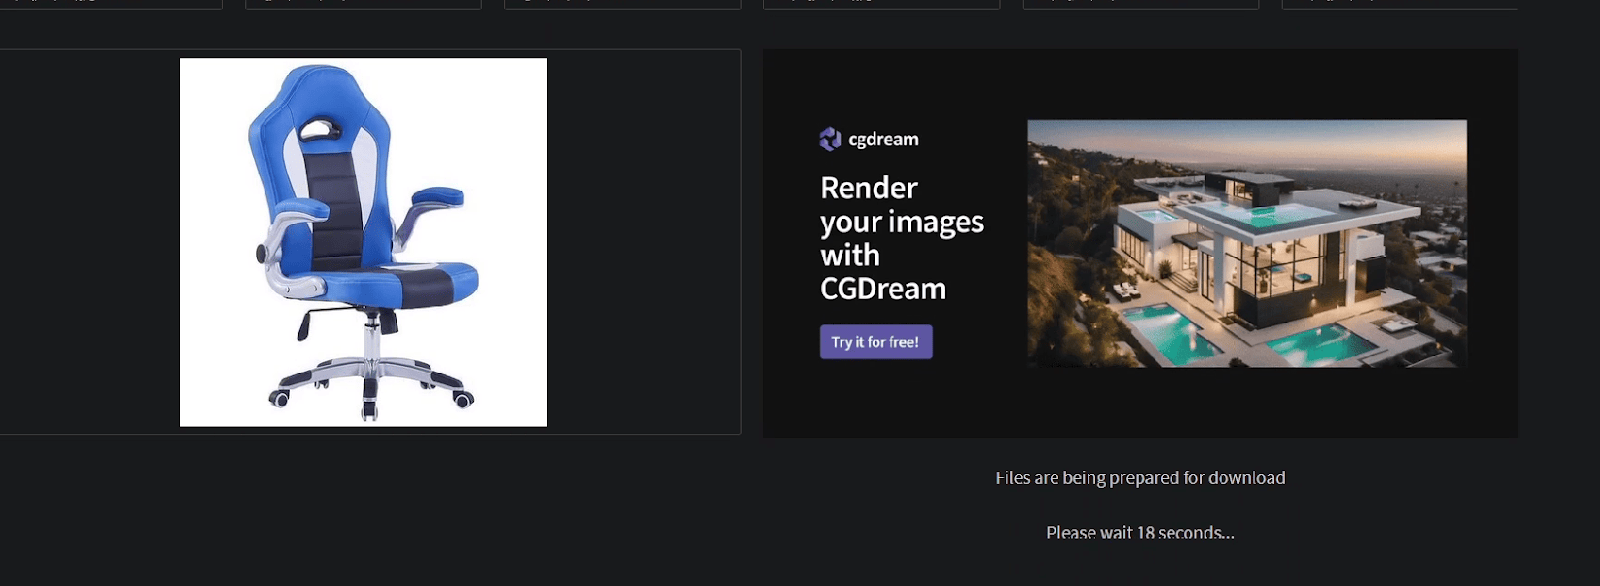
Click on 'Free download,' and you will be redirected to a new page where you will need towait approximately 18 seconds.
Beginners guide to Blender
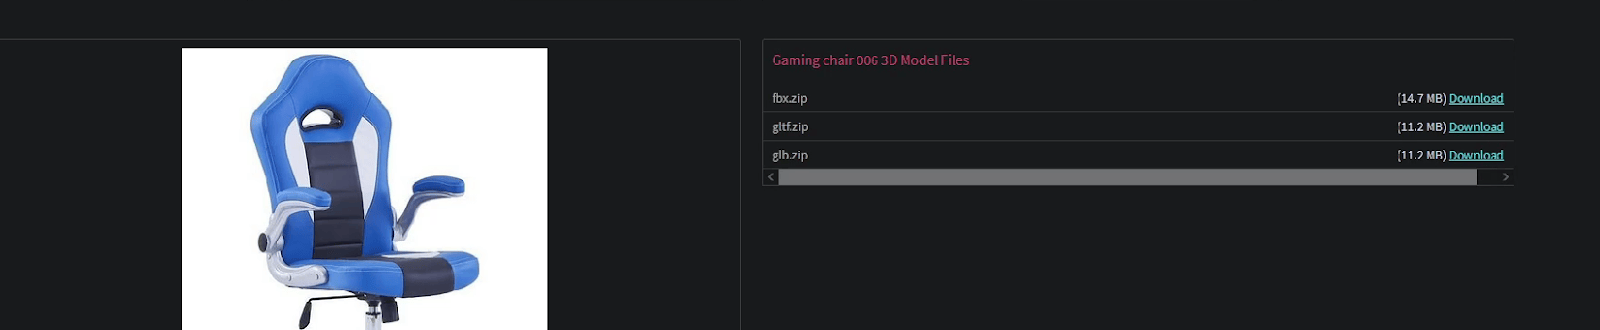
After the time is up, your files will be available in various formats. I decided to download an.fbx file for this example.
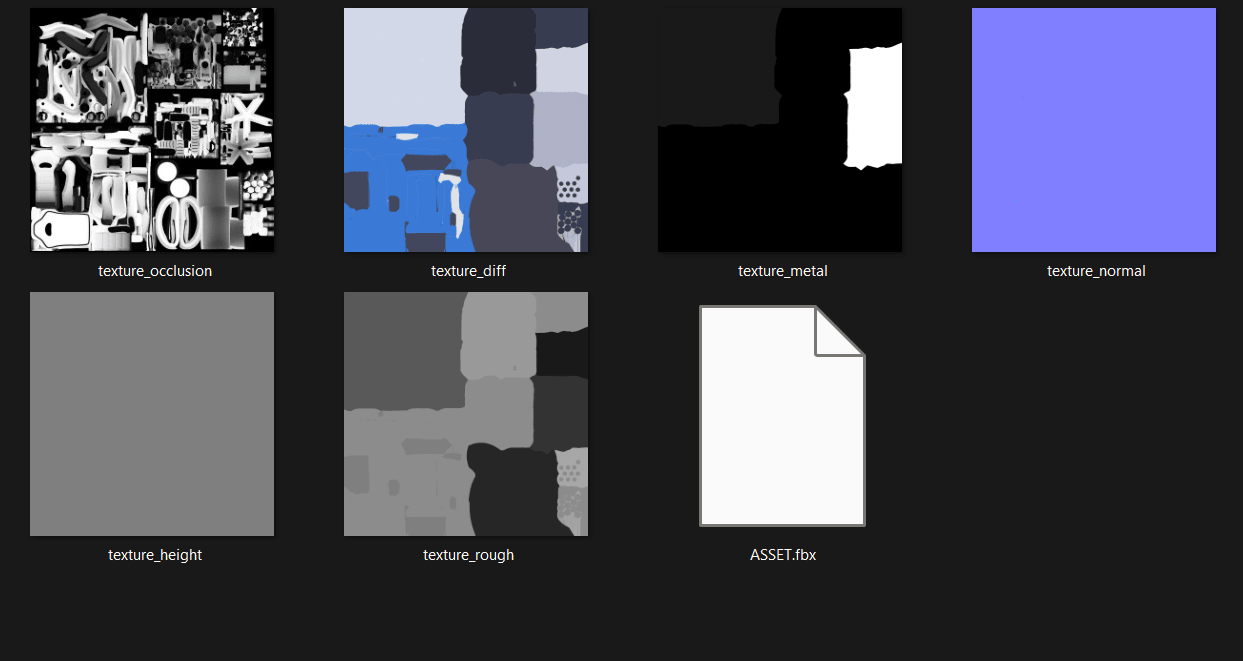
When you open the folder, you will encounter this: 6 different textures and a 3D model in FBXformat.
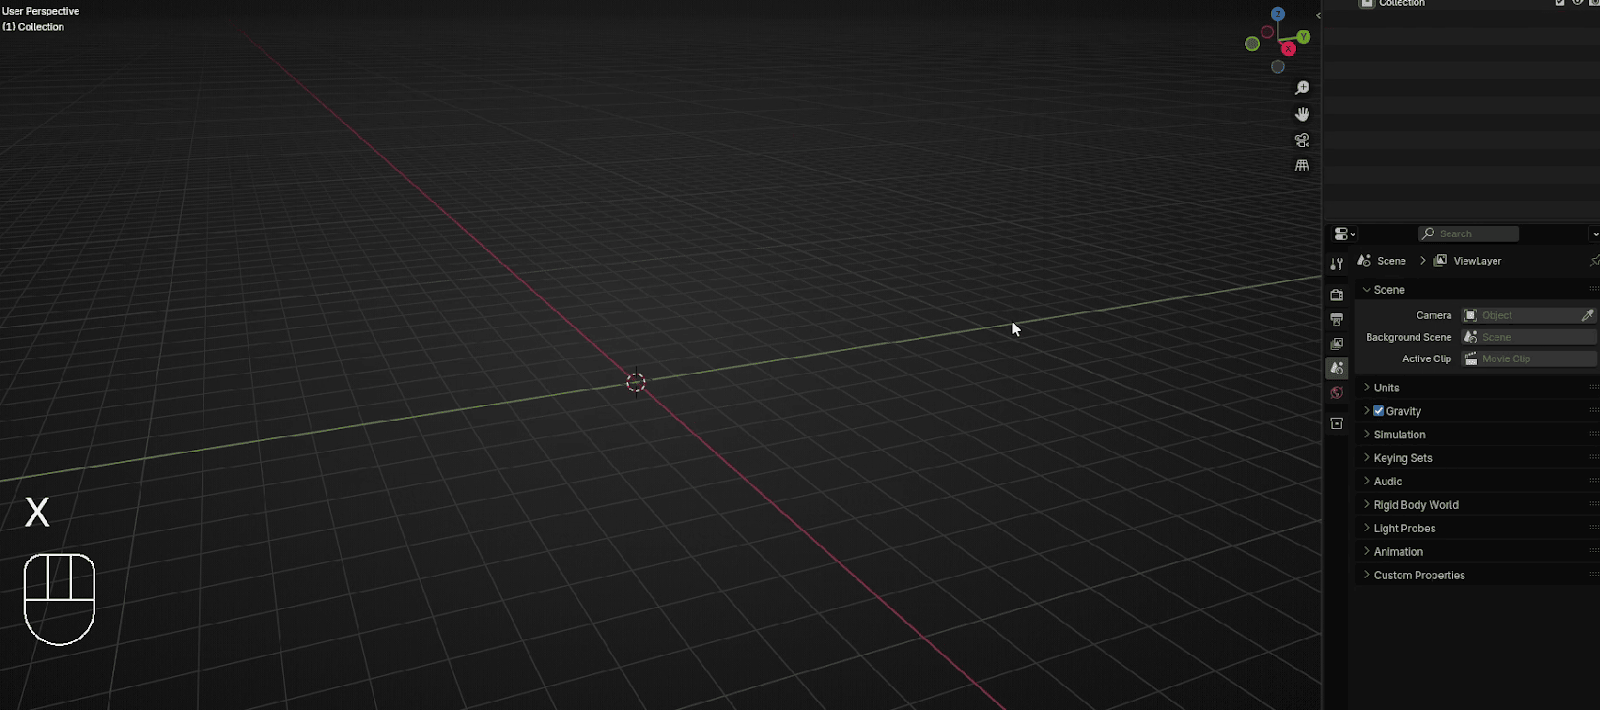
Now you can open Blender.
Select everything with “A” and delete with “X”.
Select the .fbx file and drag and drop it into Blender (drag and drop only works in Blenderversion 4.1 and later)
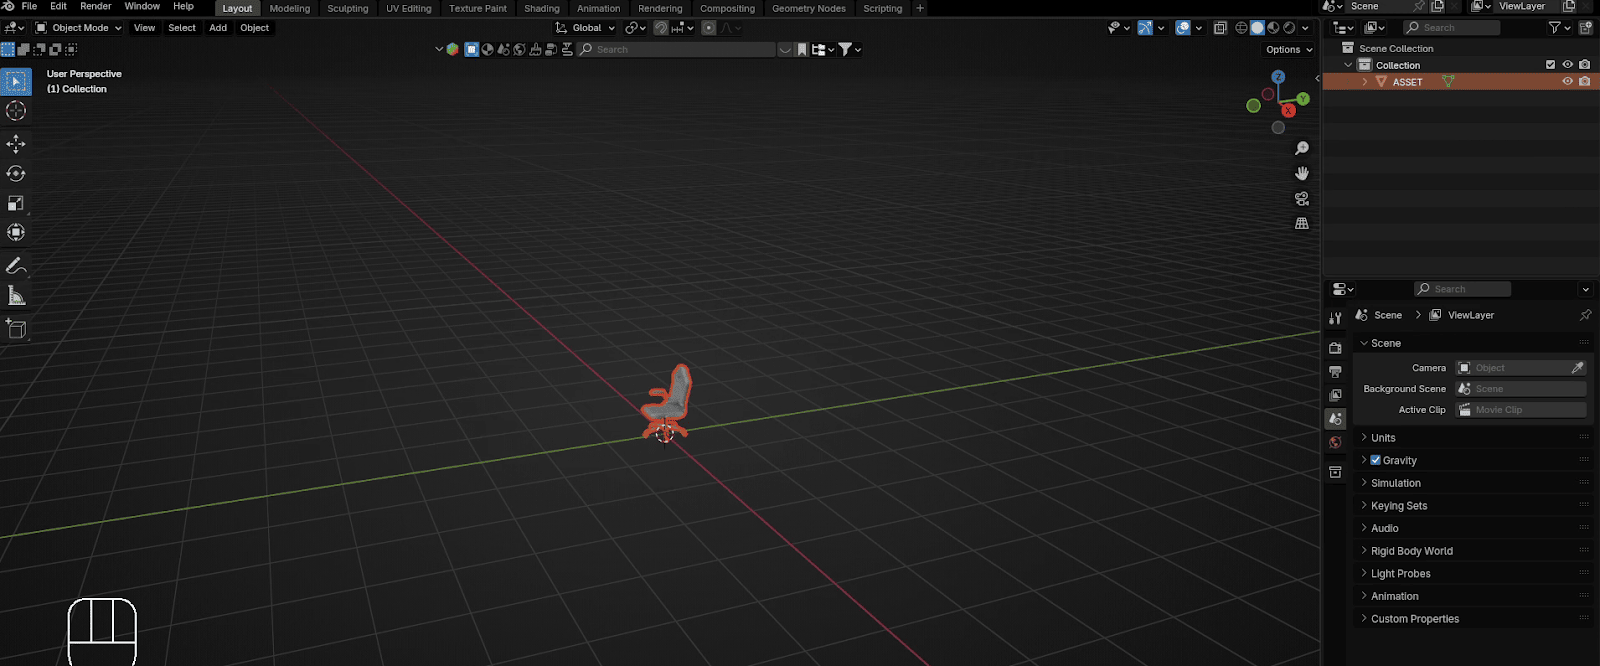
Press Import FBX
Beginners guide to Blender

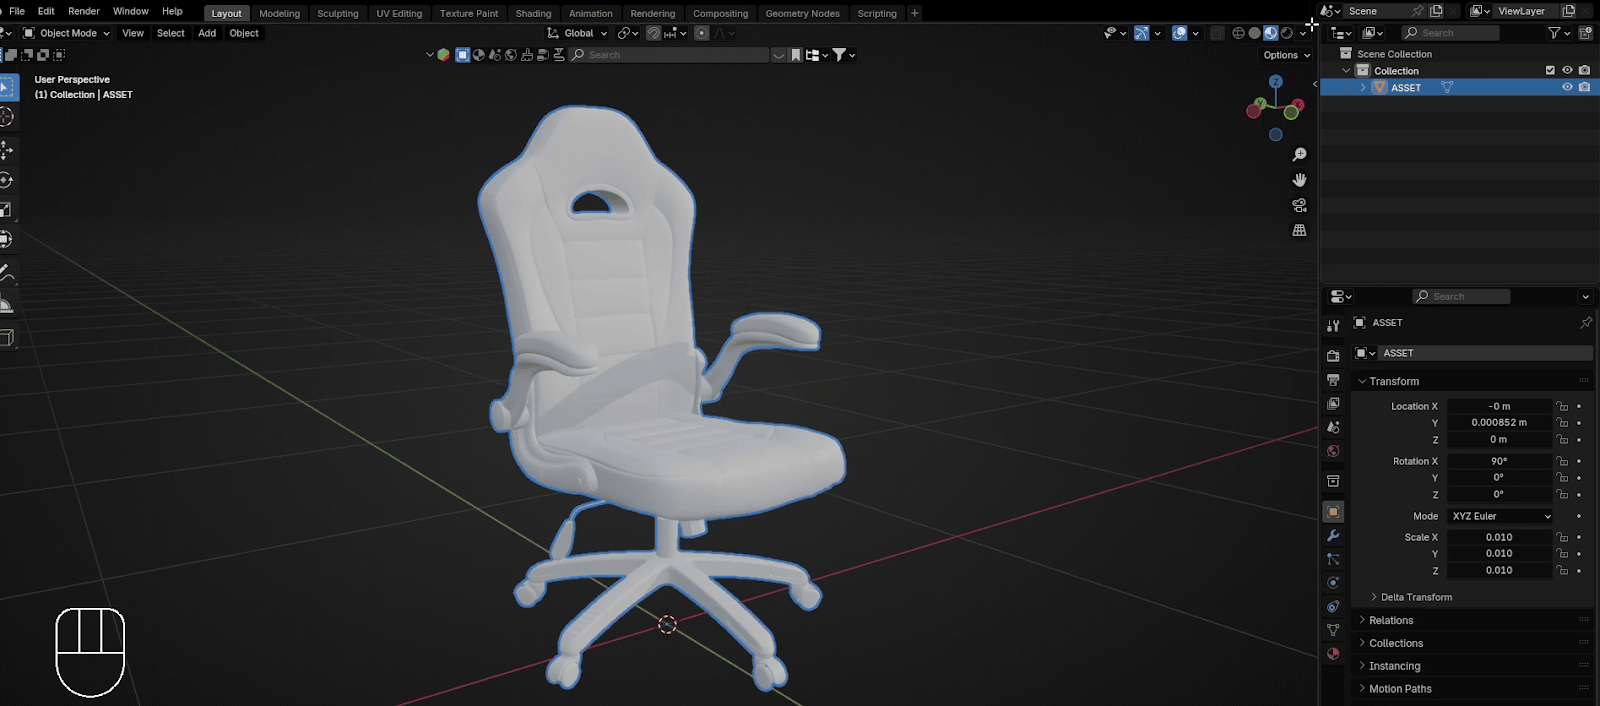
and your chair will be imported.
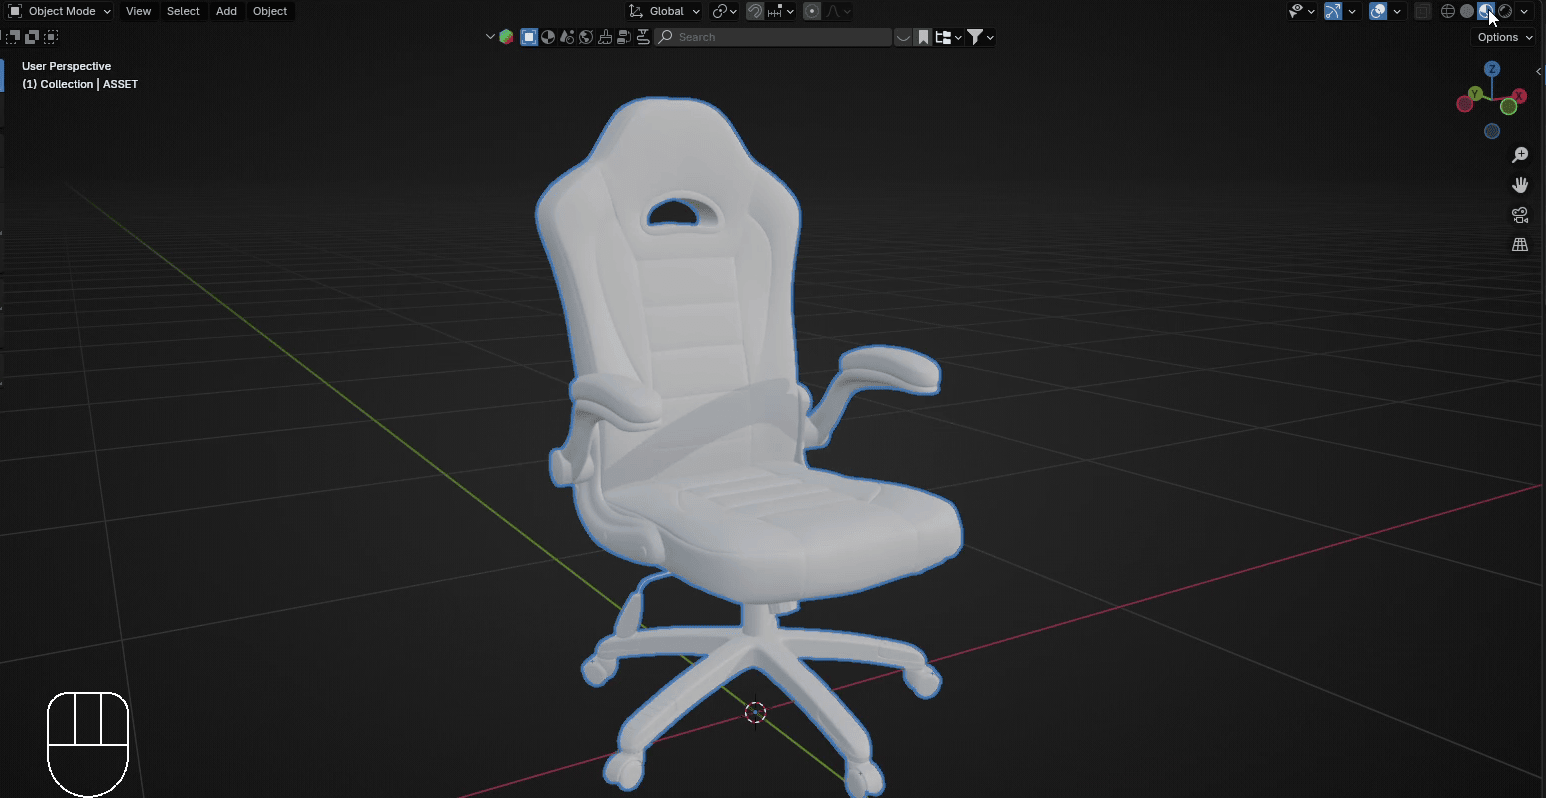
Switch to Material Preview mode so that you can add textures and see how they look.
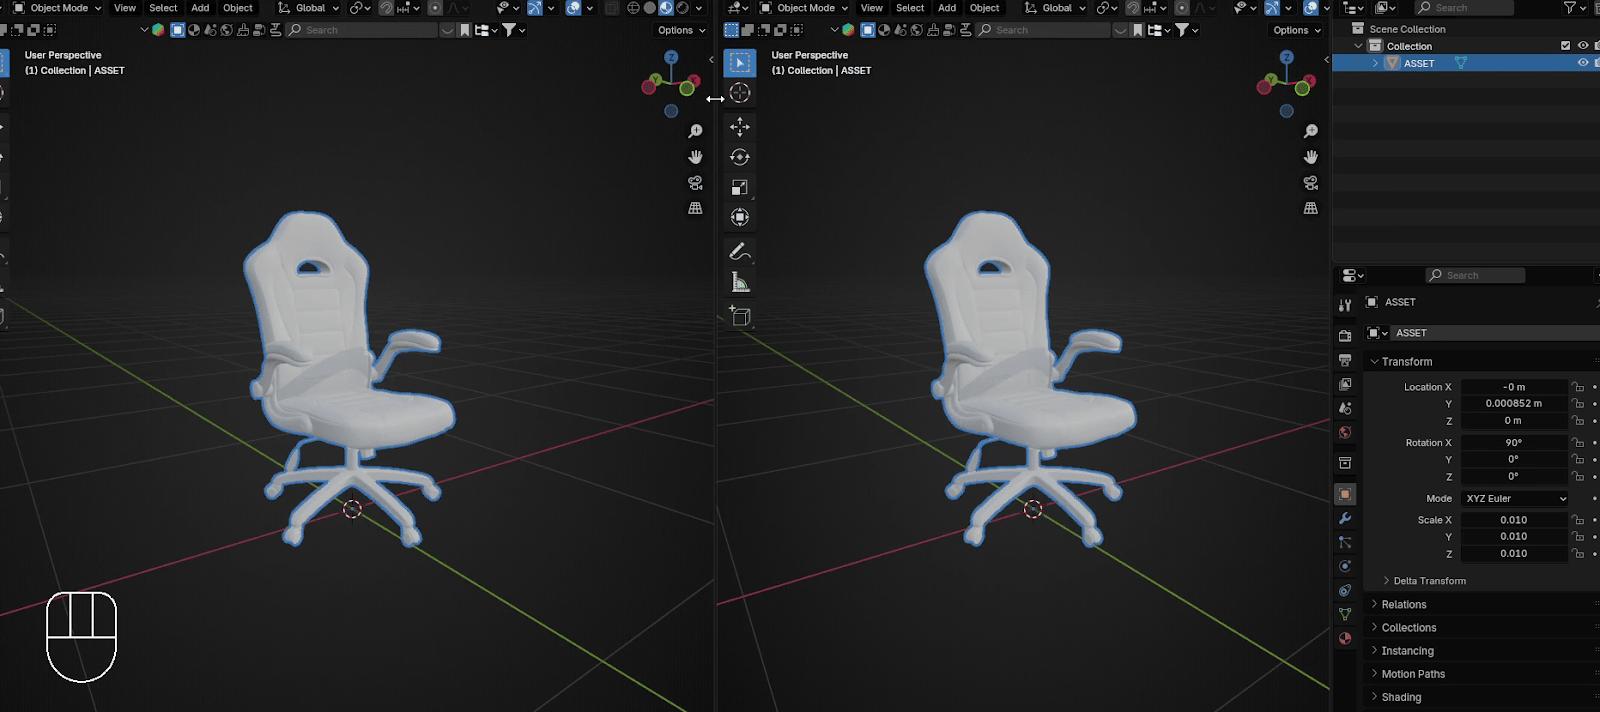
Place the cursor on the upper side of the screen as shown, and when you see a plus,
Beginners guide to Blender
Just pull it down to the left while holding the left mouse button.
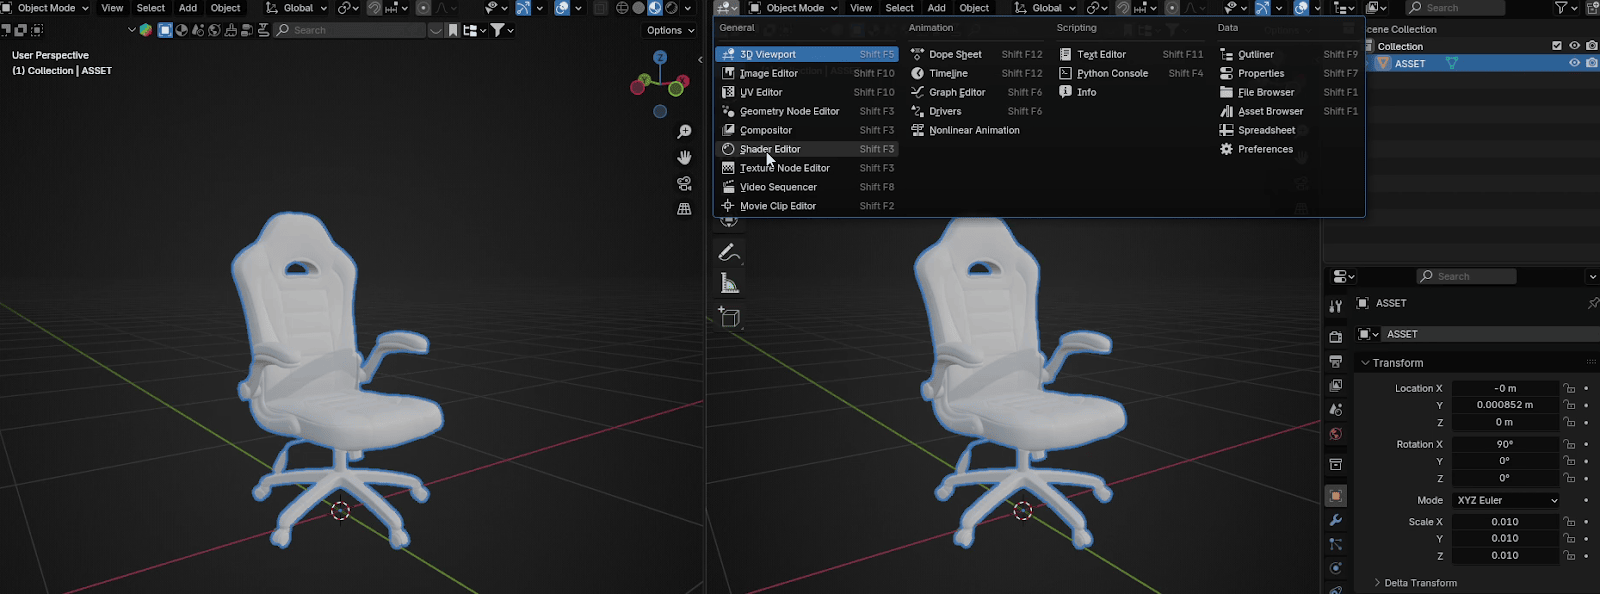
Go to Shader Editor
Beginners guide to Blender
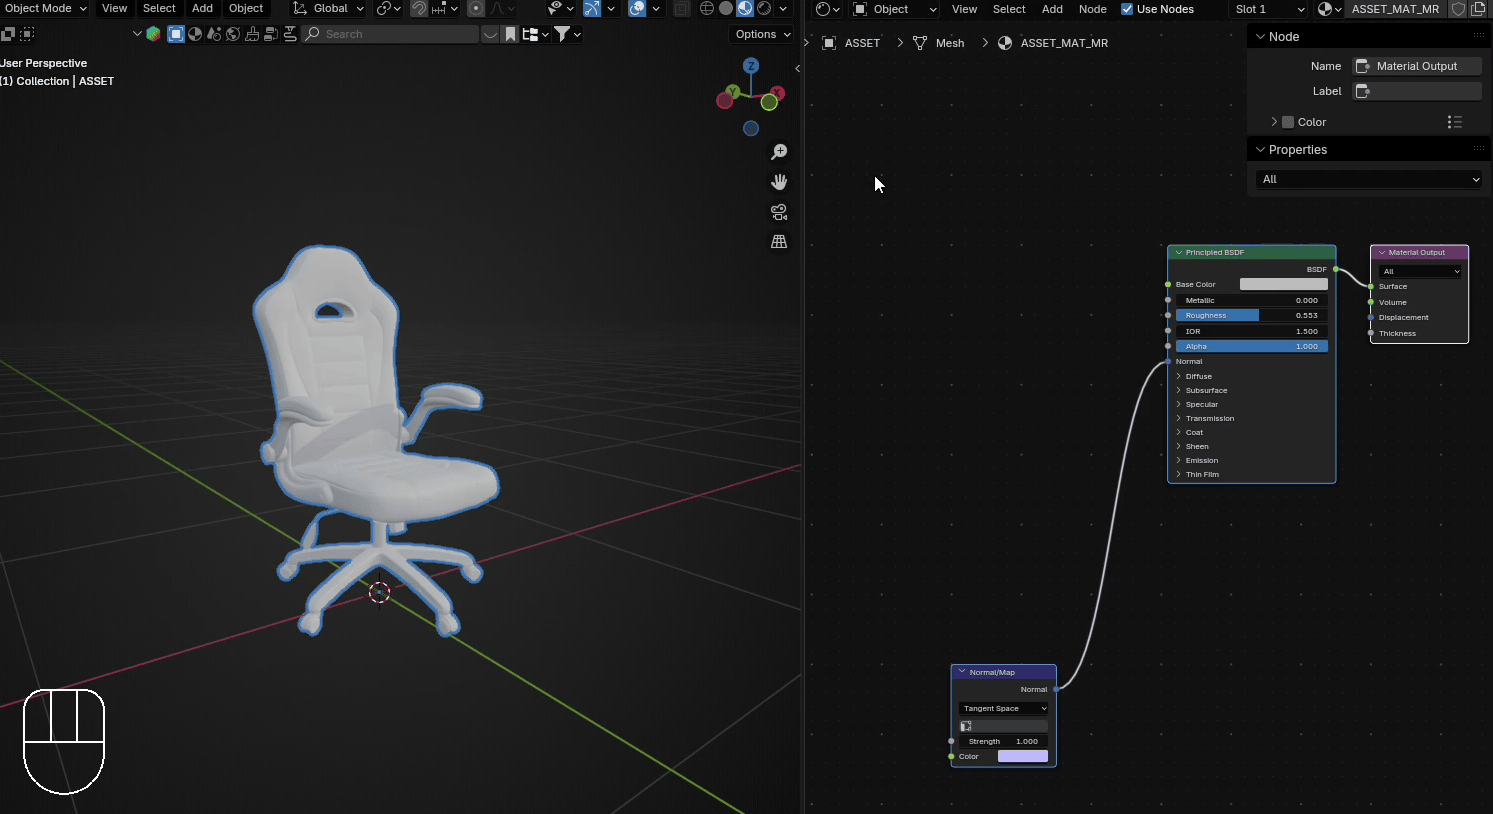
Press “N” to move that sidebar “Node” from the right
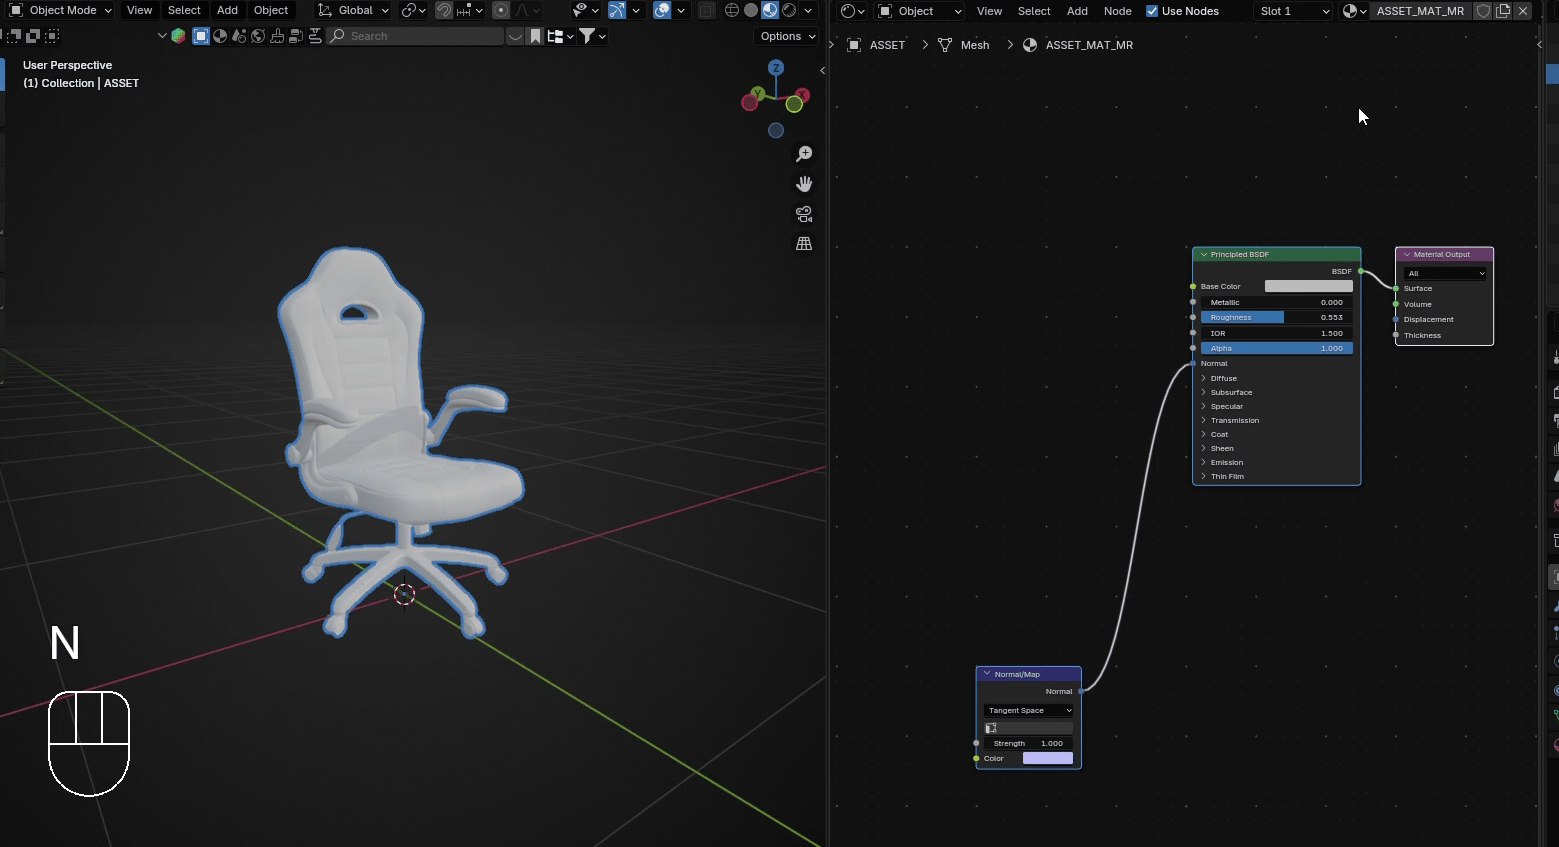
Now, drag and drop the file texture_diff.png. Diff means diffuse, and it is always texture for a basecolor. Of course, it can be named differently, depending on the person who uploaded the file.
Beginners guide to Blender
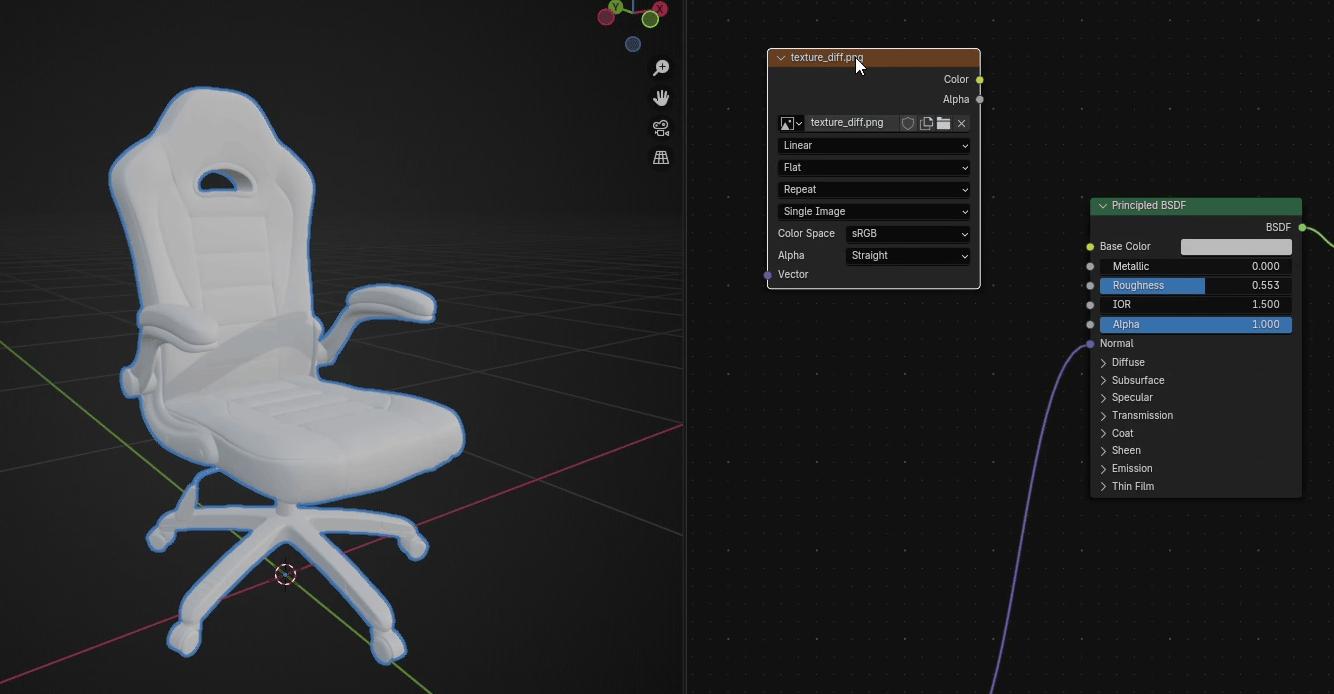
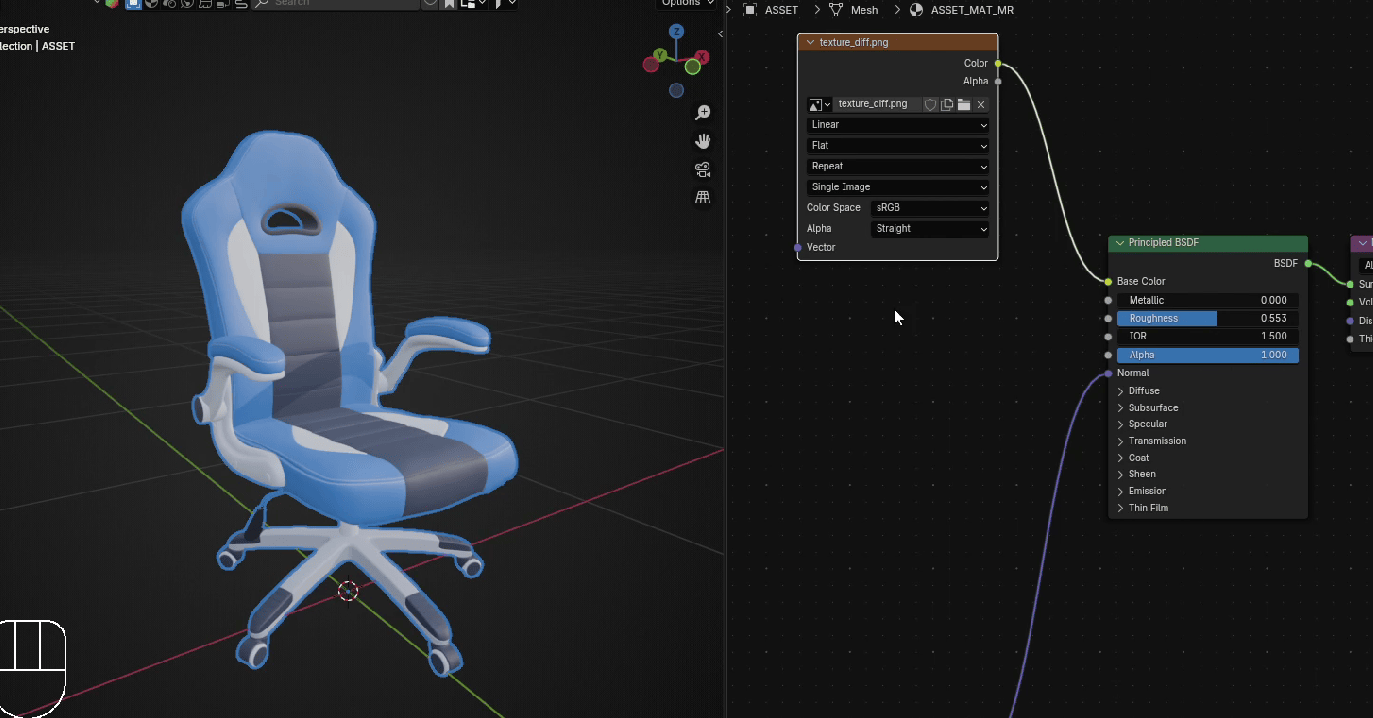
After you connect color from added texture with Base color from the Principled BSDF, the chaircolor will appear.
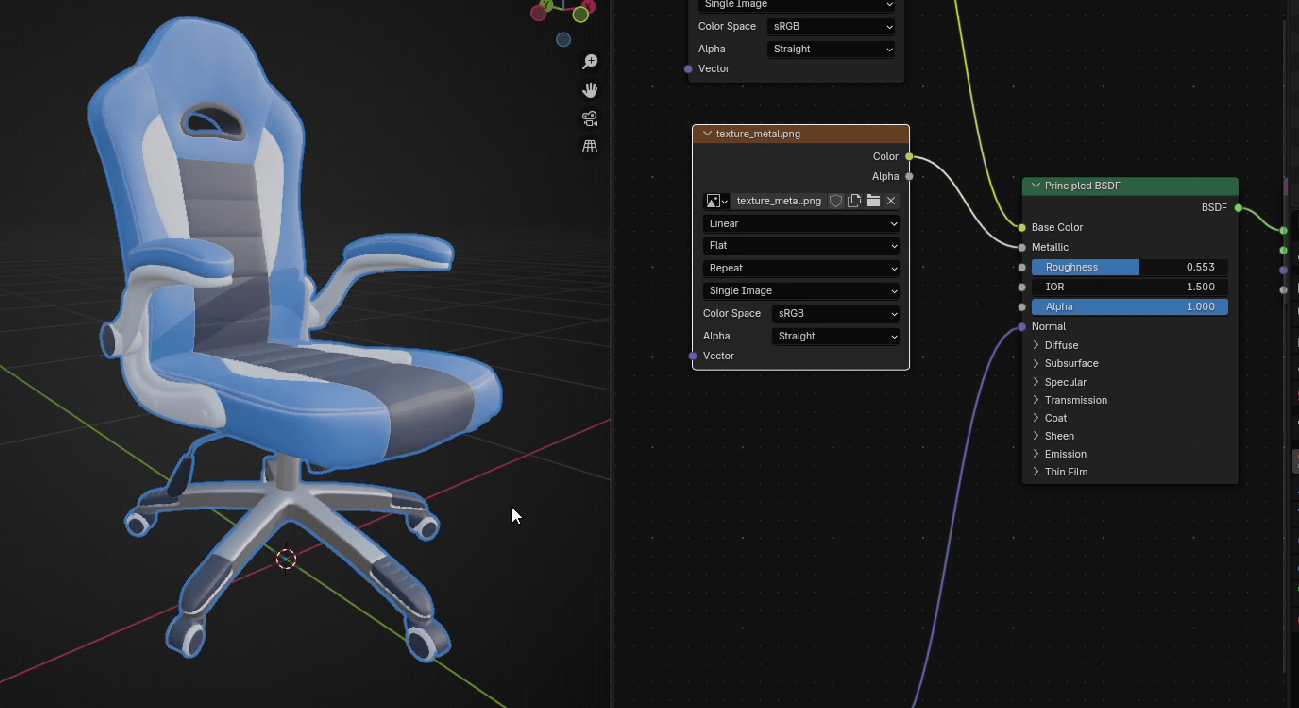
The next file we will add will be texture_metal.png. As you can assume, it is a texture for themetallic part of your chair.
Beginners guide to Blender
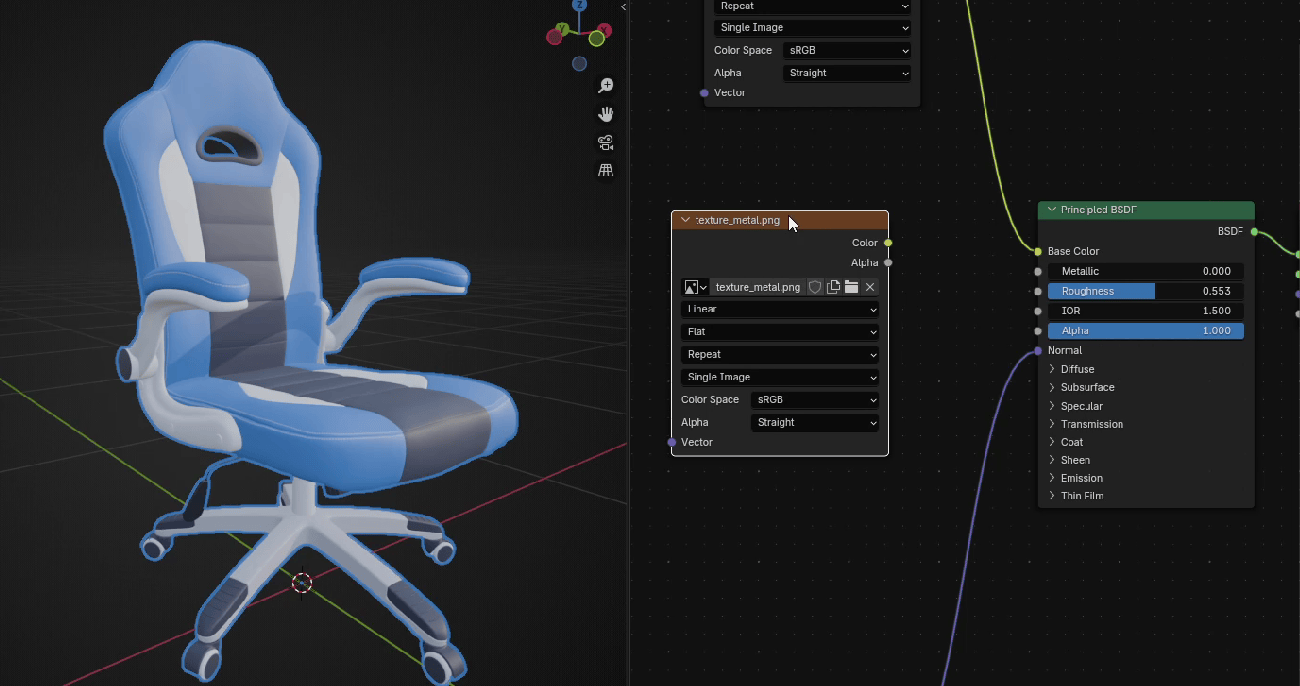
Connect the color from the metal texture with Metallic from Principled BSDF. As you can see, nowwe have a metallic-looking part, but if you look closer, something is not right. Metallic shouldn’tlook like that.
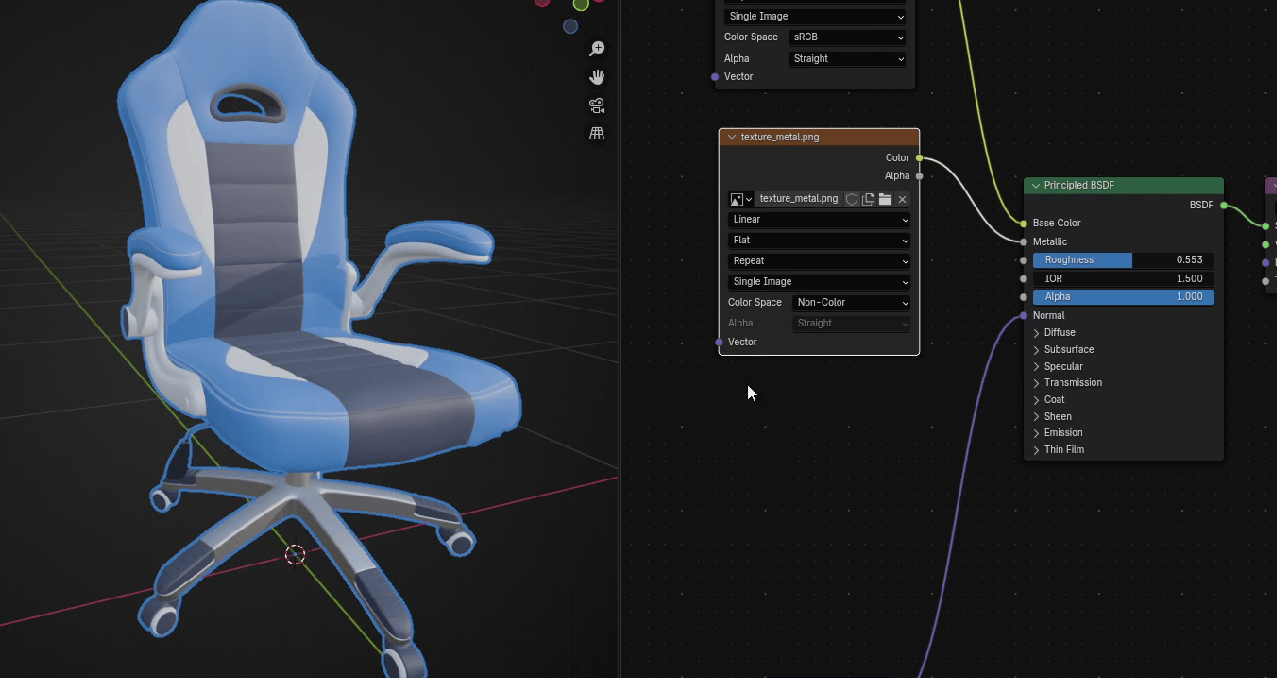
When you have texture for metallic, never forget to change Color Space from sRGB to Non-Color.
Beginners guide to Blender

Now it looks as it should.
The next texture that we will add is the texture for roughness.
Beginners guide to Blender
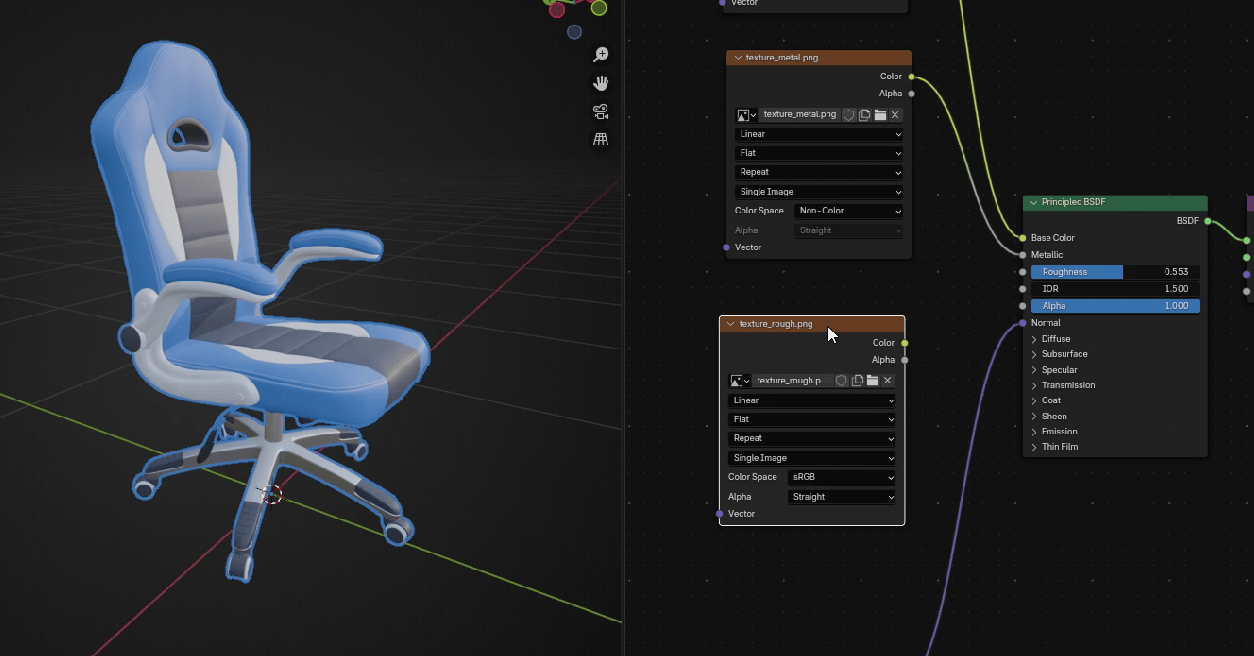
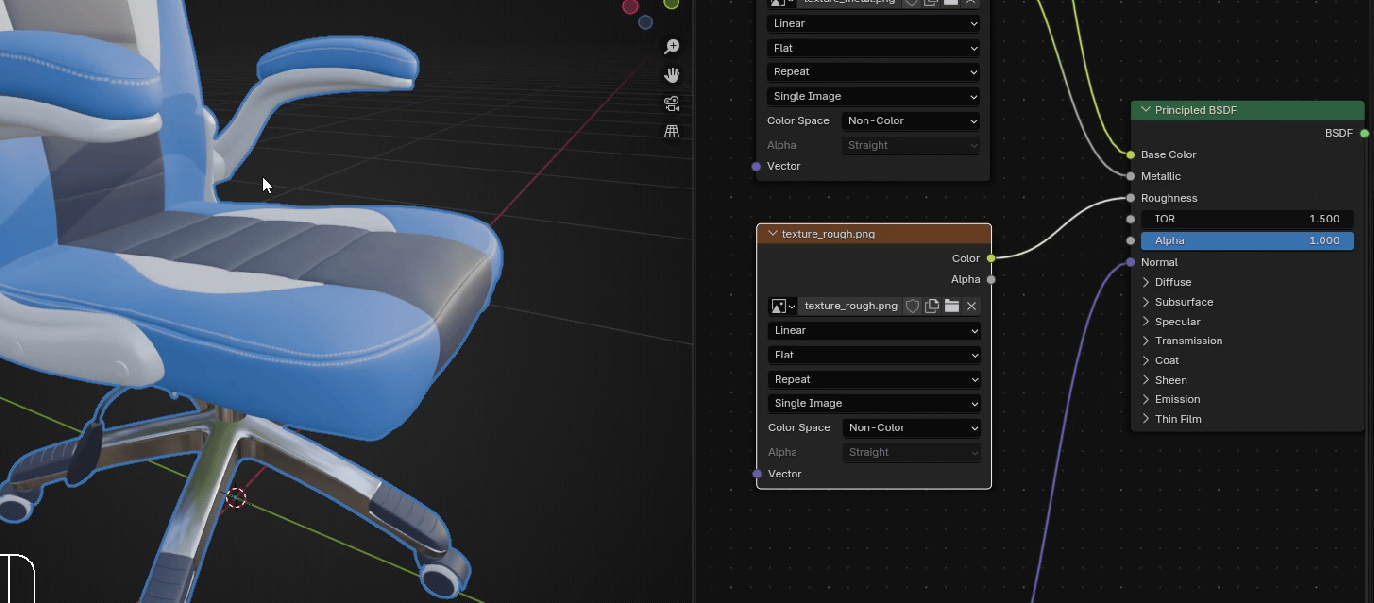
Connect color from roughness texture with Roughness from Principled BSDF.
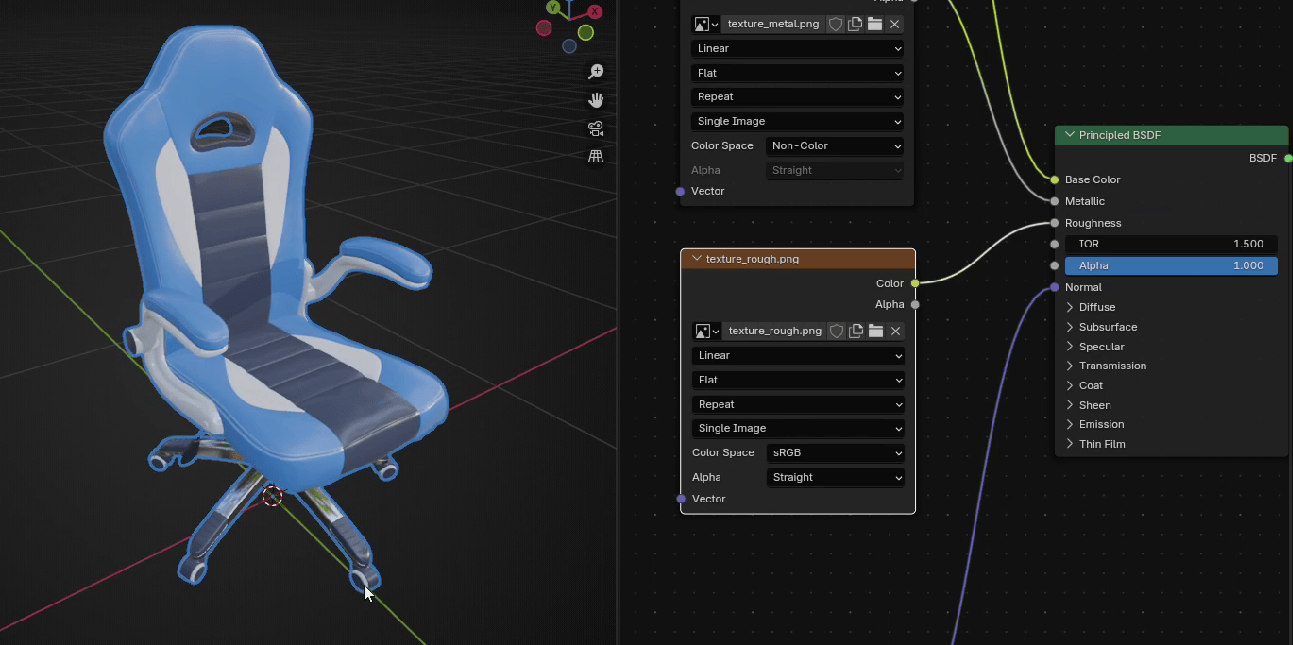
Change Color Space to Non-Color, and you will see that your model now has varying amounts ofglossiness.
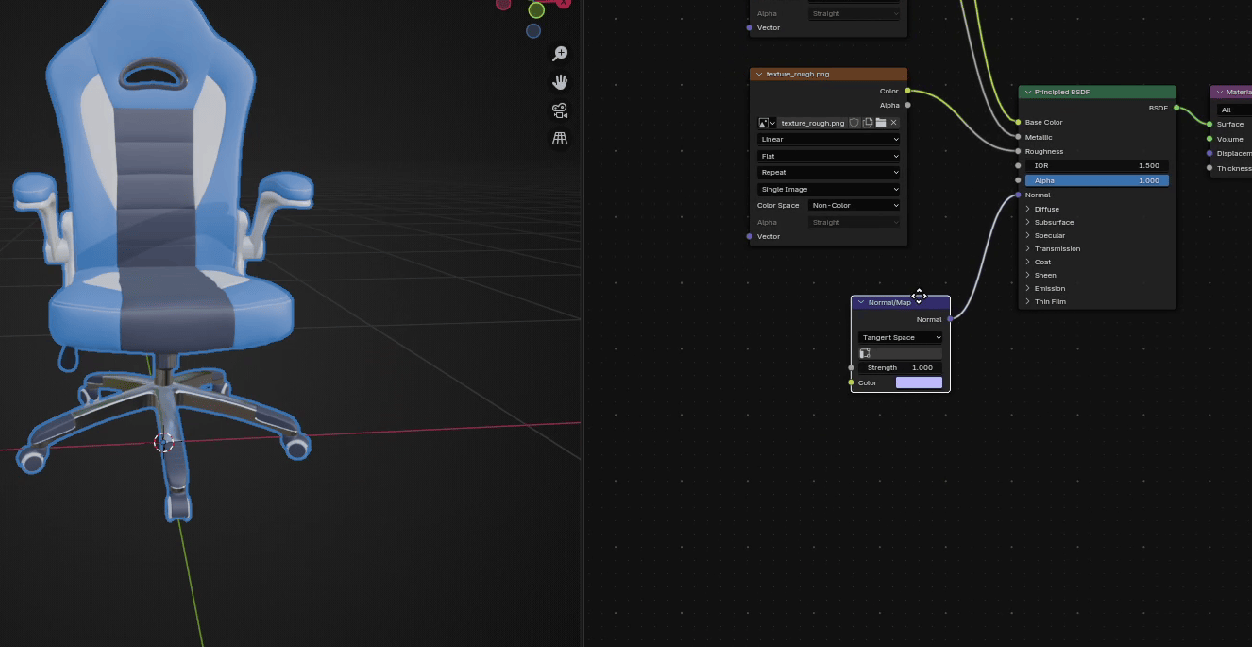
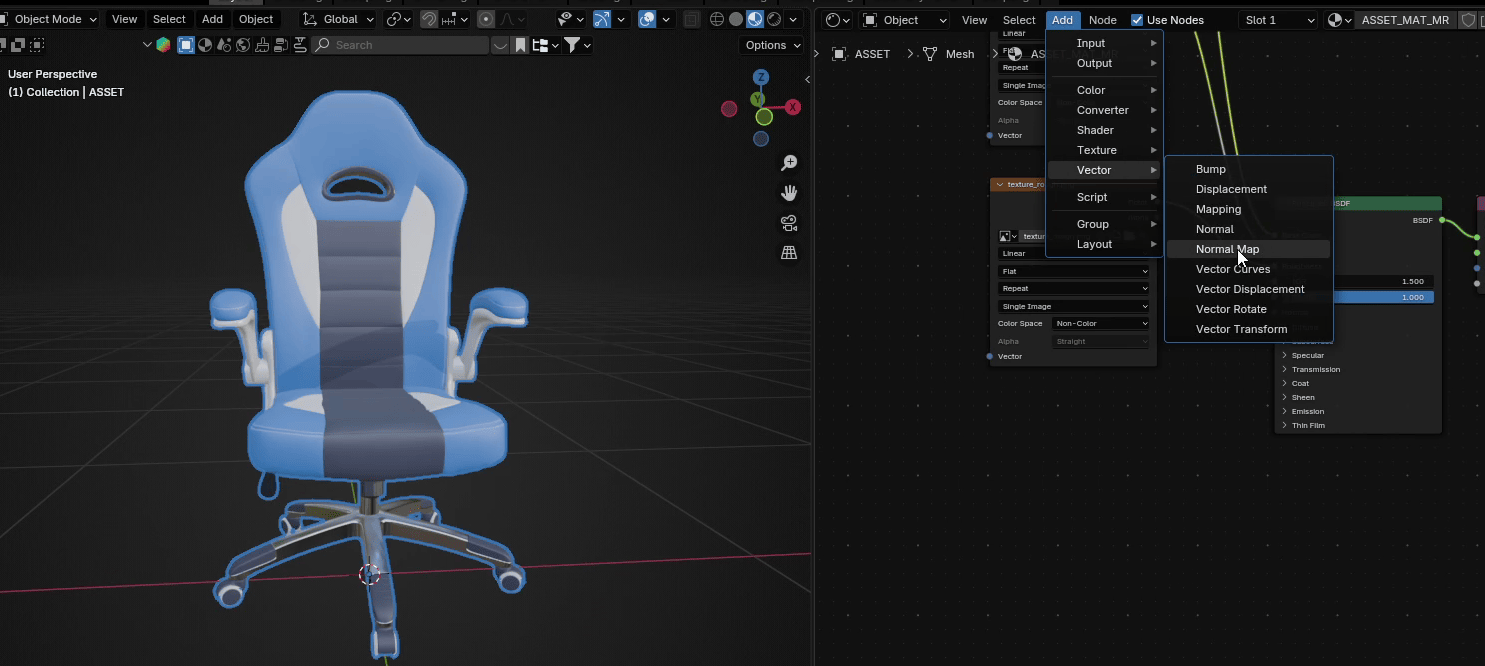
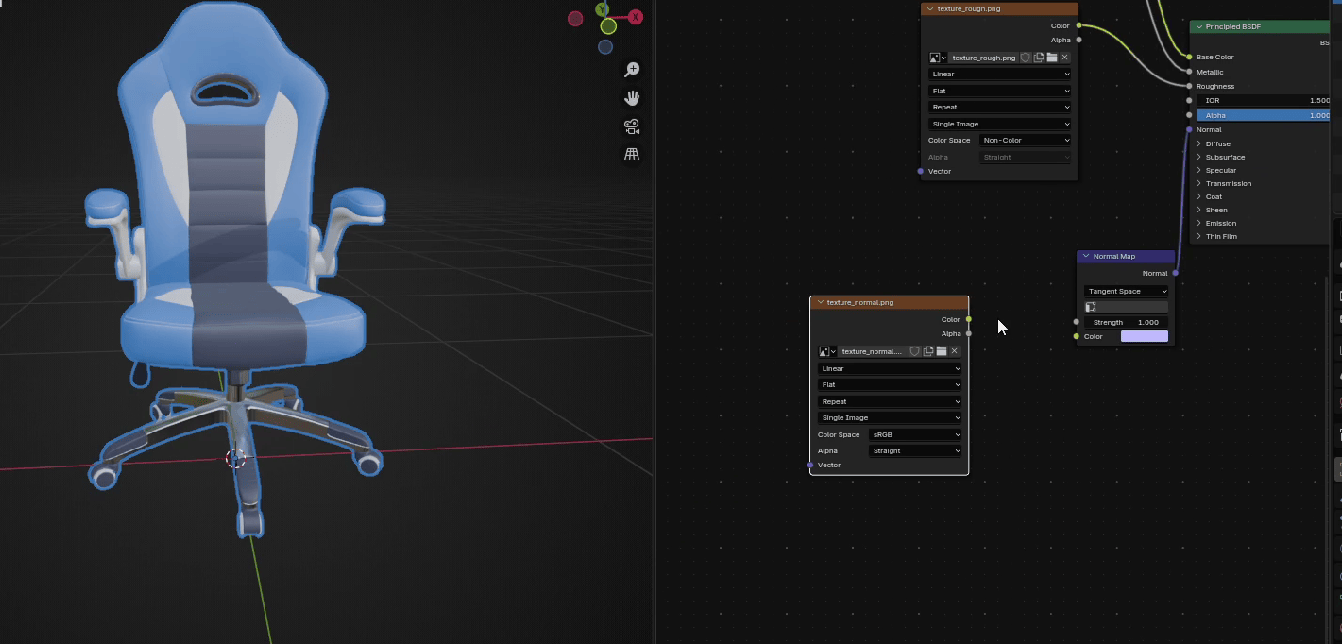
In this case, the Normal Map node is already here, but if you need to add it. This is how you do it.
Beginners guide to Blender
Go to Add → Vector → Normal Map
And connect Normal from Normal Map with Normal from Principled BSDF
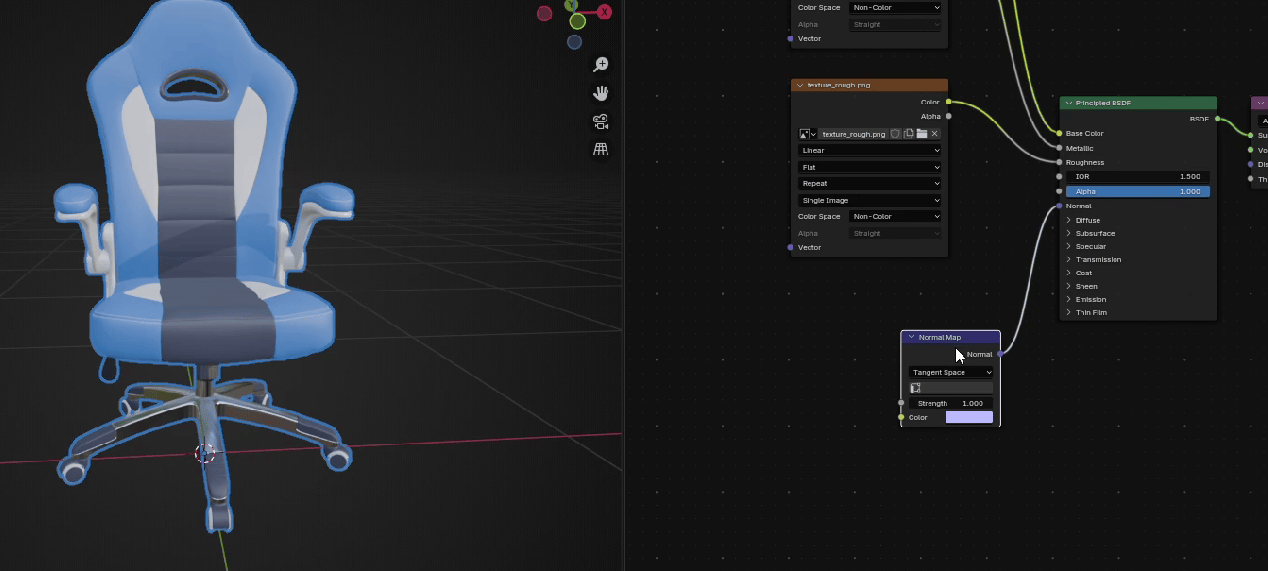
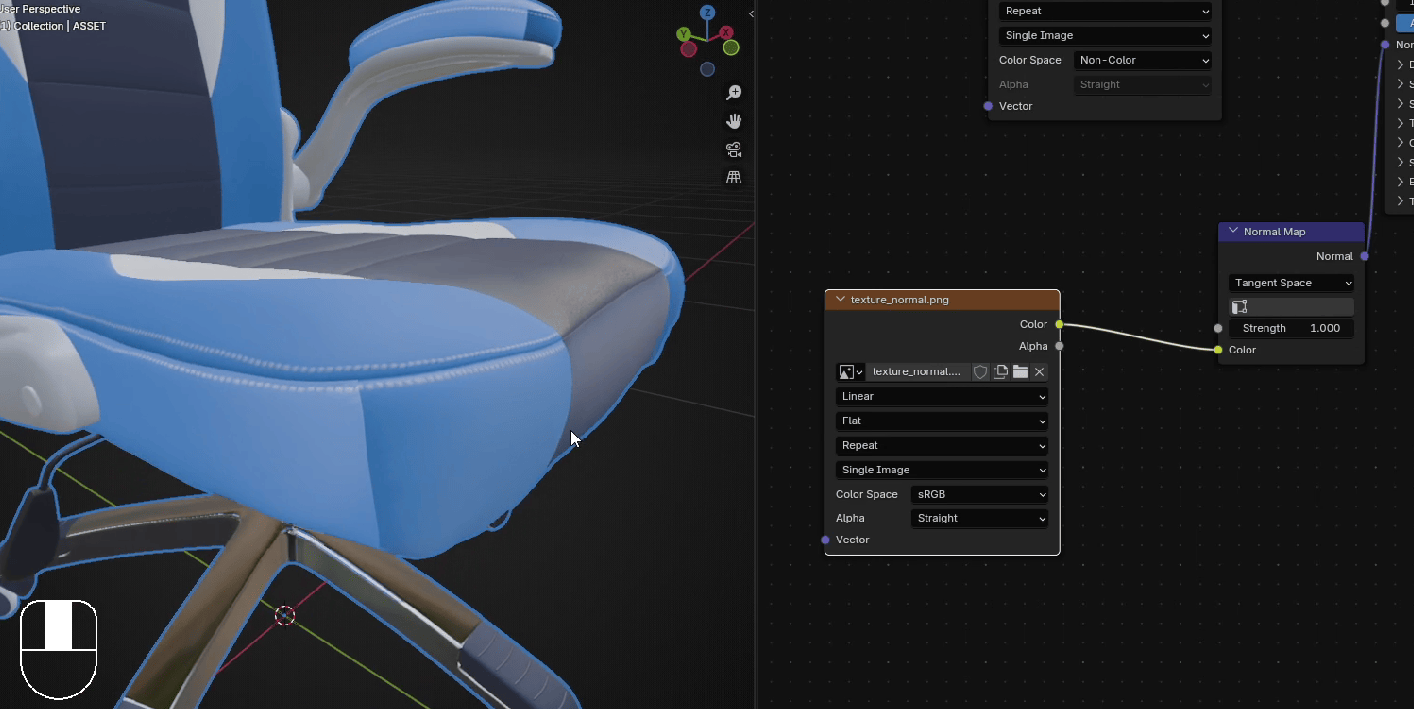
Now, drag and drop the texture for normals
Beginners guide to Blender
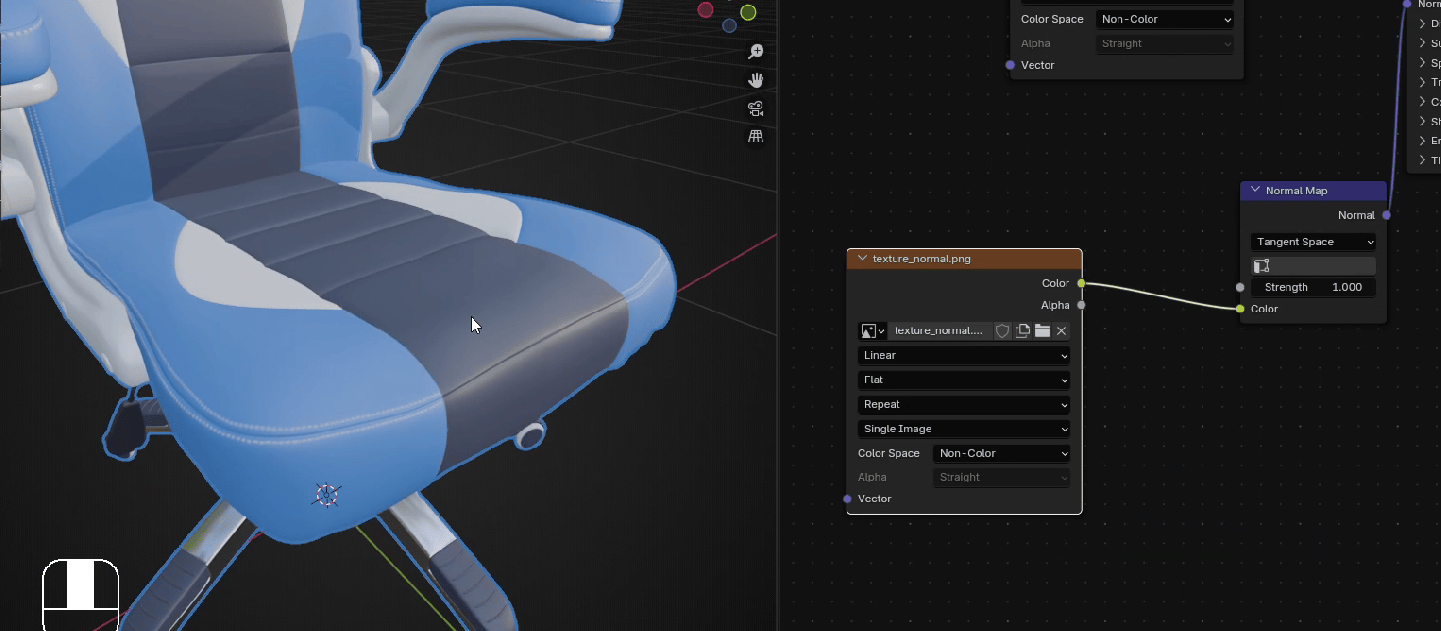
And connect color from that texture with Color from Normal Map. As you can already see, seams looksweird, so just change Color Space from sRGB to Non-Color and it will be fixed.
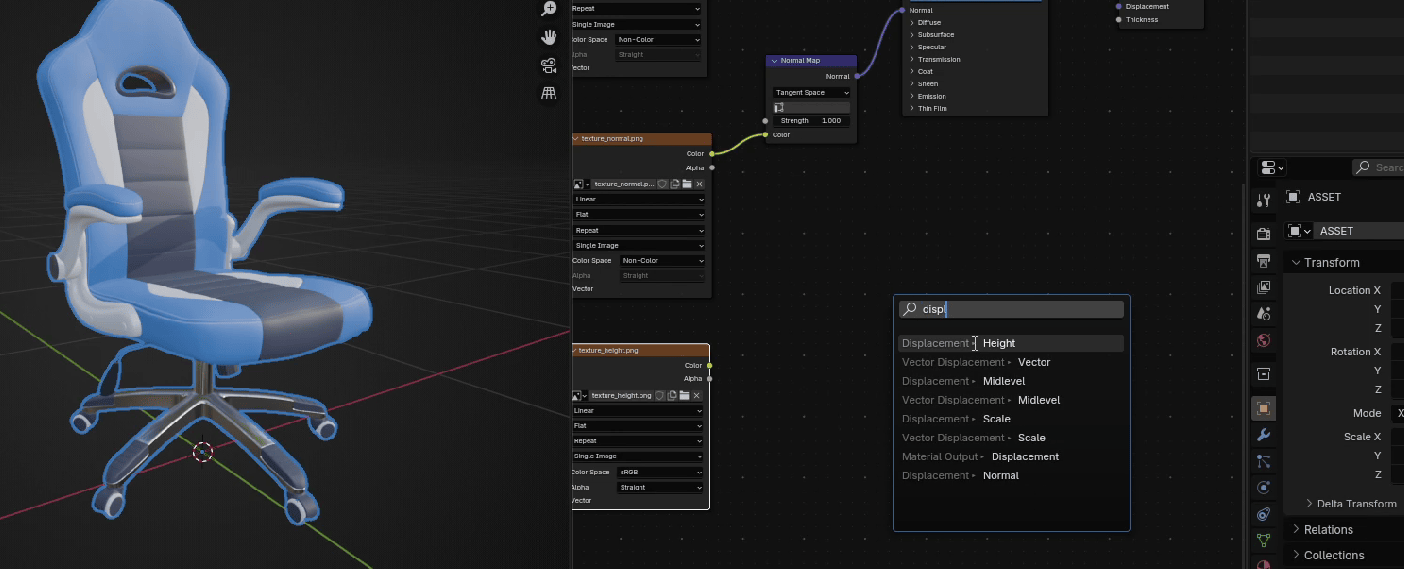
Now drag and drop texture for height (or as sometimes is called bump). That texture can be used fordisplacement.
Beginners guide to Blender
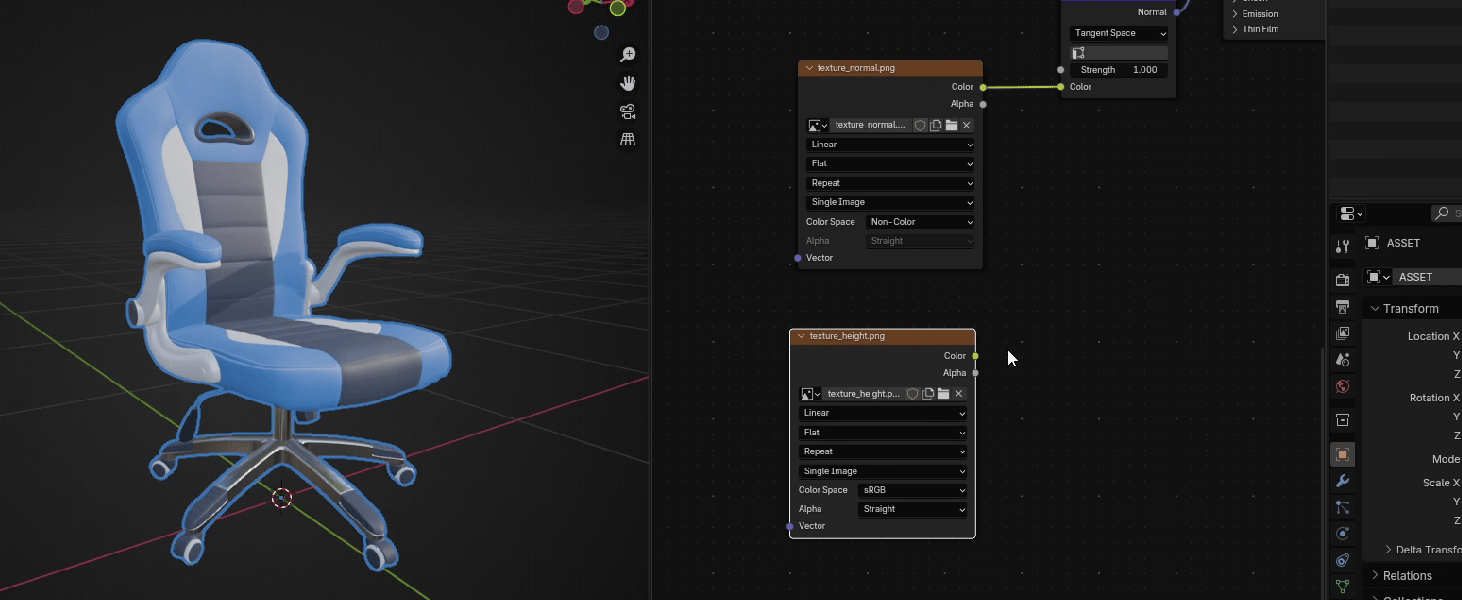
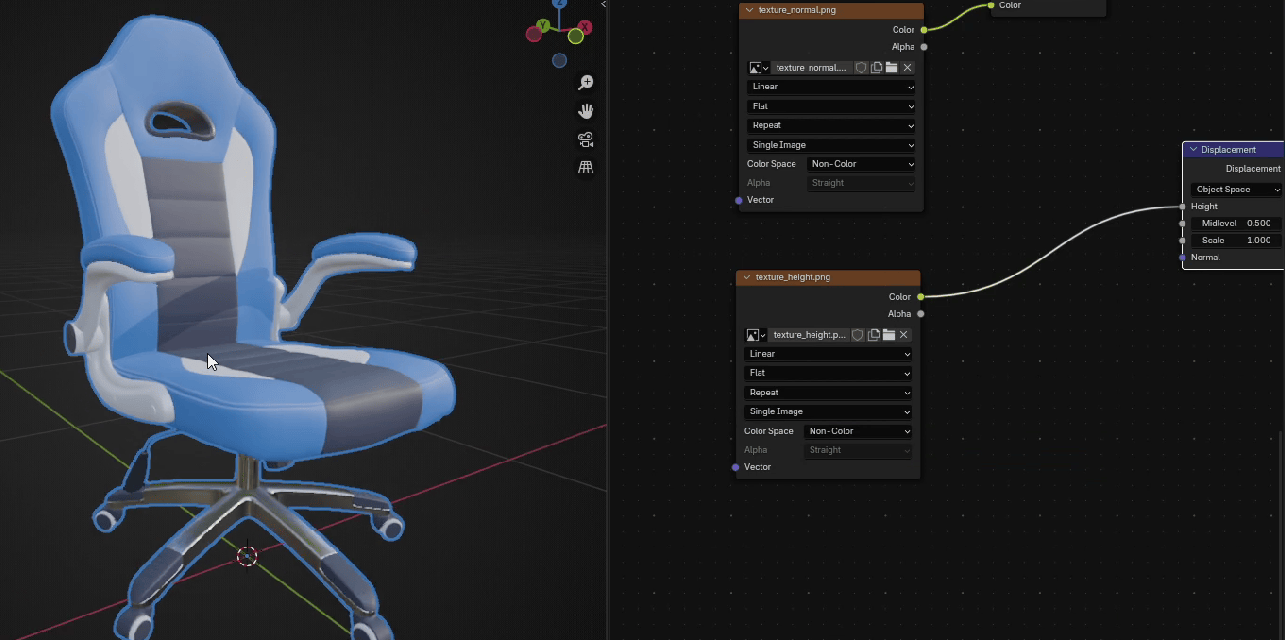
Connect Color from that texture with Height from Displacement.

Connect Displacement from Displacement with Displacement from Material Output.
Beginners guide to Blender
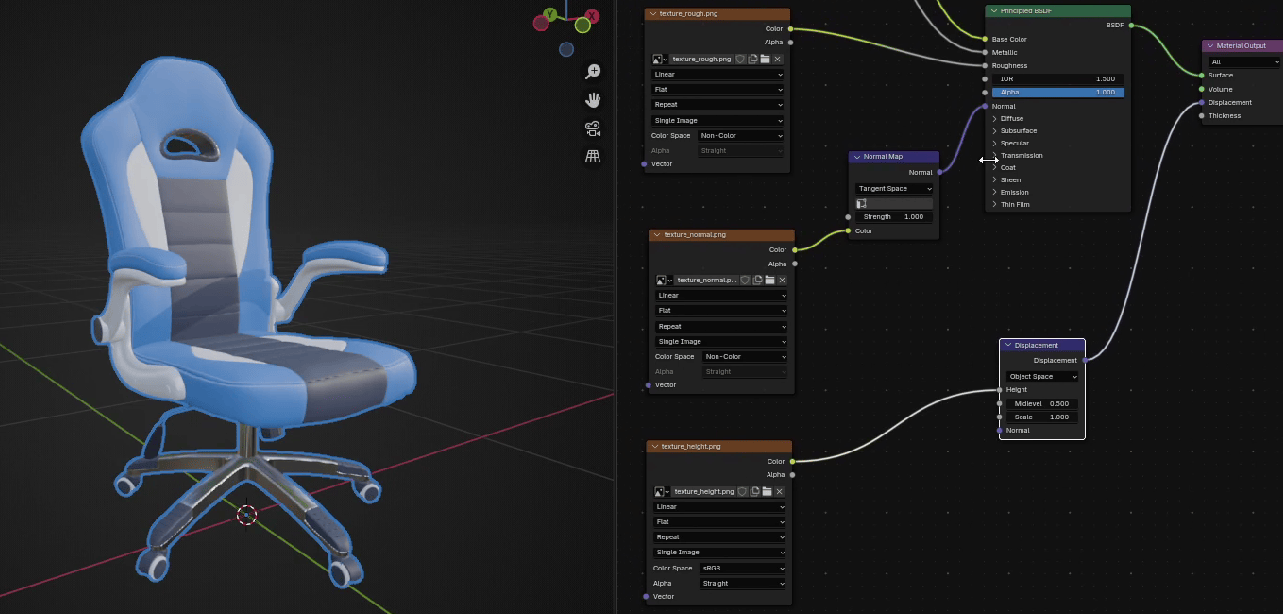
And change to Non-Color.
Now, drag and drop the last texture, the texture for AO or ambient occlusion.
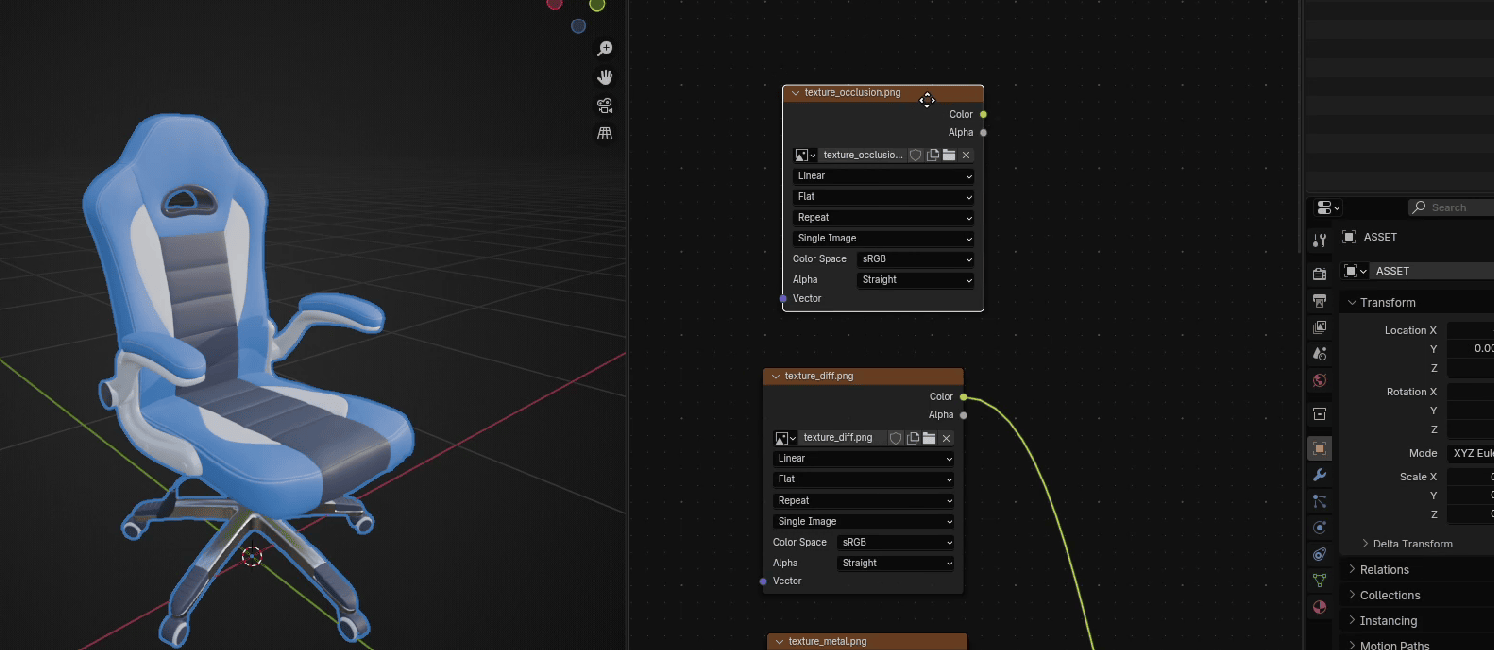
Go to Add → Color → Mix Color
Beginners guide to Blender
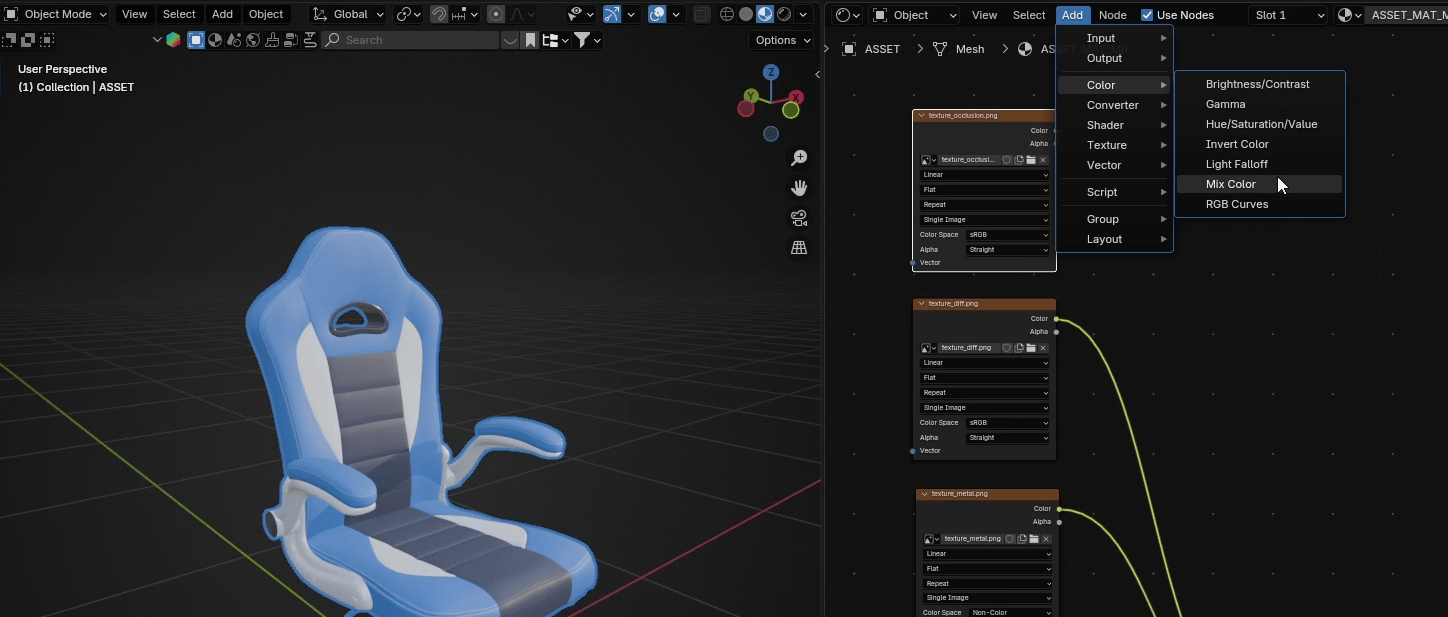
and put it between texture diffuse and Base Color from Principled BSDF.
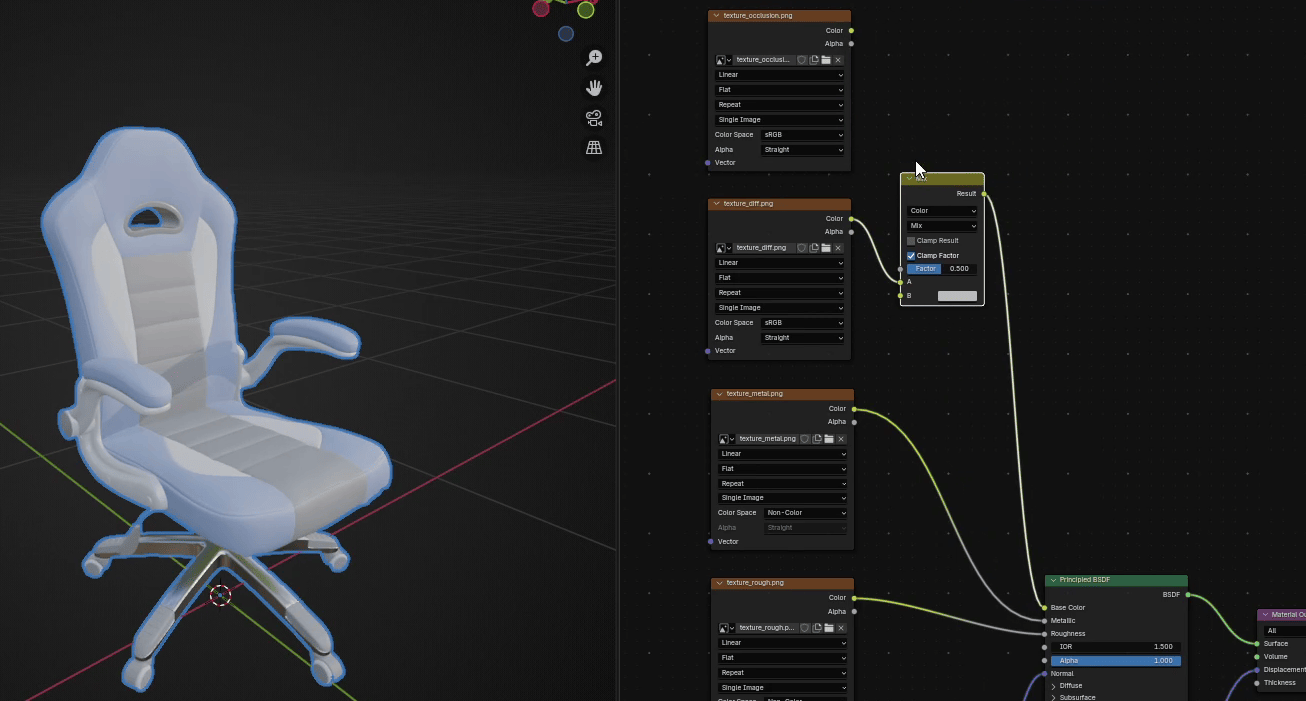
Connect color from AO with B from Mix Color
Beginners guide to Blender
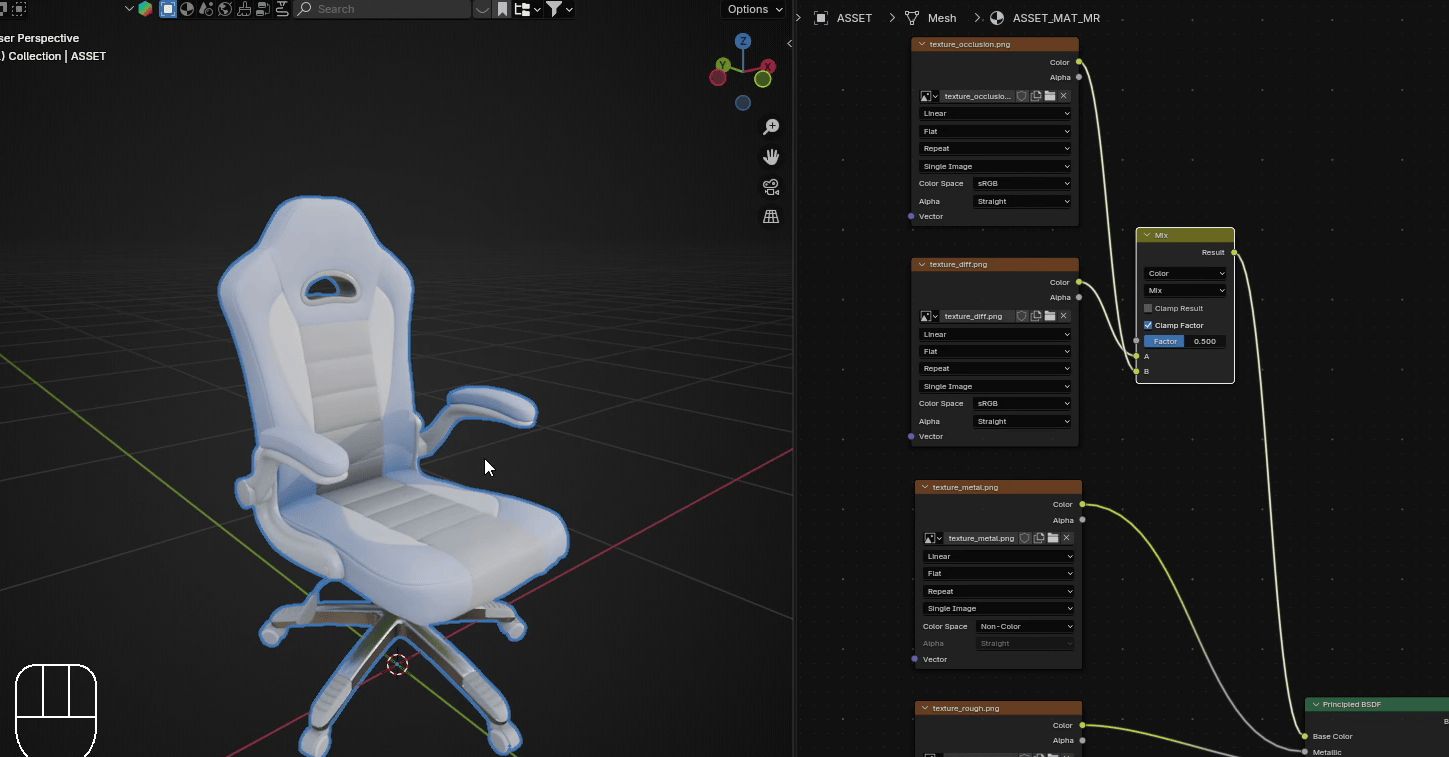
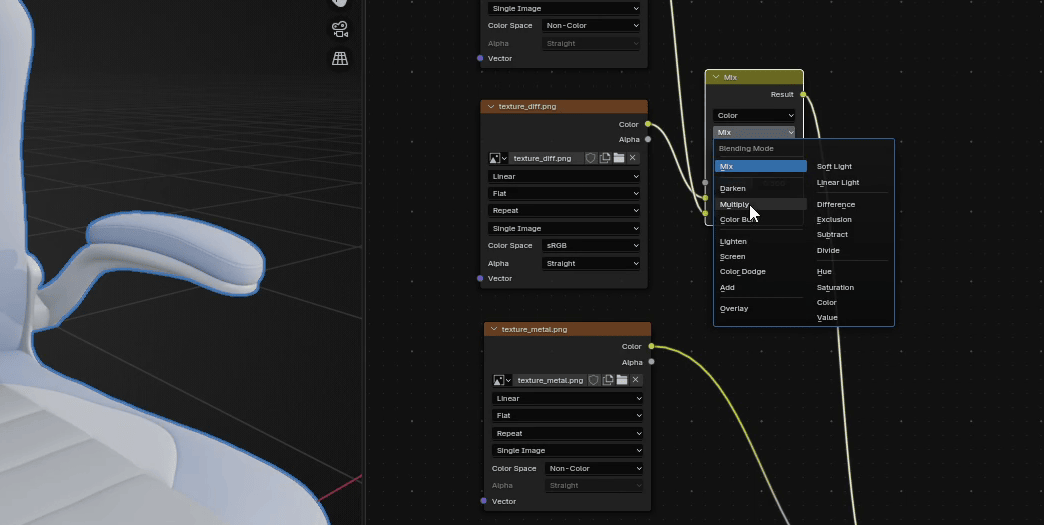
Change it to Non-Color.
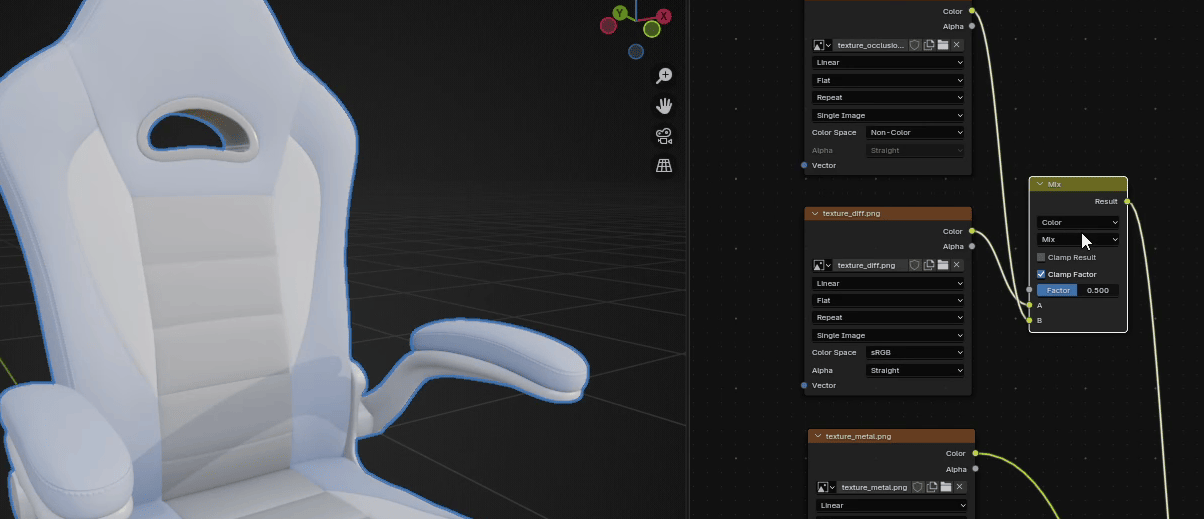
And change Mix to Multiply
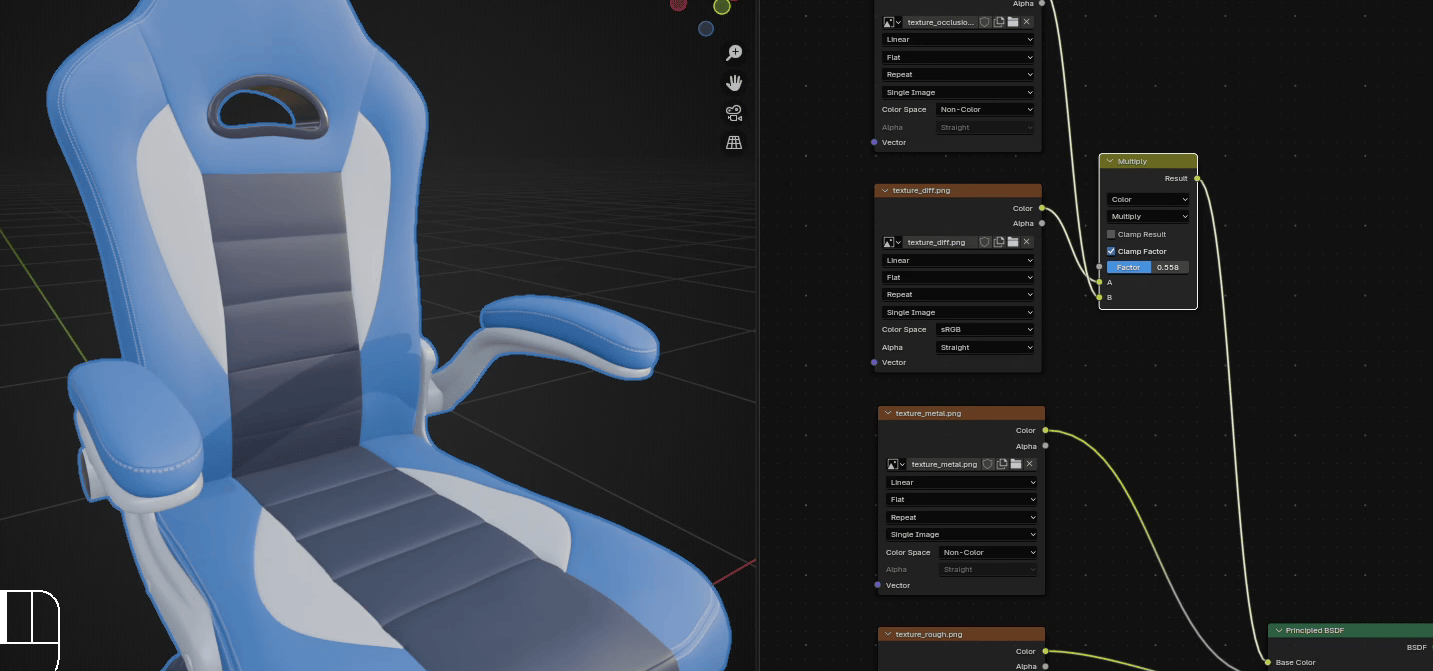
Beginners guide to Blender
Now, as you change Factor from 0 to 1, you change ambient occlusion as well.
That’s all for today!
If you had fun learning with me, don’t forget to subscribe to my YouTube channel SaTales.Also there is a first part of this video: How to import 3D models with textures from SketchFabto Blender | Step-by-step guidehttps://youtu.be/P_Gxefjggu0?si=Ax6tgtPDcaqGeHzy
I recently started a Patreon with more exclusive content like tutorials, 3D models, .blend files,behind-the-scenes videos, etc. I am also often sharing free 3D models, making quizzes, etc.
There is something for both free and paid members, so don’t forget to check it out.
And if you have any questions, write them down in the comments :D
Happy Blending everyone! Byeee, see you next time.