Chapter 25: Modeling, texturing and animating a magic potion
Beginners guide to Blender
Ok, that is really it now!
Thank you for reading and learning with me!
Happy Blending!
Bye, see you next time :D
This time you will learn how to model, texture and animate a magic potion.
(You can check out video tutorial on my YouTube channel:https://youtu.be/msj0kz-dOP8)
Let’s begin!
Select all with “A” and delete with “X.”
Beginners guide to Blender
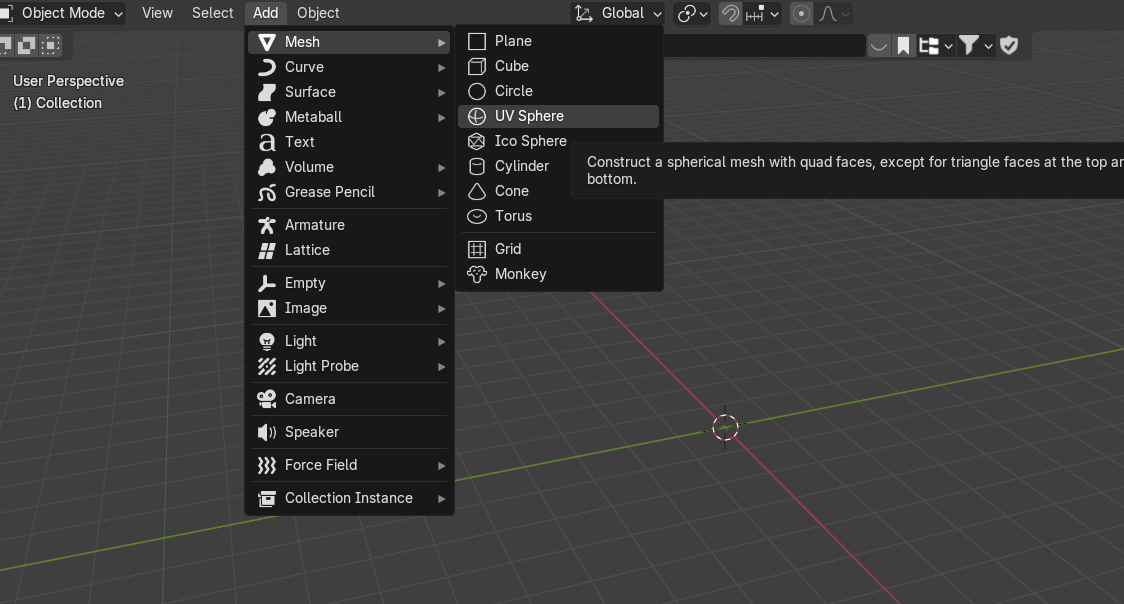
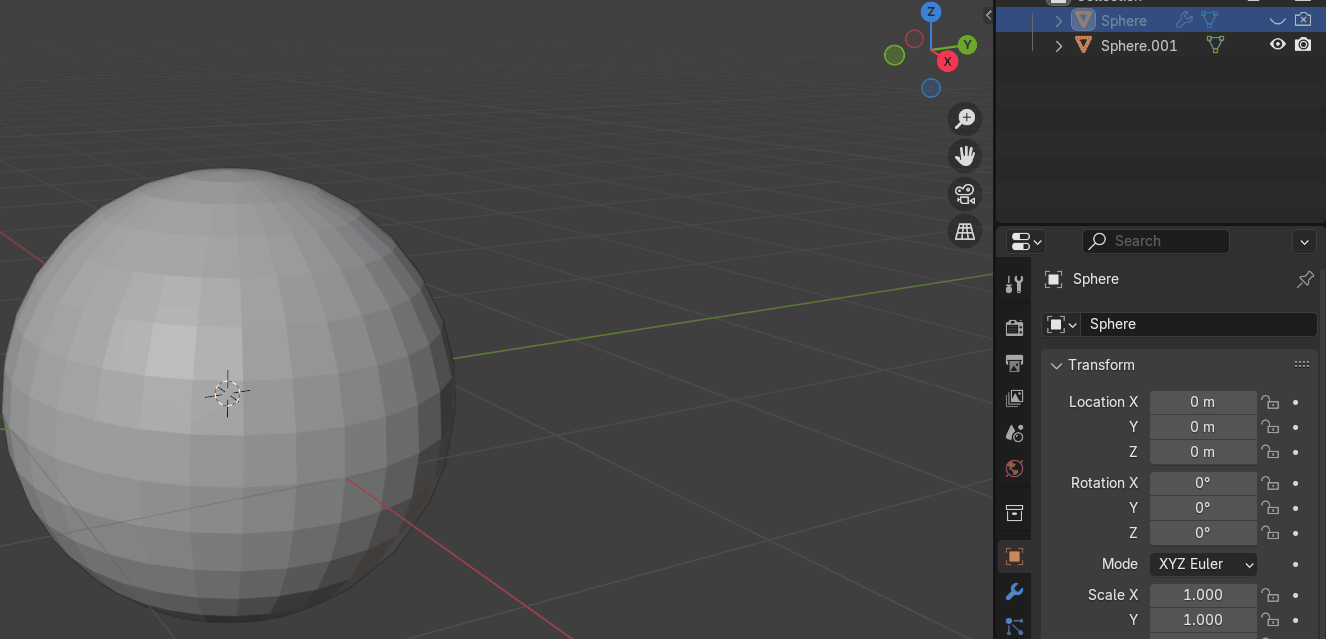
Now go to Add → Mesh → UV Sphere.
Duplicate the UV Sphere with “SHIFT+D.”
Beginners guide to Blender
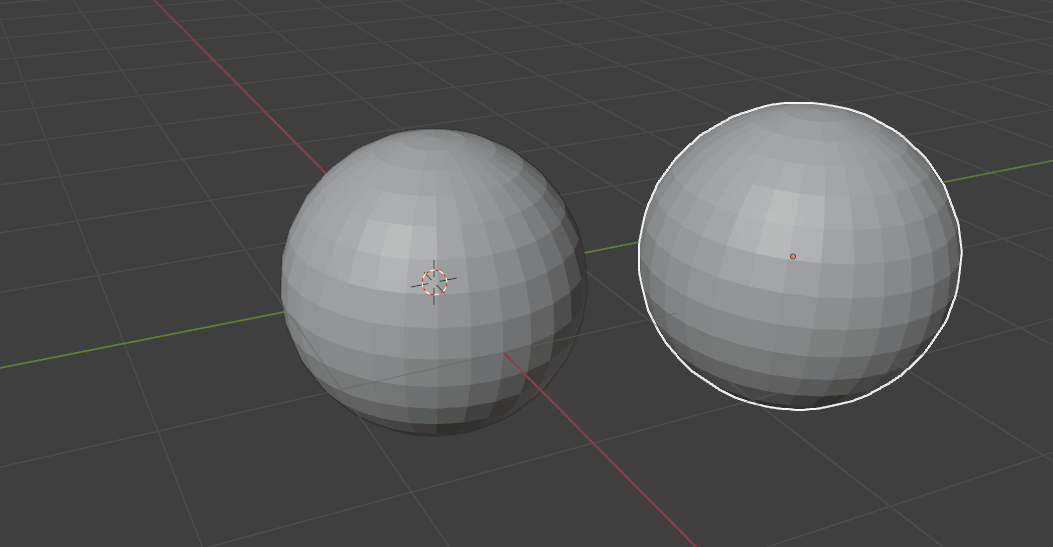
Press “ESC” to return the duplicated UV sphere to the original position.
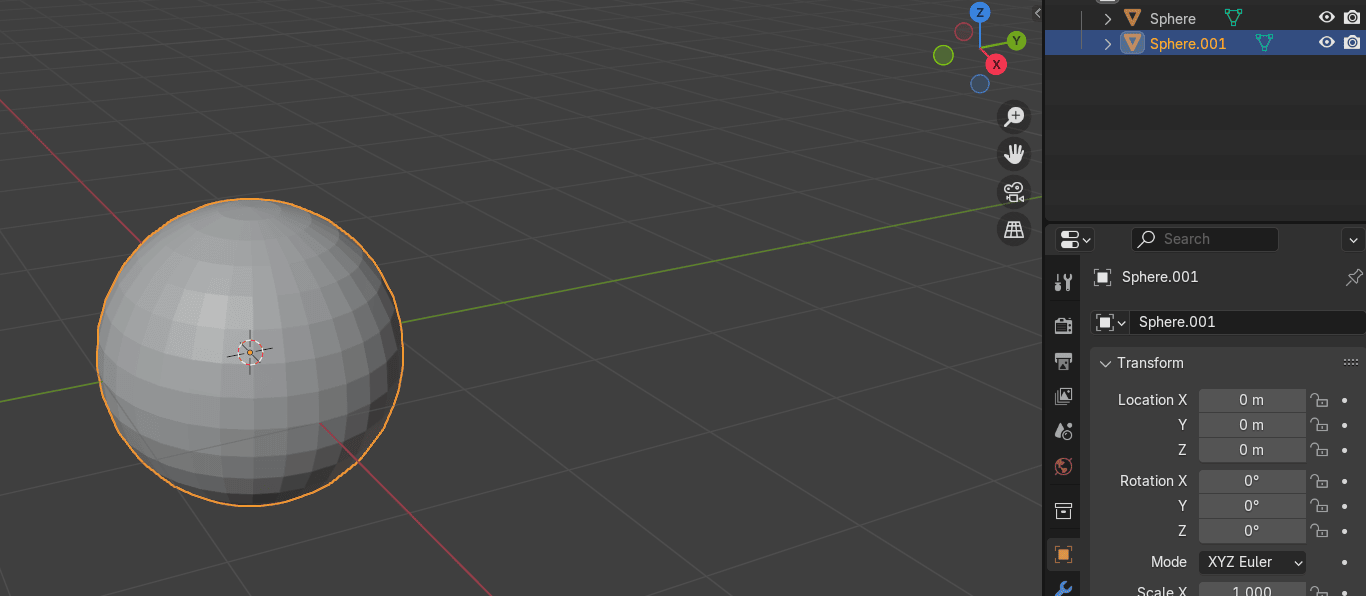
Hide the second UV Sphere with “H” in the viewport or click here on this eye icon to hide it.
To hide (disable) the object in the render, click on this camera icon.
Beginners guide to Blender
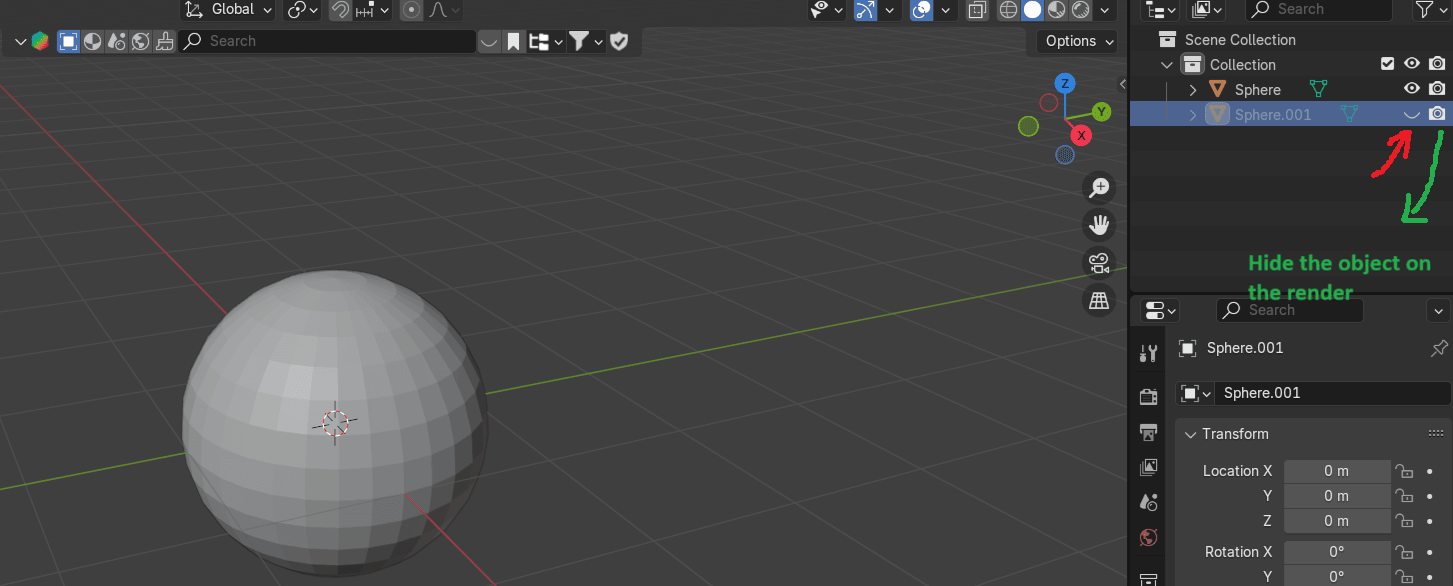
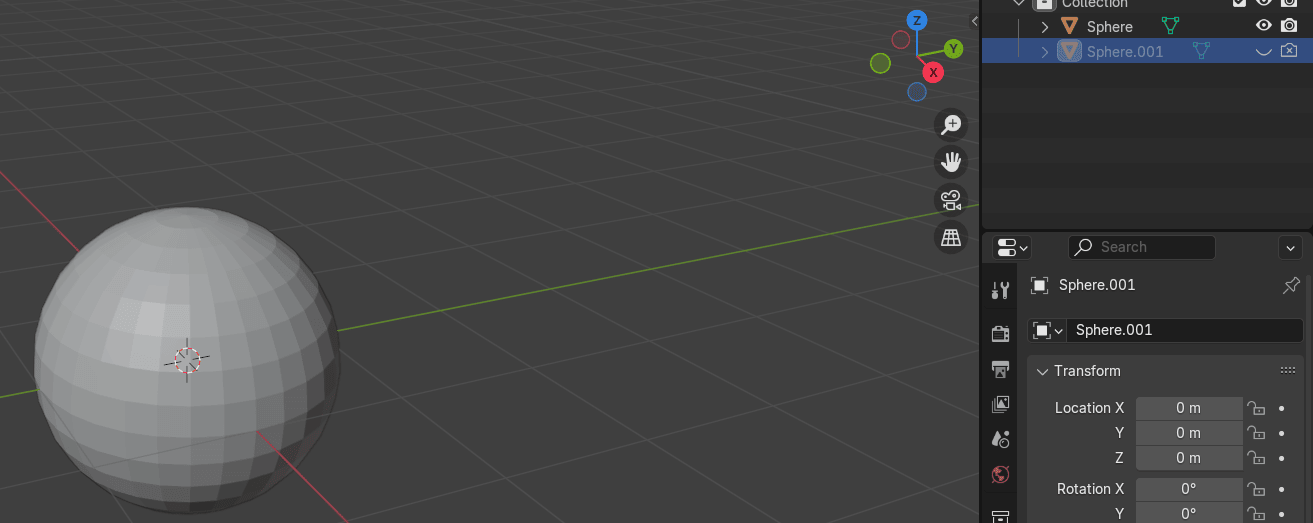
The second sphere is now hidden in the viewport and in the render.
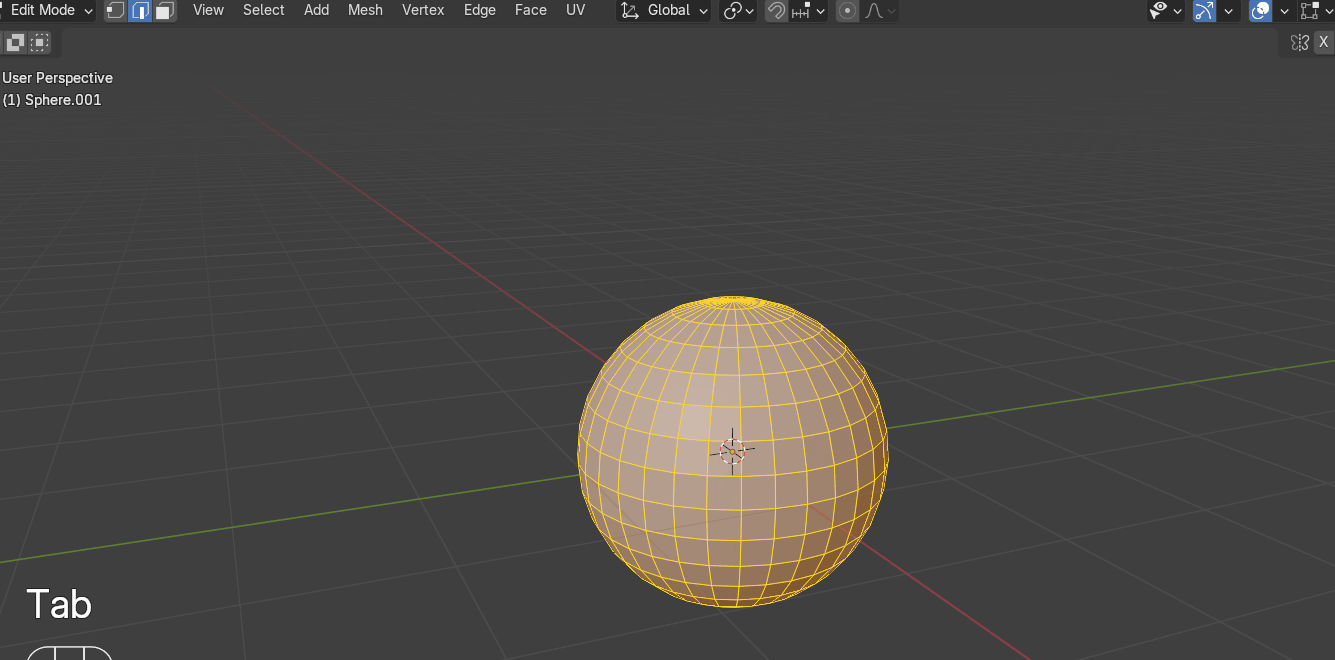
Switch to edit mode with “TAB.”
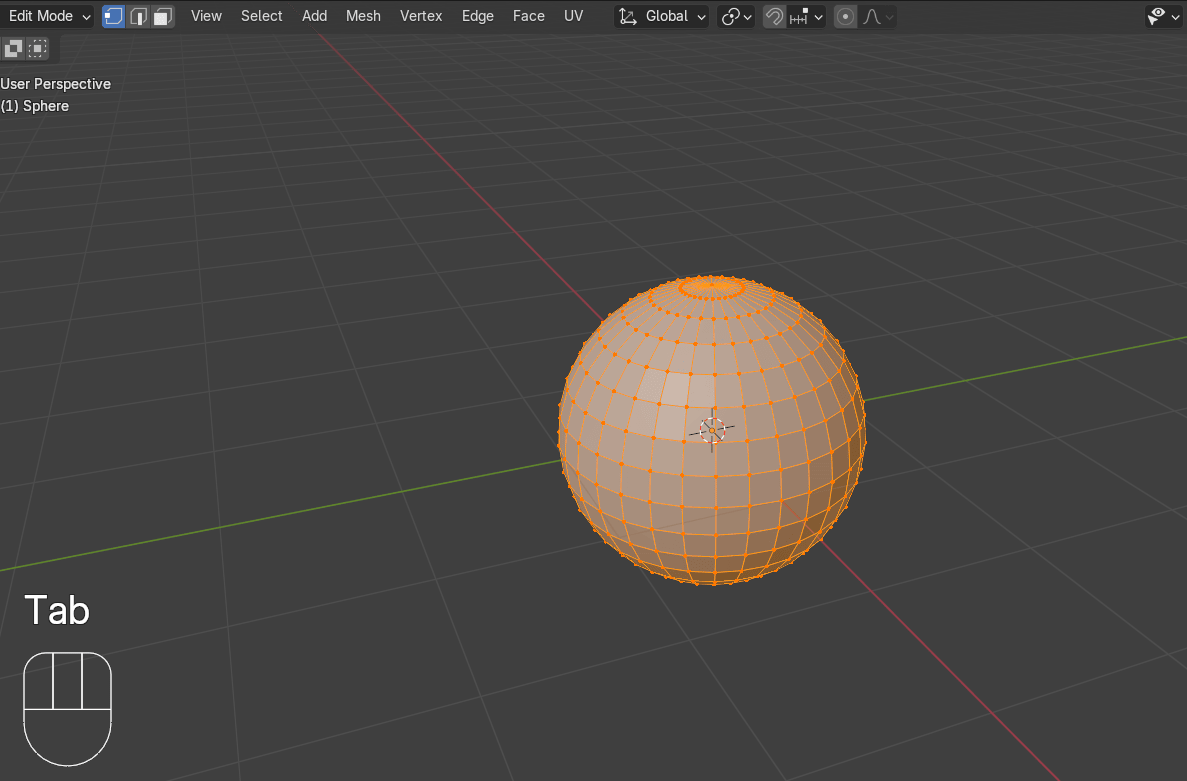
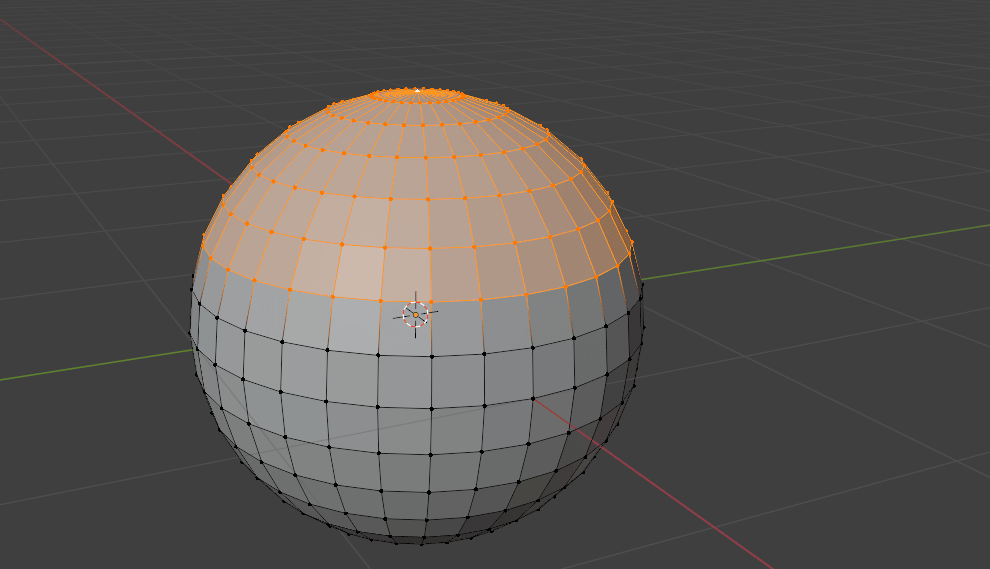
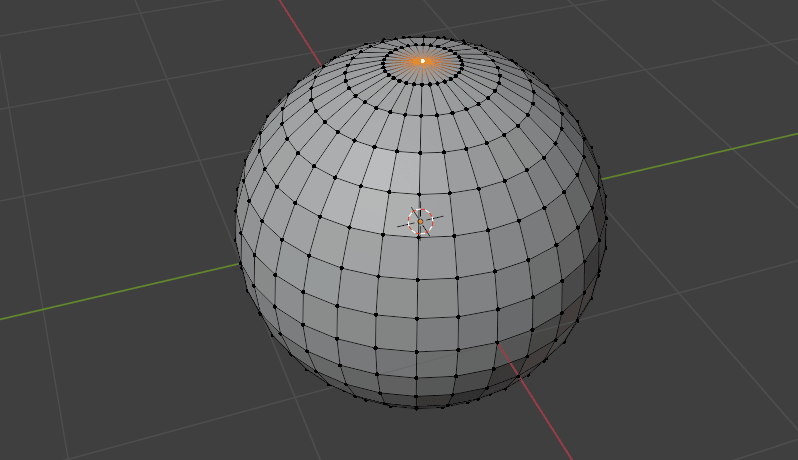
Switch to selecting vertices with 1.
Beginners guide to Blender
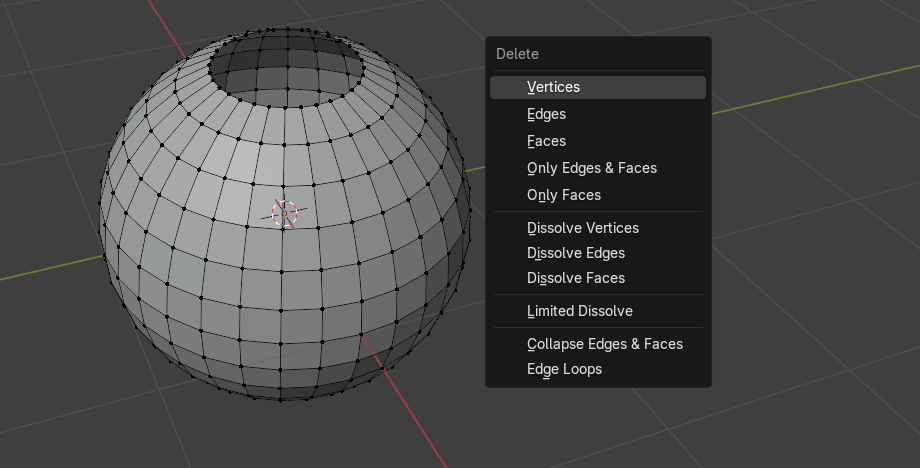
Select this top vertex.

Now press “CTRL” + numpad “+” to select nearby vertices. Press “+” until you select allvertices as shown.
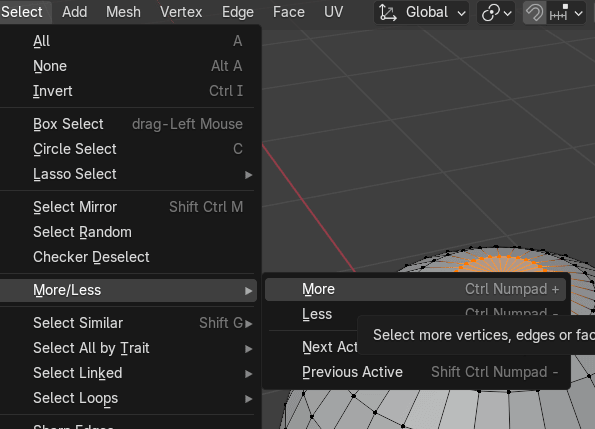
If you are on the laptop and you don’t have numpad, go to
Select → More/Less → More and repeat it until you choose all vertices that you need for thenext step.
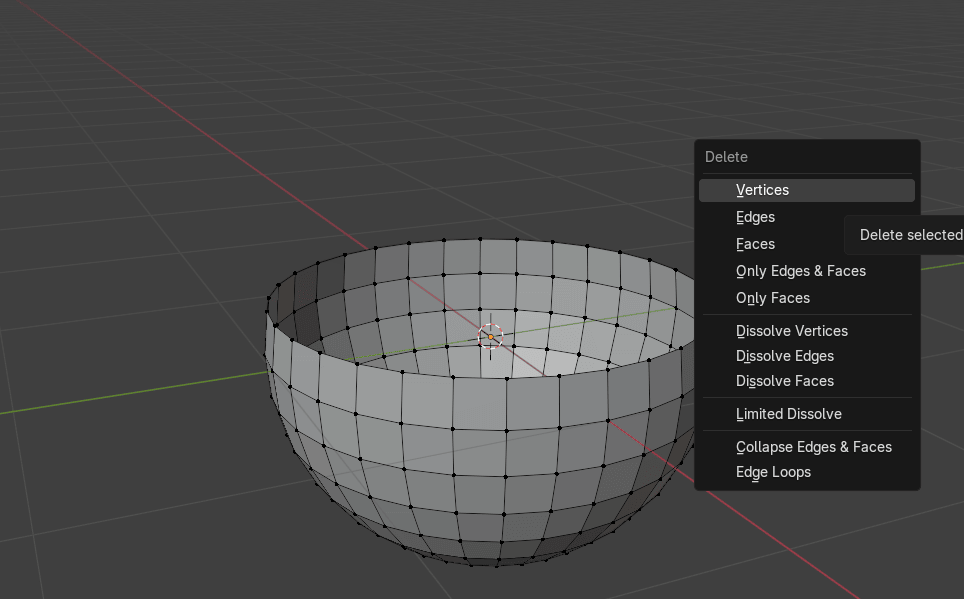
Beginners guide to Blender
Now press “X” and choose delete vertices.
Beginners guide to Blender
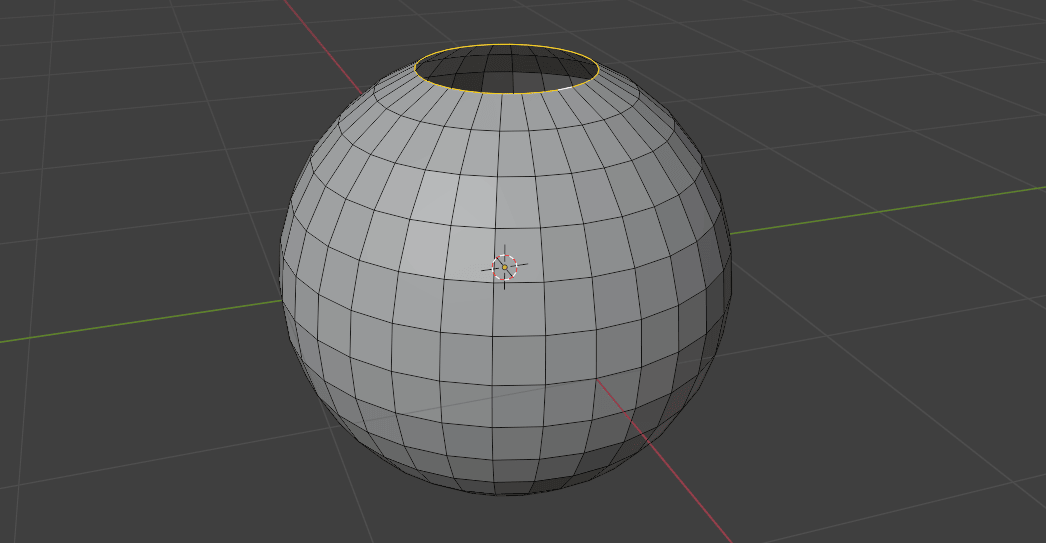
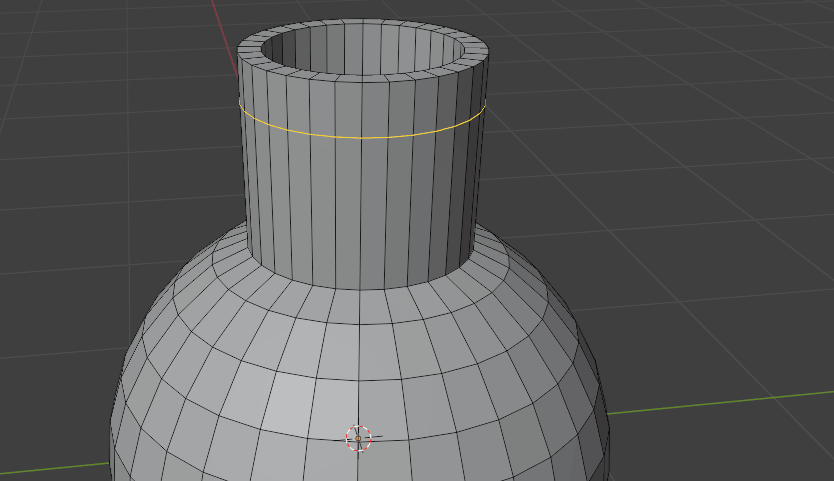
Switch to selecting edges with 2 and select this edge with “ALT” + LMB.
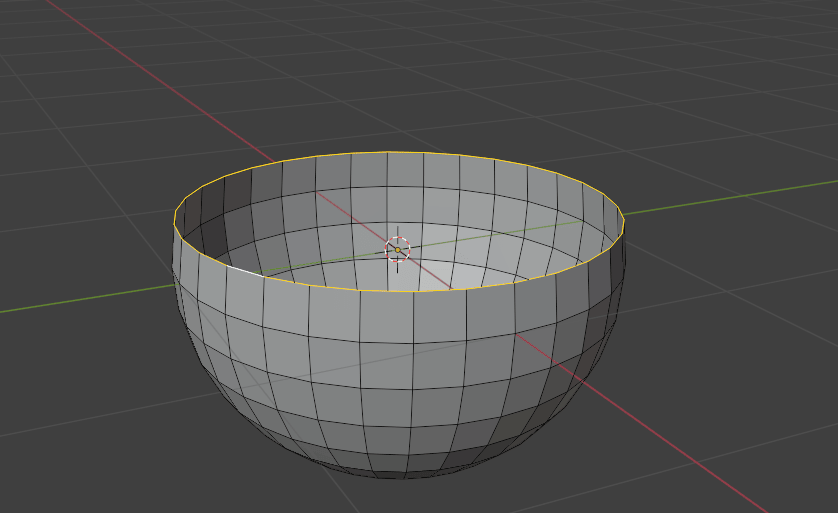
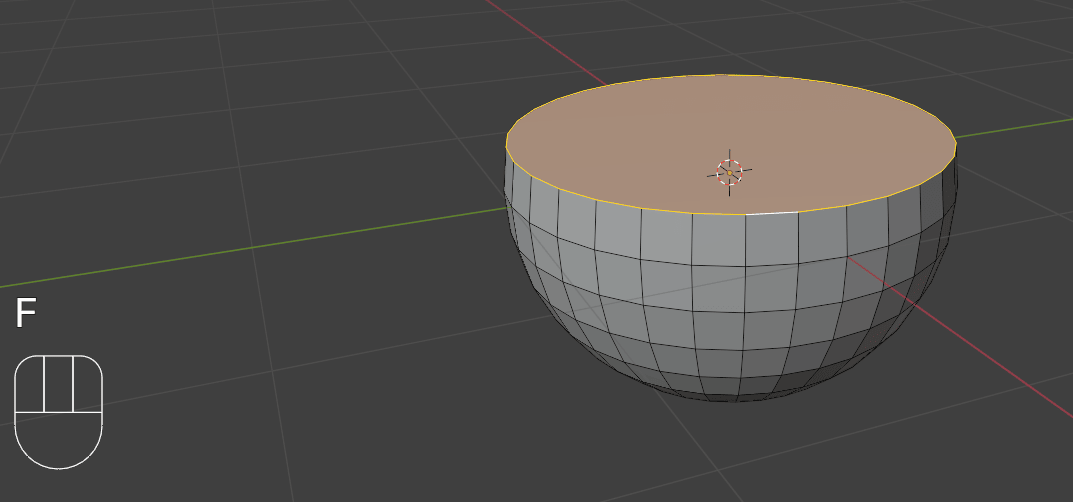
Press “F” to fill the face.
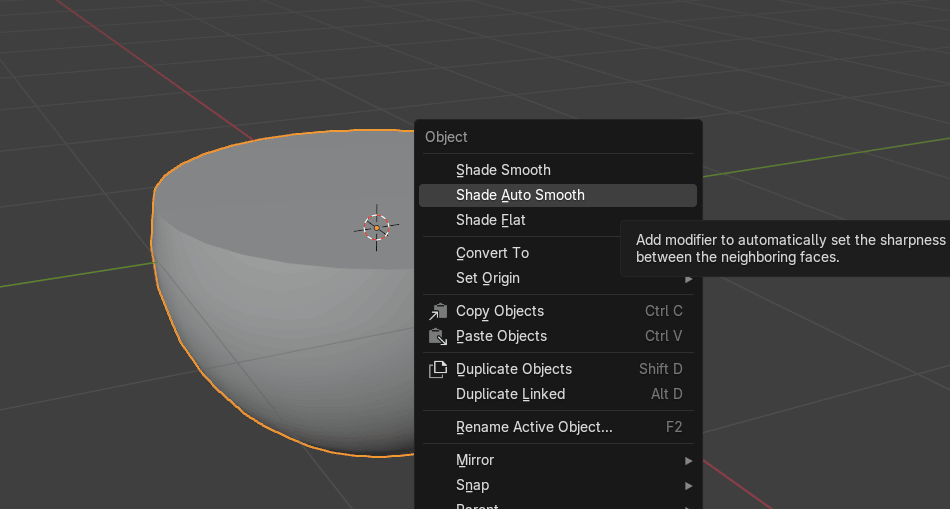
Switch to object mode with “TAB”. Click RMB and choose Shade Auto Smooth.
Beginners guide to Blender
Now hide that first sphere in the viewport and render and unhide the second one.
Select it and switch to edit mode with “TAB”.
Beginners guide to Blender
Switch to the selecting vertices with 1 and select the top vertex.
Select vertices only once with “CTRL”+ “numpad +”.

Press “X” and delete vertices.
Beginners guide to Blender
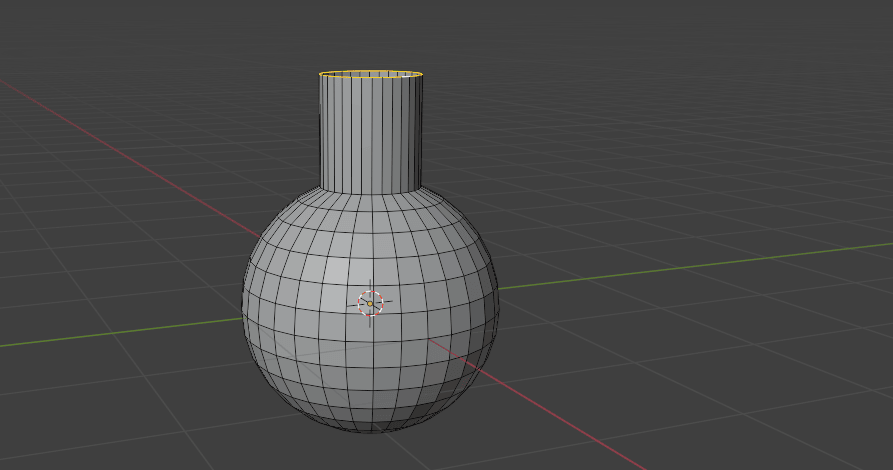
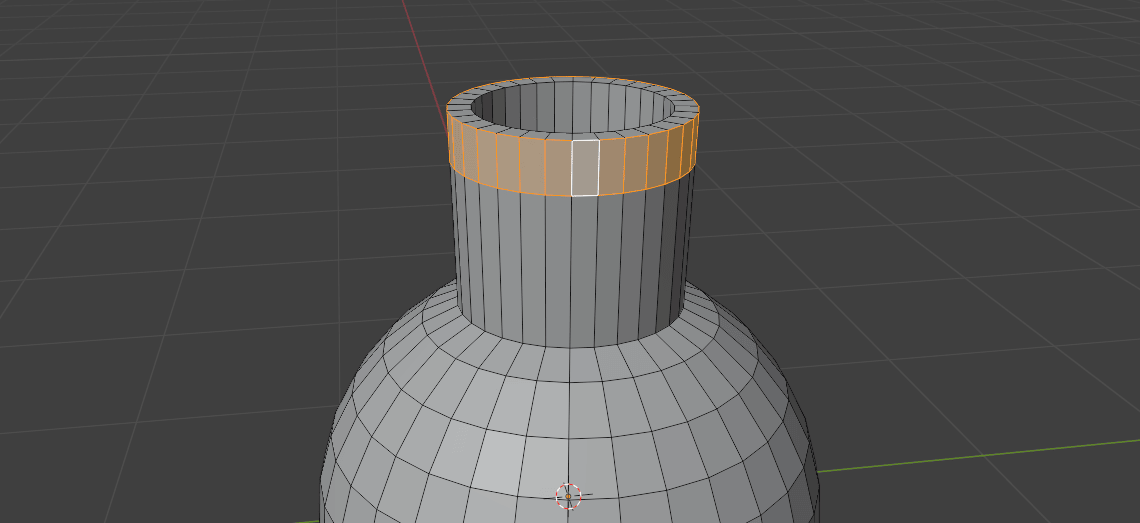
Switch to selecting edges with “2” and select this edge with “ALT”+ LMB.
Extrude it along the Z-axes with “E+Z”.
Beginners guide to Blender
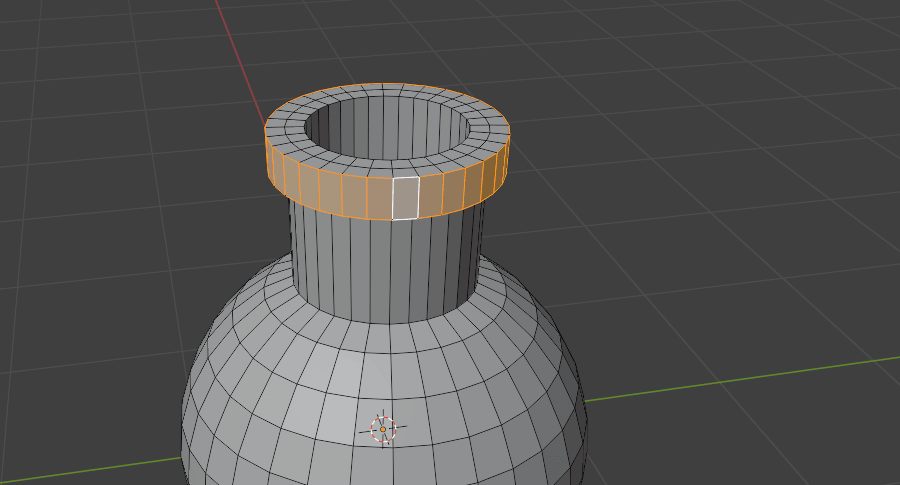
Select all with “A” and press “ALT+E” to extrude faces along the normals.
Press “CTRL+R” to add a new loop and move it up.
Switch to selecting faces with “3” and select all those faces.
Beginners guide to Blender
Press “ALT+E” and extrude faces along normals.
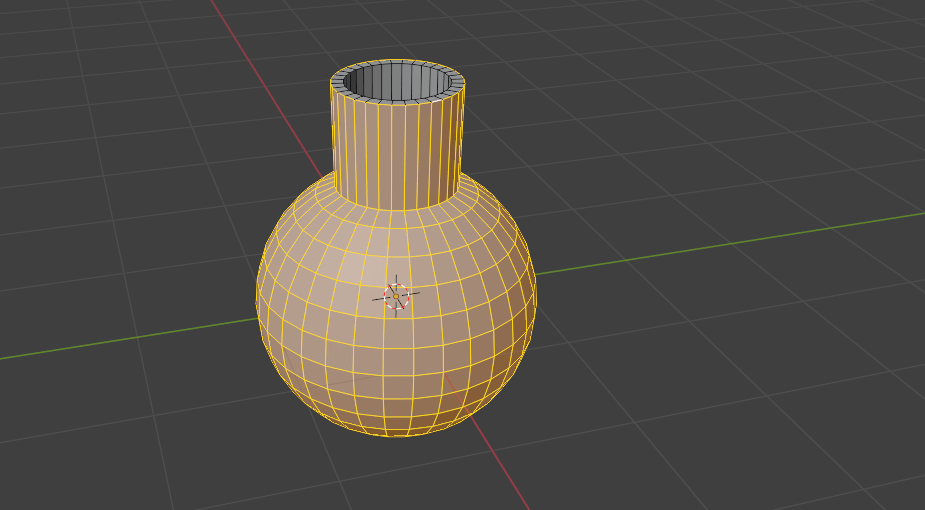
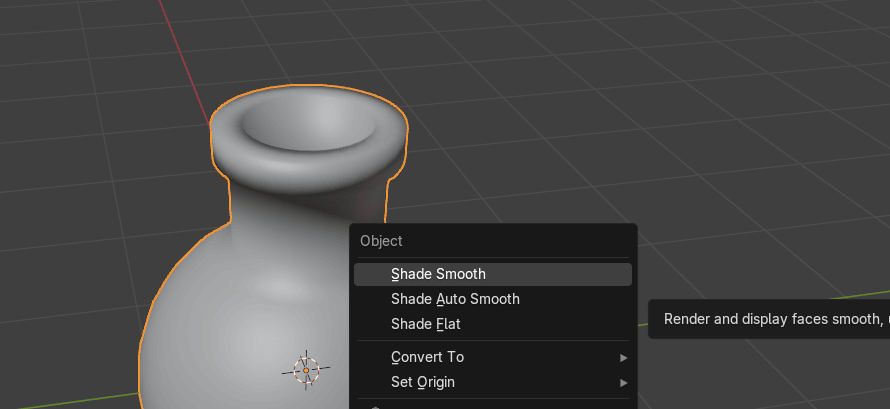
Switch back to object mode with “TAB” and press RMB and choose Shade Smooth.
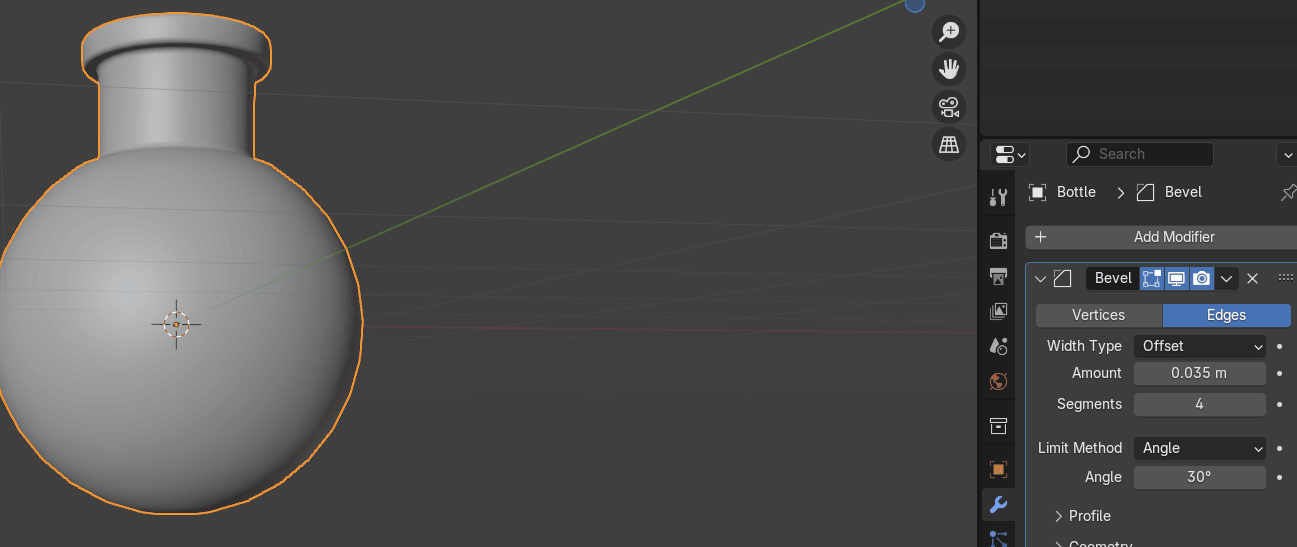
Go to modifiers. Add modifier —> Generate → Bevel.
Beginners guide to Blender
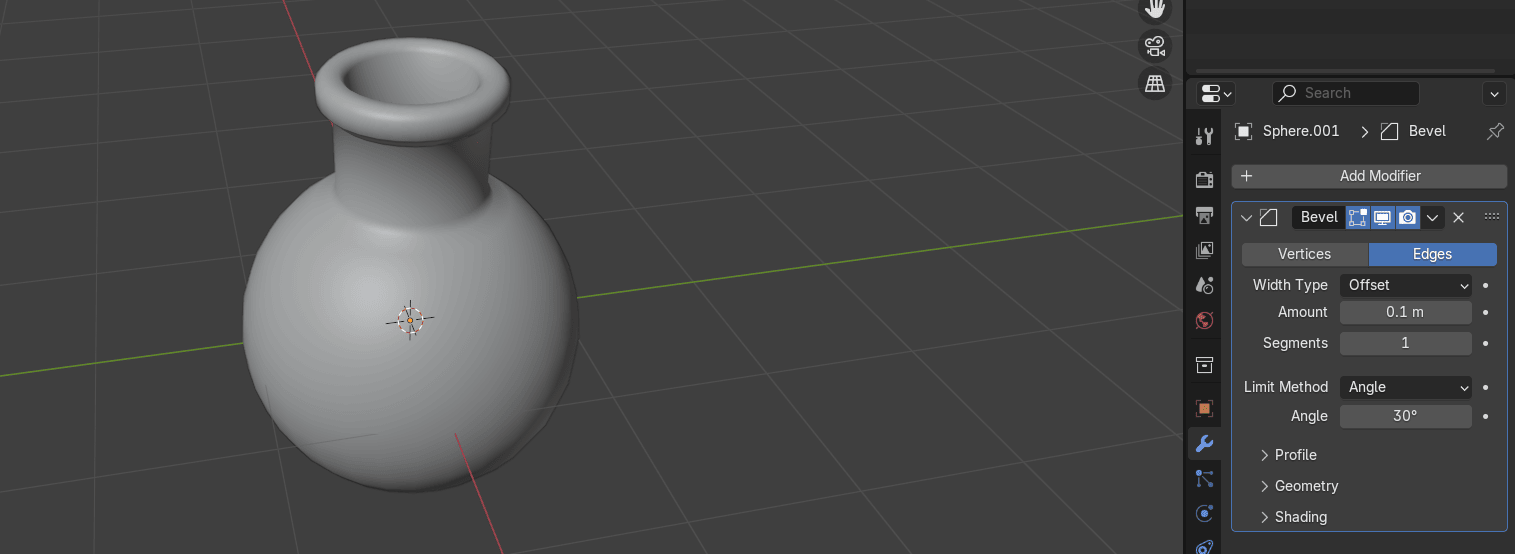
To fix this part, add more segments and amount.
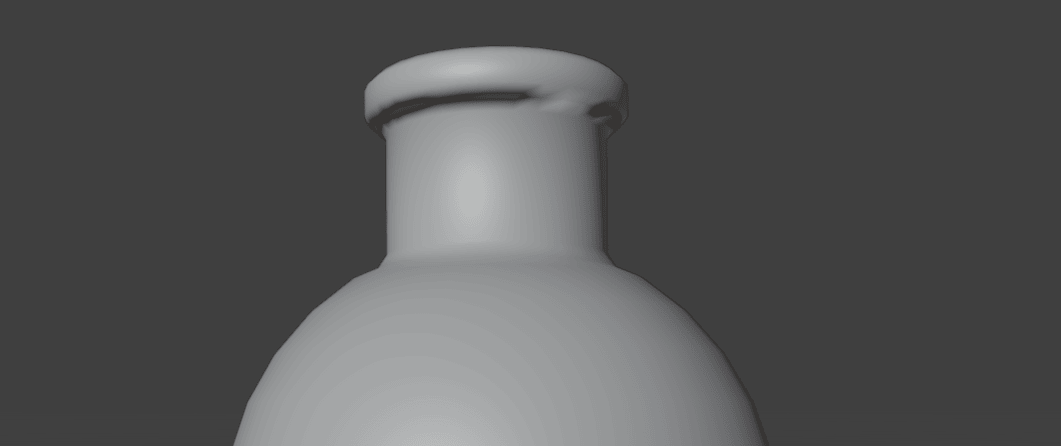
I added 4 segments and amount 0.035 but you can add as much as you want (just be carefulto not add too much if you need low poly model - a model with less polygons).
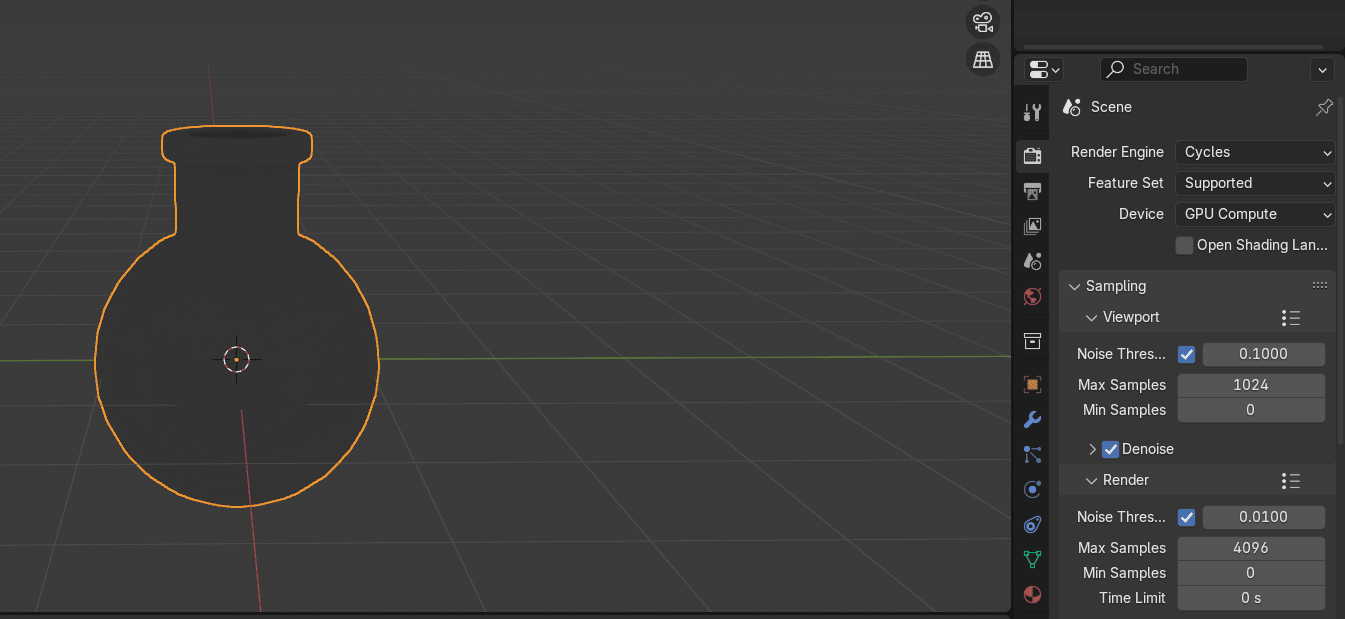
Now switch to the Rendered mode so you can add lights and materials and see how magicpotion looks with proper lighting.
Beginners guide to Blender
Now go to render properties, and switch from Render engine Eevee to Cycles.
Also if you have a good graphics card, you can switch from CPU to GPU.
Turn on the viewport denoise to get rid of the noise and make things easier for the eyes.
Place the cursor on the upper side of the screen as shown, and when you see plus,
just pull it down to the left while holding the left mouse button.
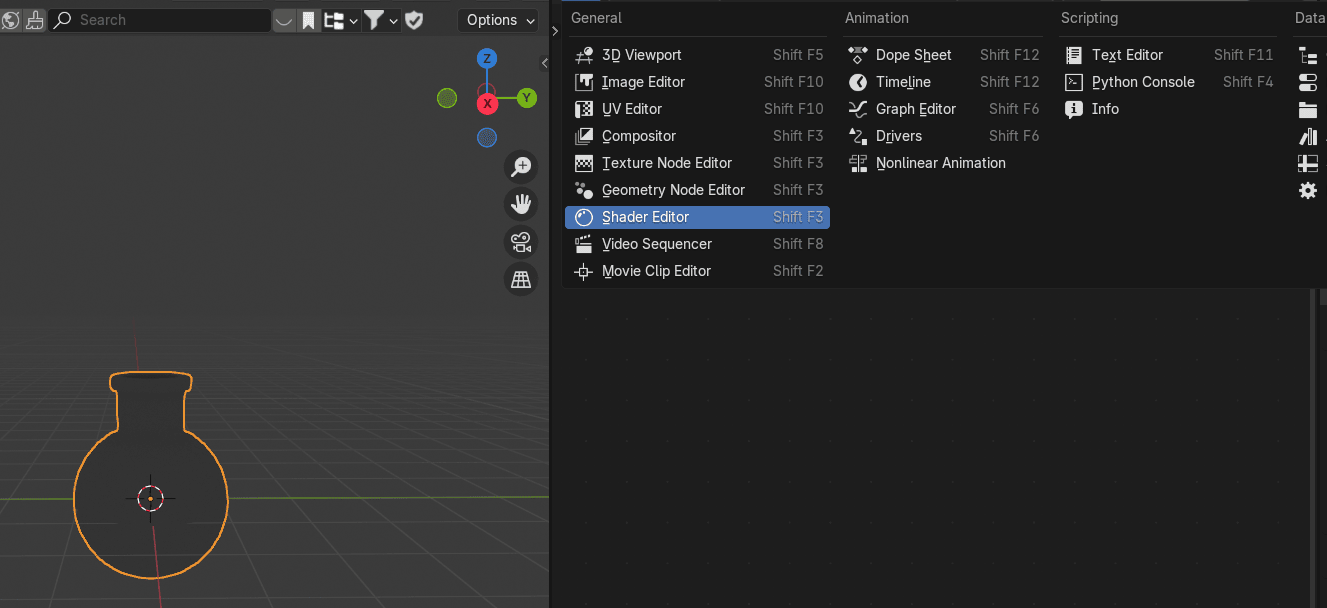
Open the shader editor in the window you just created.
Beginners guide to Blender
Click “N” to hide that sidebar on the right because you don’t need it.
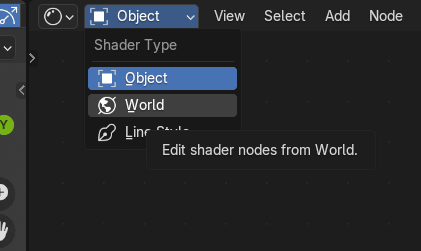
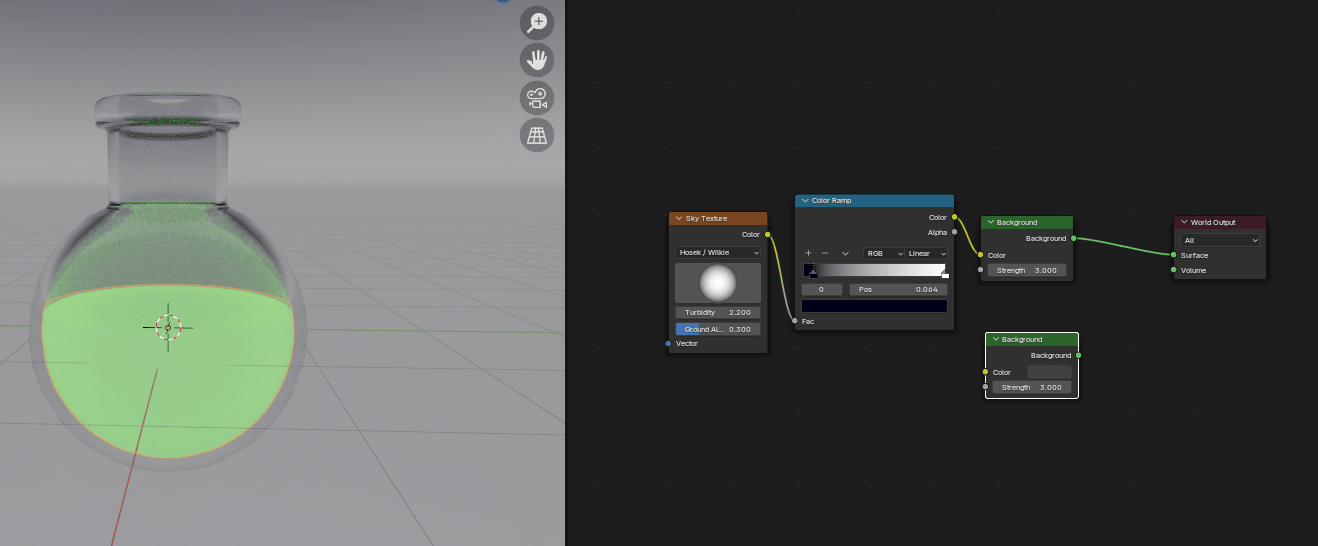
Switch from object to world shader.
Beginners guide to Blender
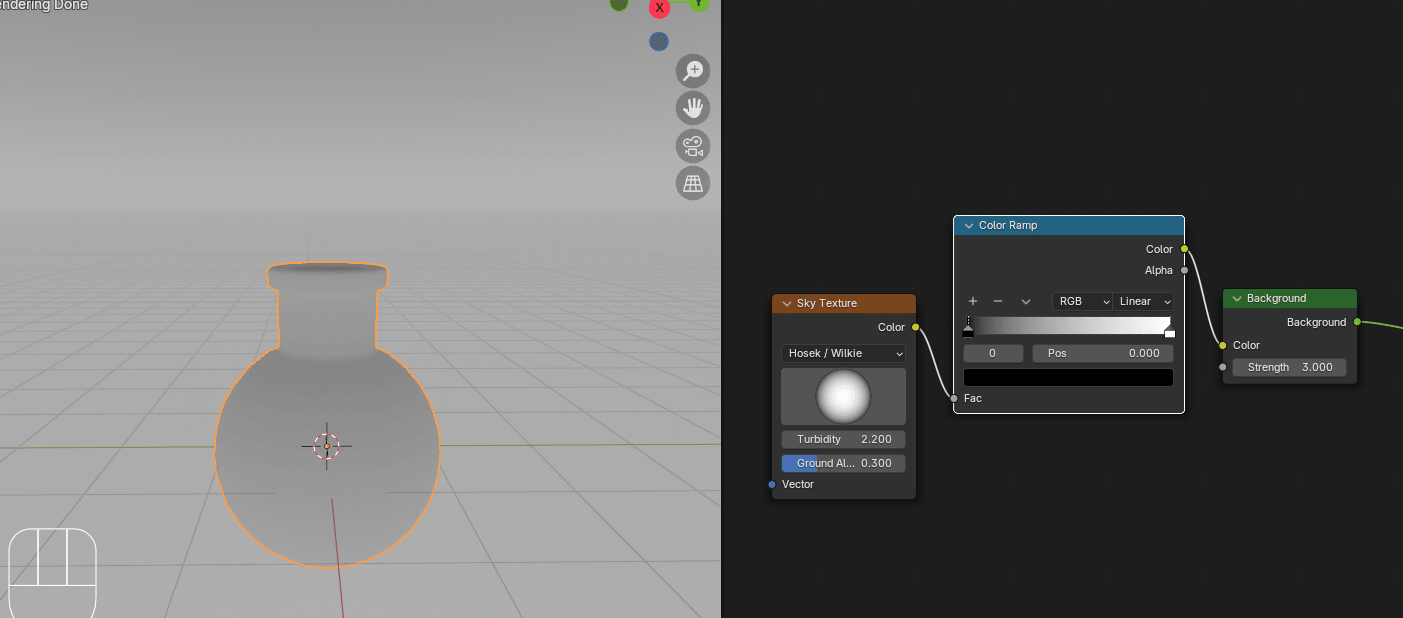
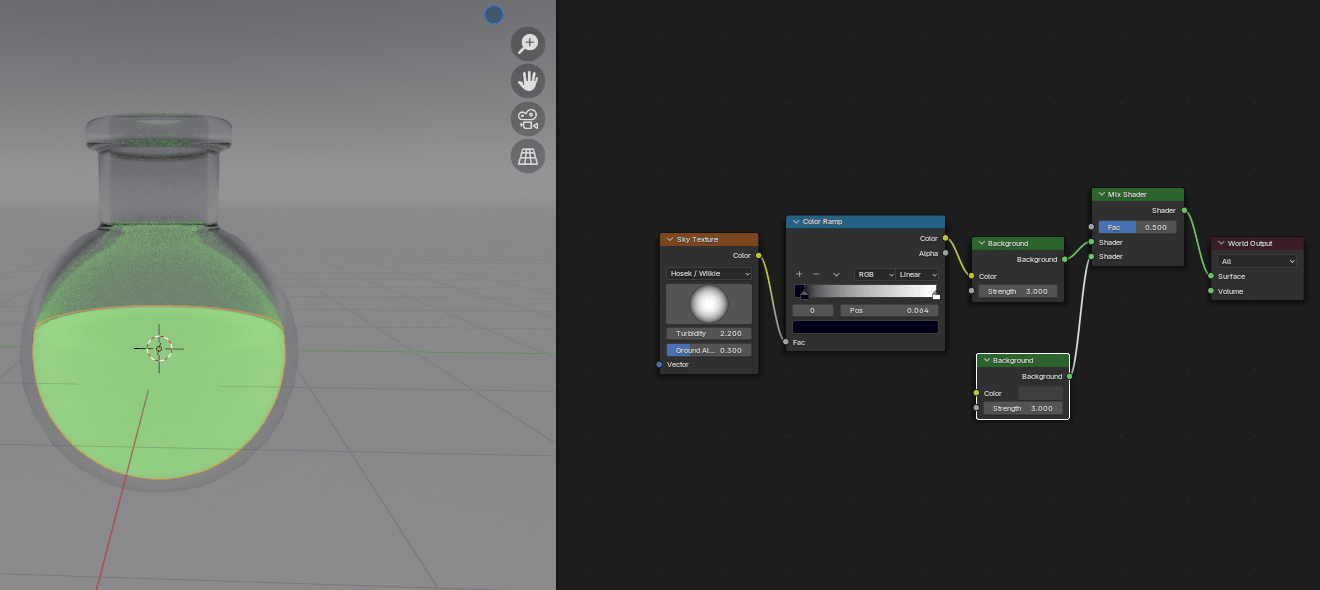
Connect Color from the Background with a Color from Sky Texture.
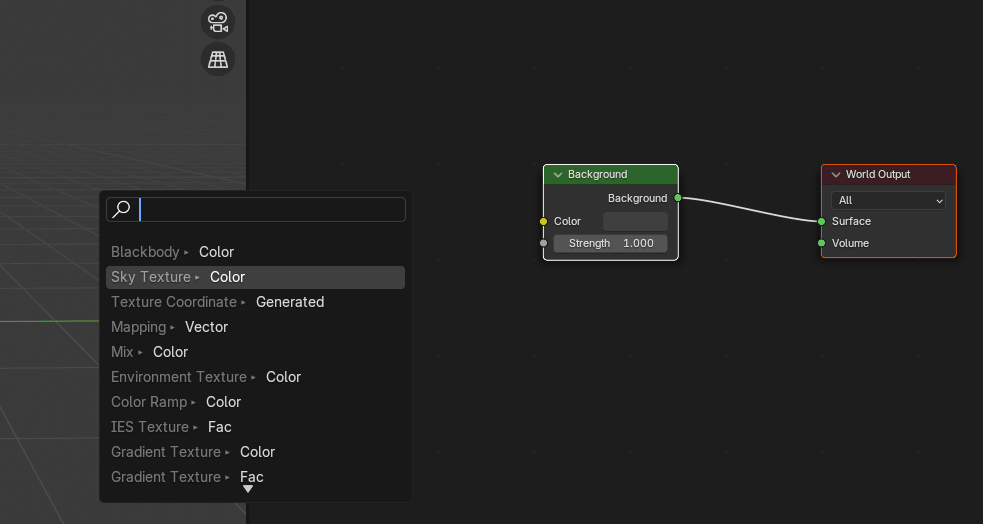
As you can see, now you have a sky texture for your background.
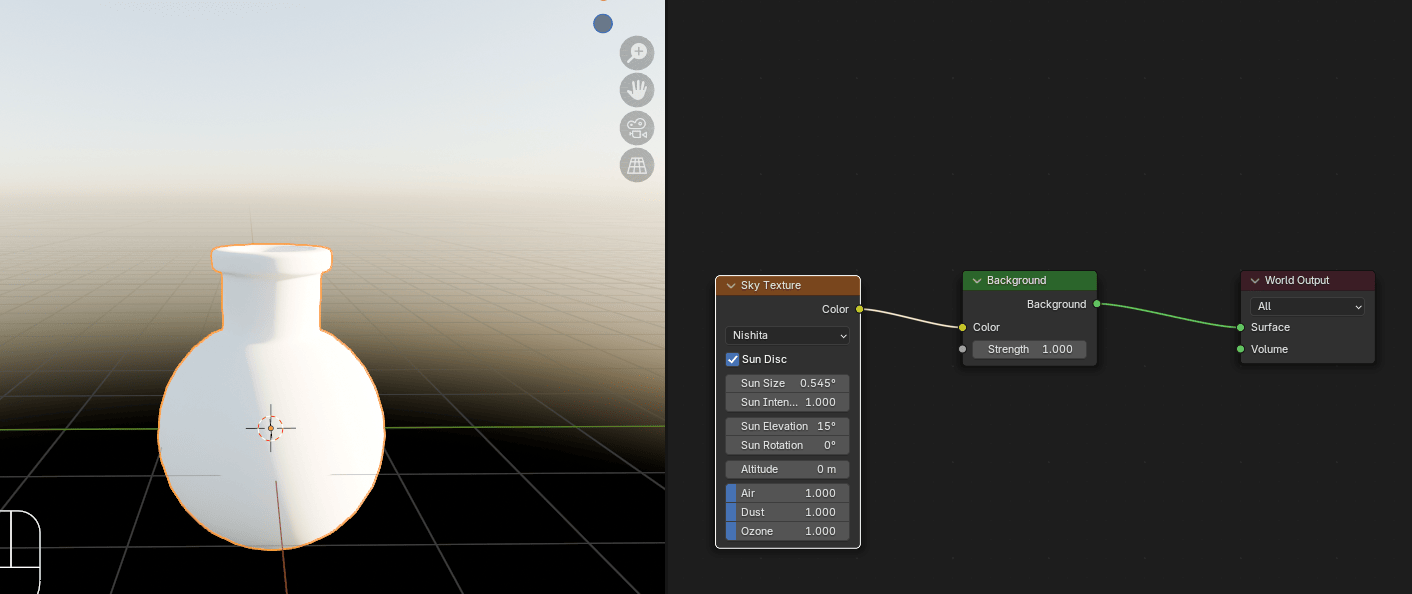
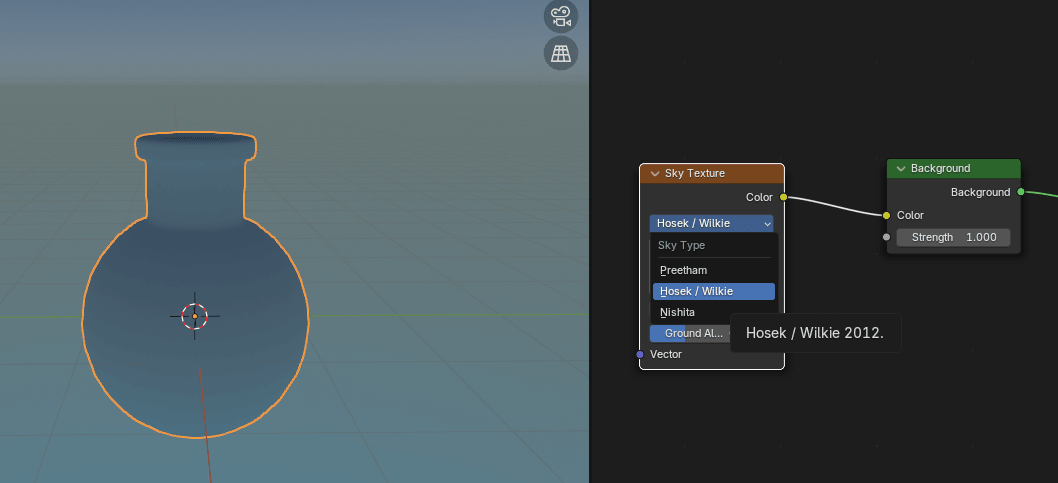
You can switch from Nishita to Hosek/Wilike for a bit different type of sky shader if you want.
Beginners guide to Blender
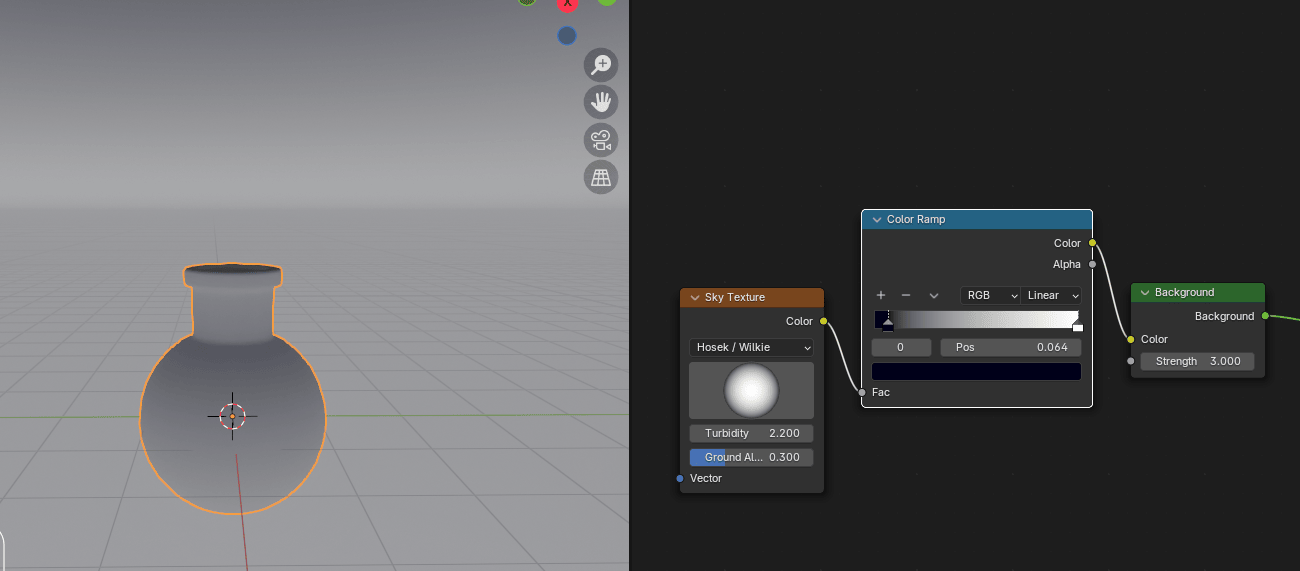
Go to Add → Converter → Color Ramp and add it between Sky Texture and Background.
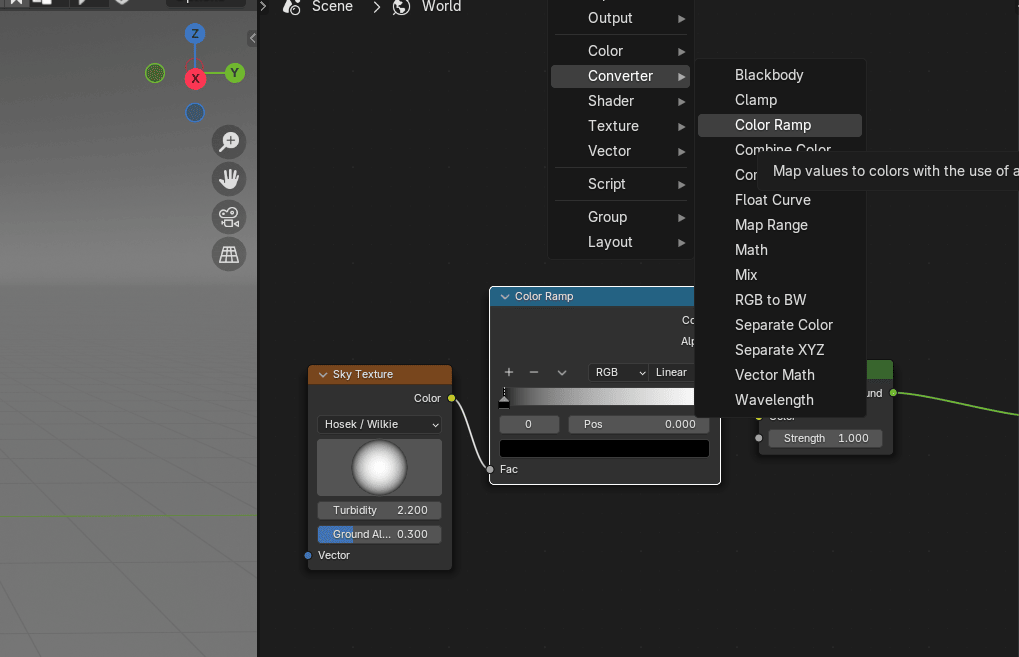
Change Background Strength to 3 or similar if you want your world to become brighter.
Select the first color picker of the Color Ramp and change it to darker blue (or any other coloryou want).
Beginners guide to Blender
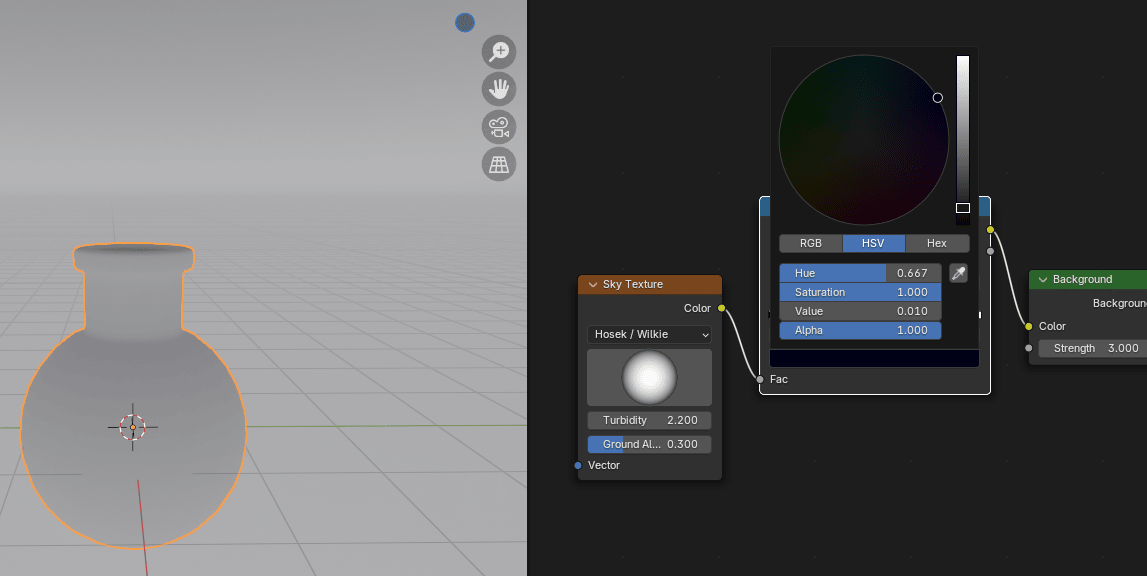
And move it a bit to the right.
Switch from world to object.
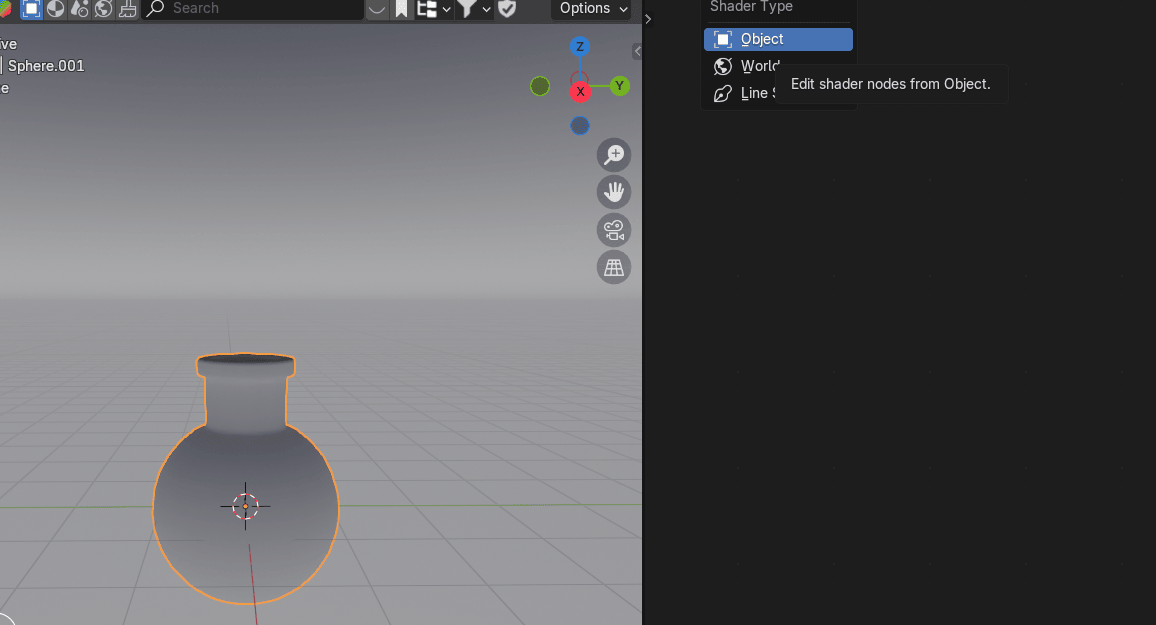
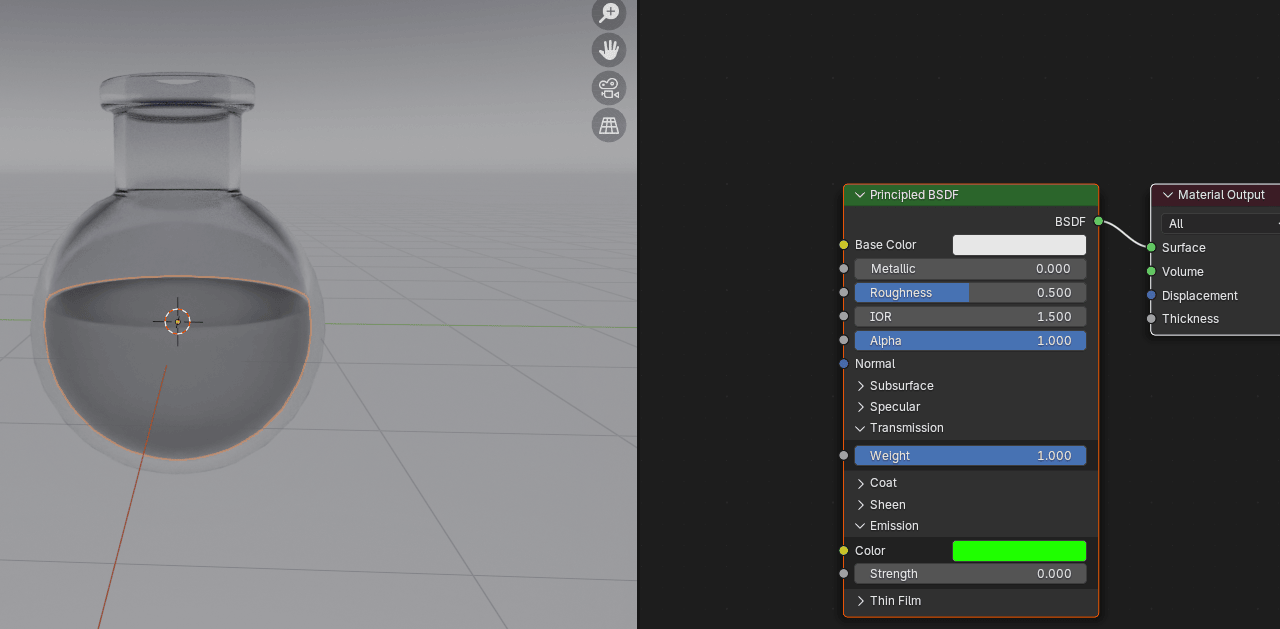
Go to material and add a new material.
Beginners guide to Blender
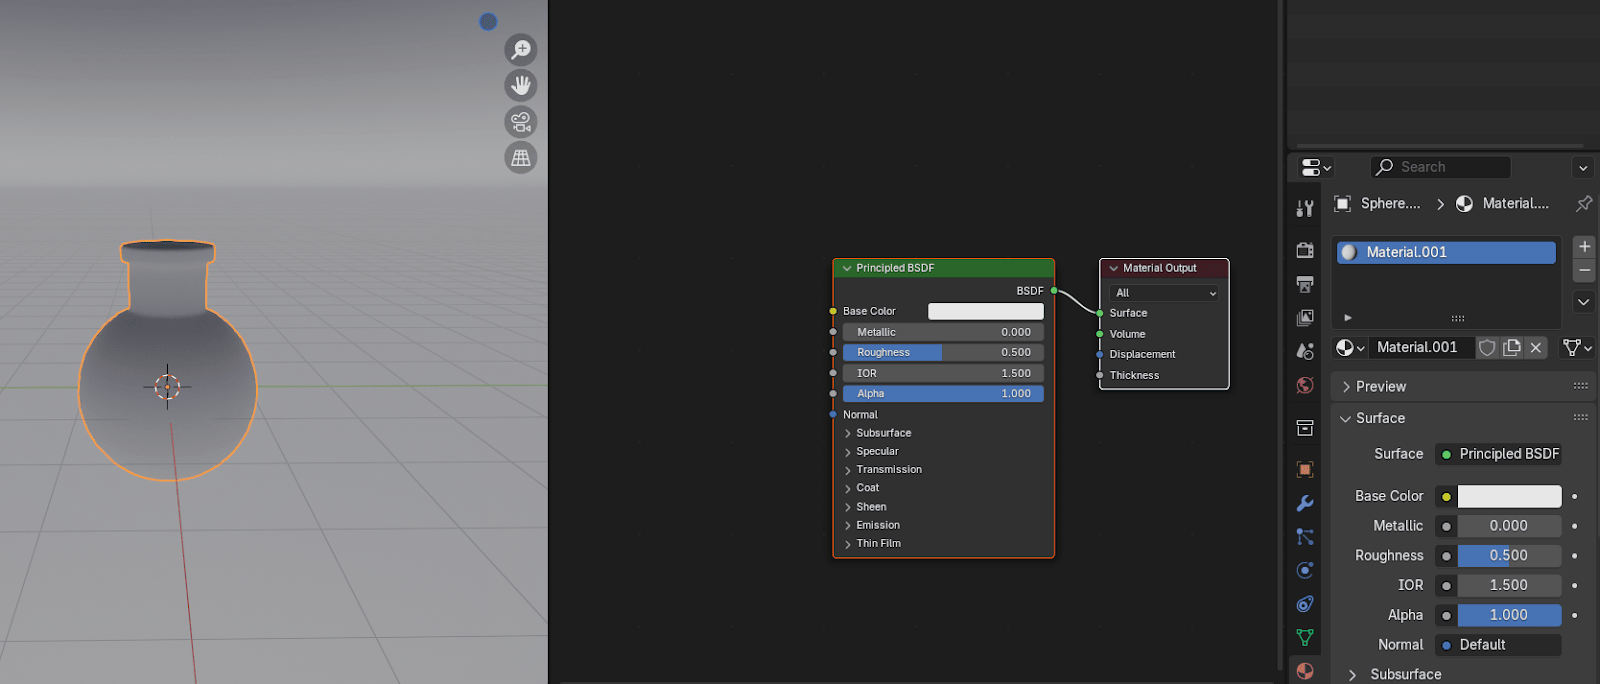
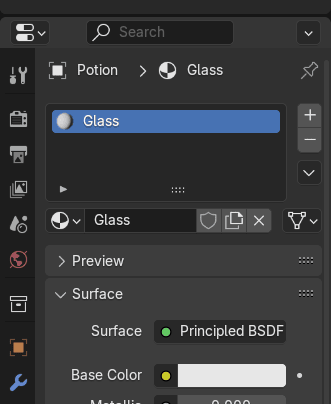
Rename the Sphere.001 to Bottle (or anything else that you like.)
Rename the material to Glass (or anything else).
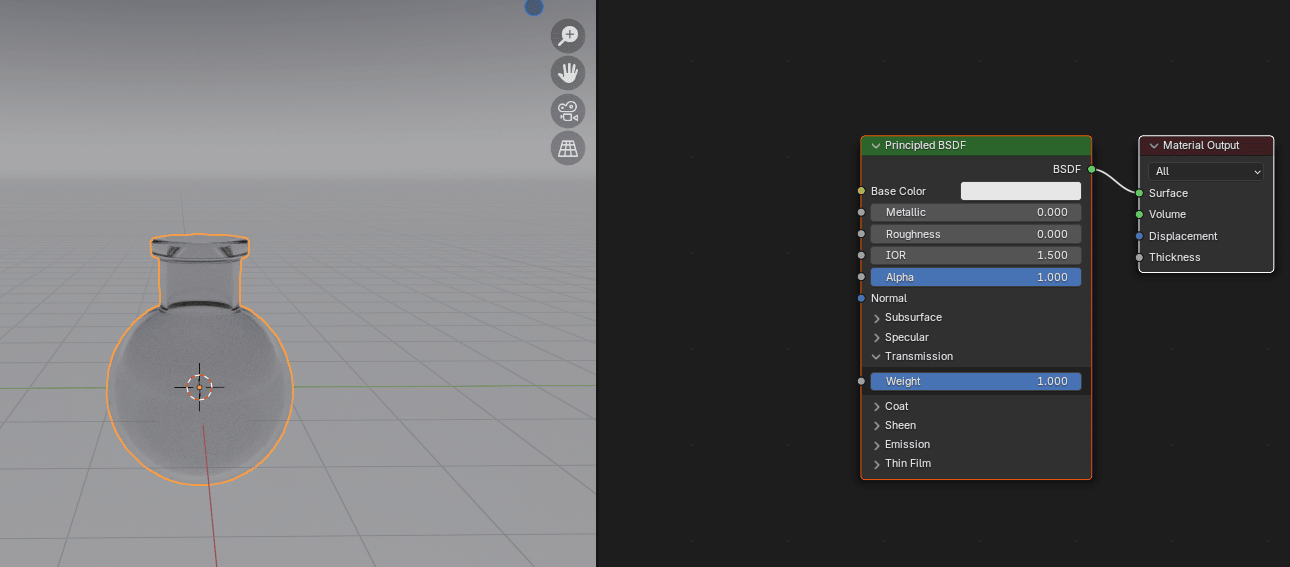
Click on Transmission and put Weight to 1.
Beginners guide to Blender
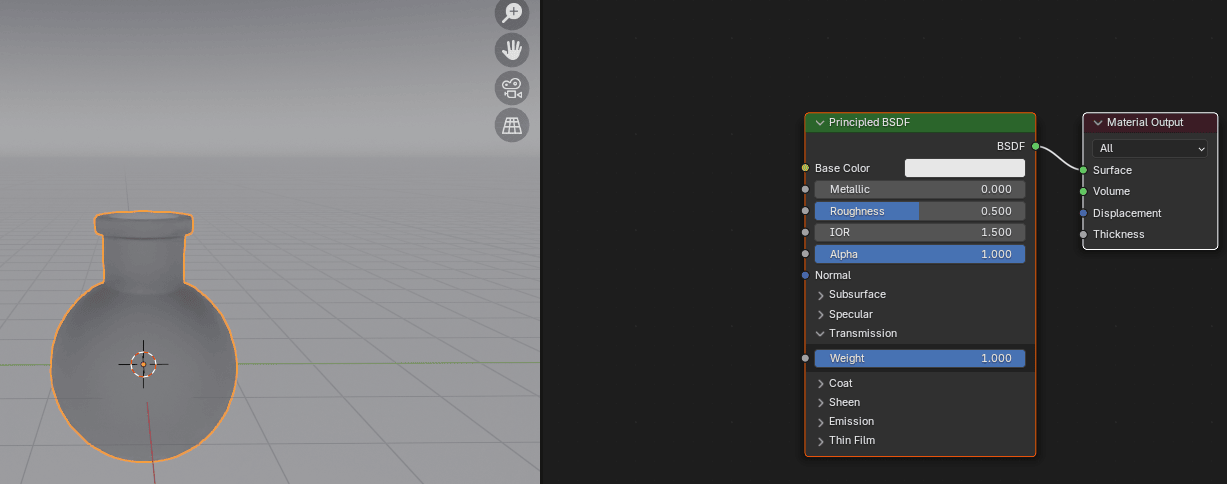
Put Roughness to 0.
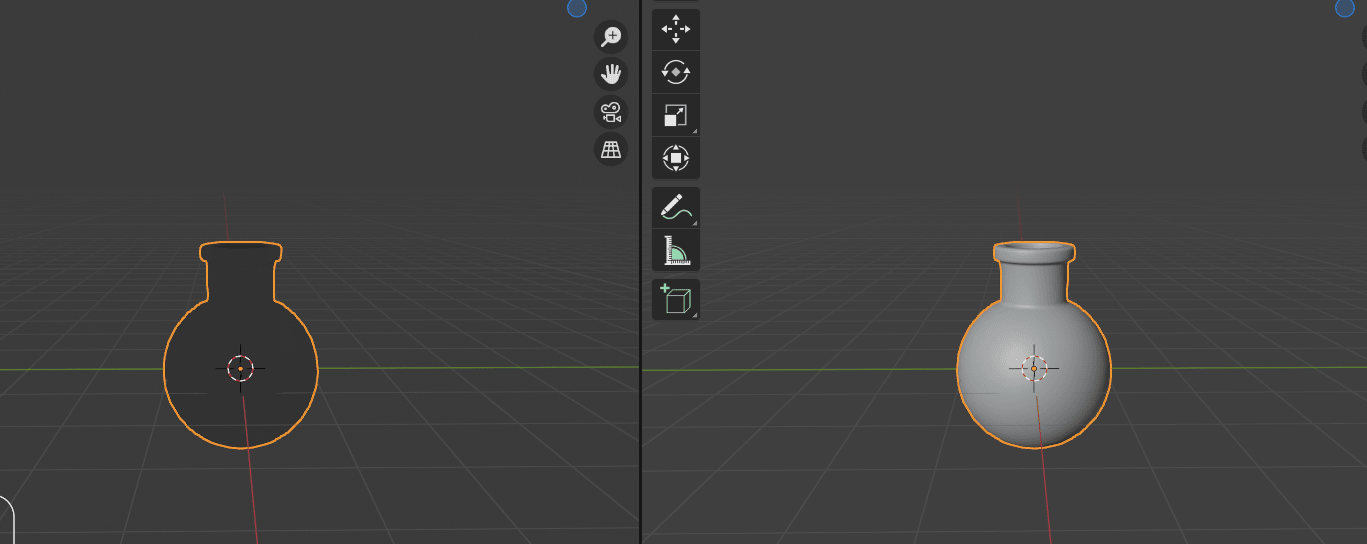
Unhide the first Sphere from the viewport and render.
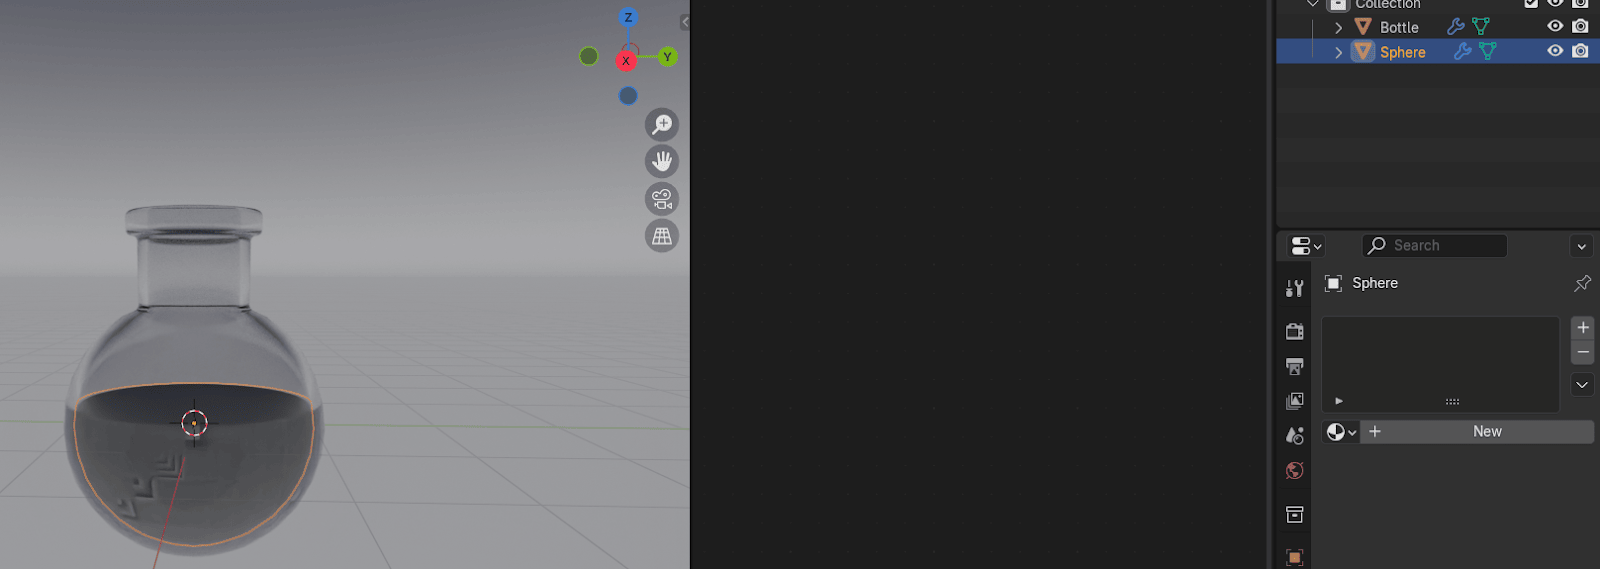
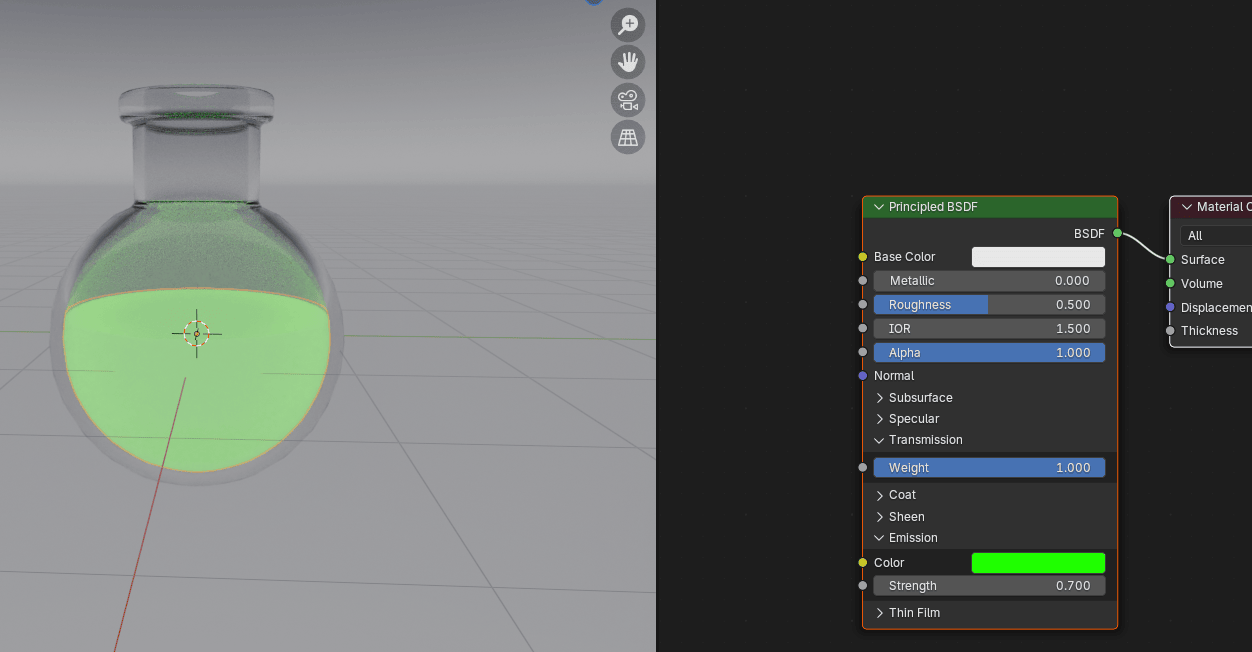
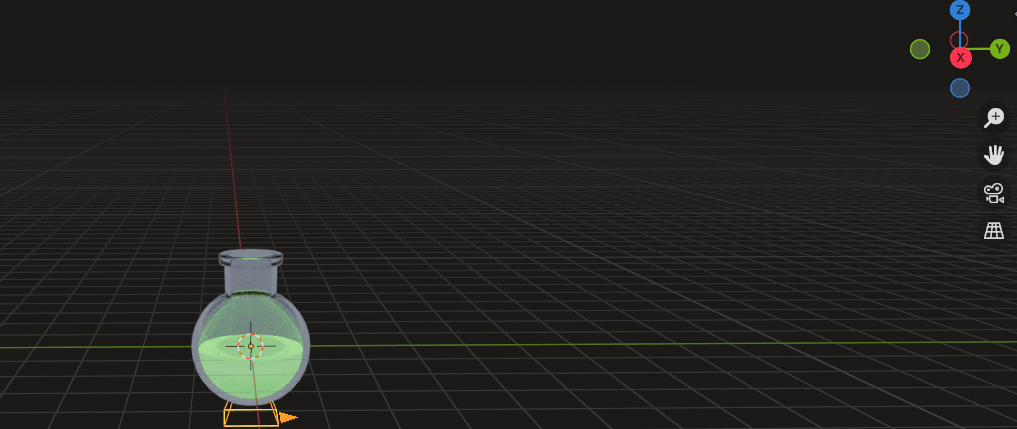
Select the Sphere and scale it just a little bit with an “S” to make it smaller than the bottle.
Beginners guide to Blender
Rename it to the Potion (or anything else that you want).
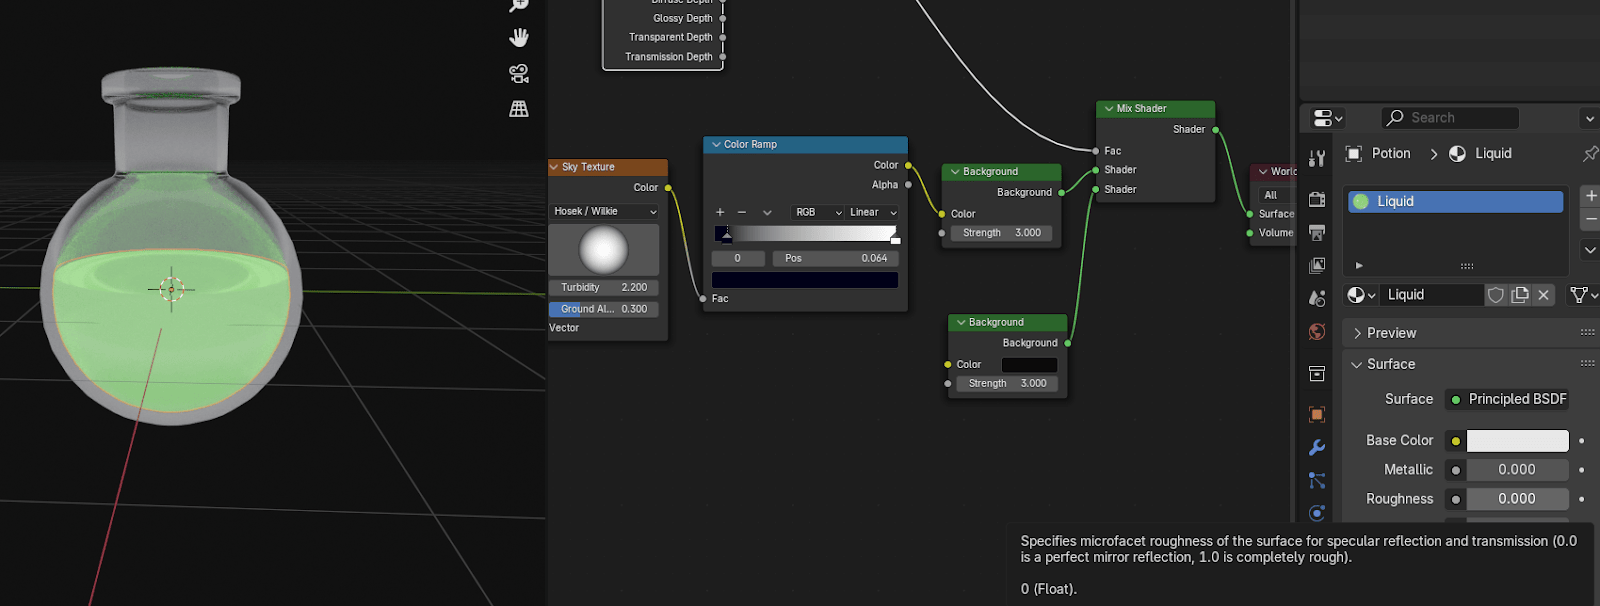
Add a new material and rename it to the Liquid (or something else).
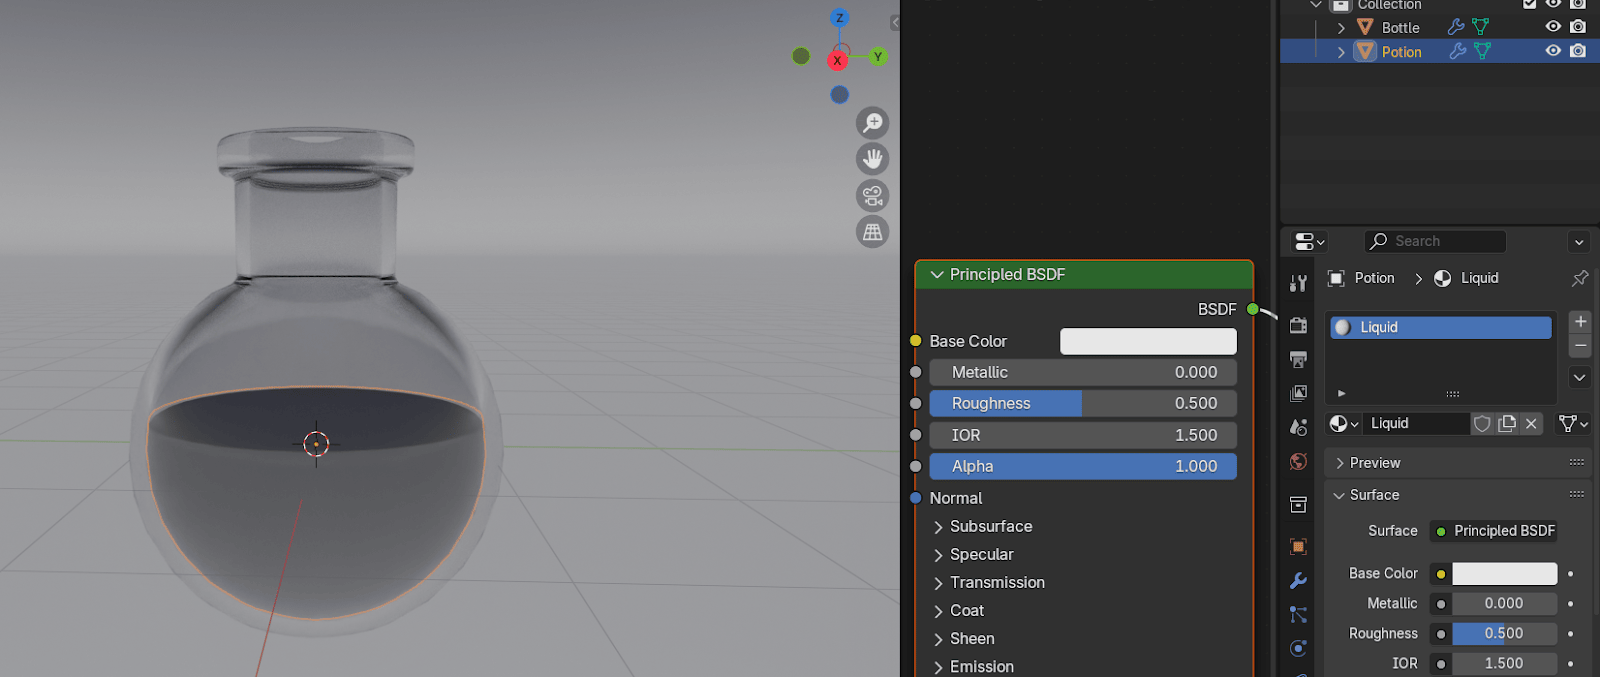
Click on Transmission and put Weight to 1.
Beginners guide to Blender

Click on Emission and change color to Green (or something else).
Because you didn’t add strength to the emission, you can’t see green color yet. Changestrength from 0 to any number you want. I changed it to 0.7.
Beginners guide to Blender
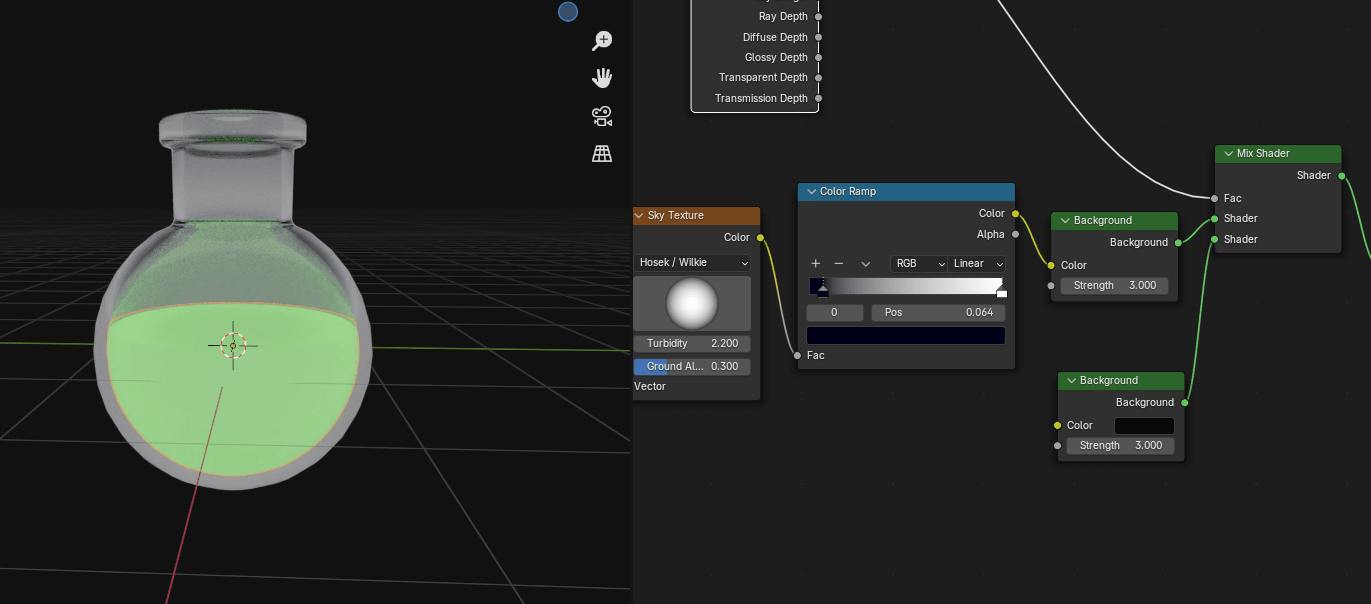
Switch to the world shader.

Select the Background node and duplicate it with “SHIFT+D”.
Add → Shader → Mix Shader and put it between Background and Material Output node.
Beginners guide to Blender
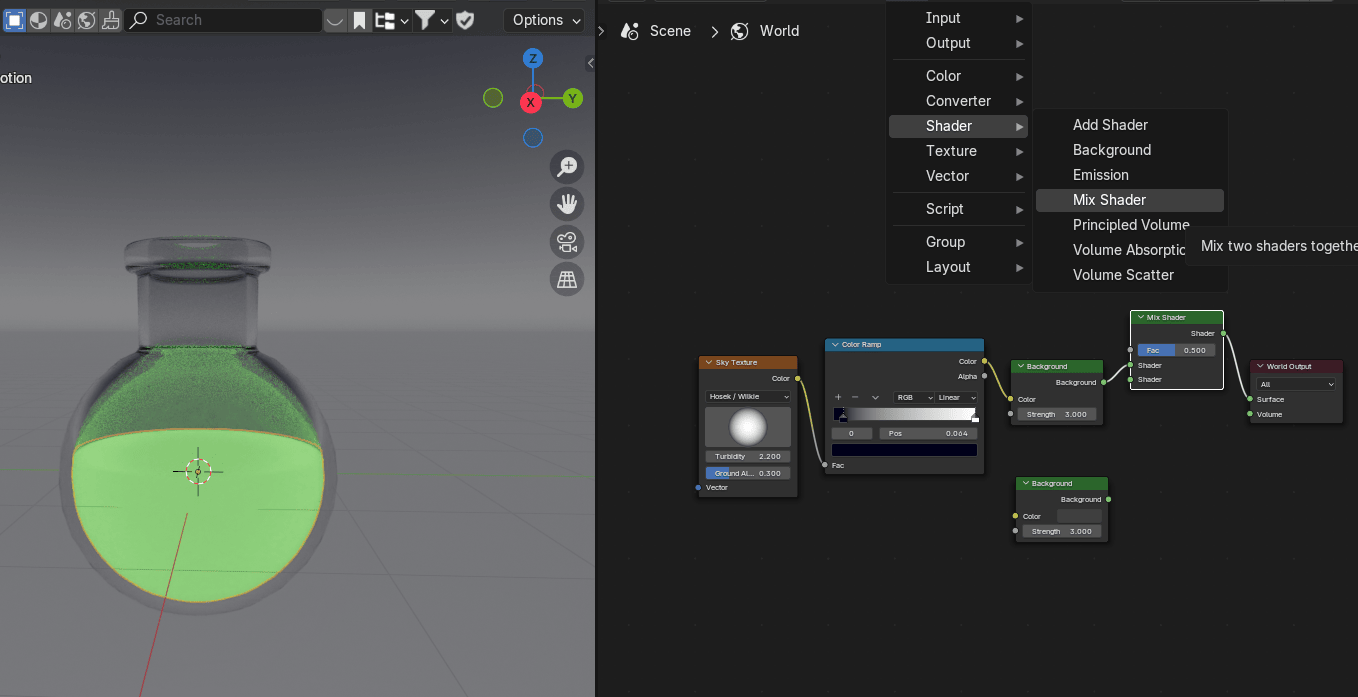
Connect Background from the second Background node with a Shader from a Mix Shader.
Connect Fac from the Mix Shader node with an Is Camera Ray from the Light Path Shaderso that you change the sky to a flat color without affecting the lighting.
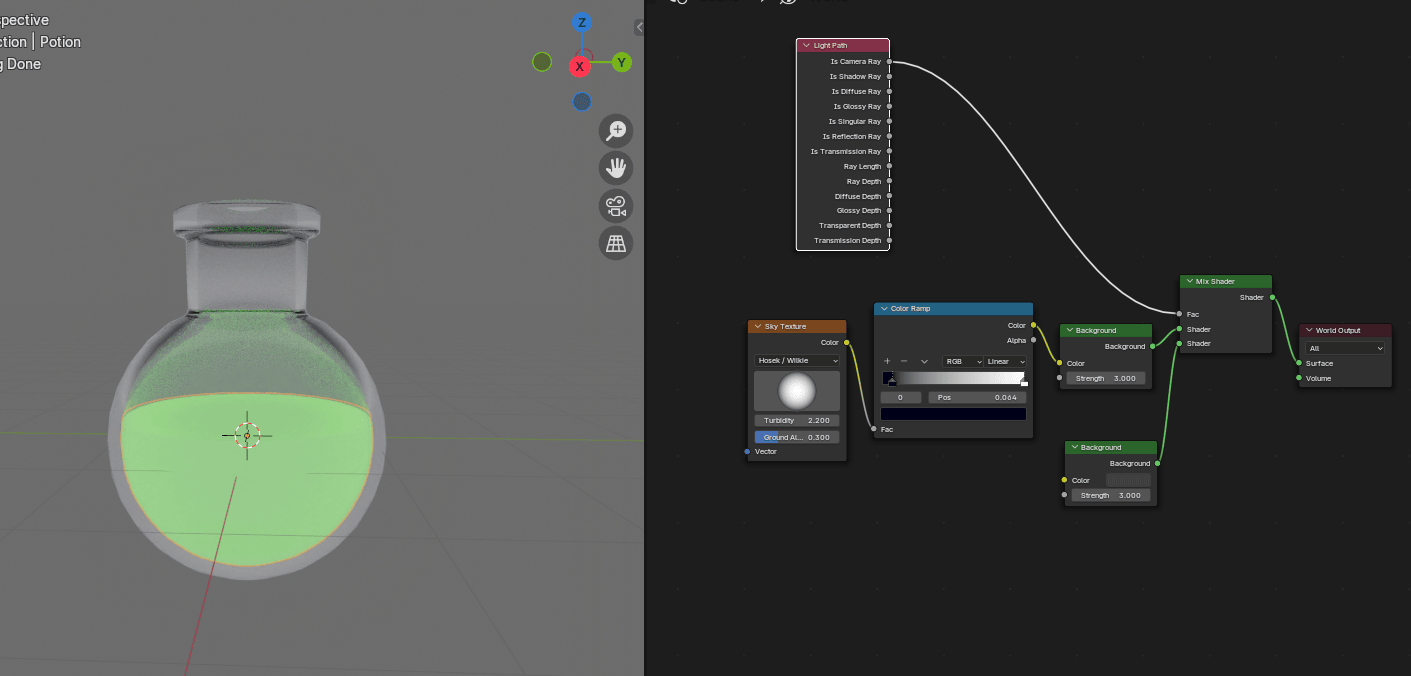
Change the color of the Background to the Black (or any other that you like).
Beginners guide to Blender
Put Roughness to 0 so your potion looks even better.
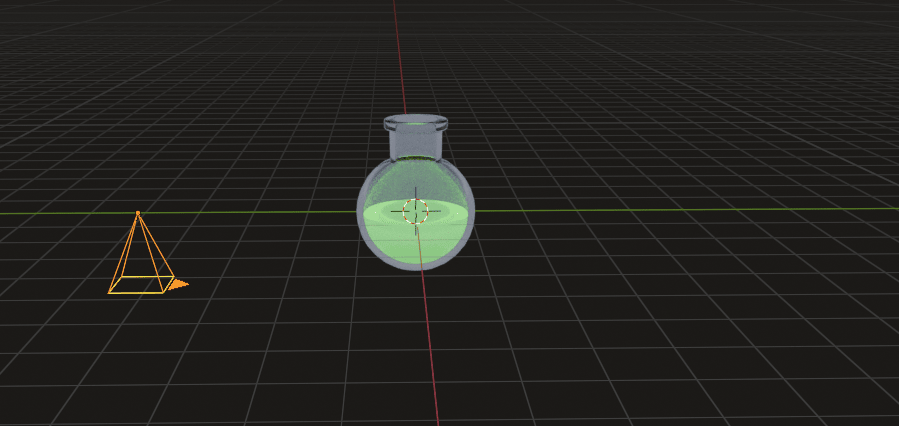
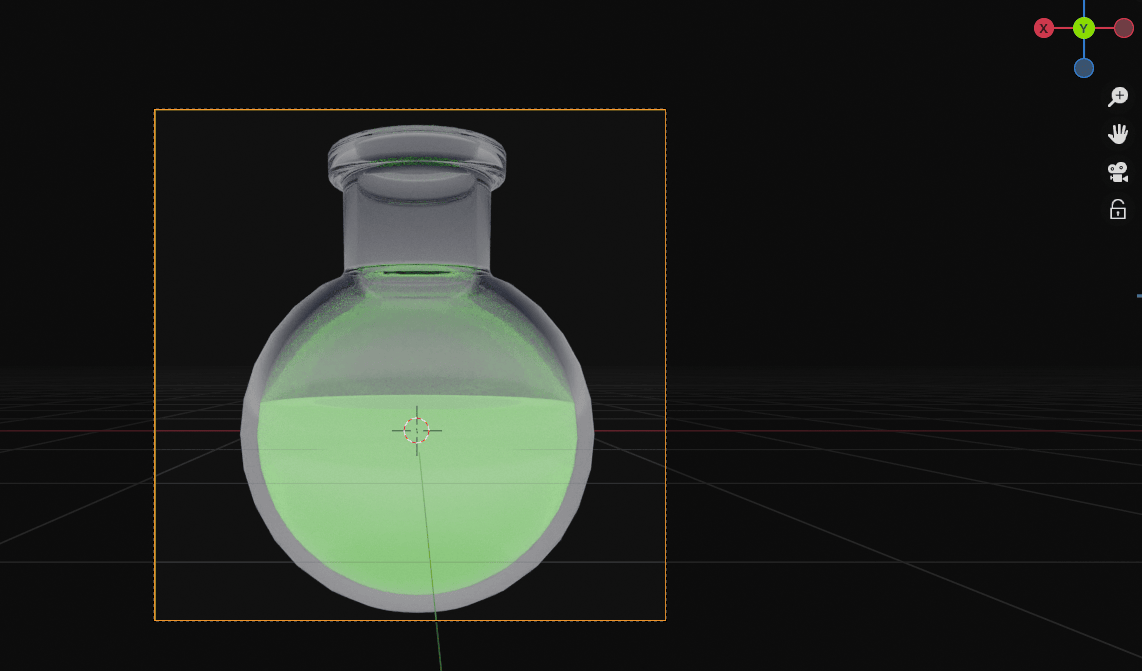
Add → Camera.

Press “ALT+R” to rotate camera to its default orientation.
Beginners guide to Blender
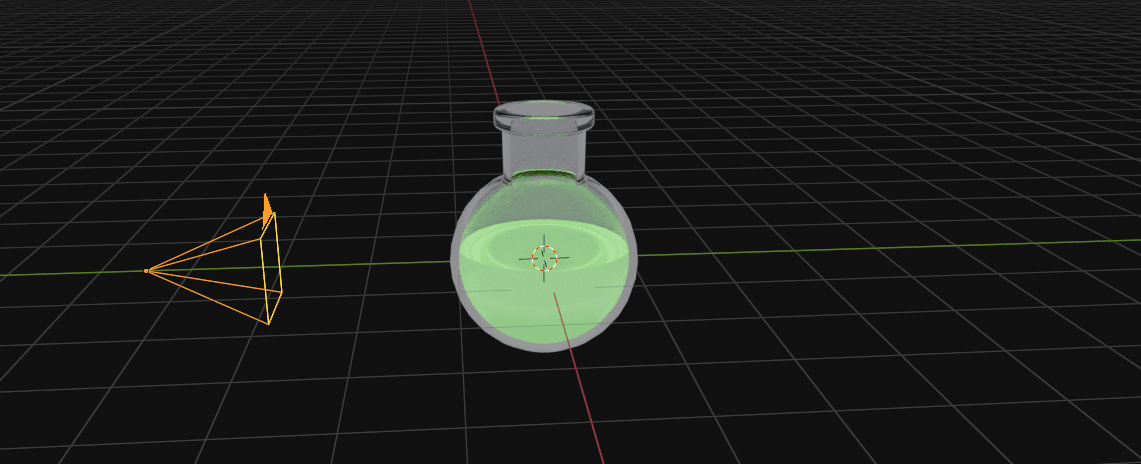
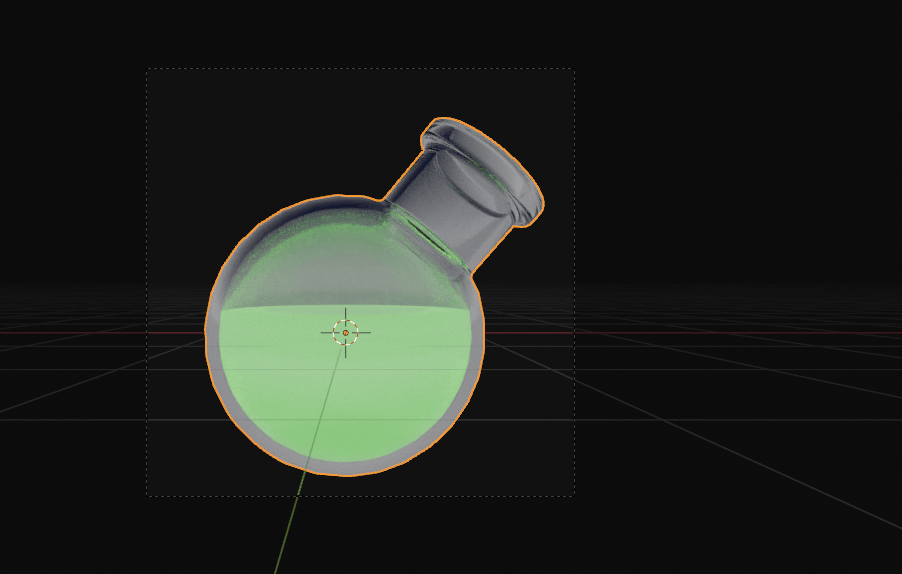
And move it to the left a bit with “G+Y”.
Beginners guide to Blender
Rotate it along the X-axes by 90° with “R+X+90”.
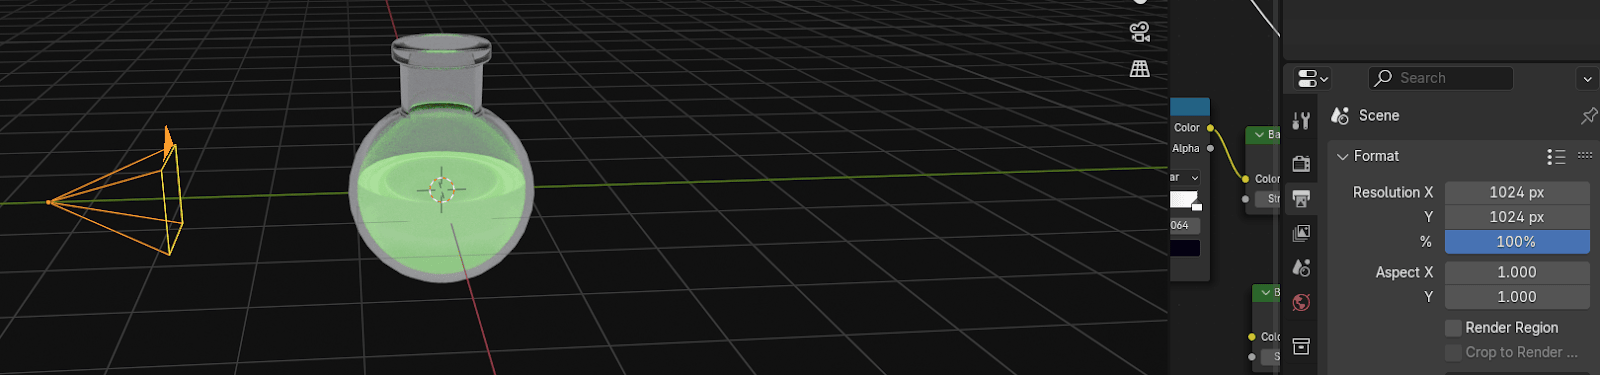
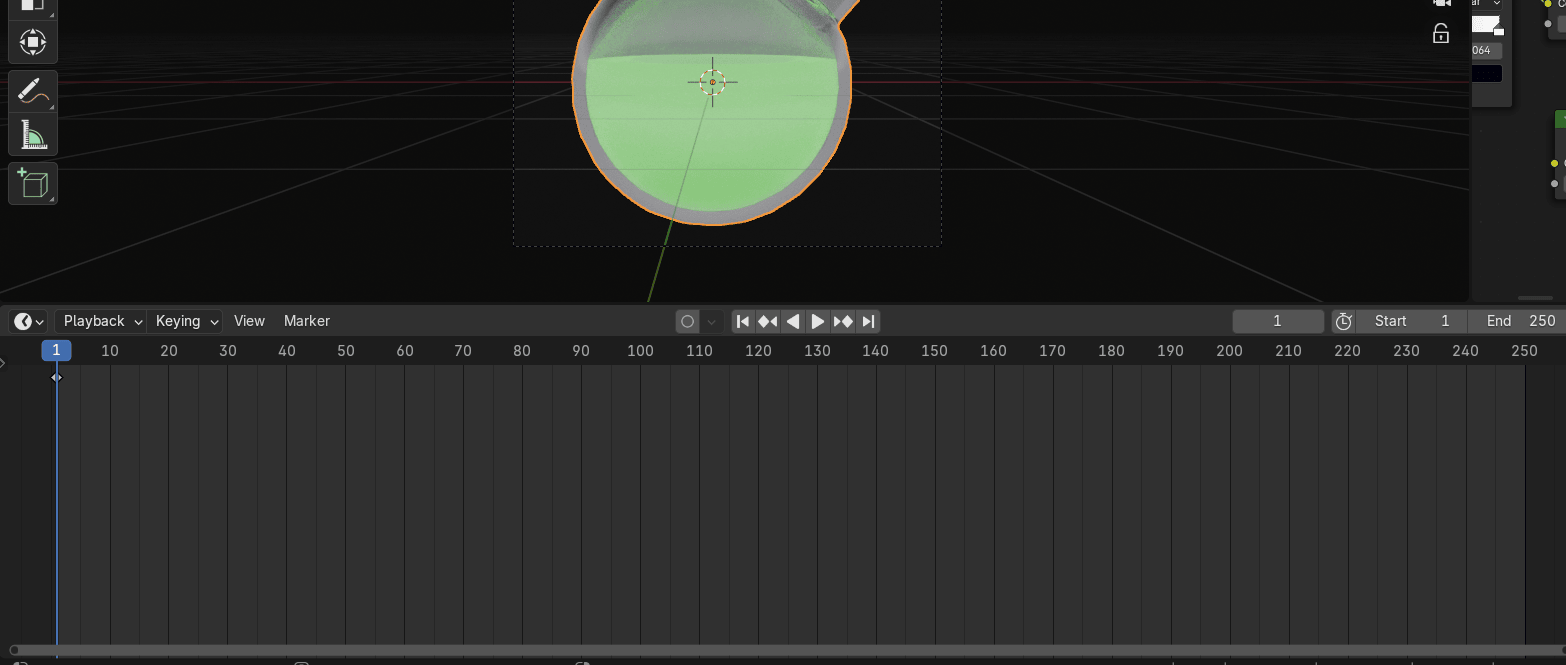
Select the camera and change the resolution to the 1024x1024 (if you want).
Click on the Camera icon to the right
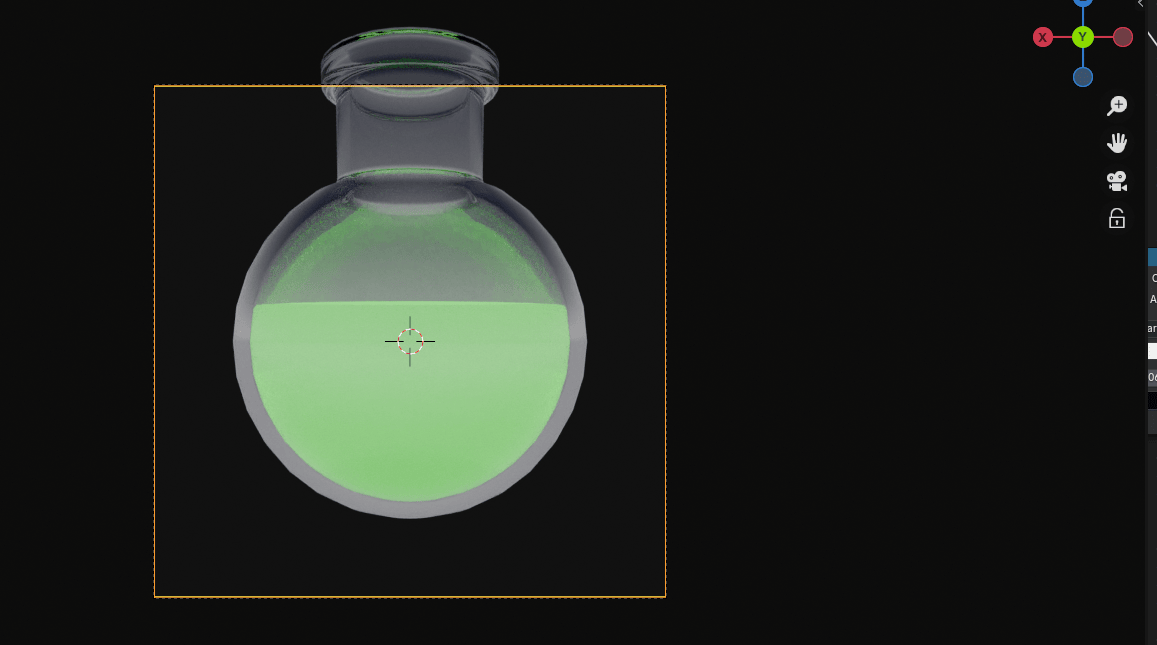
And after that click on this lock icon so you can adjust the camera position.
Beginners guide to Blender
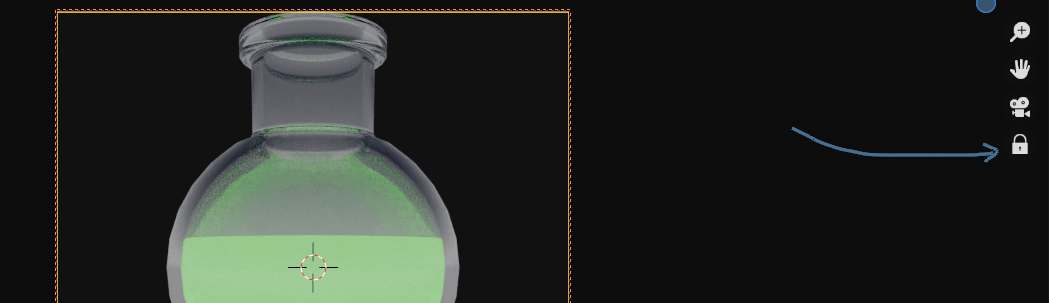
And click on this hand icon to move it up, down, left or right.

Scroll the mouse wheel up or down to adjust the distance and click on the lock again whenyou are finished with adjusting so you don’t accidentally move your camera position.
Beginners guide to Blender
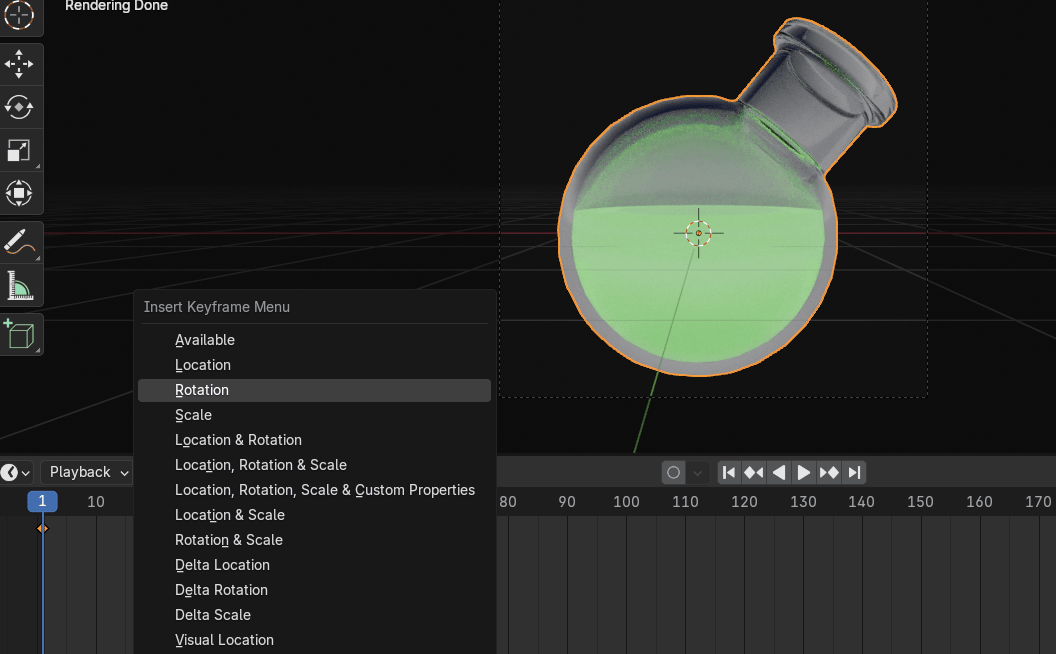
Select the bottle and rotate it a bit with “R” (in the direction you want).
Move the timeline up.
Press “K” and insert rotation on the first frame.
Beginners guide to Blender
Move the scrubber from the first frame to the 150 frame (you can move it to other frames aswell, this is just for an example)
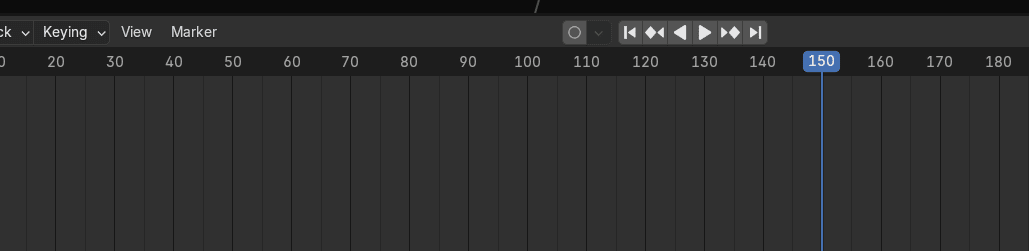
Rotate the bottle along the Z-axis for 360° with “R+Z+360” and insert rotation with K.
Beginners guide to Blender
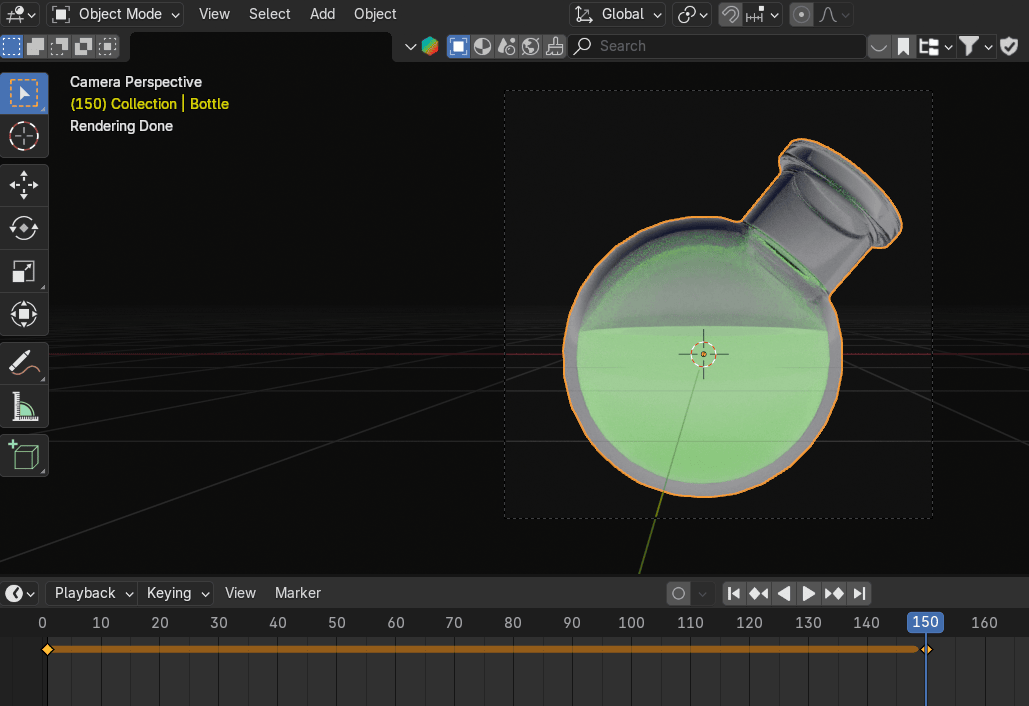
Change the end frame from 250 to 150.

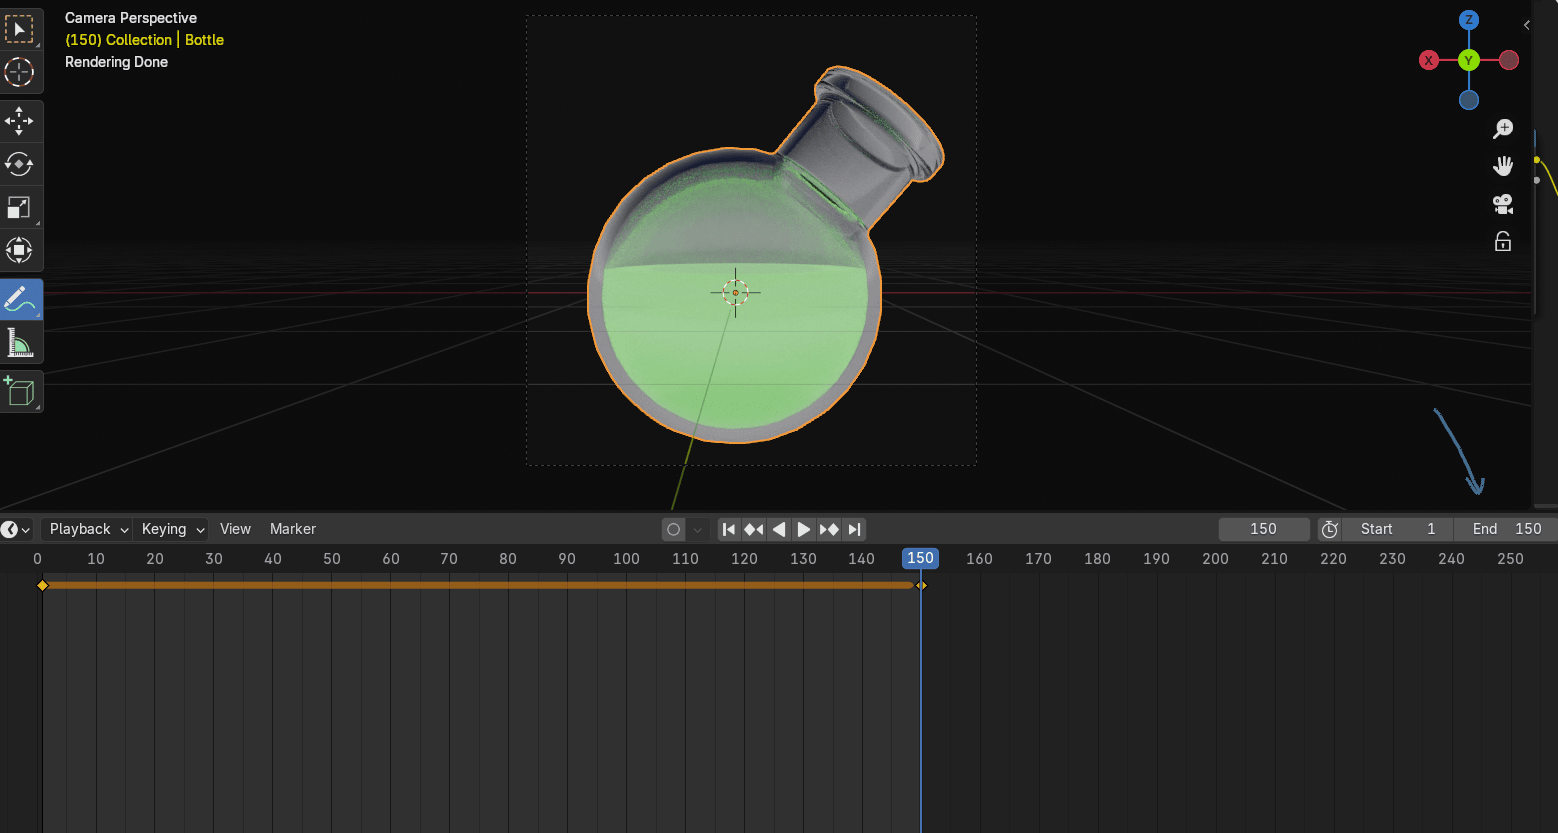
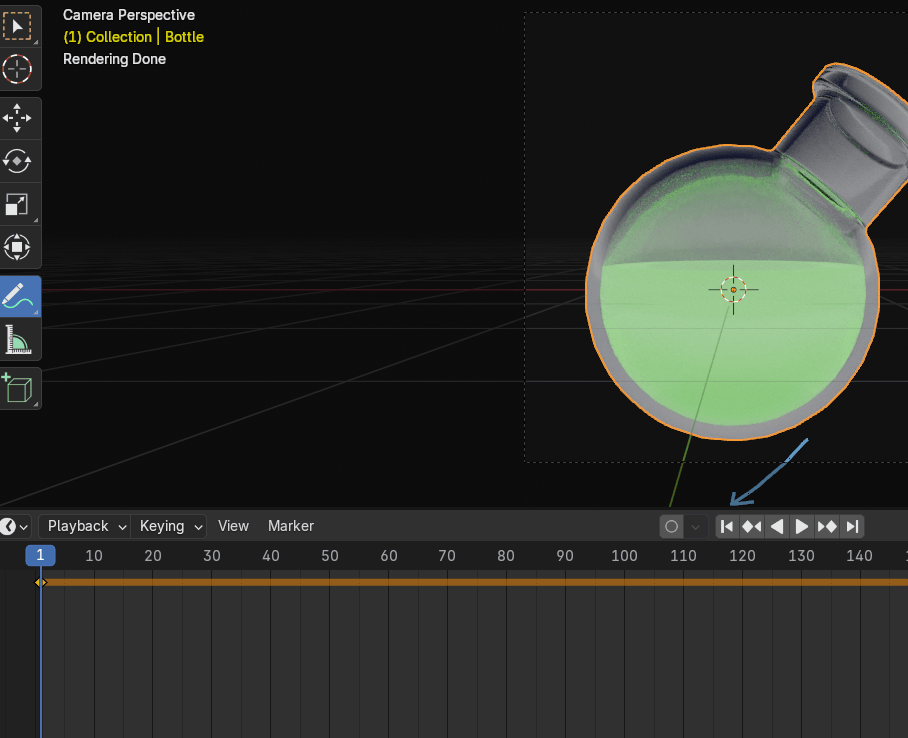
Click here to switch to the first frame and start animation with spacebar.
Beginners guide to Blender
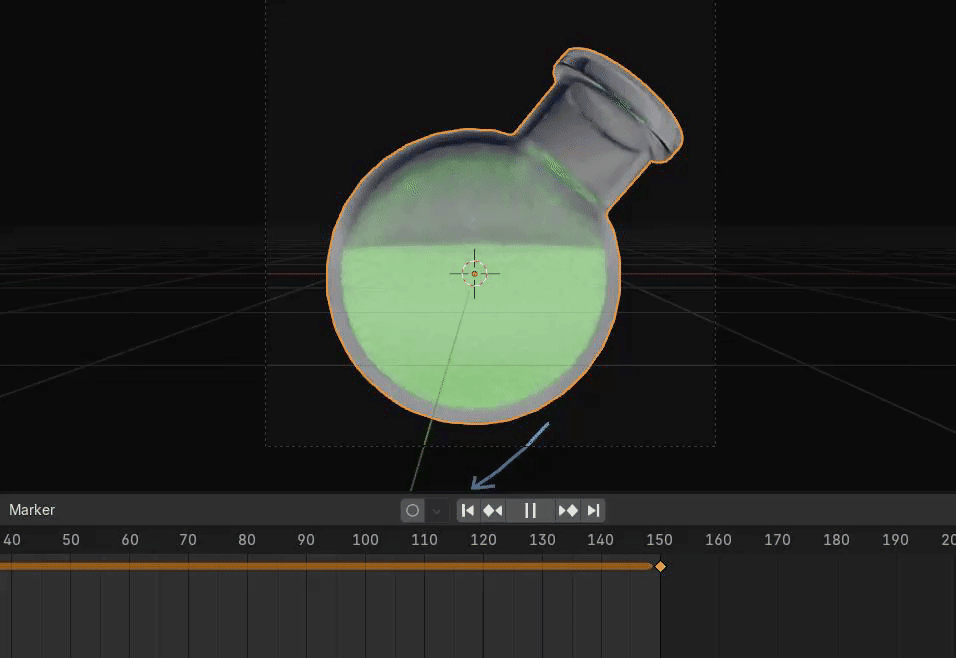
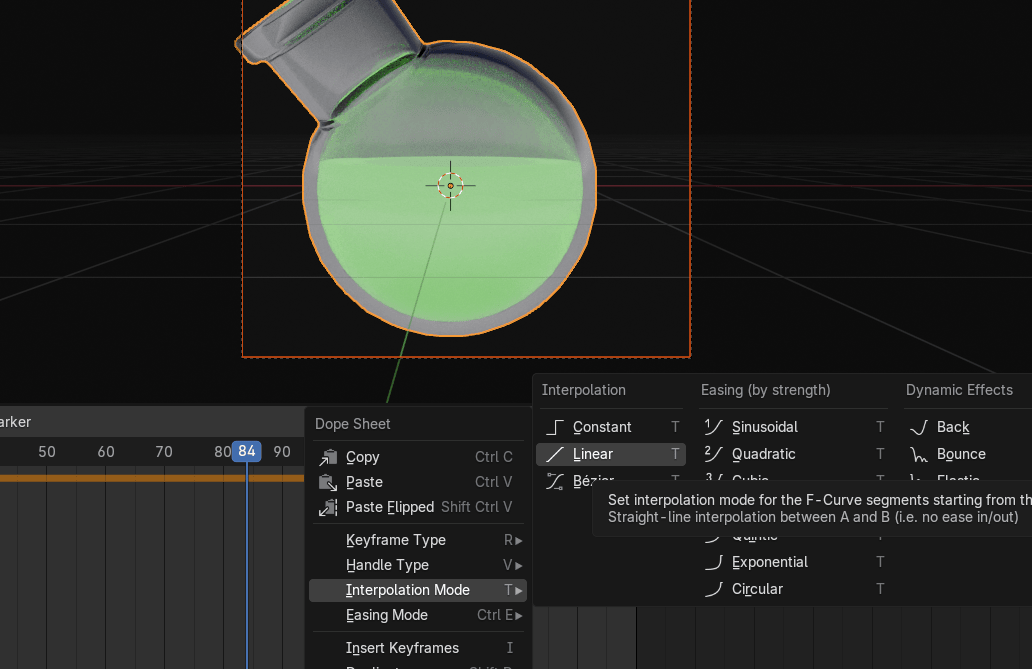
If you want your animation to look even more natural, select all with A, click RMB and selectInterpolation mode → Linear.
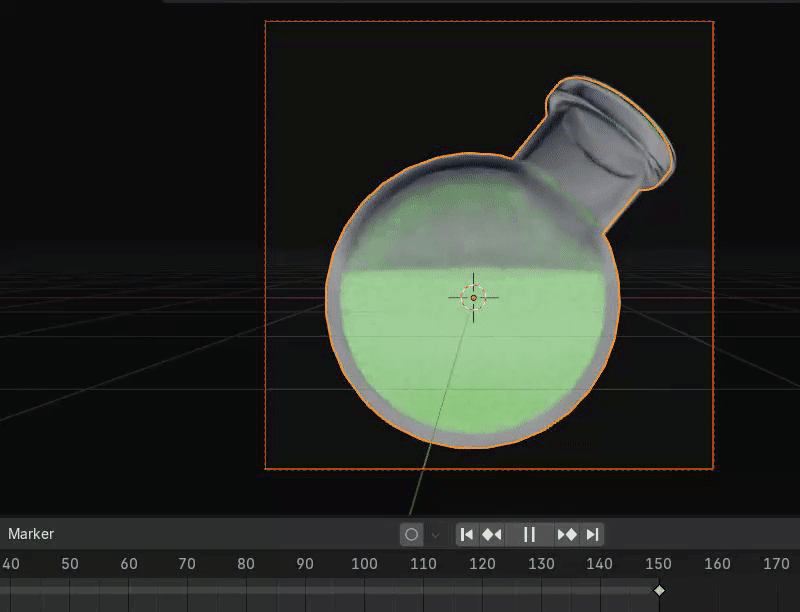
Now your animation will look like this.
And if you want to change background color, just change this color here.
Beginners guide to Blender
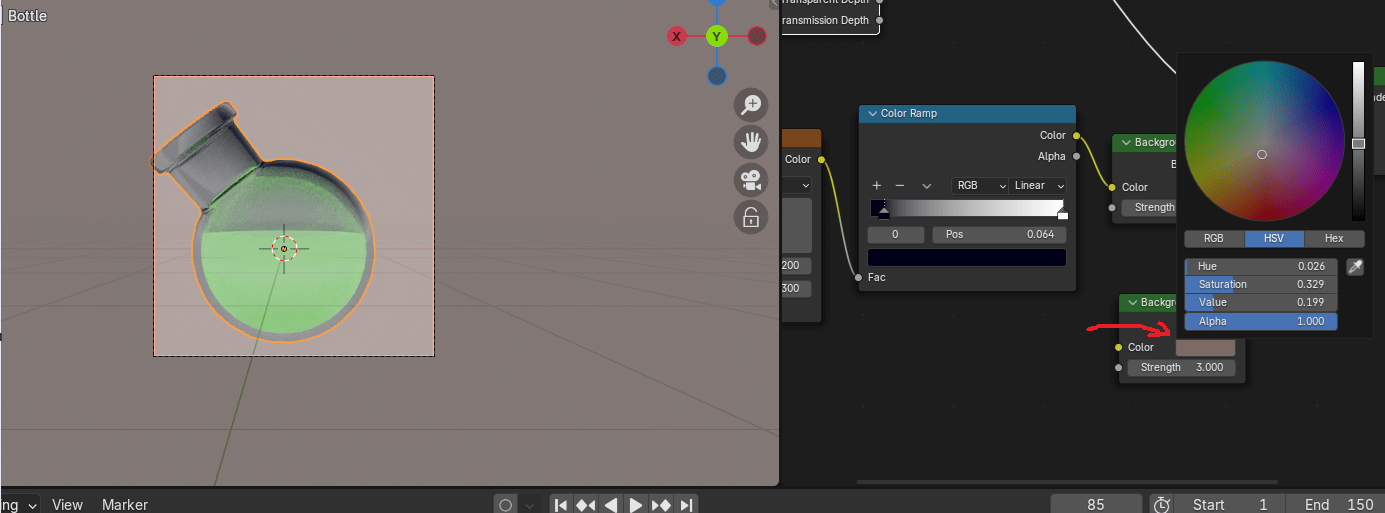
And to change the color of lighting, just change color of the first color picker in the colorramp.
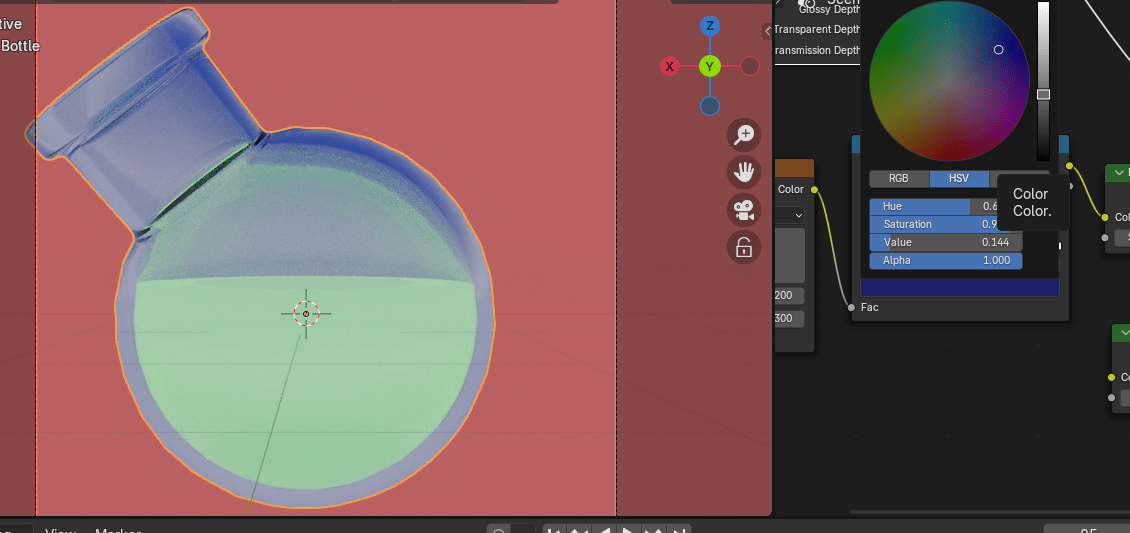
And to change the gradient of the second sky color just change the second color picker in thecolor ramp. That way you can have multicolored highlights on your glass.