Chapter 26b: Modeling, and texturing a Cartoony Plant
Beginners guide to Blender
Before we start with a modeling, I need to explain something. As you can see Blender guideis moved again.
I am sorry and I know it can be frustrated so let me explain myself,
For this Guide to stay free, I needed to move it from Gumroad because of privatecomplications with the platform.
It doesn't support PayPal in general, people keep donating money and because my country'stax is complicated, it is better not to receive money than to get it.
Unfortunately, there is no option here to put it only for €0 but it is "pay what you want."
Then it was on the Blender Market for free but the problem is that Blender Market has thisthing.
If you put in free stuff, you need to pay monthly $49, I was paying that money, and earningeach other month $20 so I can't afford that anymore.
I was looking for a long time for a new final option, and I believe that it is Patreon.
It is free, it has a free and paid option, and for now, I don't have any problems.
Thank you so much for understanding, and sorry for all the trouble.
You can support me and my work by being on Patreon as a free or paid member. Either way,it makes me happy to meet you and to help you with your Blender troubles 🙂
And now we continue :)
You can follow this tutorial in video format on my YouTube channel:SaTales.
This tutorial is a bit older because I made that plant in older Blender version. The biggestdifference between this guide and that video is in texturing, other stuff are mostly the same.
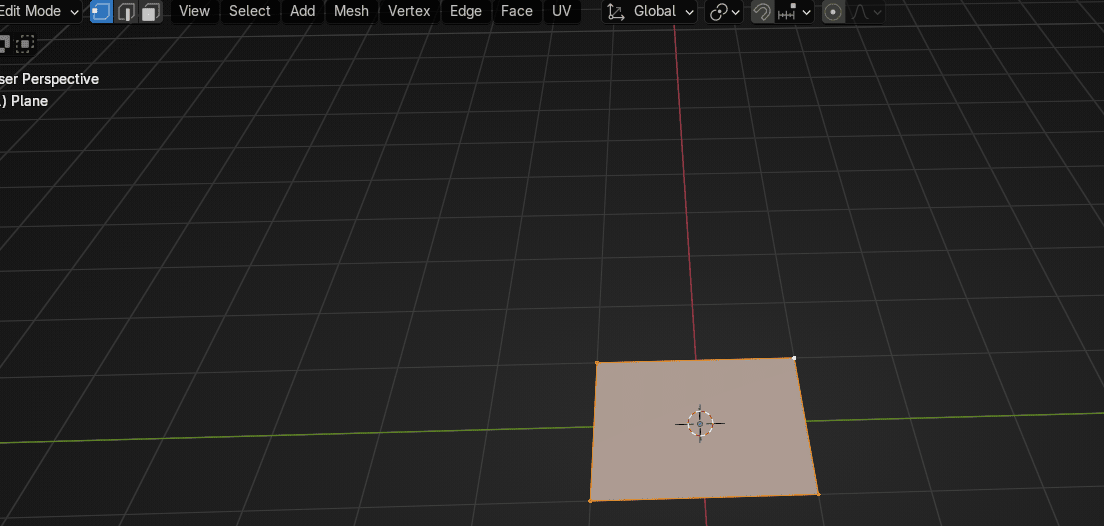
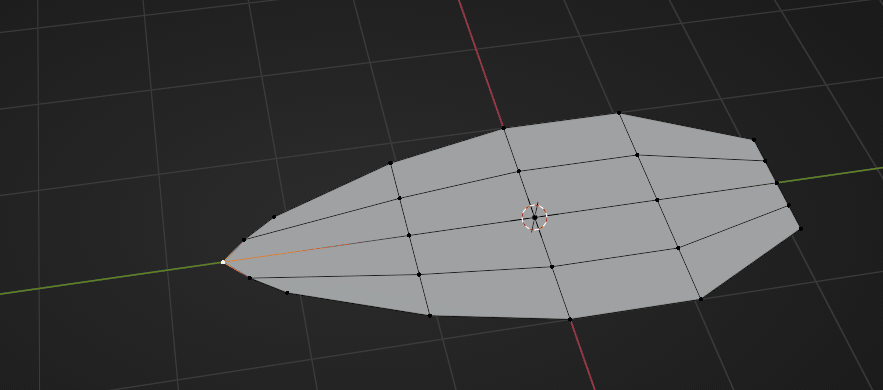
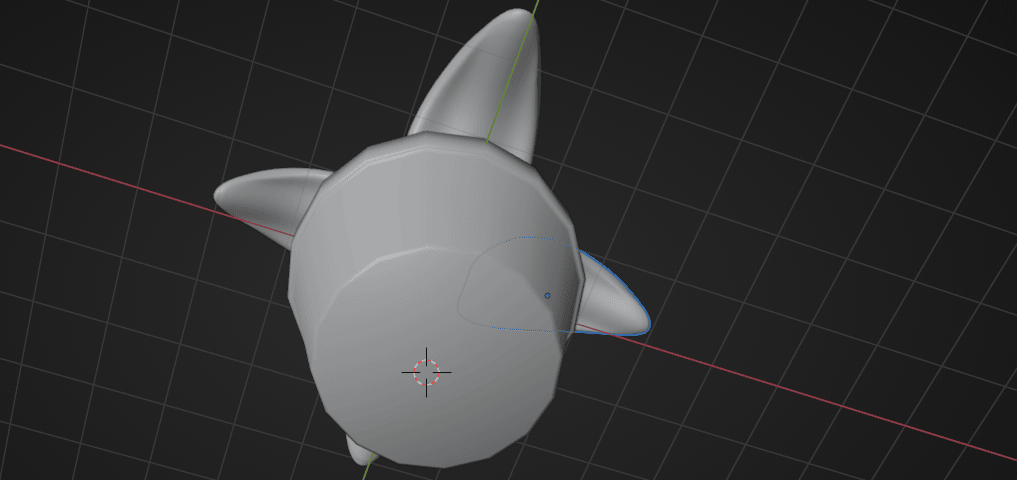
Select the cube and delete it with “X”.
Beginners guide to Blender
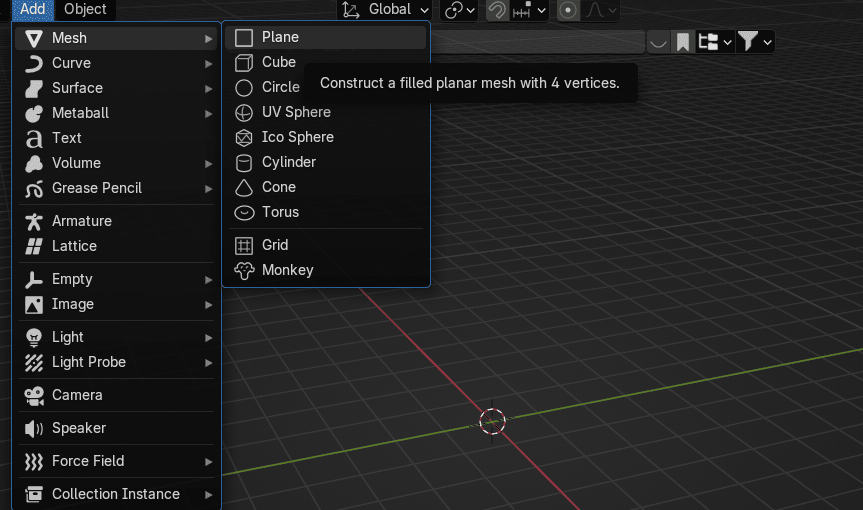
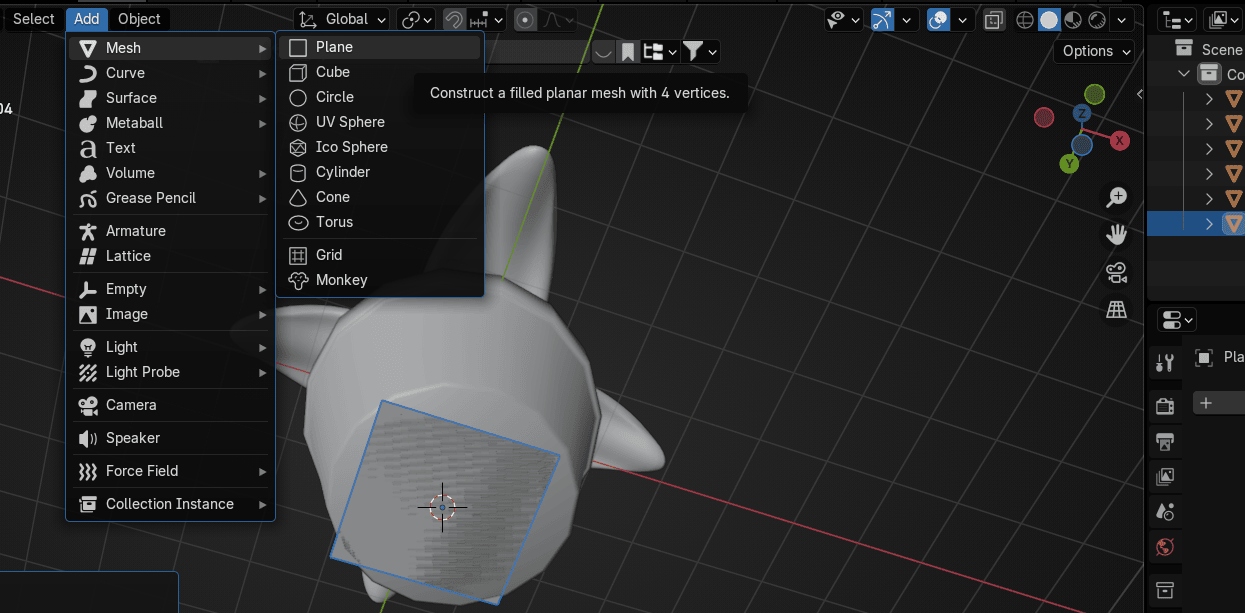
Go to Add → Mesh → Plane
Switch to edit mode with “TAB”.
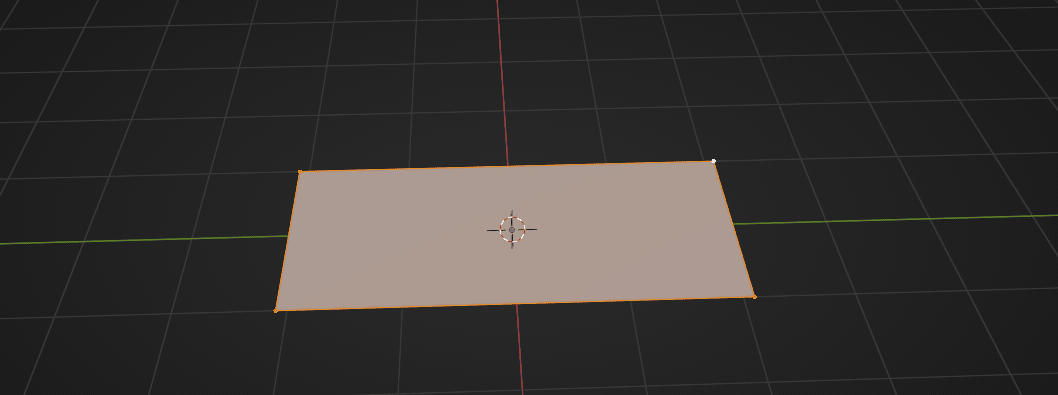
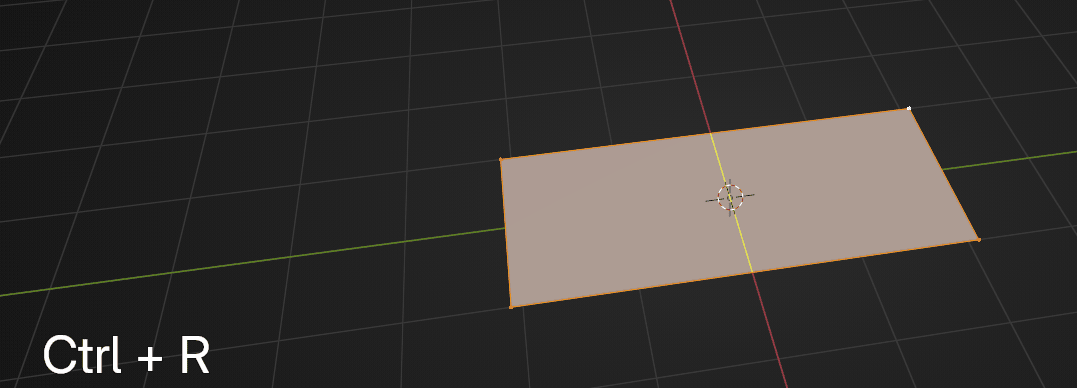
Scale it with “S+Y” along the Y-axis for around 2.1.
Beginners guide to Blender
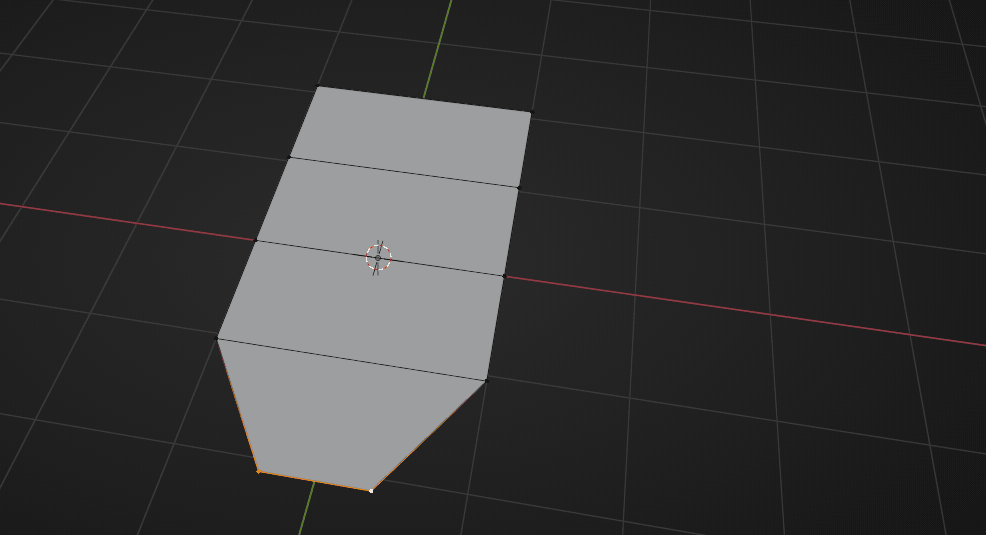
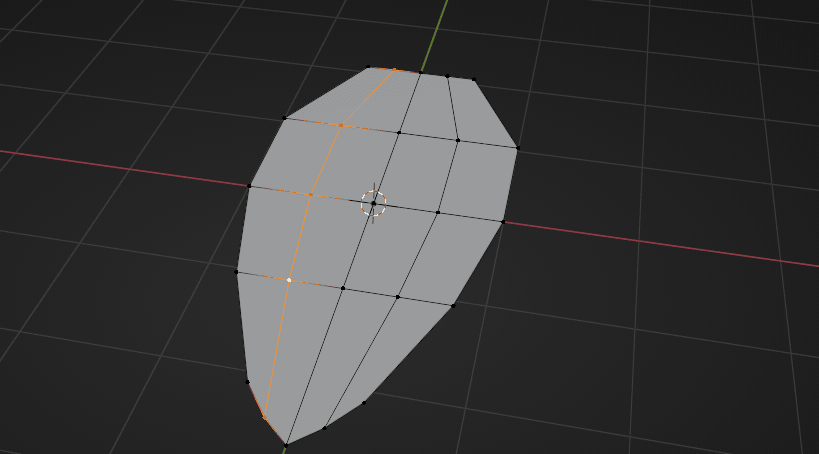
Press “CTRL+R” to add a loop cut.
Scroll Mouse Wheel up two more times too add two more loops.
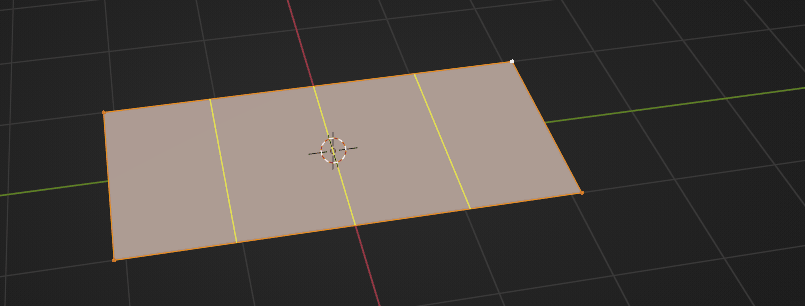
Now when you have 3 loop cuts, confirm their number with LMB and then their position withRMB or ESC.
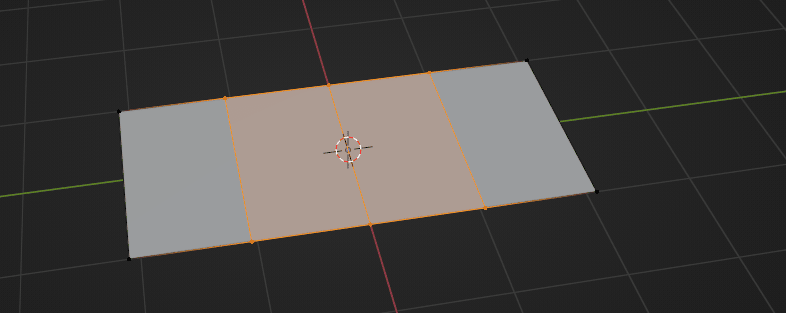
Select these two vertices
Beginners guide to Blender
And scale them along the X-axis with “S+X” for around 0.33.
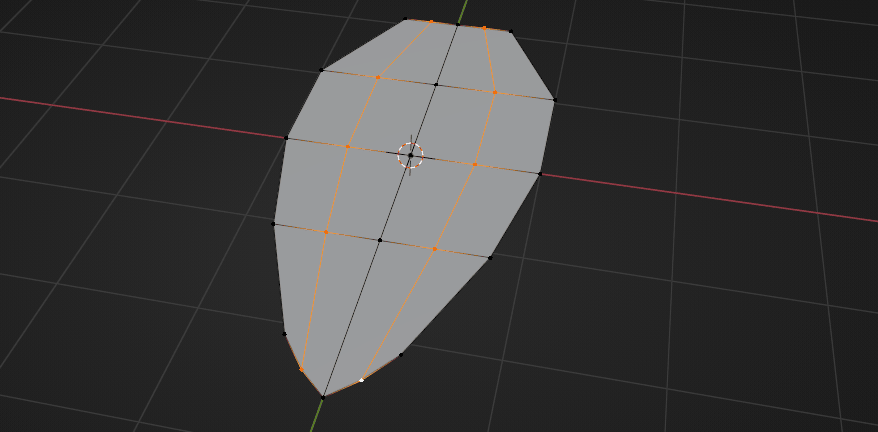
Add a loop cut in the midle with “CTRL+R”
Confirm it with LMB and then confirm its position with RMB.
Add one loop like you did before here
Beginners guide to Blender
and one here
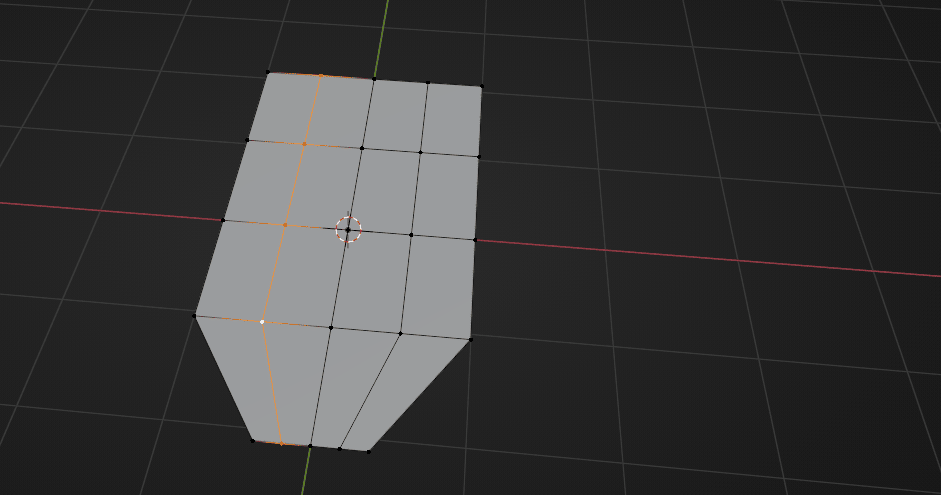
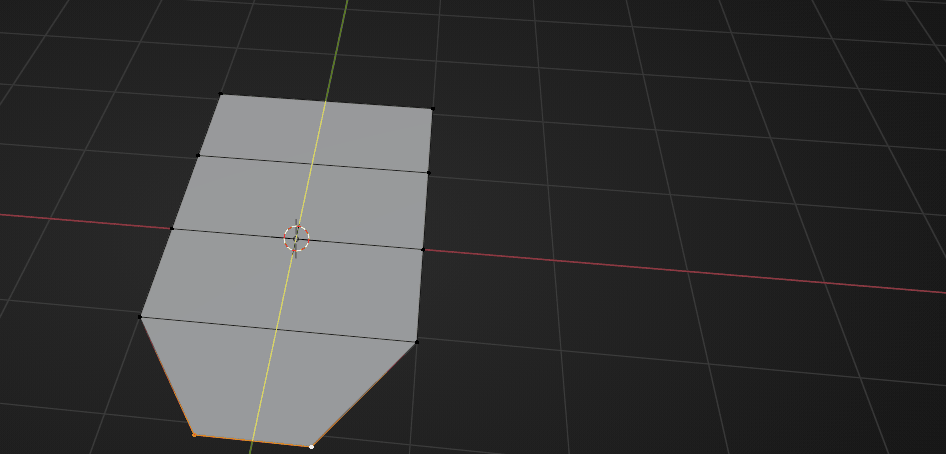
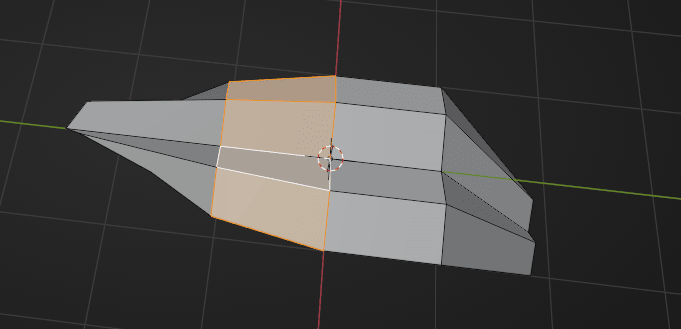
Select these four vertices
and scale them with “S+X” along the X-axis for aroun 0.78
Beginners guide to Blender
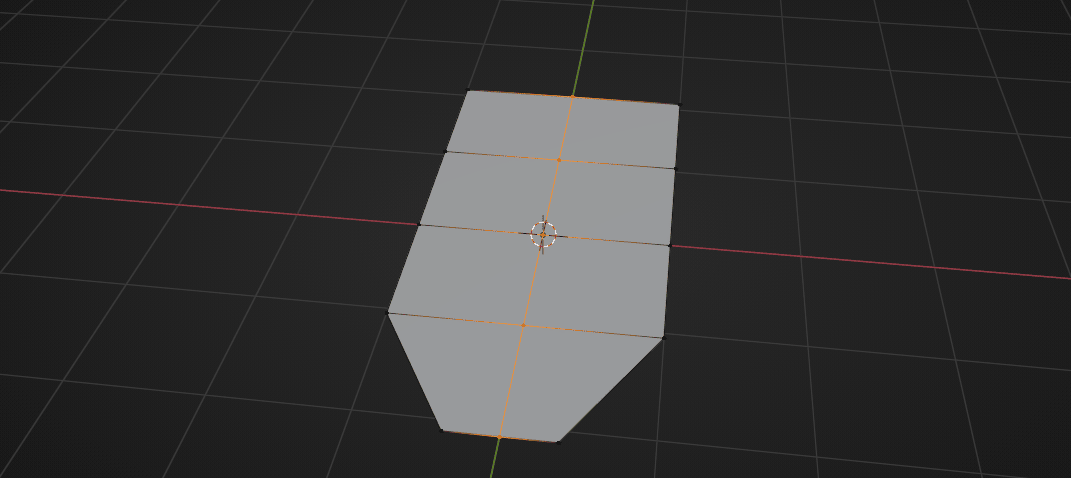
Select all these vertices
And scale them along the X-axis with “S+X” for around 0.49
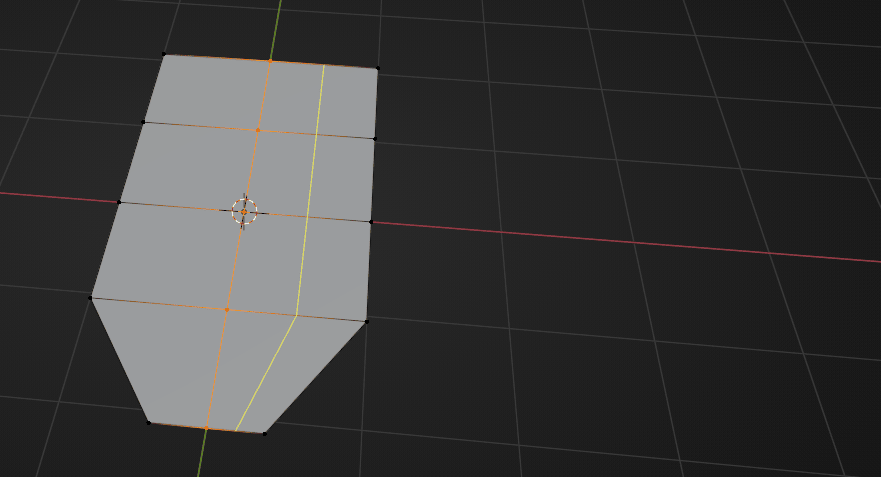
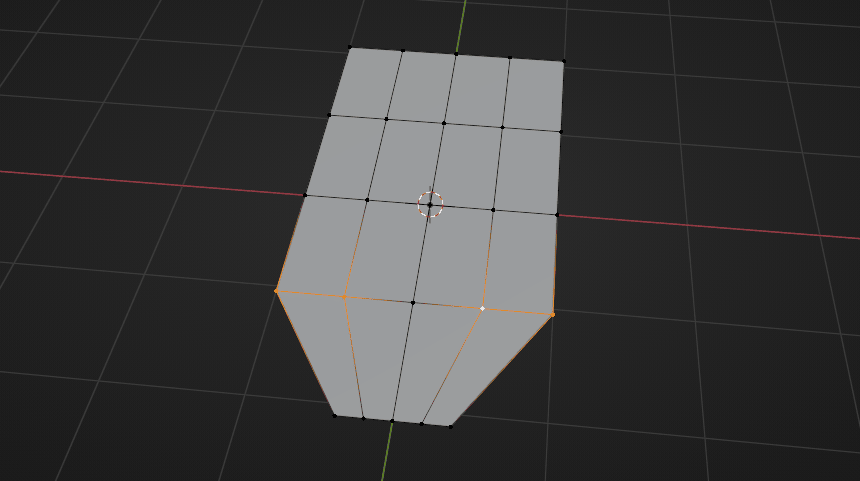
Select these three vertices
Beginners guide to Blender
And move them with “G+Y along the Y-axis for around -0.27.
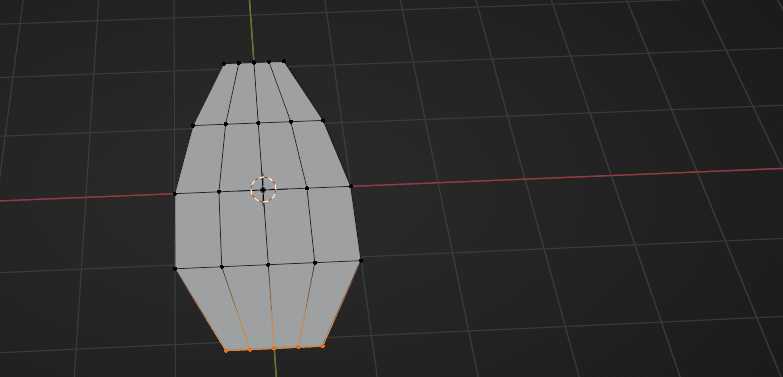
Select only this one vertex
and move it with “G+Y” for around -0.19
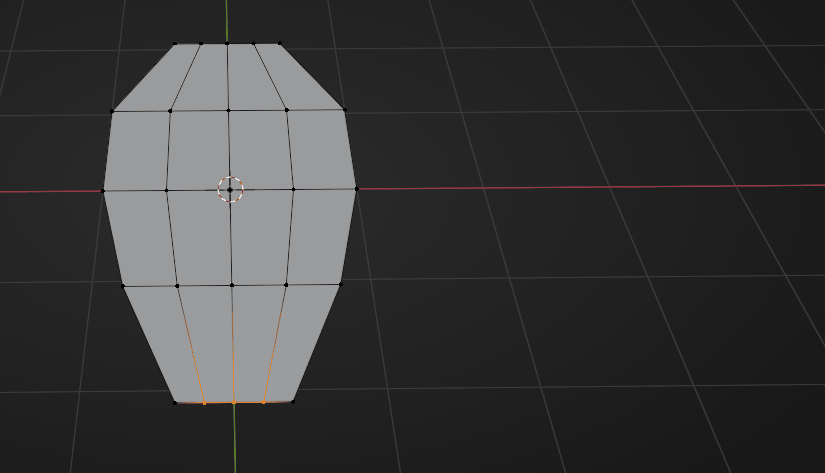
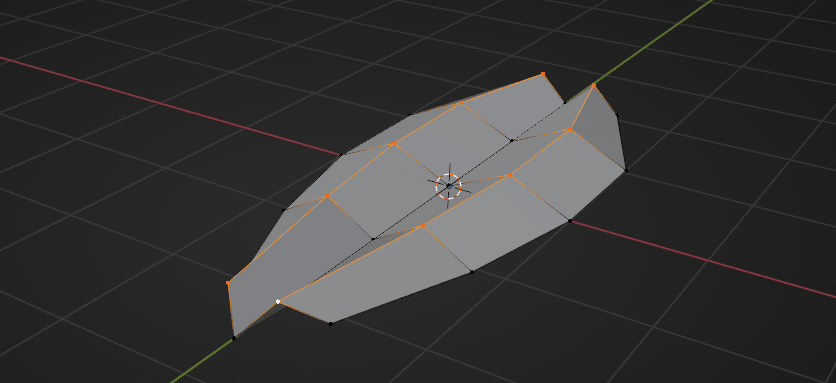
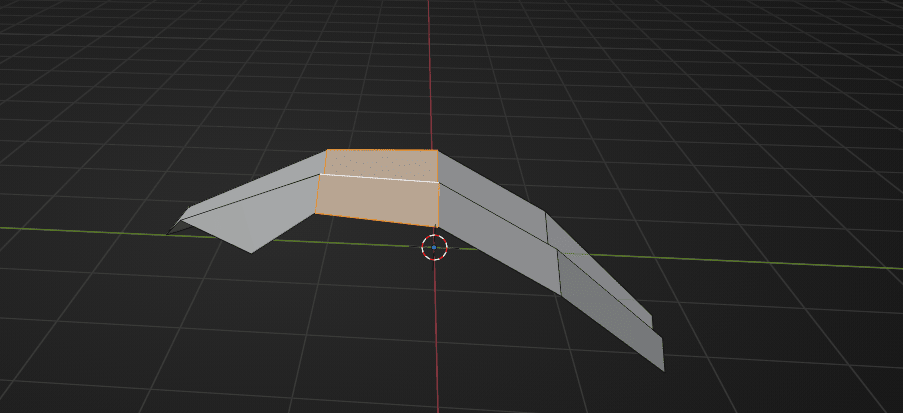
Select this loop with “ALT”
Beginners guide to Blender
and while holding “SHIFT” select the other loop with “ALT” as well.
And move them with up “G+Z” for around 0.23
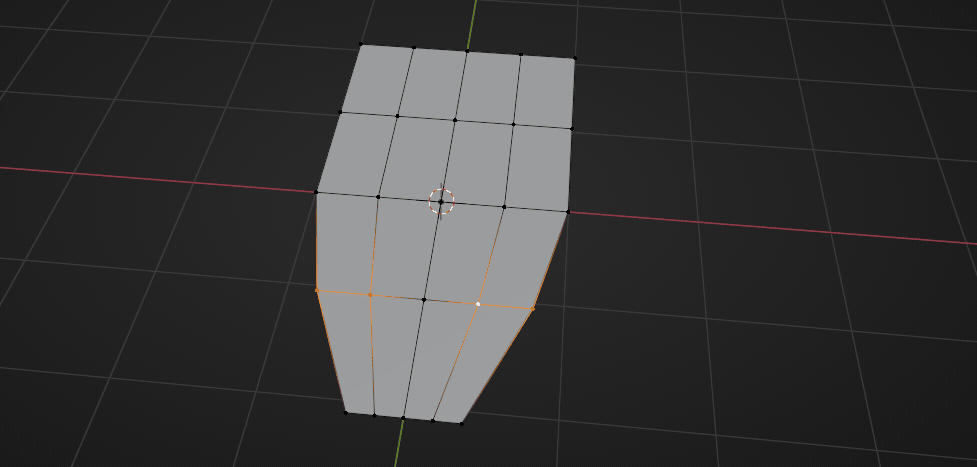
Select these two vertices
Beginners guide to Blender
and move them with “G+Y” for around 0.45
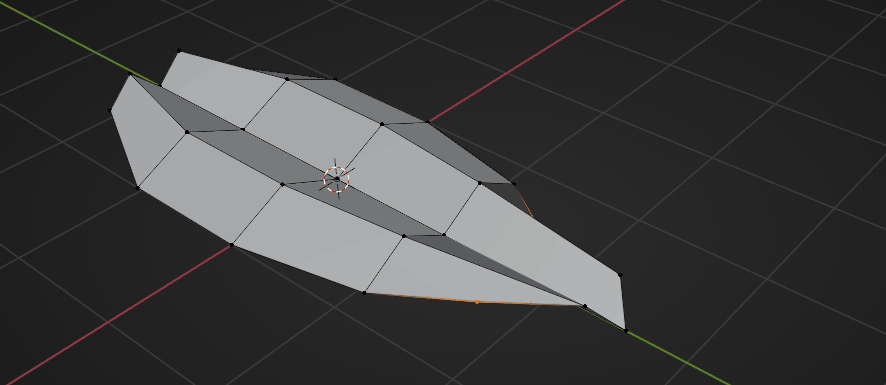
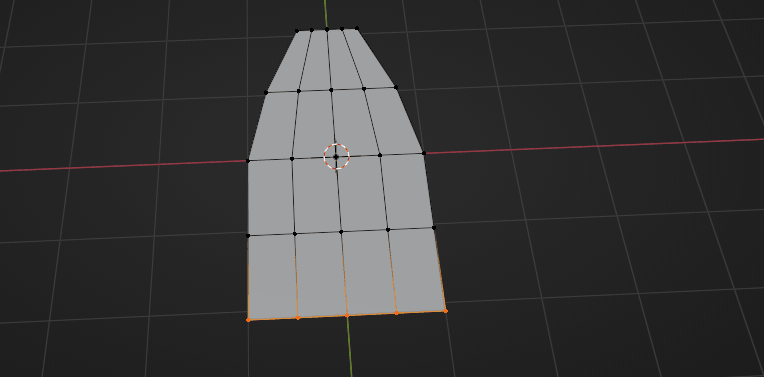
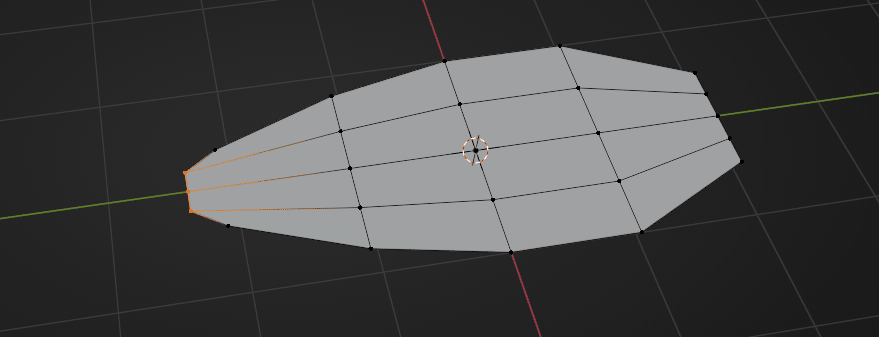
Select this whole loop
and move it down with “G+Z” for around -0.92
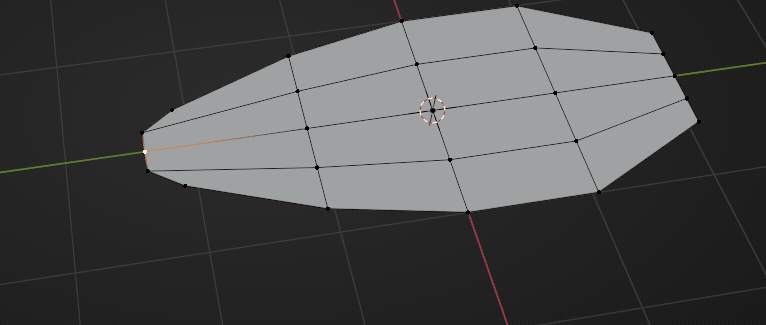
Switch to selecting faces with 3 and select this whole loop with “ALT”
Beginners guide to Blender
and move it up with “G+Z” for around 0.57
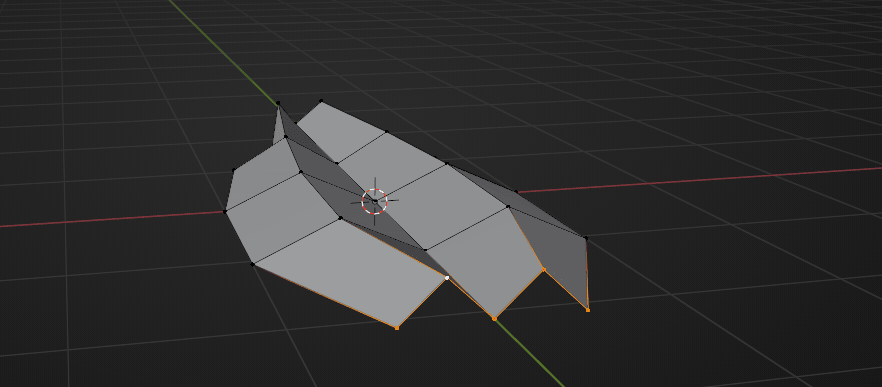
Switch back to selecting vertices with 1 and select these vertices
and move them up with “G+Z” for around 0.4
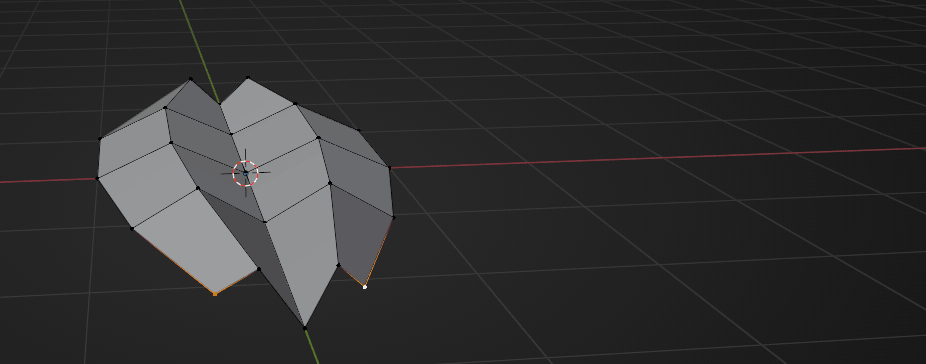
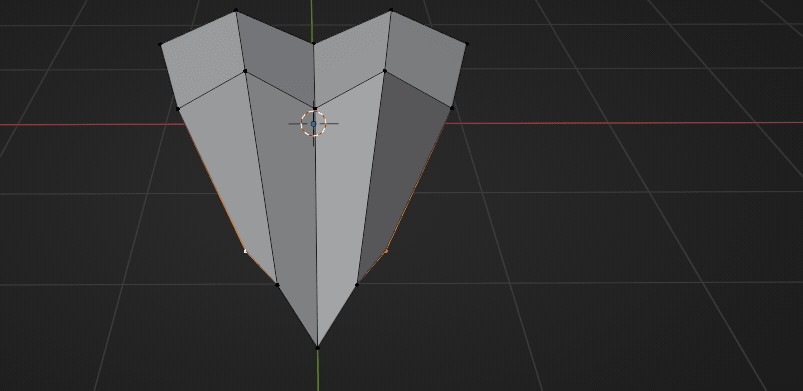
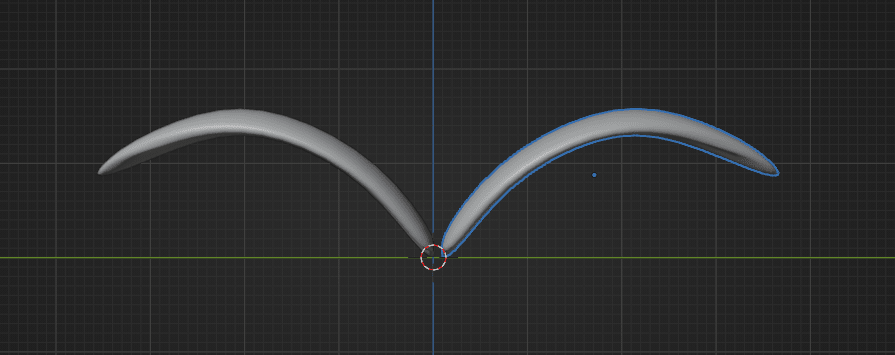
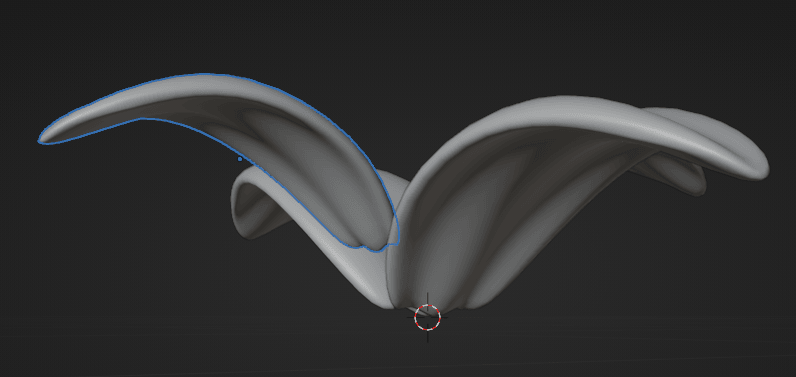
Select the entire leaf with “A” and scale it to the inside with “S+Y” for around 0.82
Beginners guide to Blender
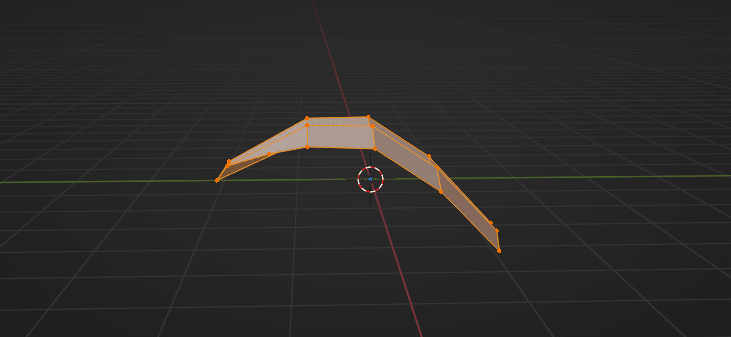
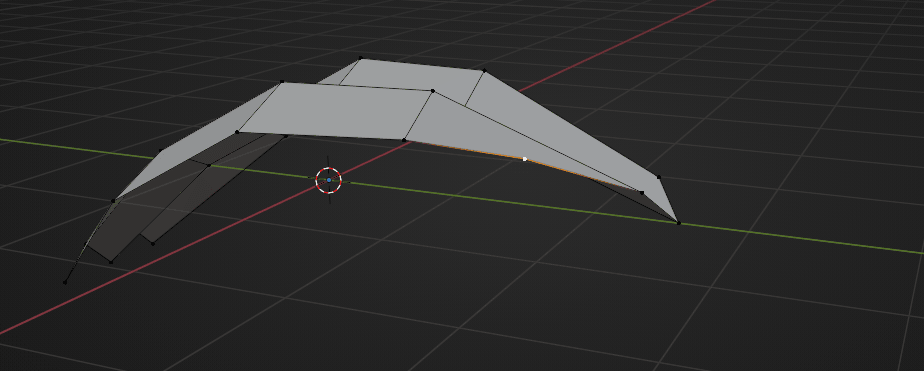
Select this loop with “ALT”
and move it to the left with “G+Y” for around 0.22
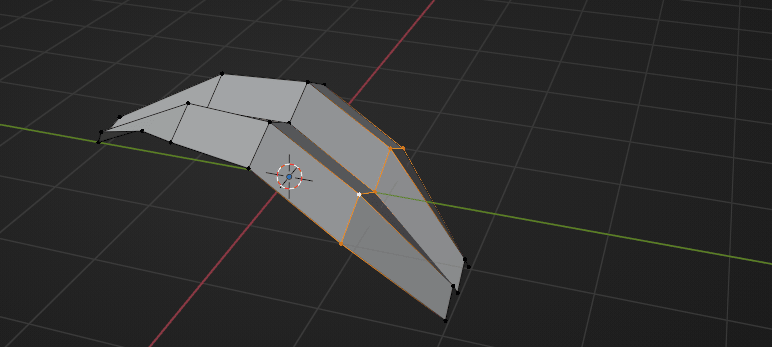
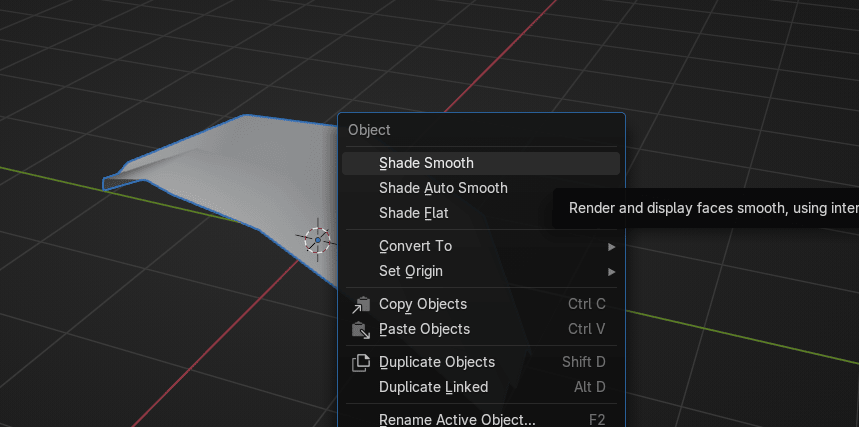
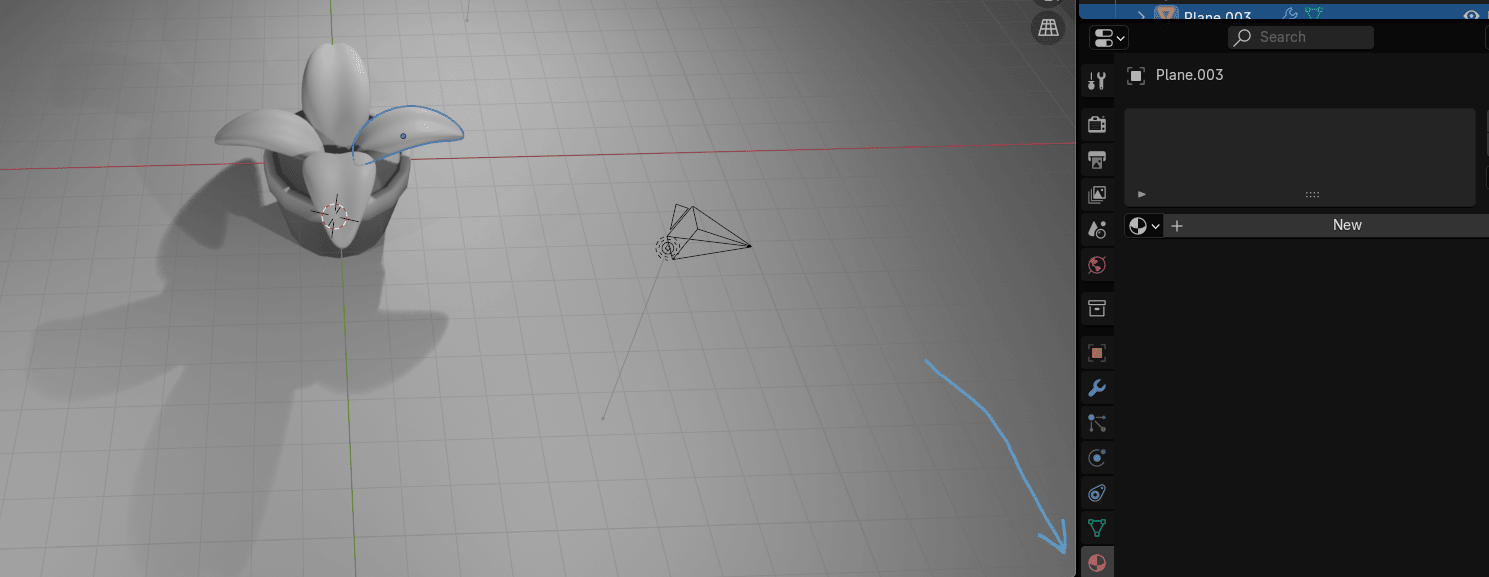
Switch to object mode with “TAB”
RMB and choose Shade Smooth
Beginners guide to Blender
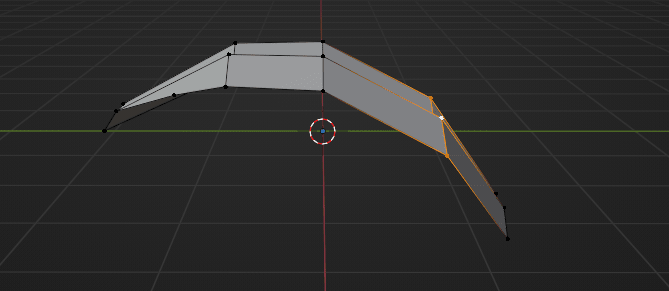
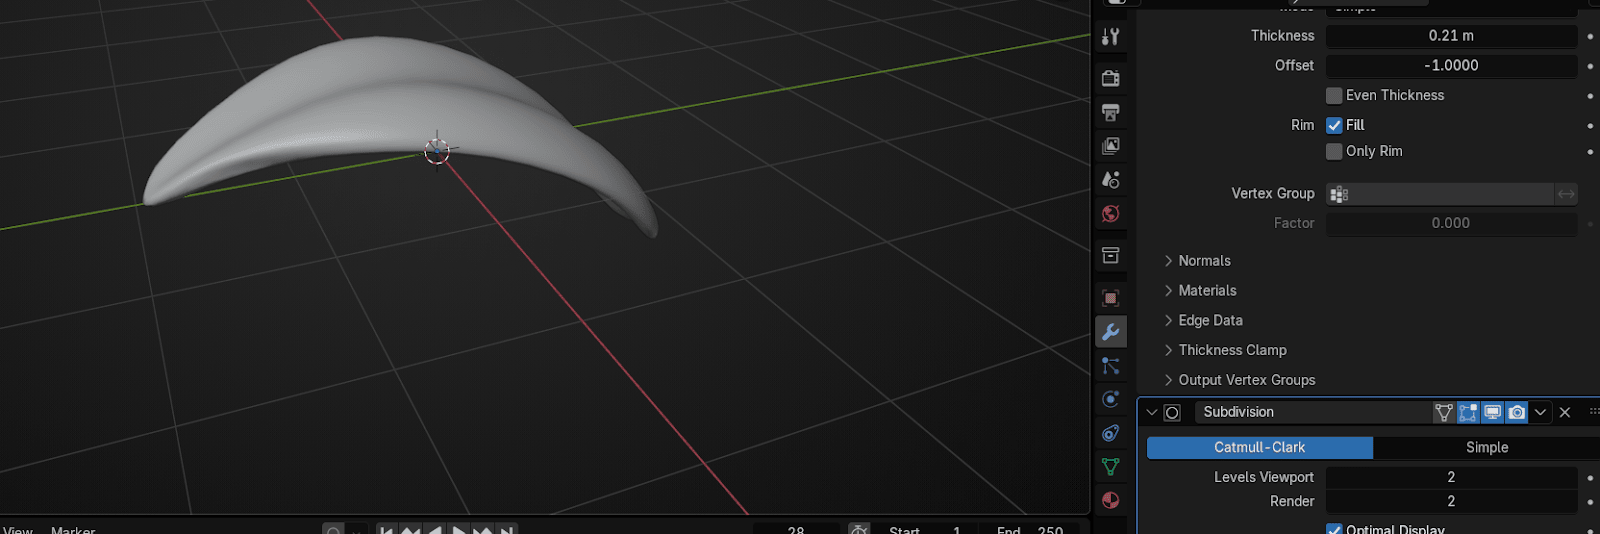
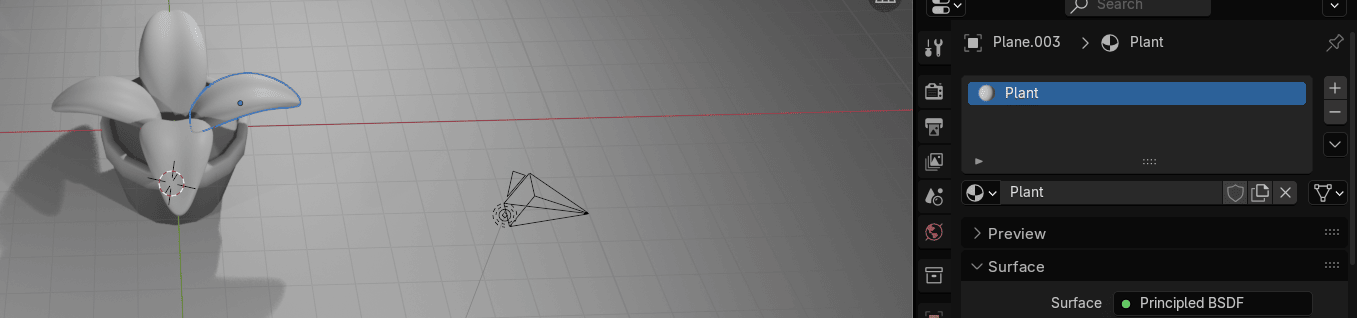
It is time to learn a new modifier called Solidify.
Solidify add a procedural operation/effect to the active object or to said simpler it addsthickness to the object. Its functions are self explanatory so I won’t go in to much details but Iwill explain on the example.
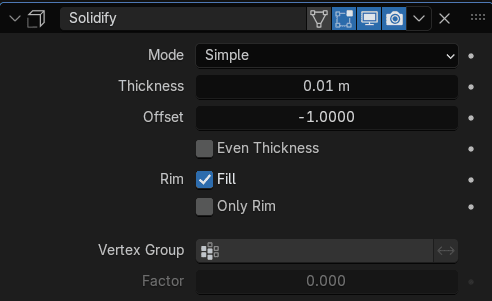
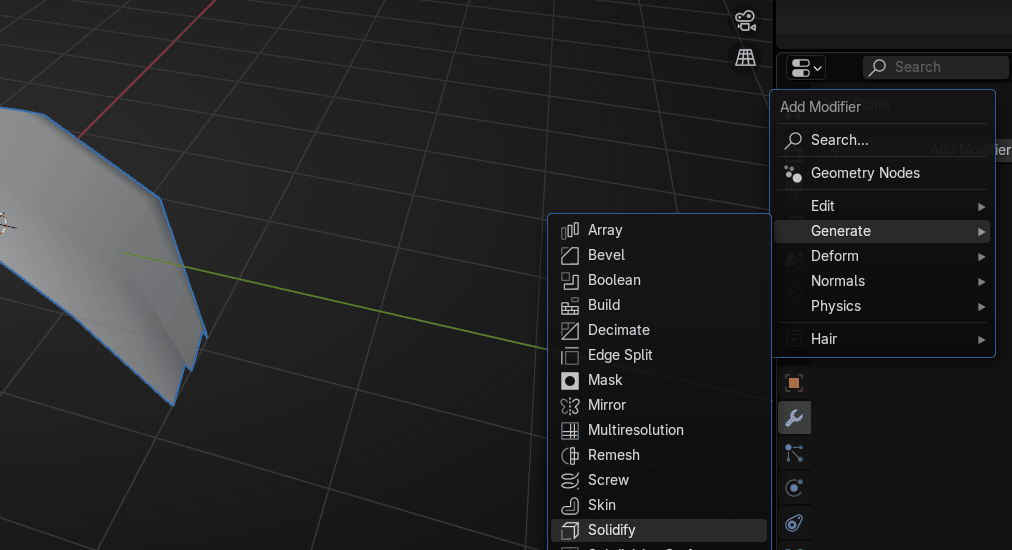
Go to Add Modifier → Generate → Solidify
Change thickness to around 0.21

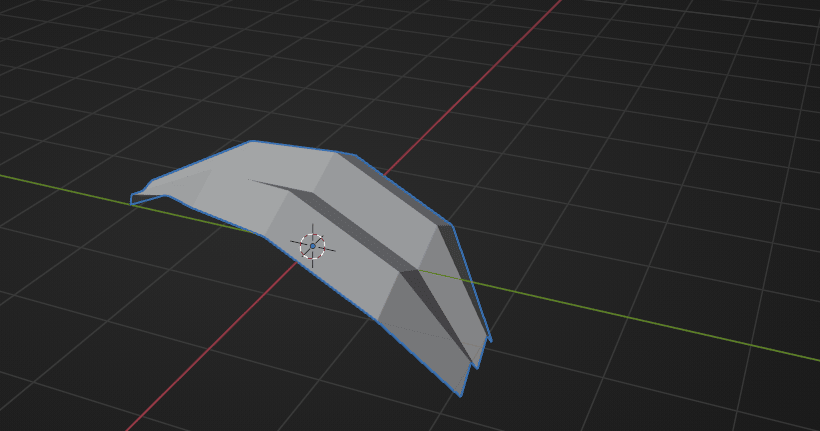
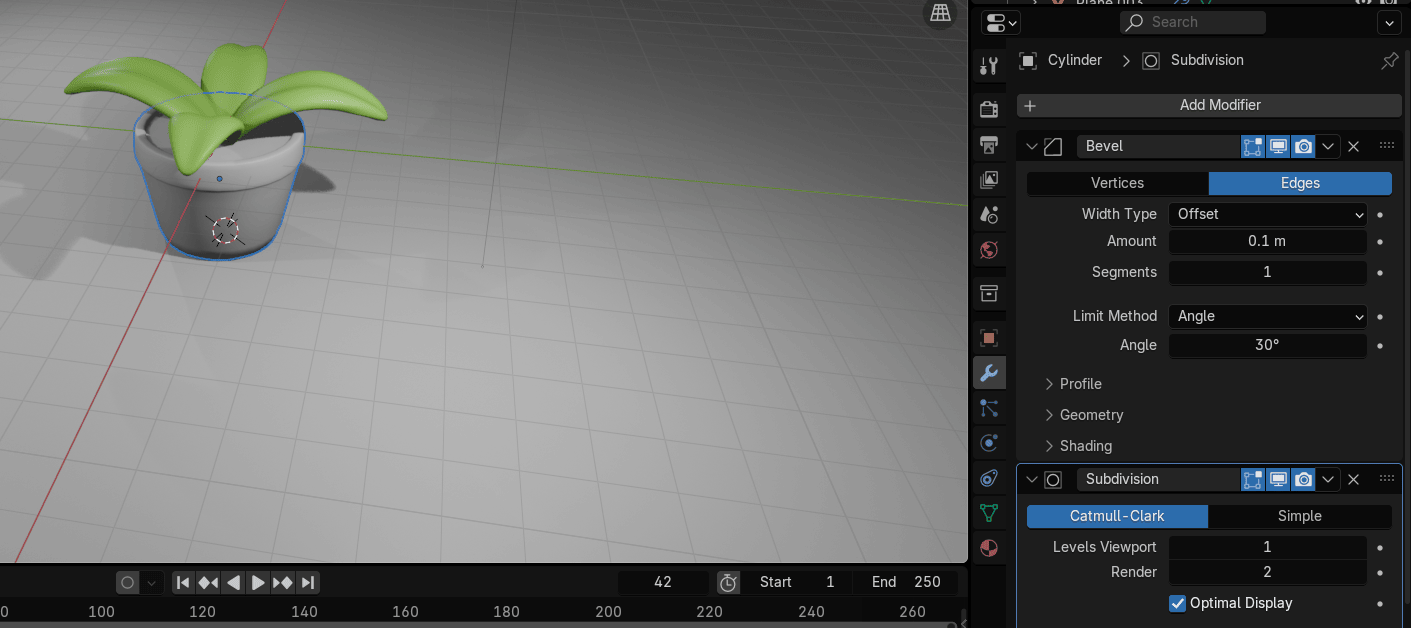
Add another modifier. Go to Generate → Modifier → Subdivision Subsurface.
Beginners guide to Blender

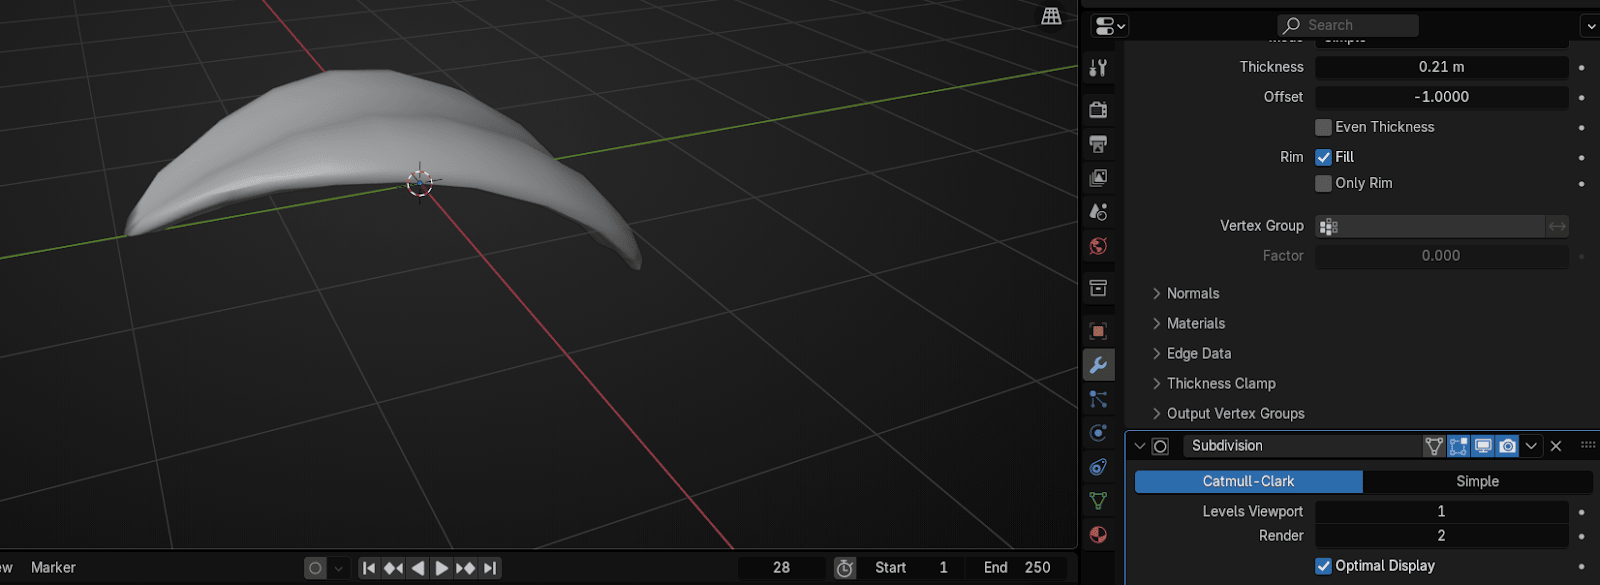
You can change Level Viewport to 2 if you want your leaf looks even better
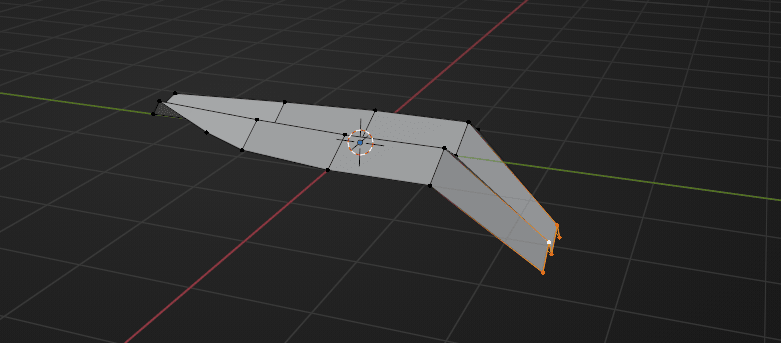
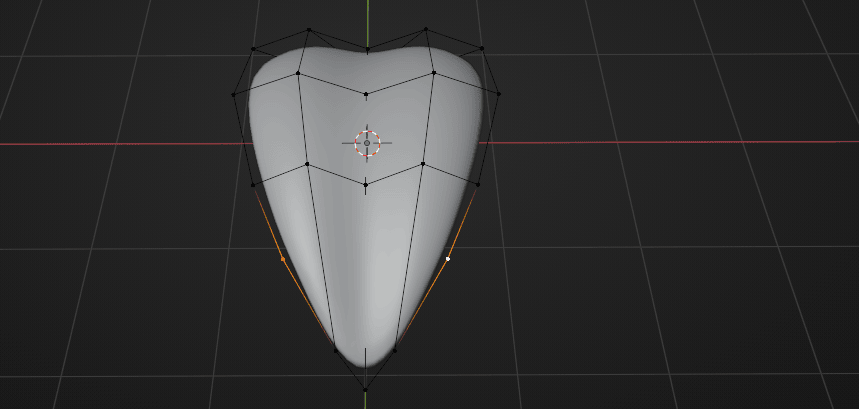
Switch to edit mode and select these two vertices.
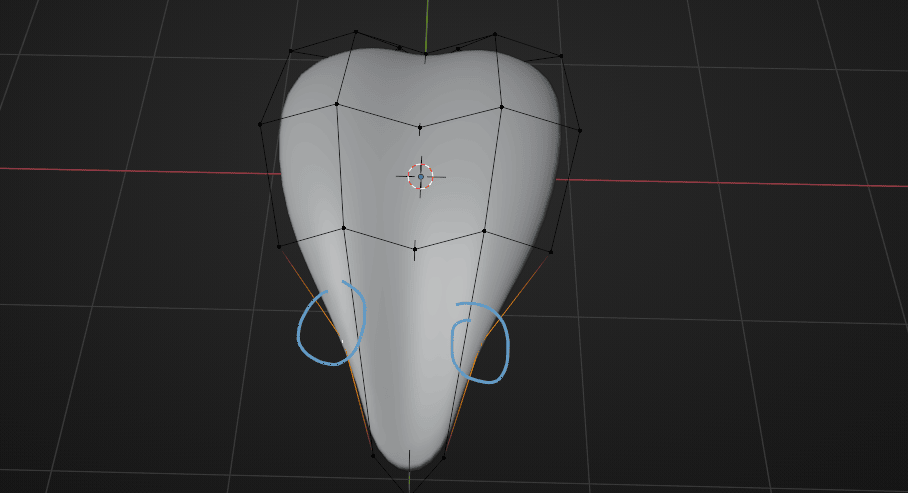
Scale them along the X-axis with “S+X” for around 1.45.
Beginners guide to Blender
Switch to object mode with “TAB”.
Switch to the right orthographic view by clicking on the red X on gizmo or by pressingCTRL+3 on your numpad.
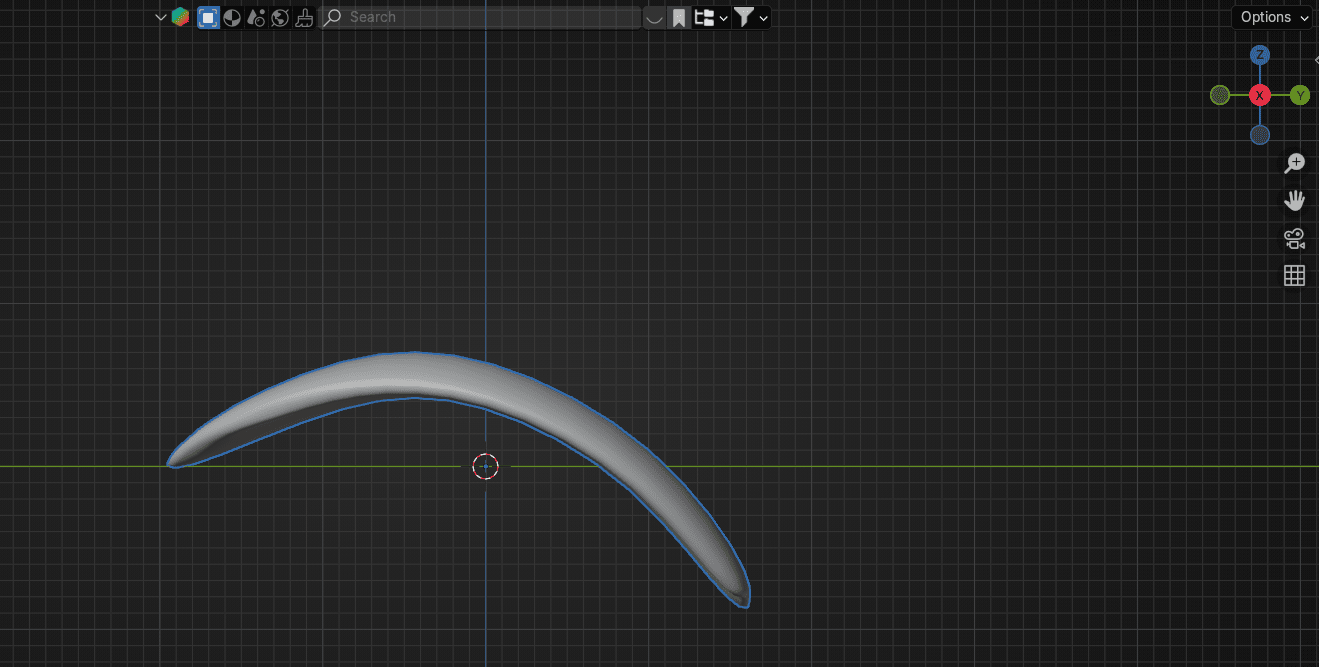
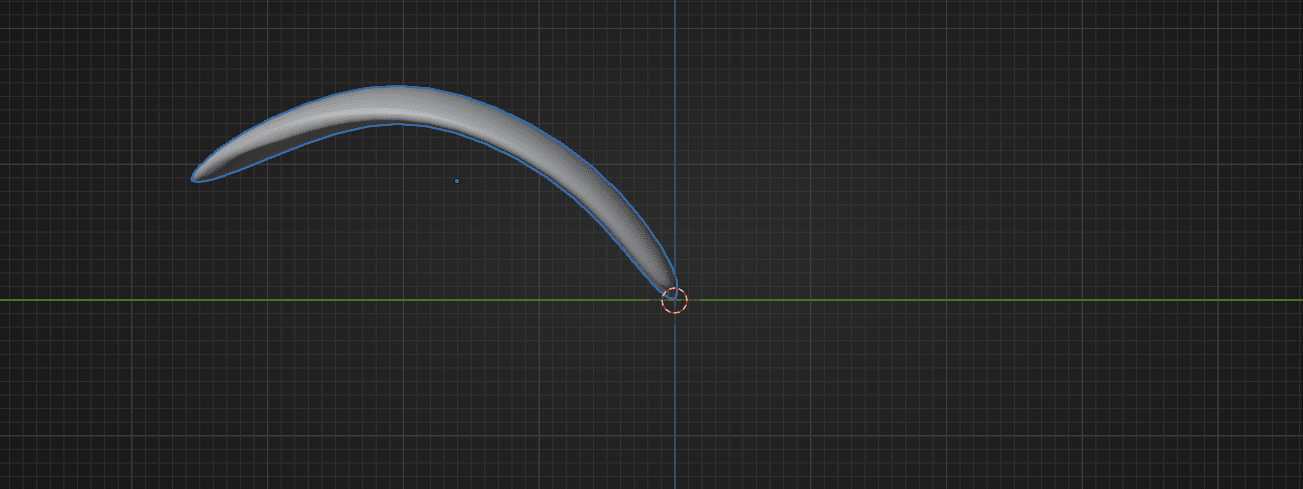
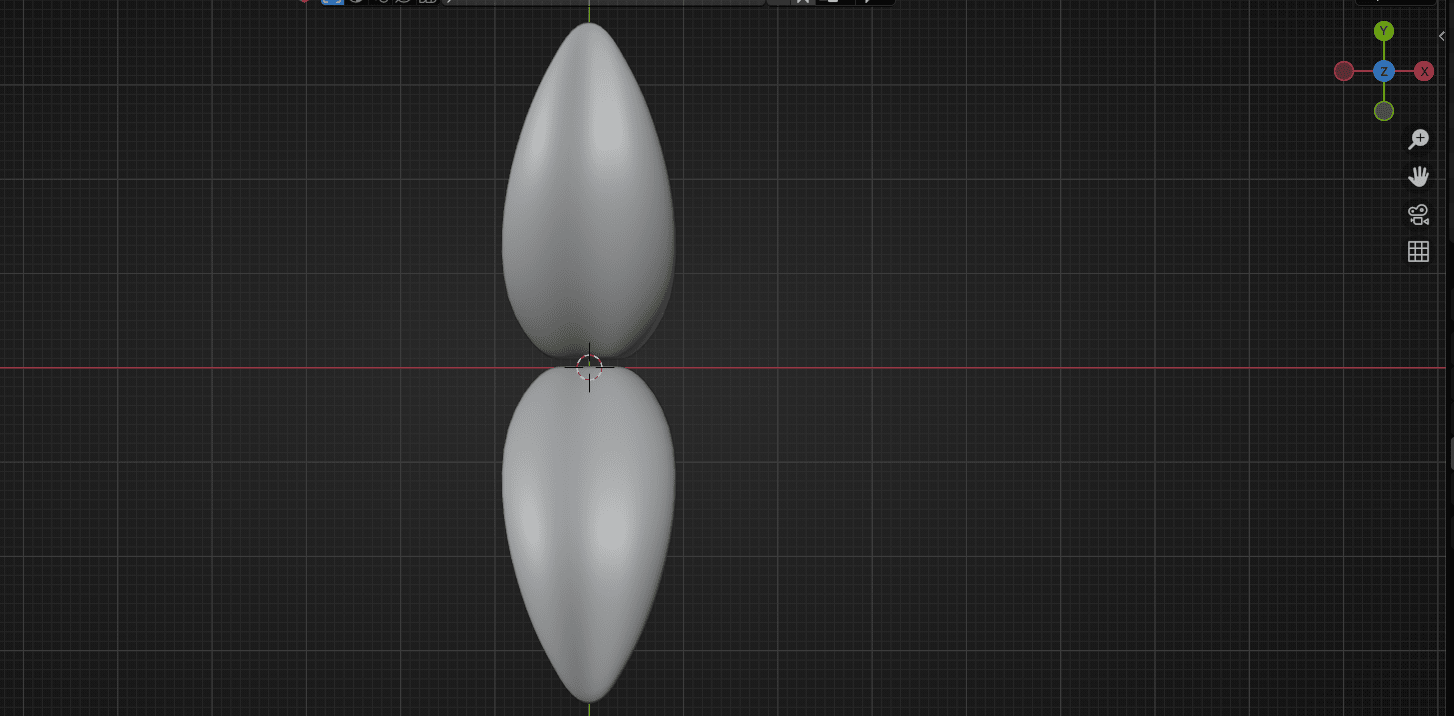
Select the leaf and move it with “G” to the world origin.
Duplicate it with “SHIFT+D”
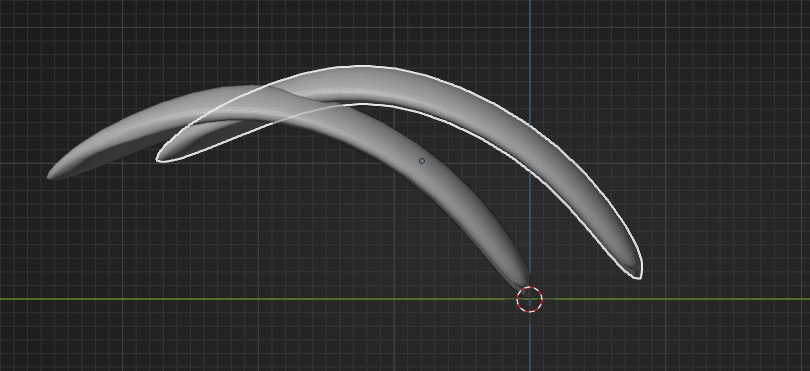
and move it with “G+Y” along the Y-axis a bit
Beginners guide to Blender
and then rotate it for 180° with “R+Z+180”.
Move it with “G+Y” so that the second leaf will be near the first leaf
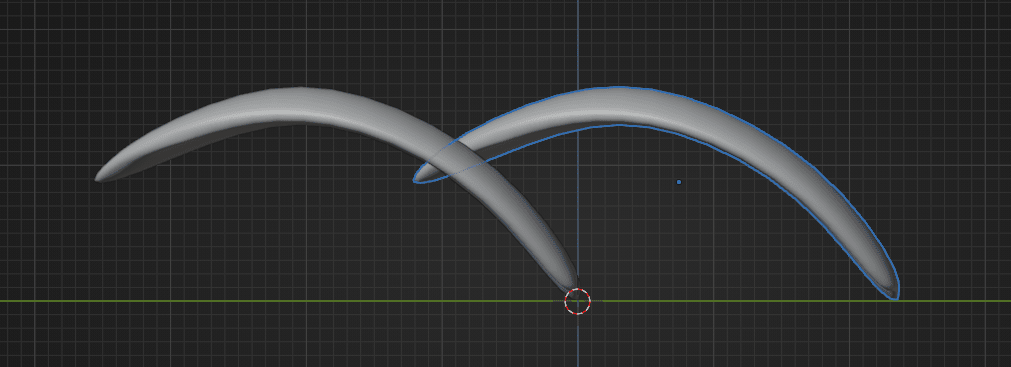
Switch to the top orthographic view by clicking blue Z on your Gizmo or pressing CTRL+7 onyour numpad.
Duplicate the leaf with “SHIFT+D”
Beginners guide to Blender
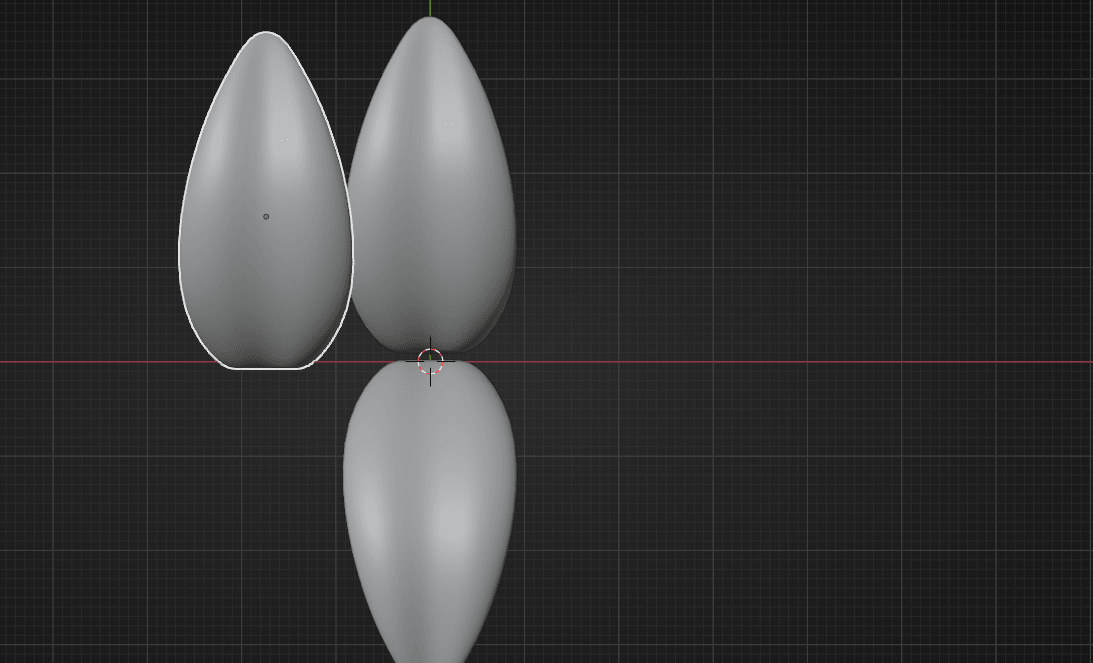
Rotate with “R” by -90° and move it with “G”
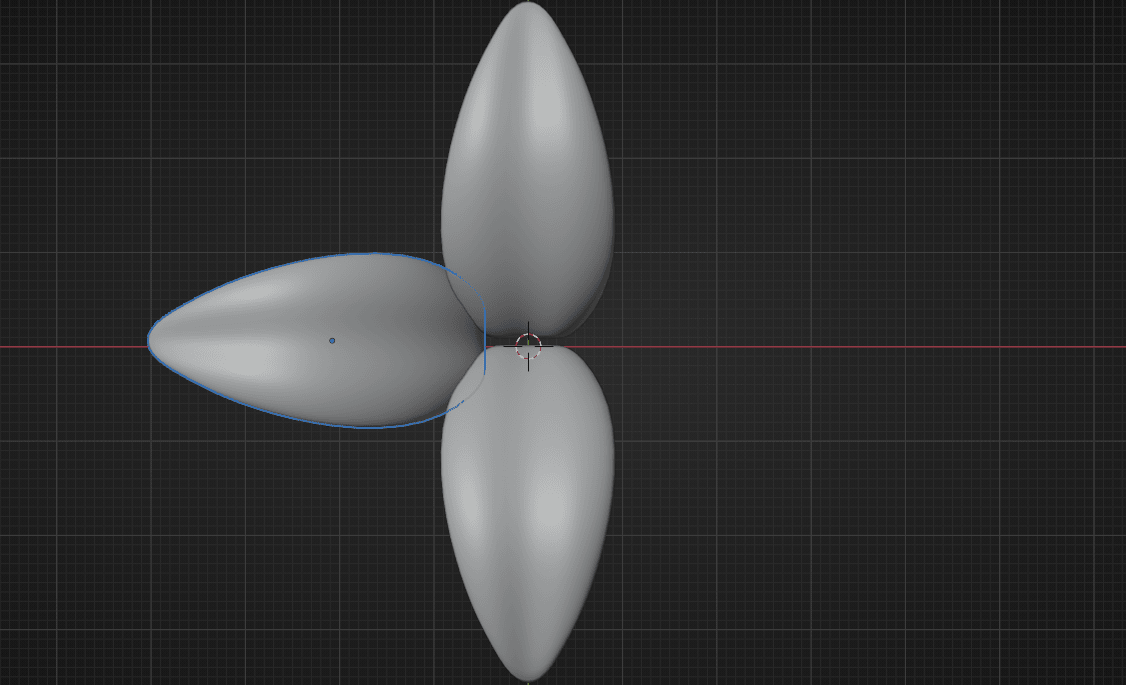
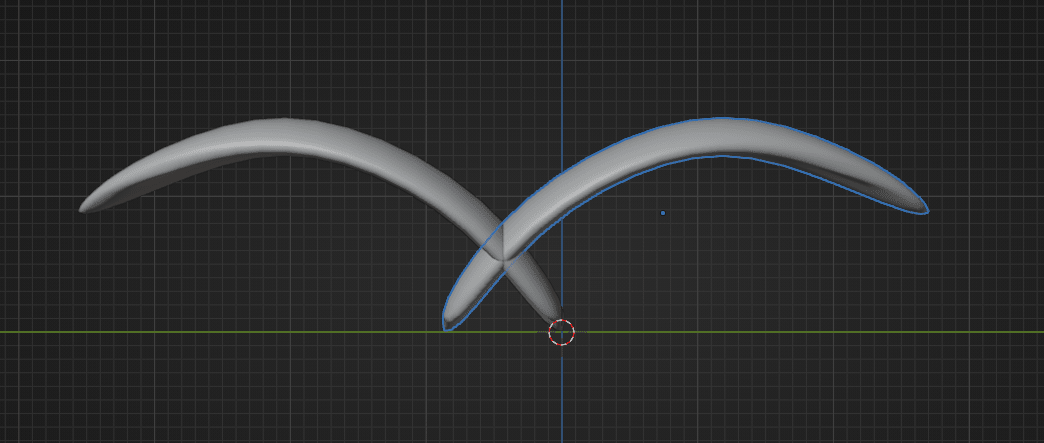
Duplicate that leaf with “SHIFT+D” and move it with “G” on the other side.
Rotate it with “R” for 180°
Beginners guide to Blender
and move it with “G+X”
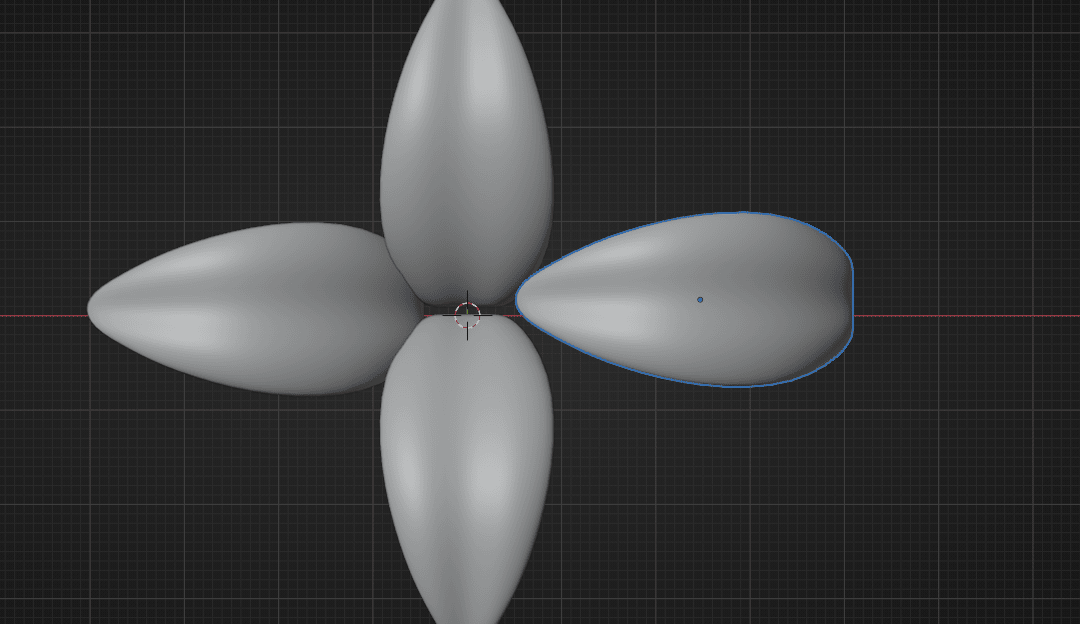
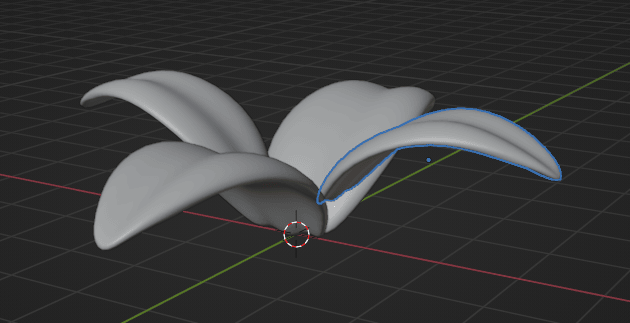
Select these two leaves
Scale them with “S” for round 0.81
Beginners guide to Blender
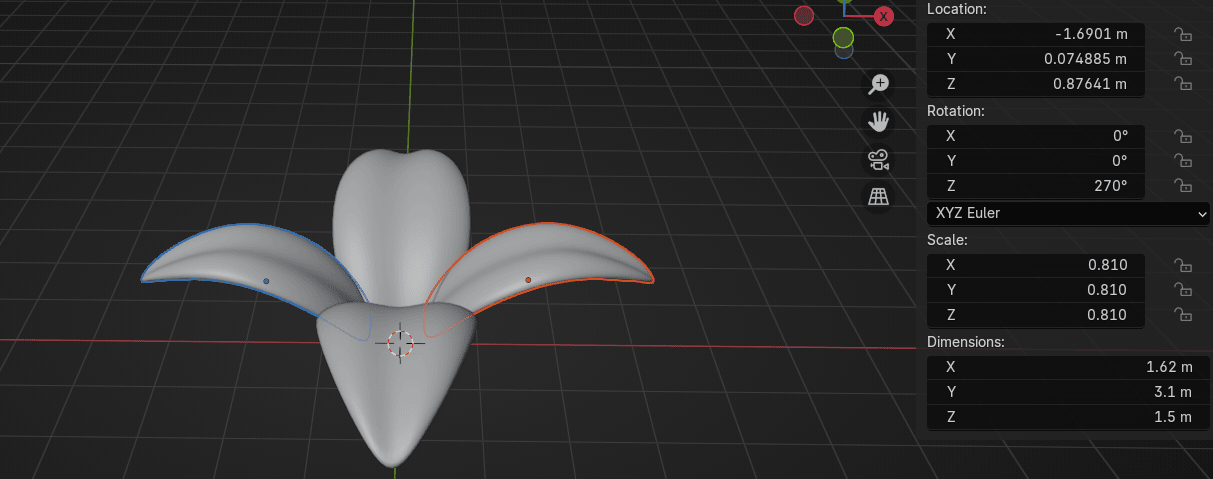
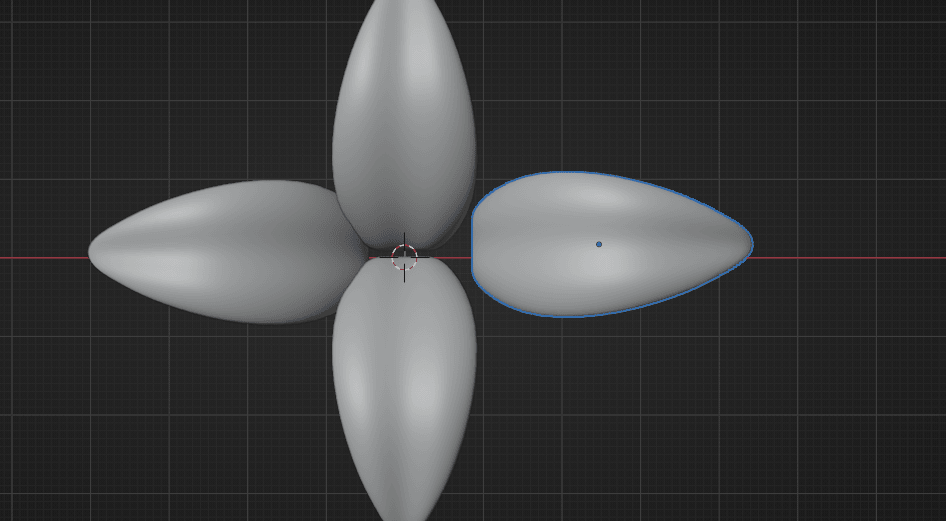
and if you see overlapping like this,
move them a bit with “G+X” to the outside
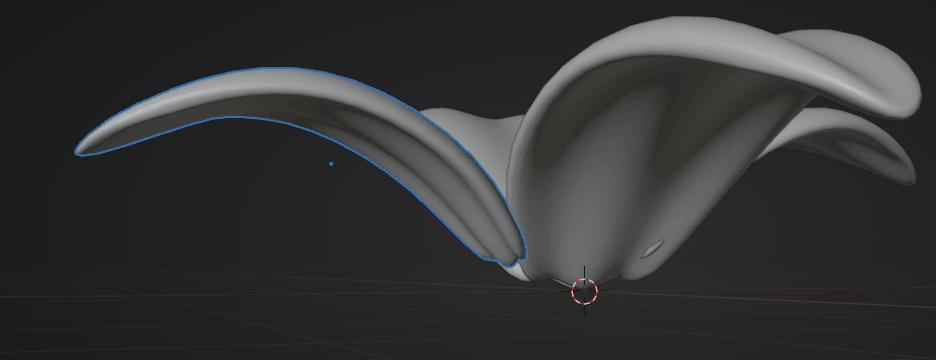
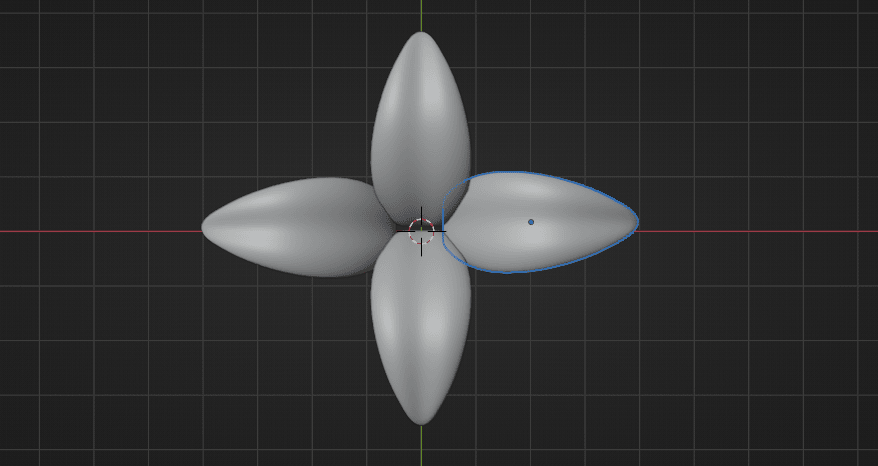
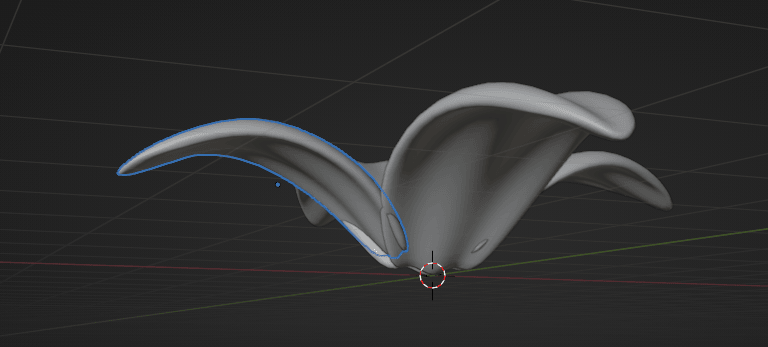
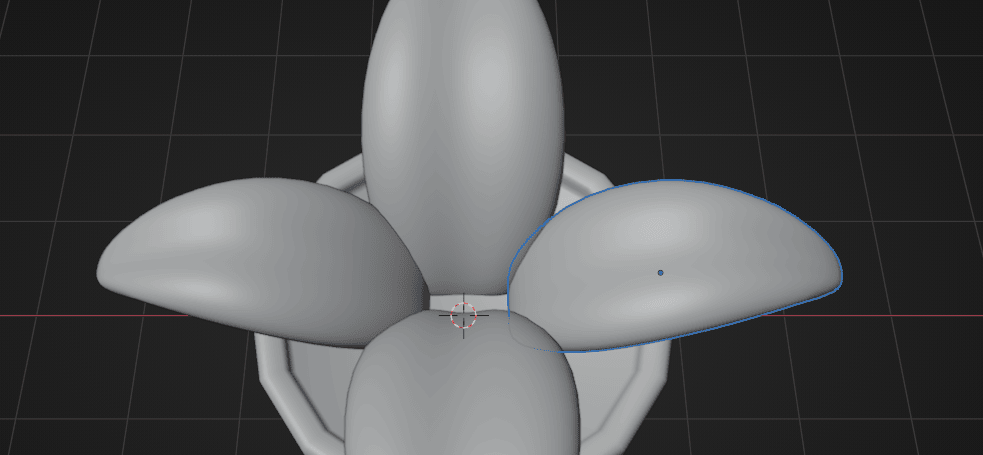
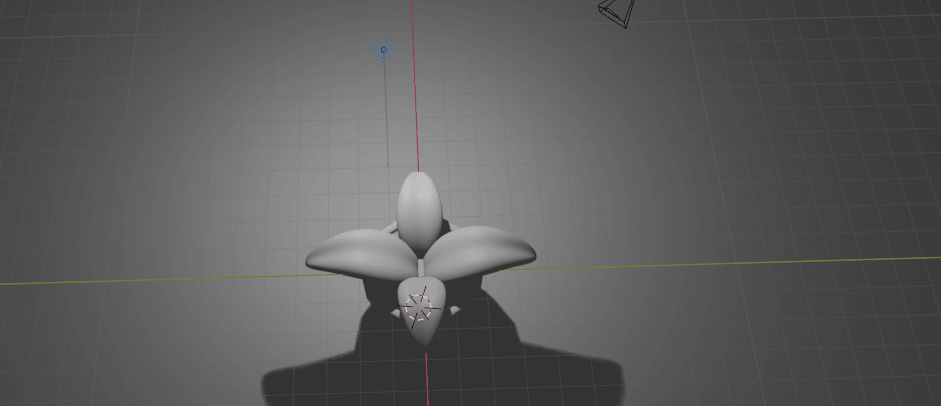
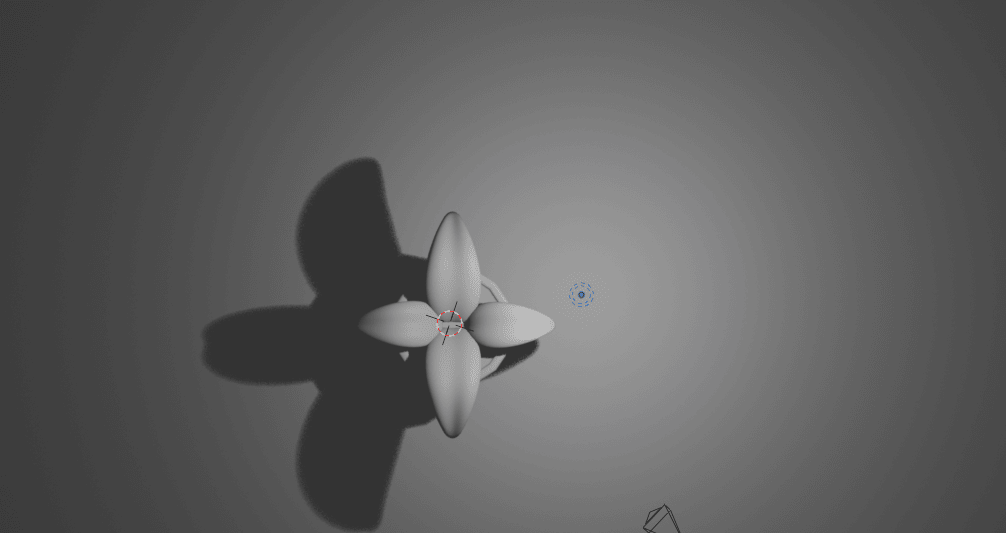
Check all the sides and if you see a lot overlapping, move leaves a bit. They can overlap a bitin the end because we are making a cartoony plant not the realistic one.
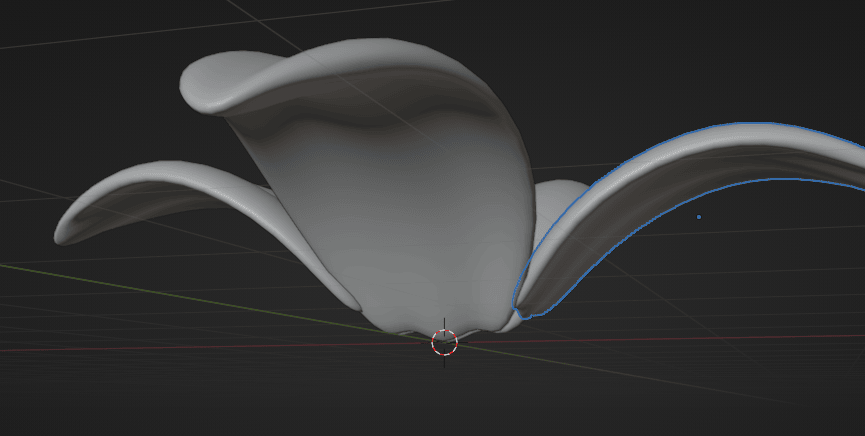
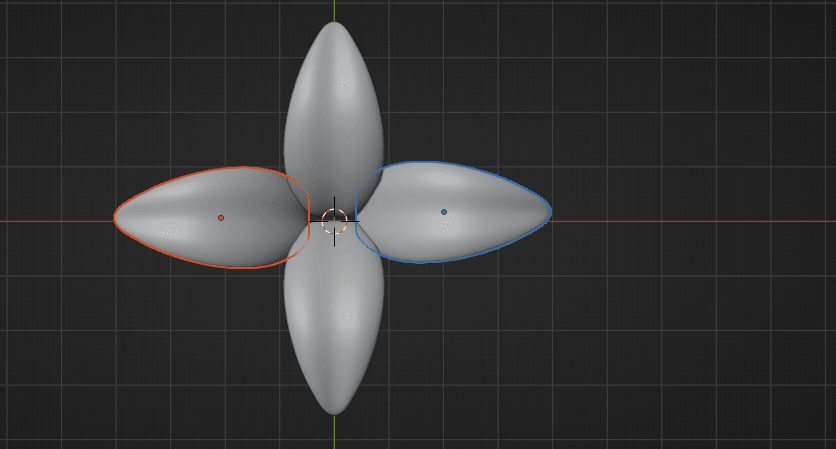
You can also move these two leaves up with “G+Z”
Beginners guide to Blender
if they are overlapping in the upper parts
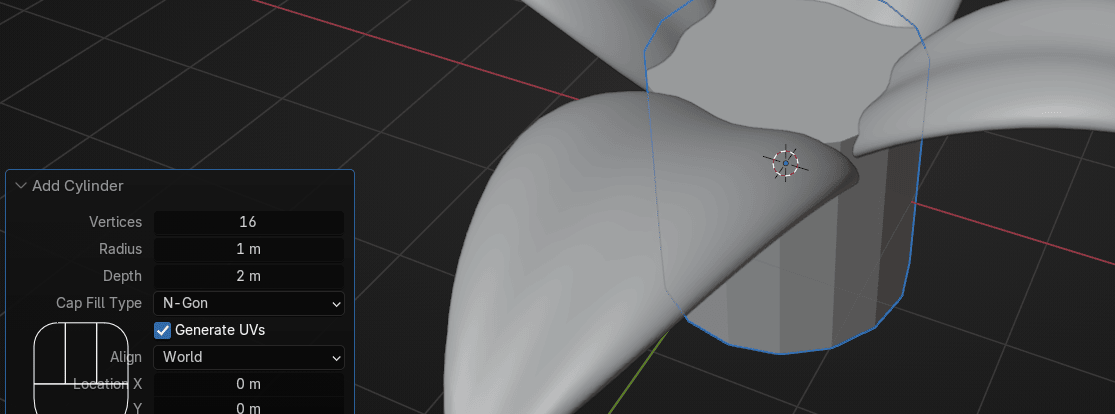
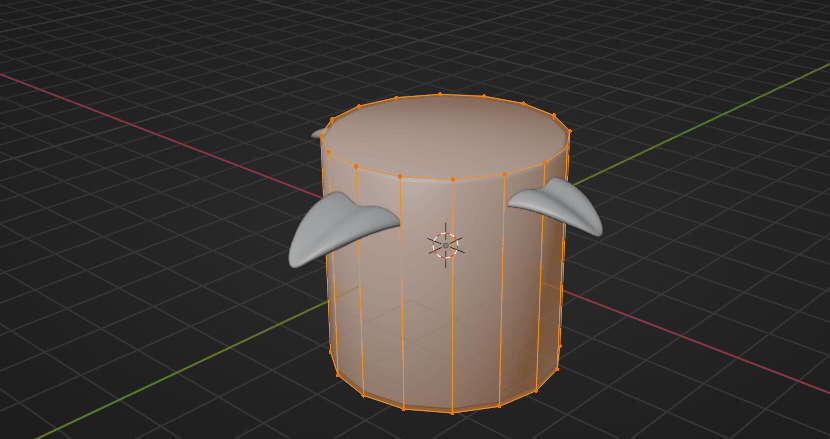
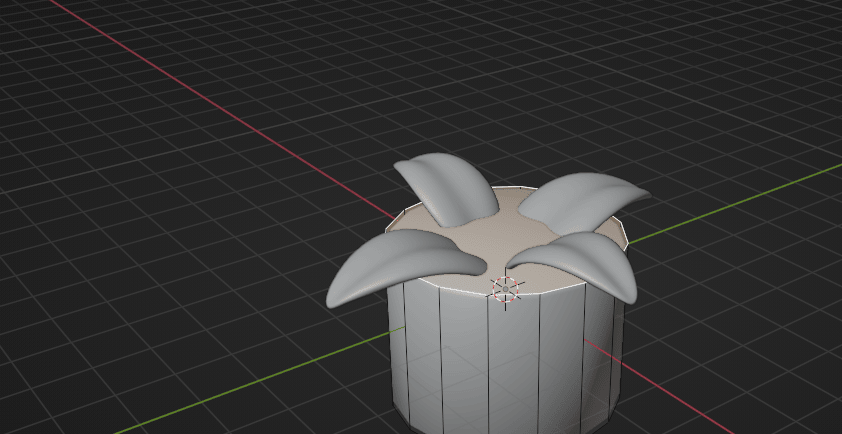
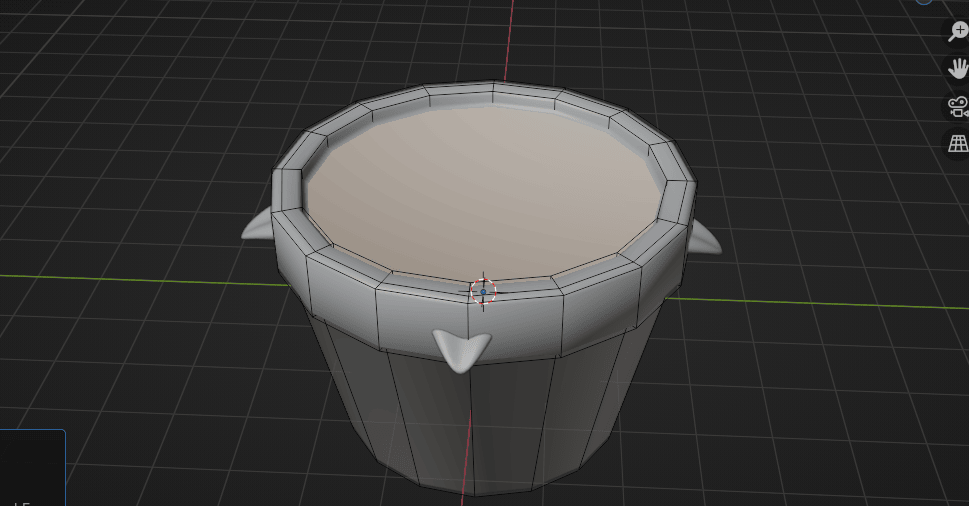
Now go to Add → Mesh → Cylinder
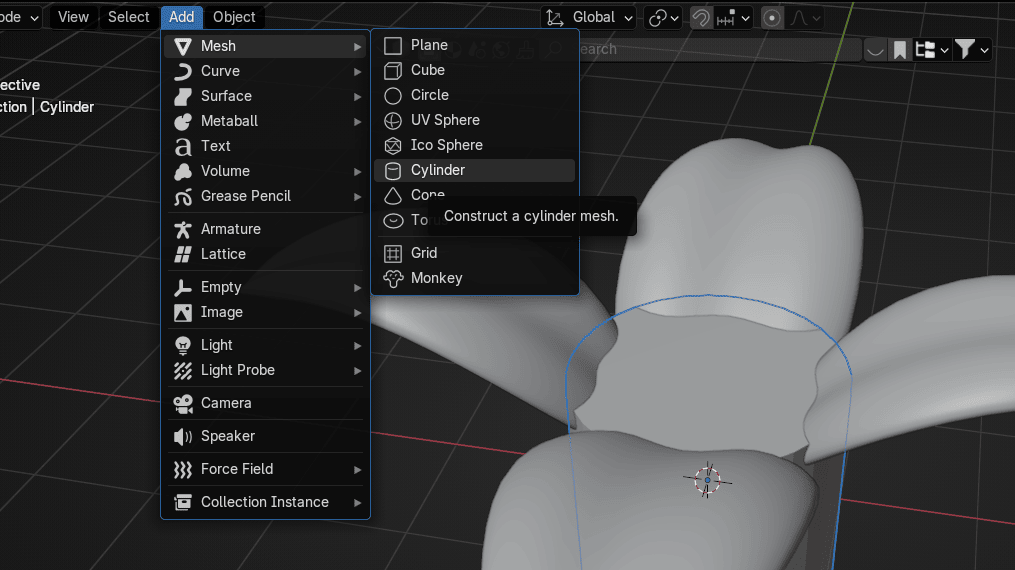
immediately click on this part
Beginners guide to Blender
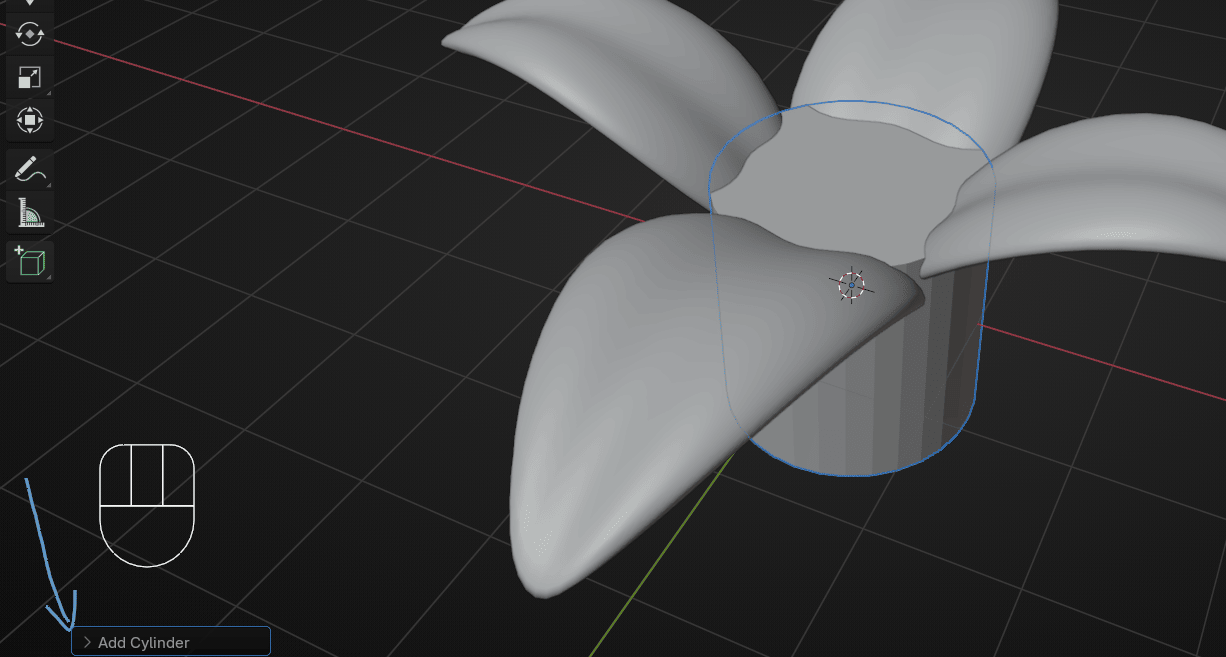
and change vertices from 32 to 16
Scale it with “S” for around 2.195
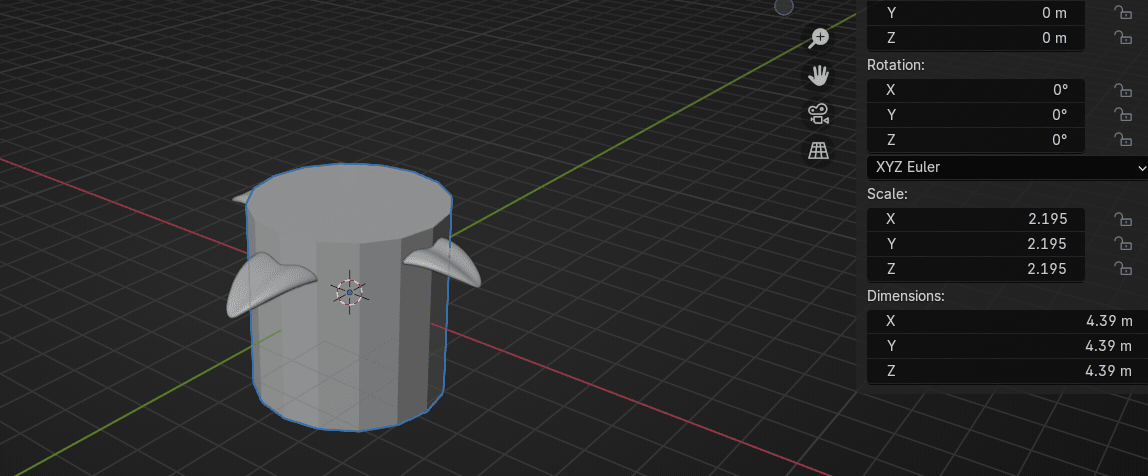
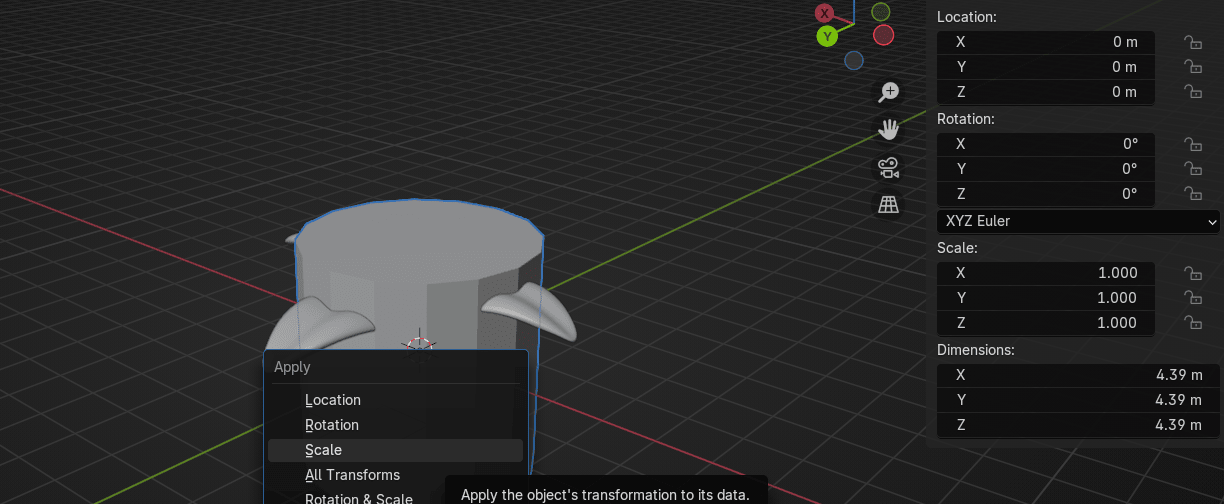
Select cylinder and press “CTRL+A” to apply scale
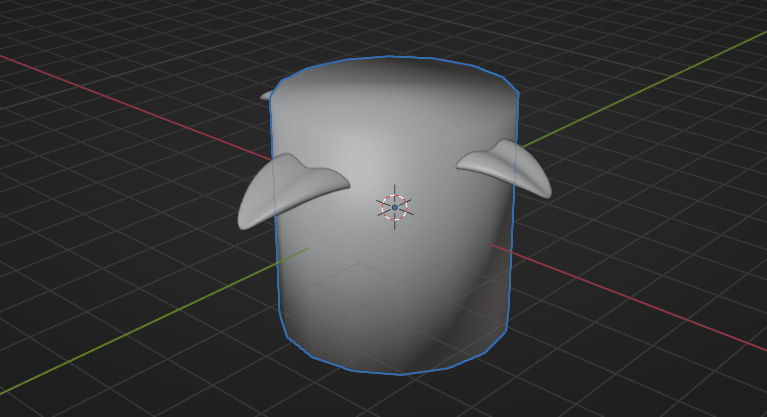
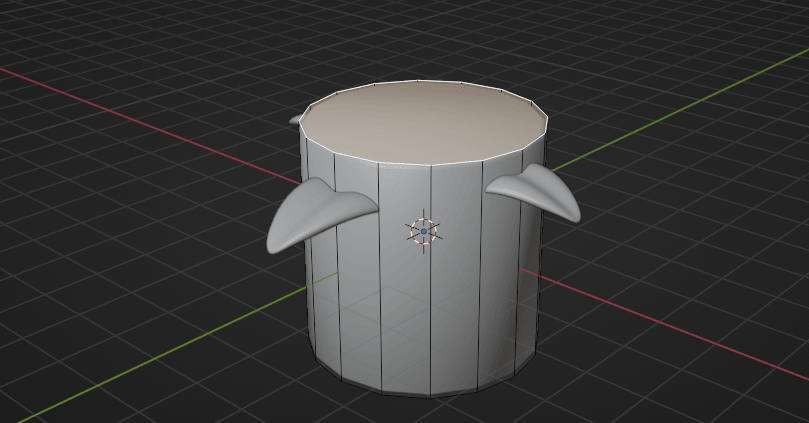
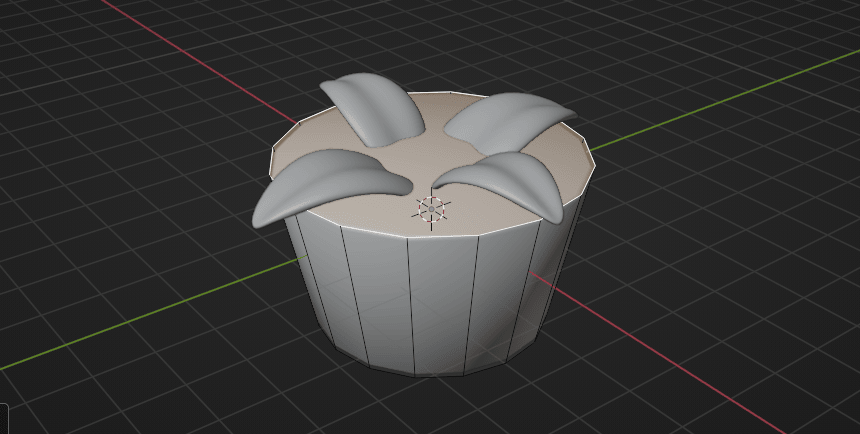
Click RMB and choose Shade Smooth
Beginners guide to Blender
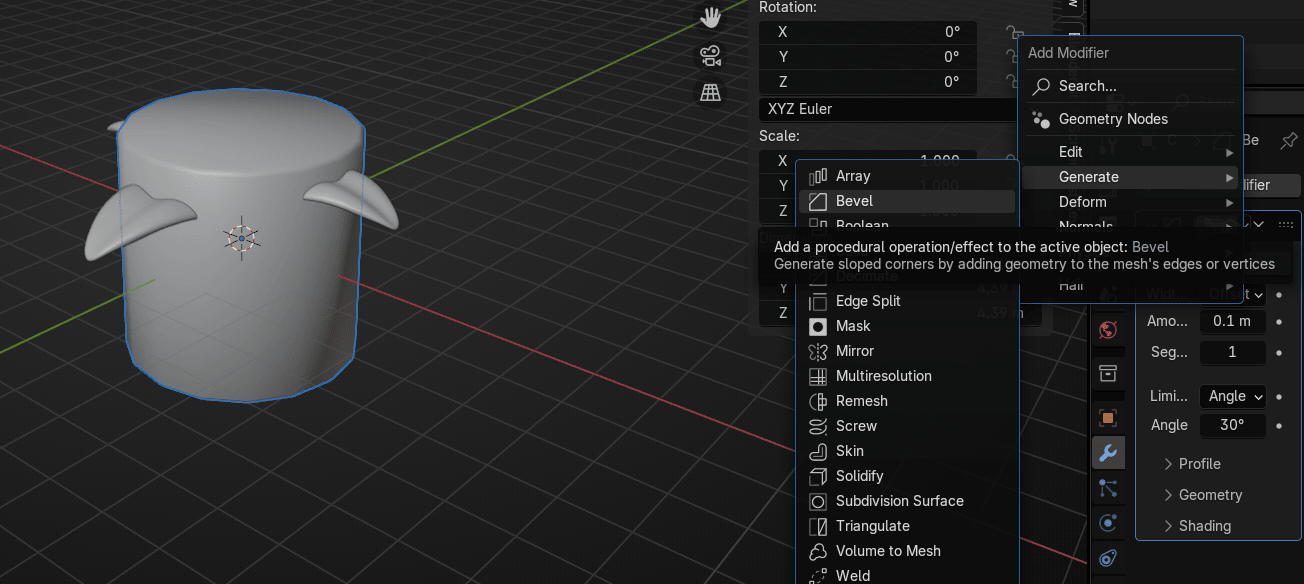
Add modifier → Generate → Bevel
Switch to edit mode with “TAB”.
Switch to selecting faces with 3 and select this face
Beginners guide to Blender
Move it down with “G+Z” for around -2.2
and then move it up with “G+Z” for around 1.1
Scale it with “S” for around 1.33
Beginners guide to Blender
Extrude it with “E” for 1
Select this whole loop with “ALT+LMB”
Press “ALT+E” and select extrude faces along normals
Beginners guide to Blender
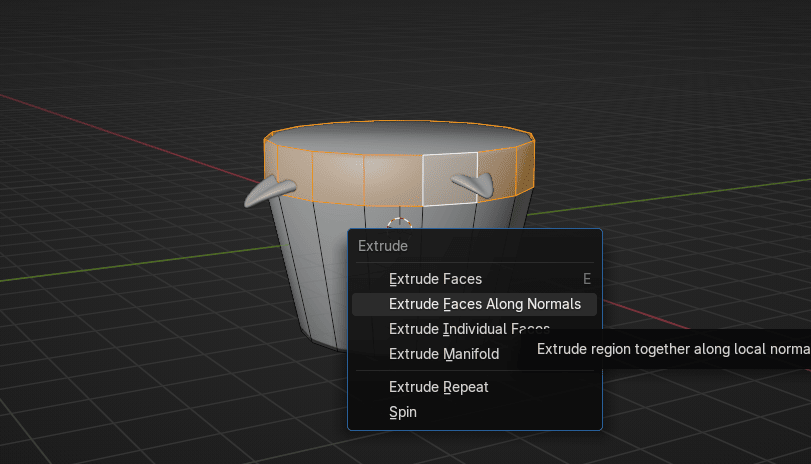
and extrude it for around 0.15
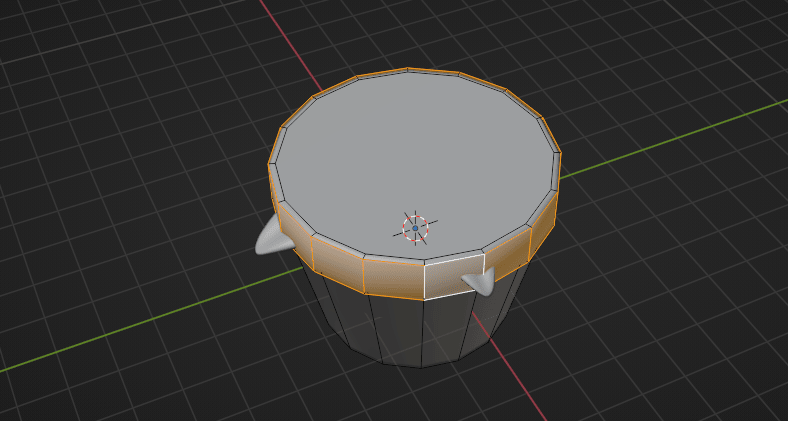
Select this face
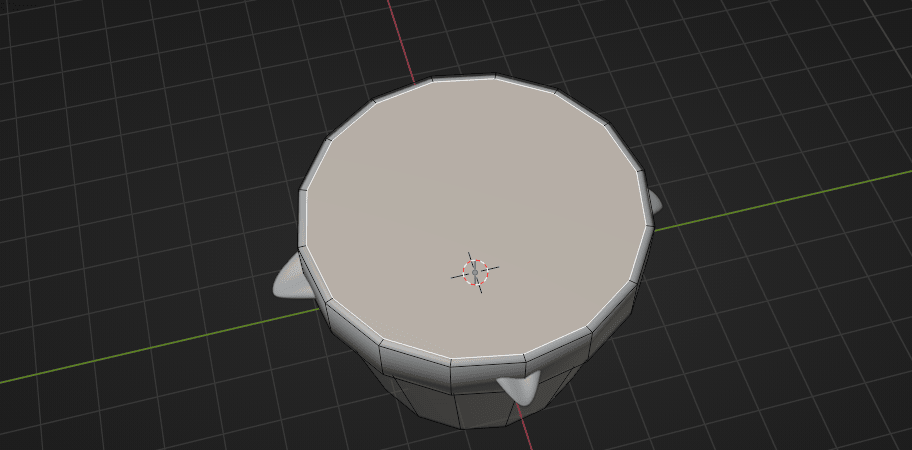
and inset a new face with “I” for around 0.28
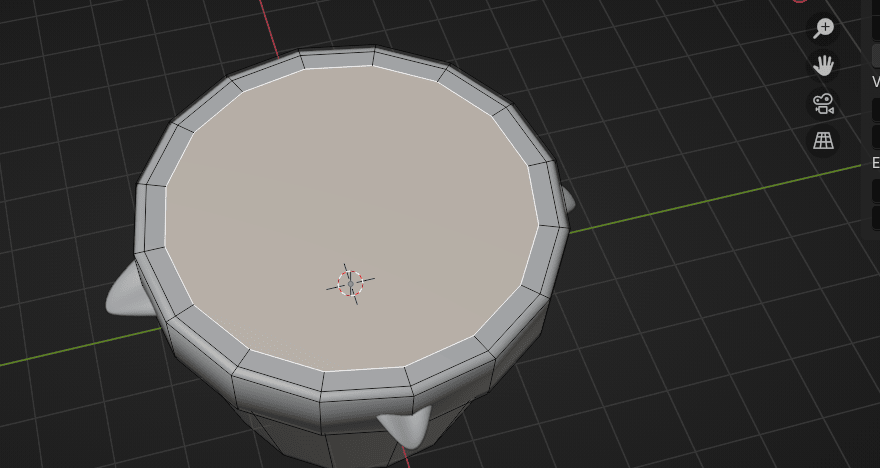
Extrude it to the inside with “E” for around -0.25
Beginners guide to Blender
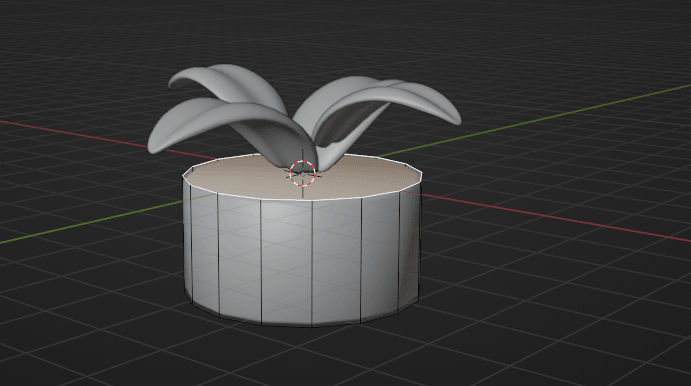
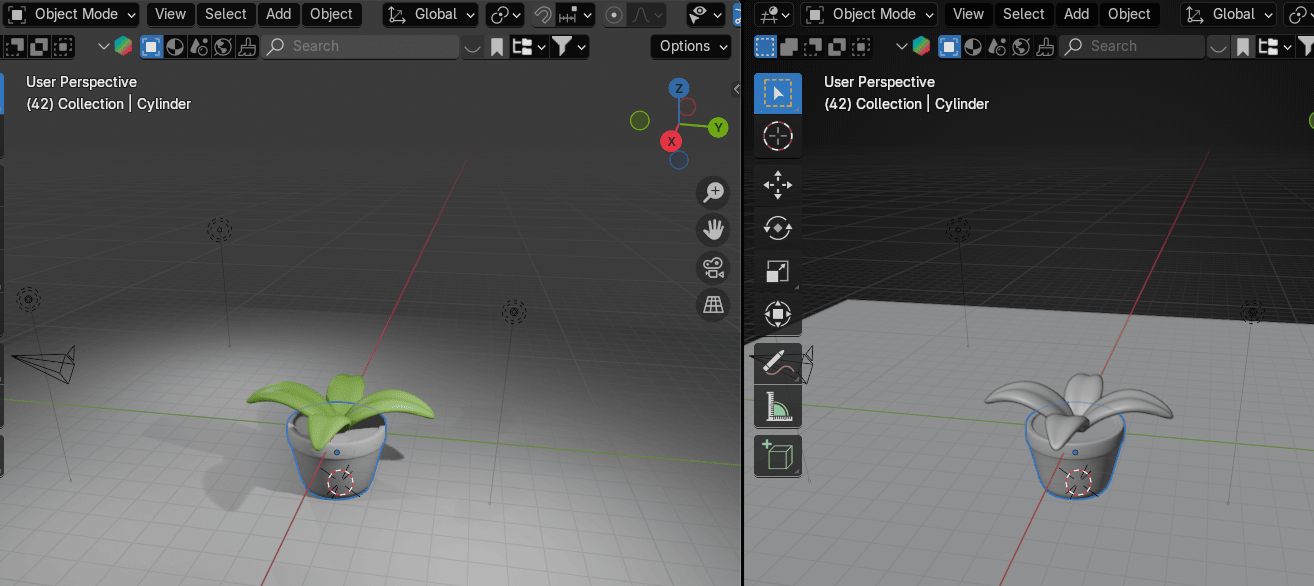
Switch to object mode with “TAB”
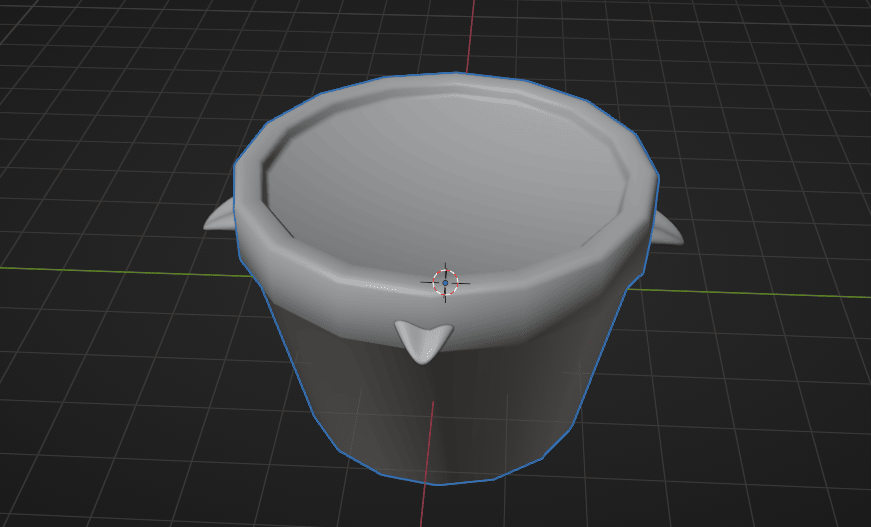
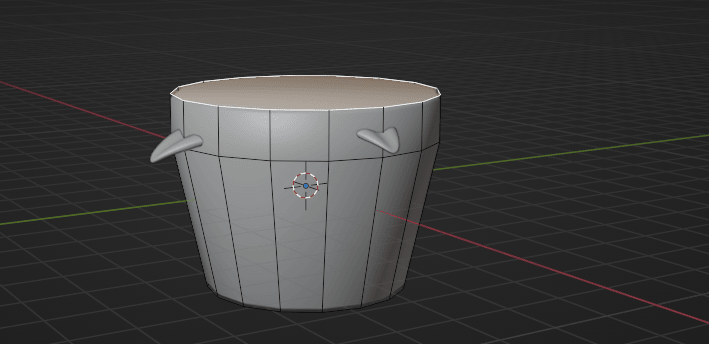
Move the pot down with “G+Z” so your leaves will be a little bit in a pot

Scale the pot with”S” for around 0.63
Beginners guide to Blender
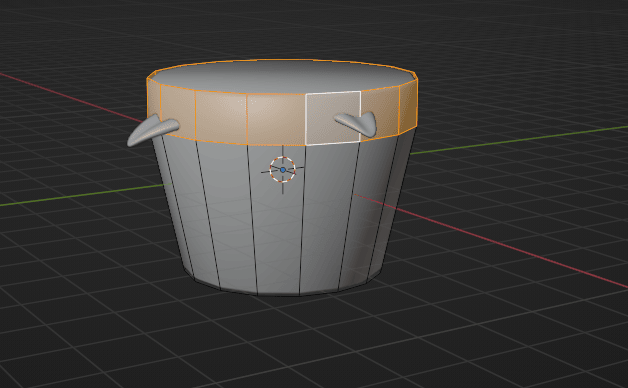
and move it up with “G+Z”
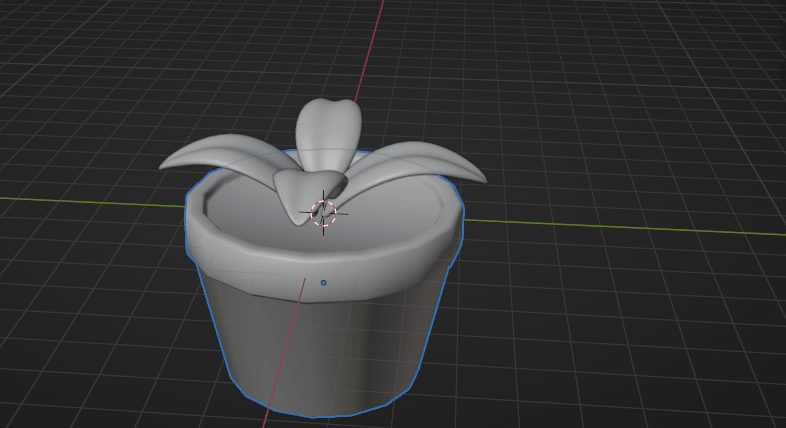
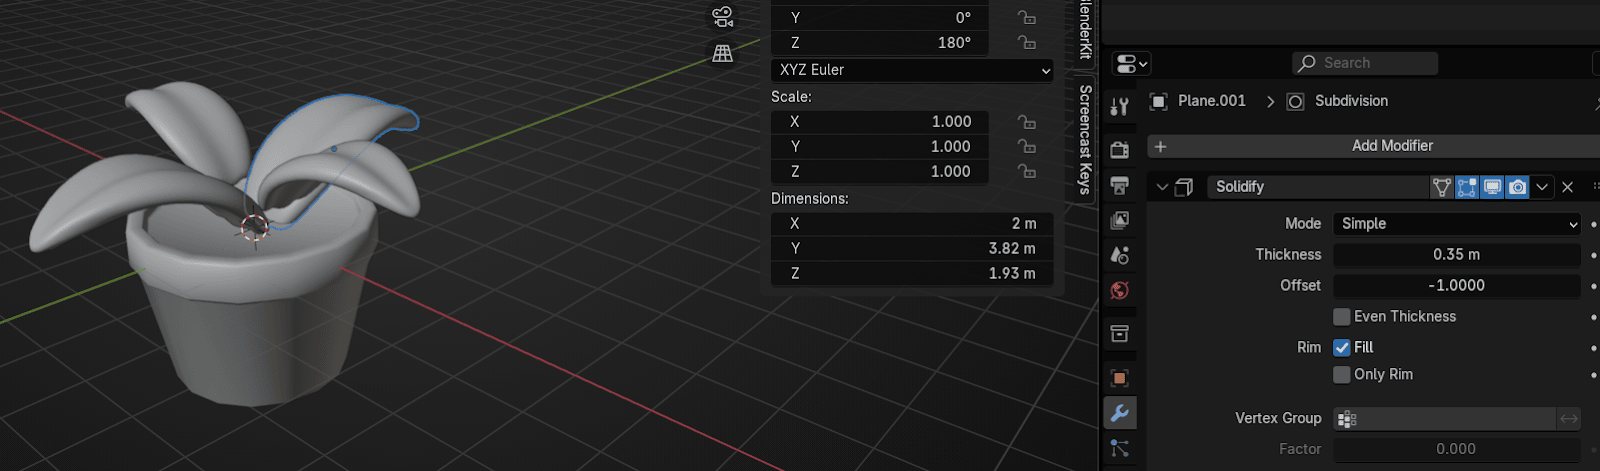
Select the leaf and change Solidify to around 0.35 so your leaf looks better.
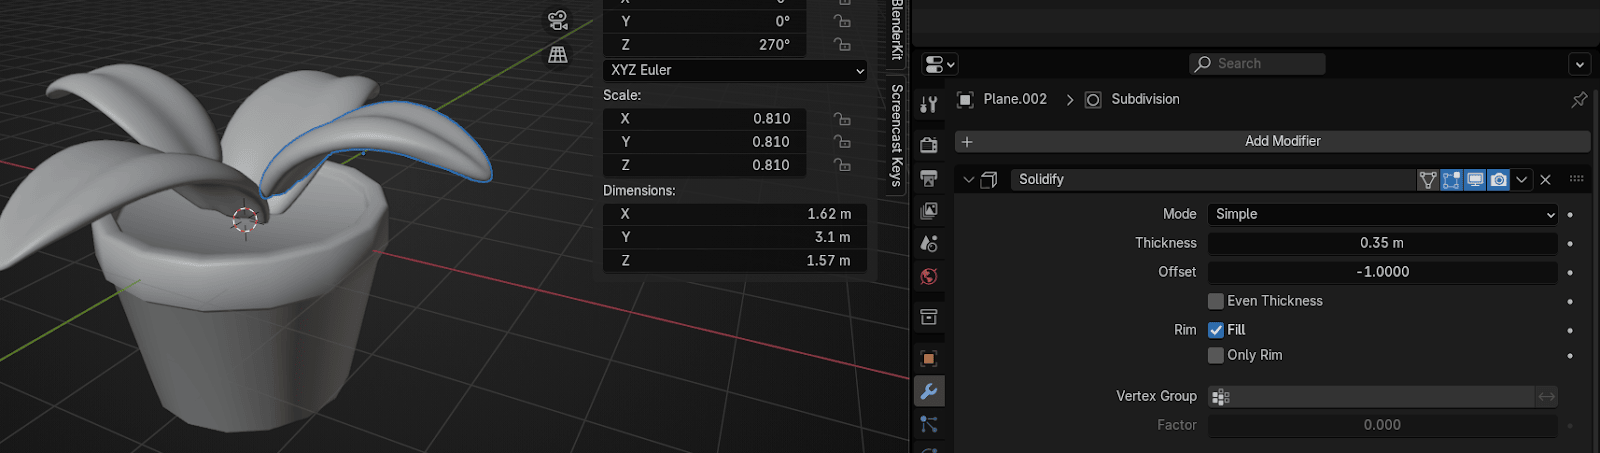
Do the same with all other leaves as well
Beginners guide to Blender
If it looks like your plant is a bit weird, select leaves and move them first a bit down with“G+Z”
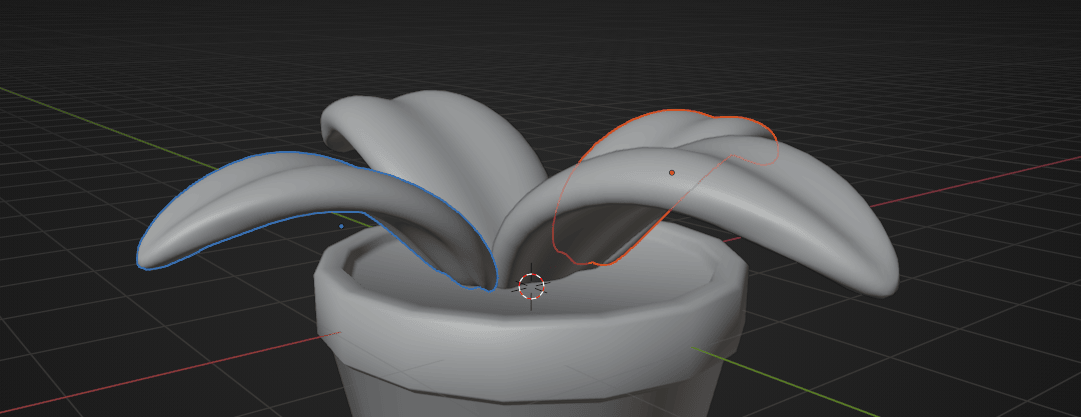
and you can move them with “G+Y” a bit to the inside too
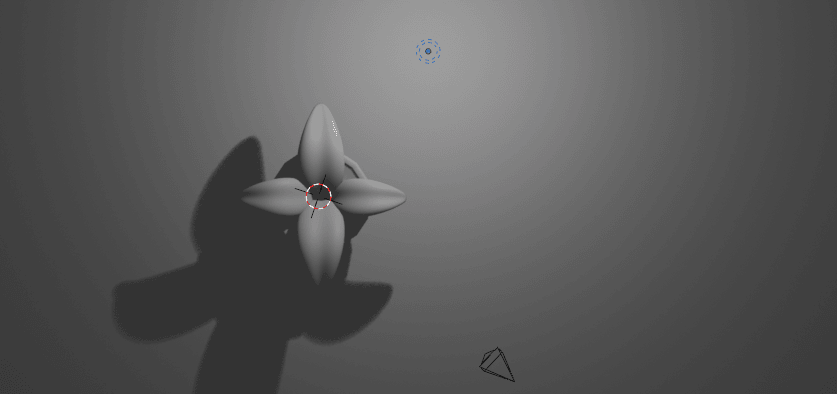
Put 3D cursor with “SHIFT+RMB” here
and go to Add → Mesh → Plane
Beginners guide to Blender
Scale it with “S” for around 25
Switch to a rendered view so you can see all materials that you add.
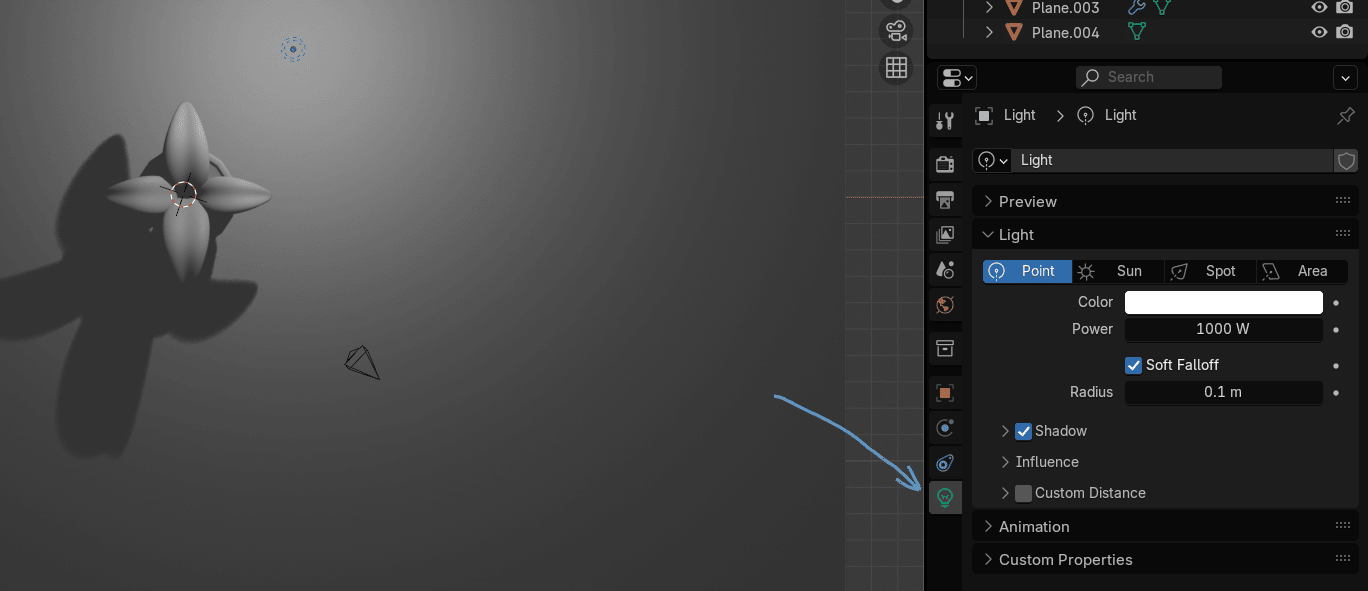
Select the point light that you have on the scene from the beginning
Switch to the top orthographic view by clicking blue Z on your Gizmo or pressing CTRL+7 onyour numpad.
Beginners guide to Blender
Move it with “G+Y” for around 4.6
Go to the Data
and change the power to around 2000W

Select the point light and duplicate it with “SHIFT+D”
Beginners guide to Blender
Move it with “G” to around here

Change the power to 1000W

Duplicate it with “SHIFT+D” and move it with “G+X” for around -14
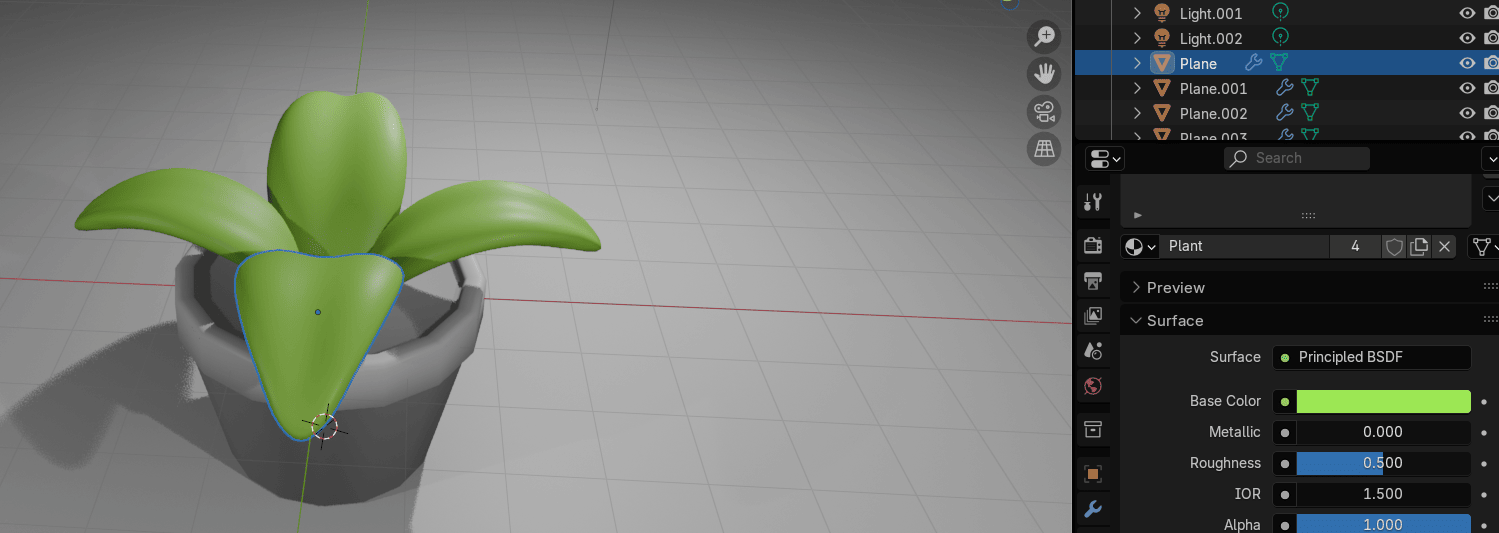
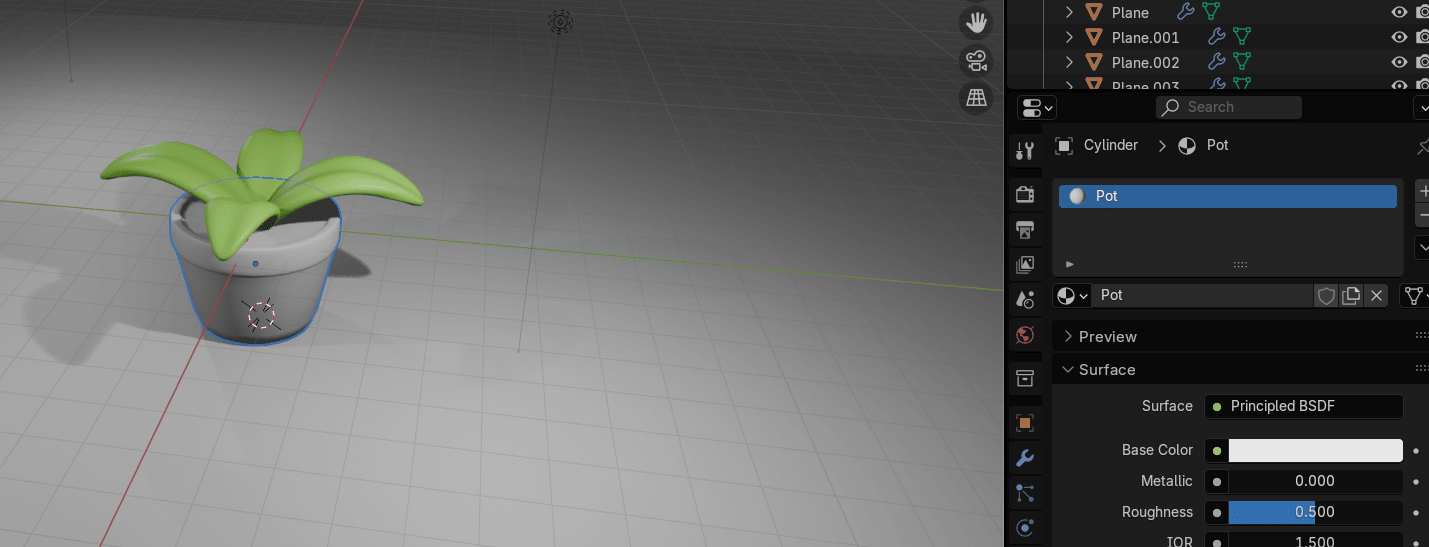
Select the leaf and go to Material
Beginners guide to Blender
Click new and rename Material to Plant
Select all other leaves one by one and choose Plant in the dropdown menu
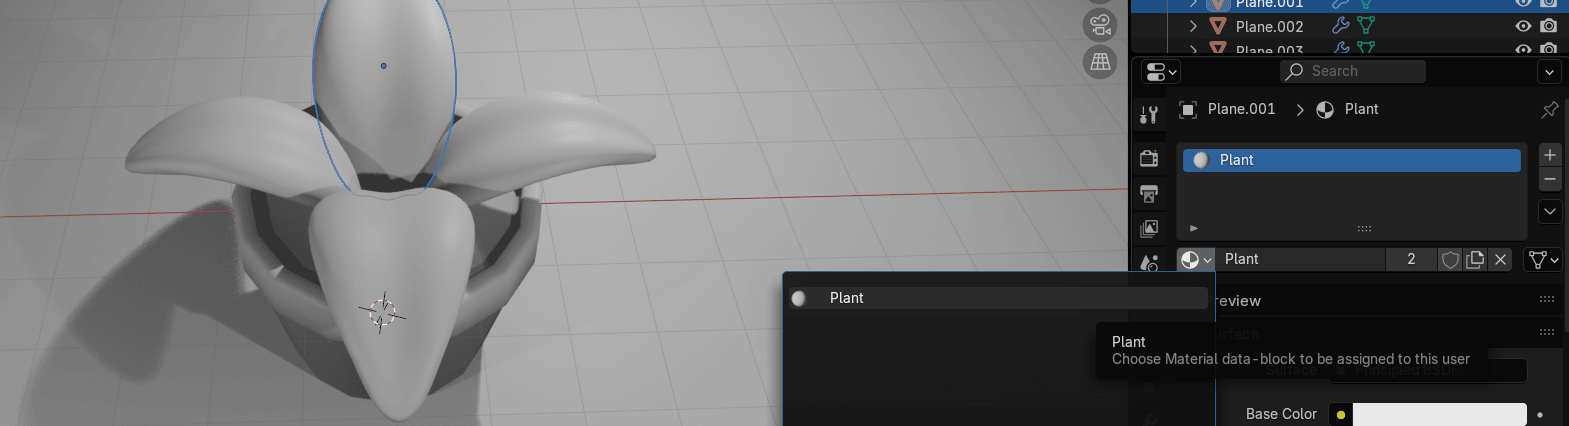
Change the Base color to Green
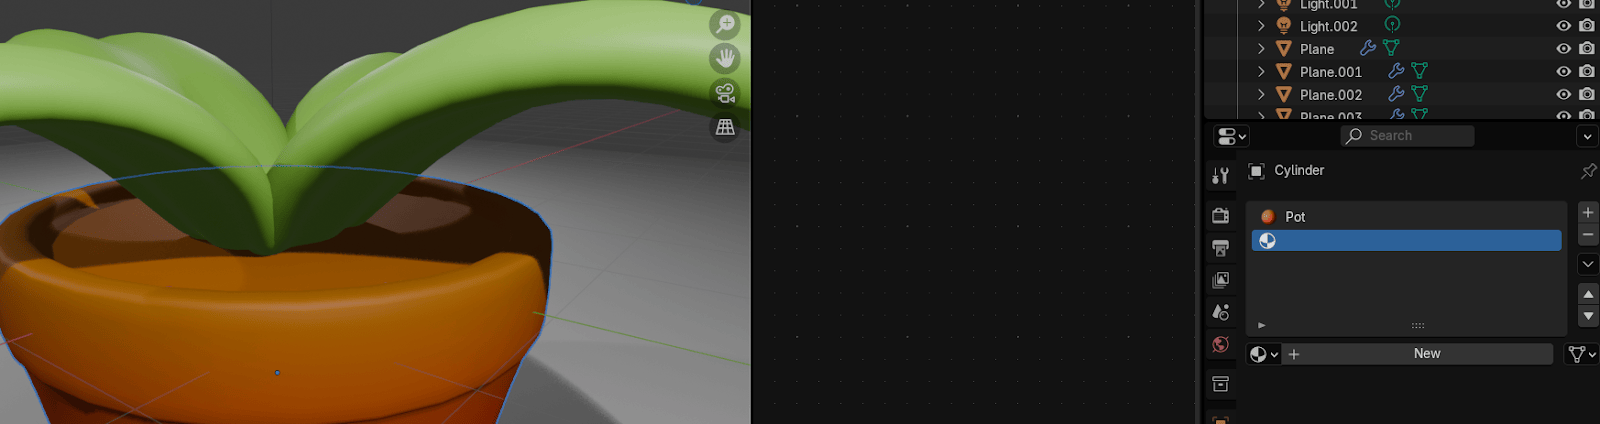
Select the pot,and if you want to look it more rounder, add a subdivision subsurface modifier
Select the pot, go to material, add new and rename it to pot
Beginners guide to Blender
Place the cursor on the upper side of the screen as shown, and when you see plus,
just pull it down to the left while holding the left mouse click.
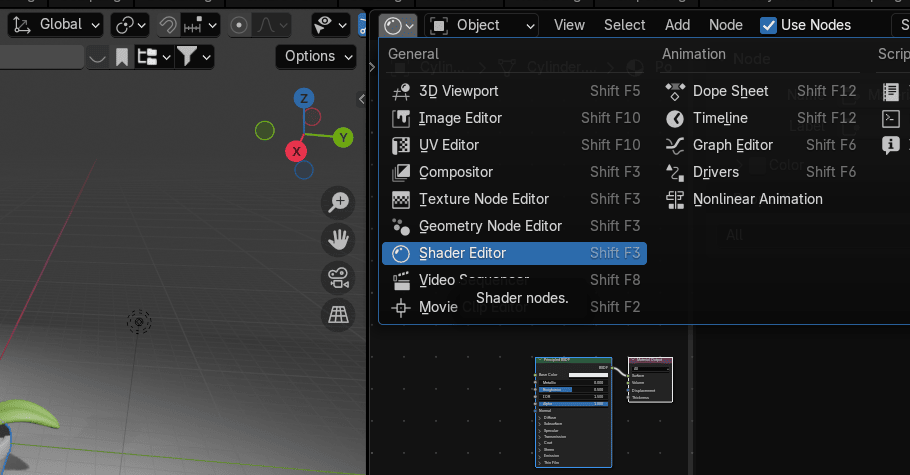
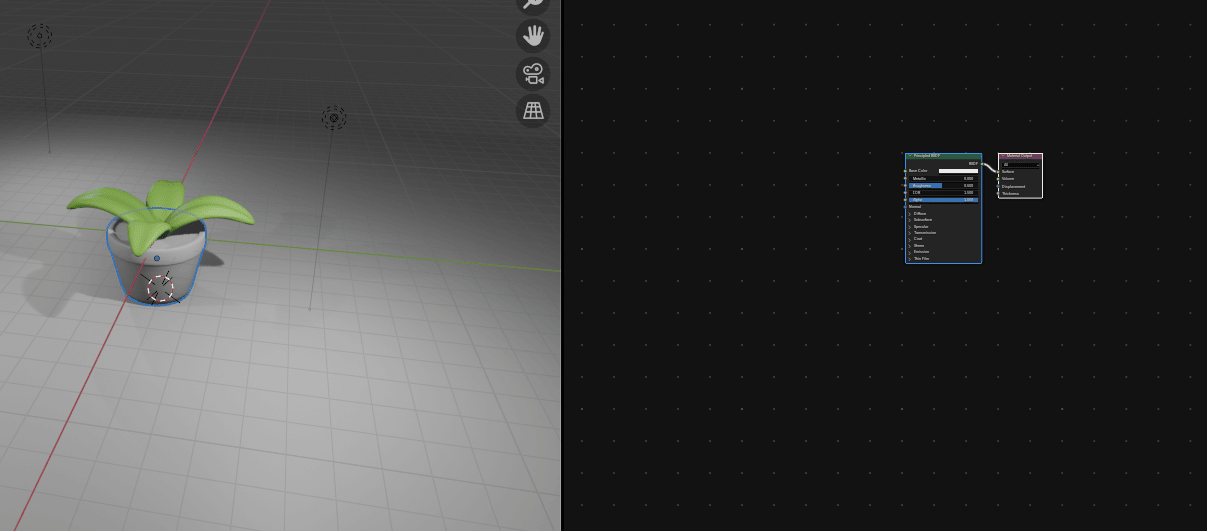
Go to shader editor
Hide sidebar on the right with “N”
Beginners guide to Blender
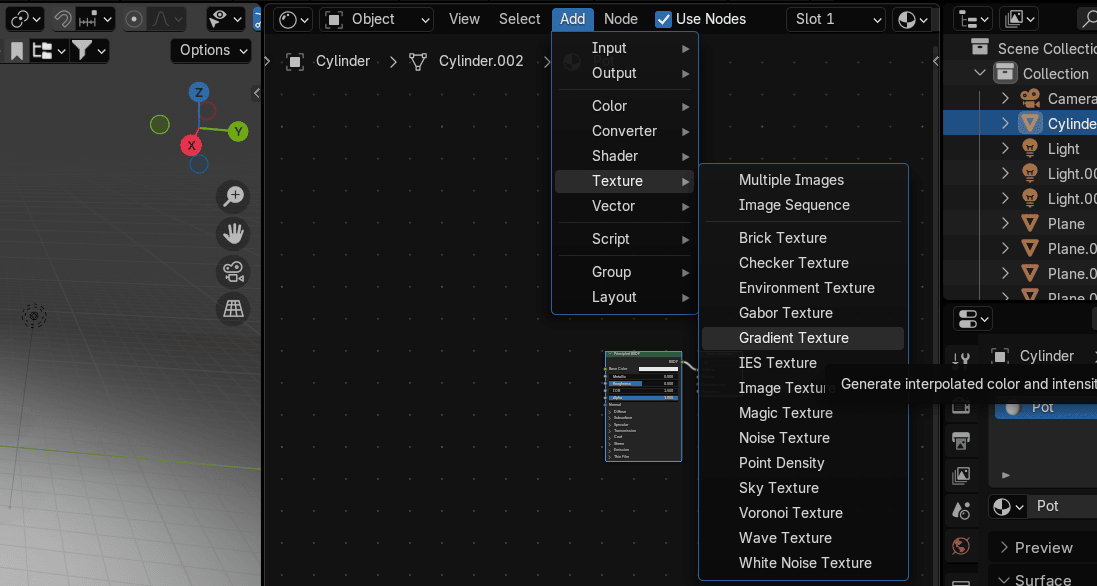
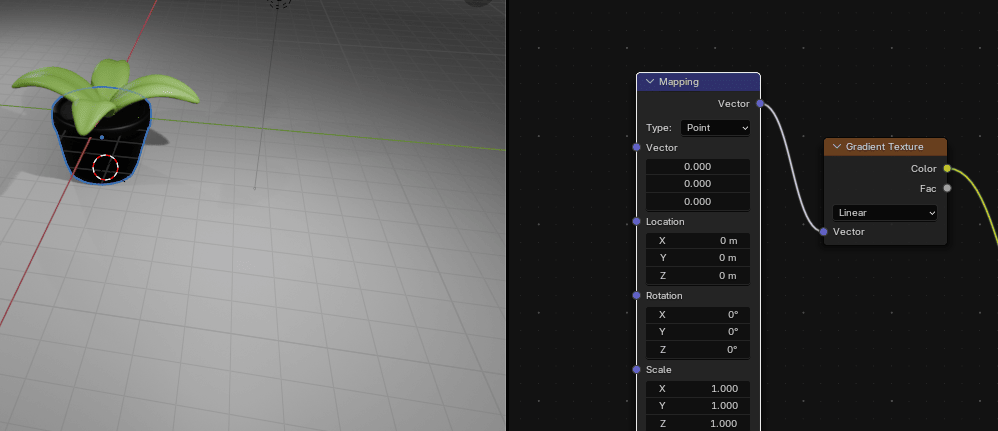
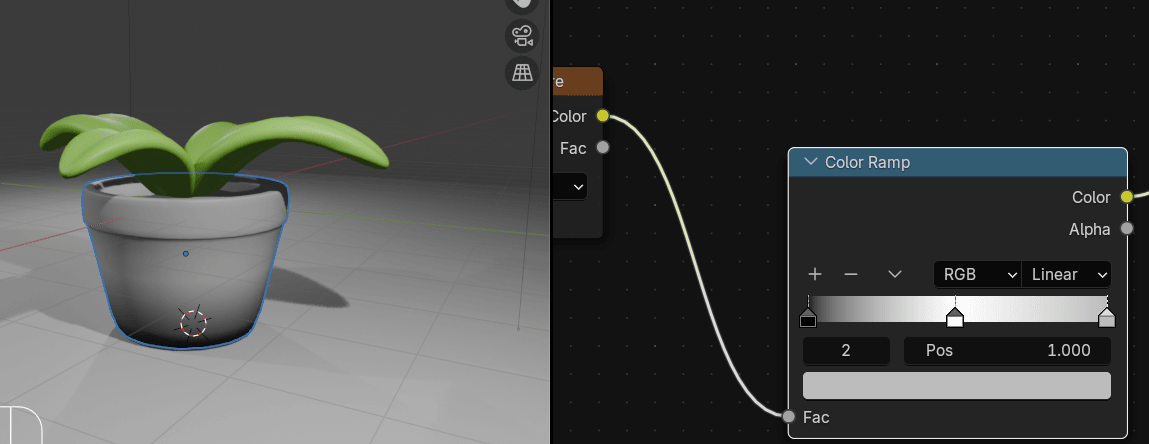
Go to Add → Texture → Gradient texture
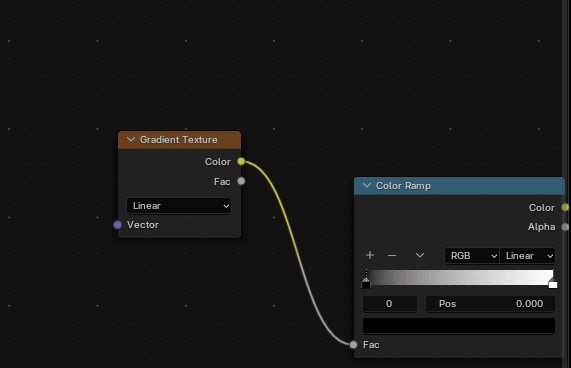
Connect Color from Gradient Texture with Fac from Color Ramp.
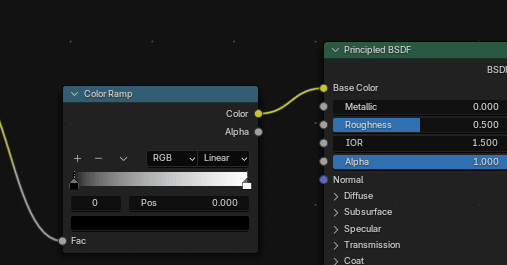
Connect Color from Color Ramp with Base Color from Principled BSDF
Beginners guide to Blender
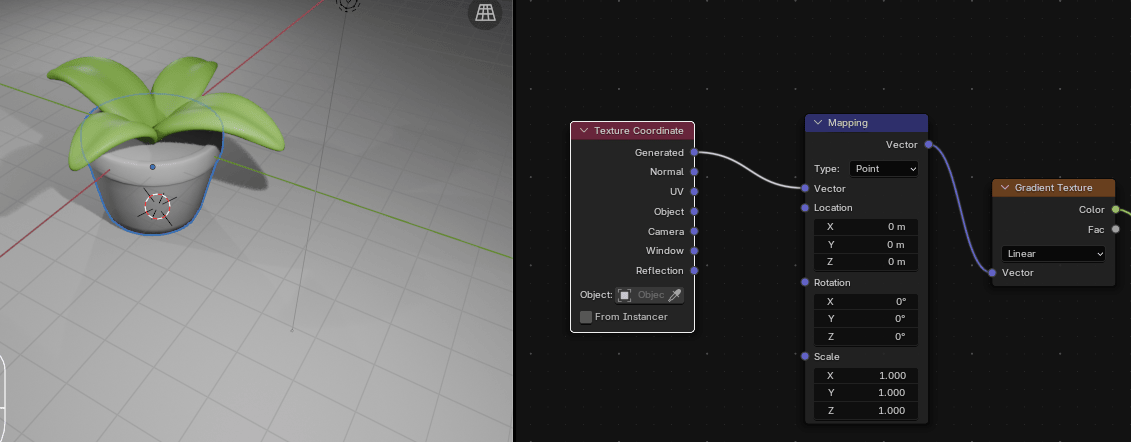
Connect Vector from Gradient Texture with Vector from Mapping
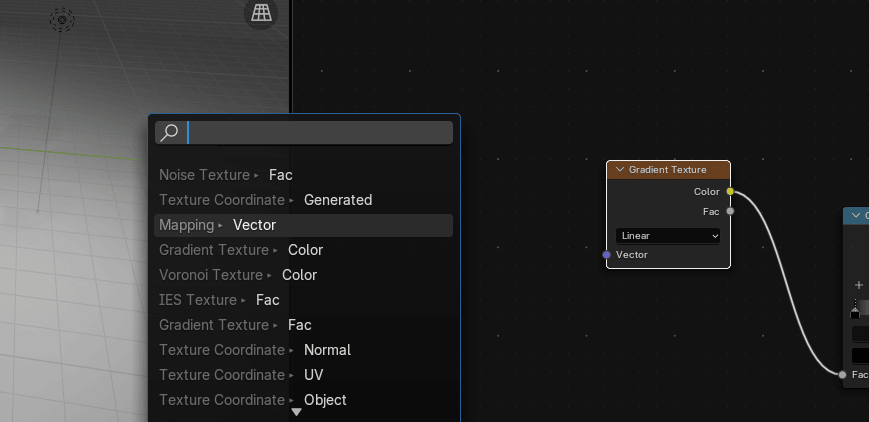
Connect Vector from Mapping with Generated from Texture Coordinated

Beginners guide to Blender
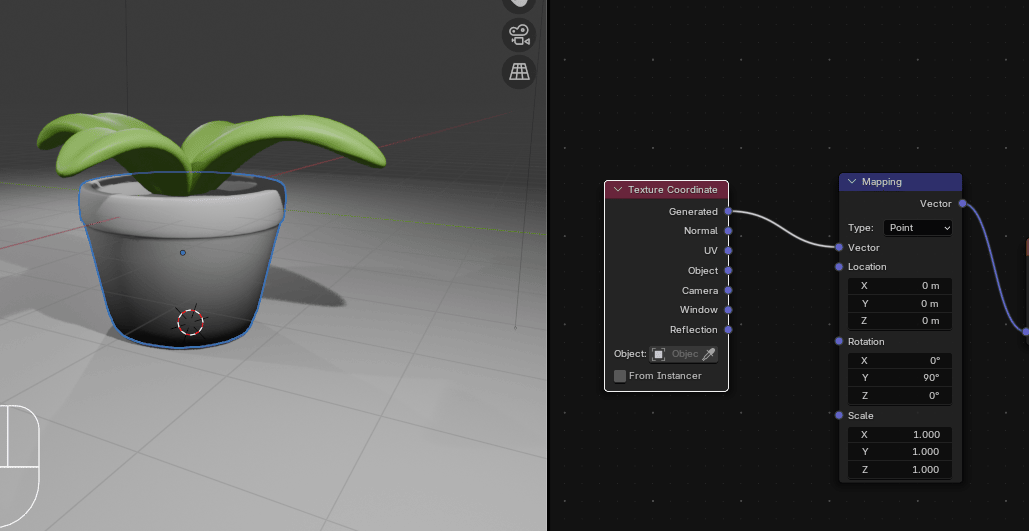
Change Y in Rotation to 90°
Move second picker from Color Ramp from here
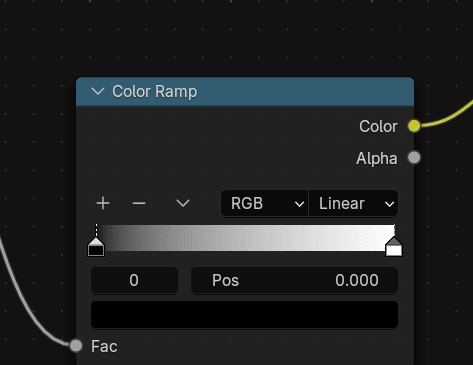
to around middle (0.495)

Beginners guide to Blender
Add a new color picker (stop) to the Color Ramp by clicking + on the Color Ramp
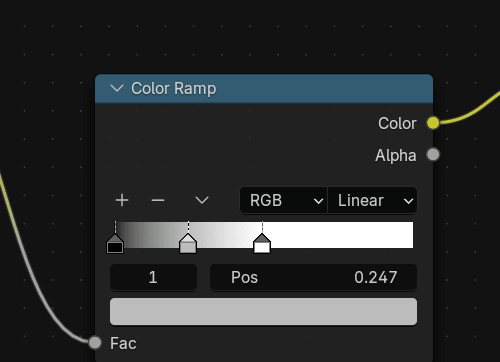
Move it to the end
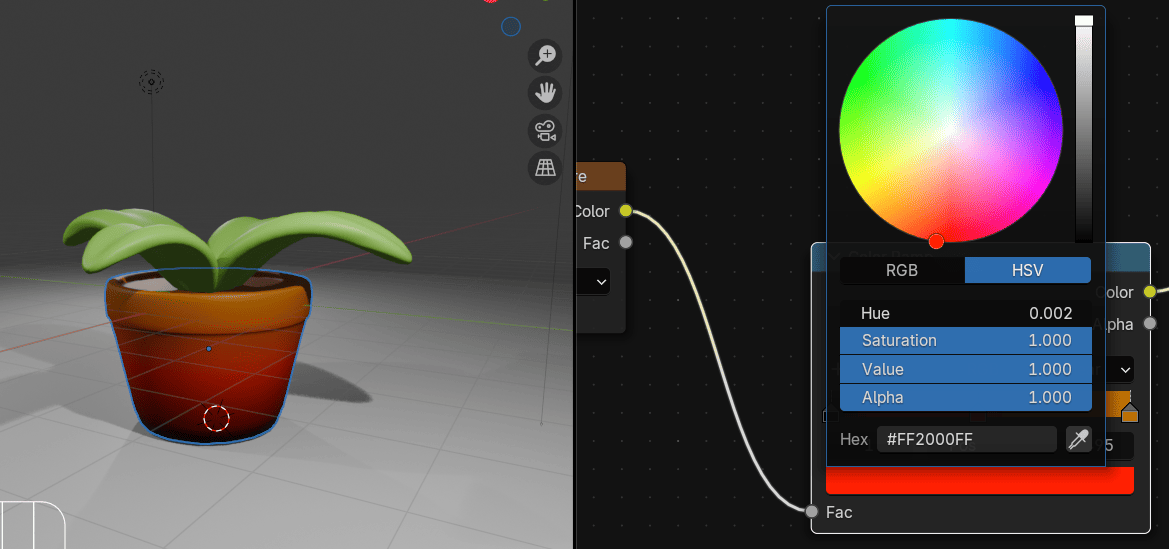
and change color to this (or any other that you like)
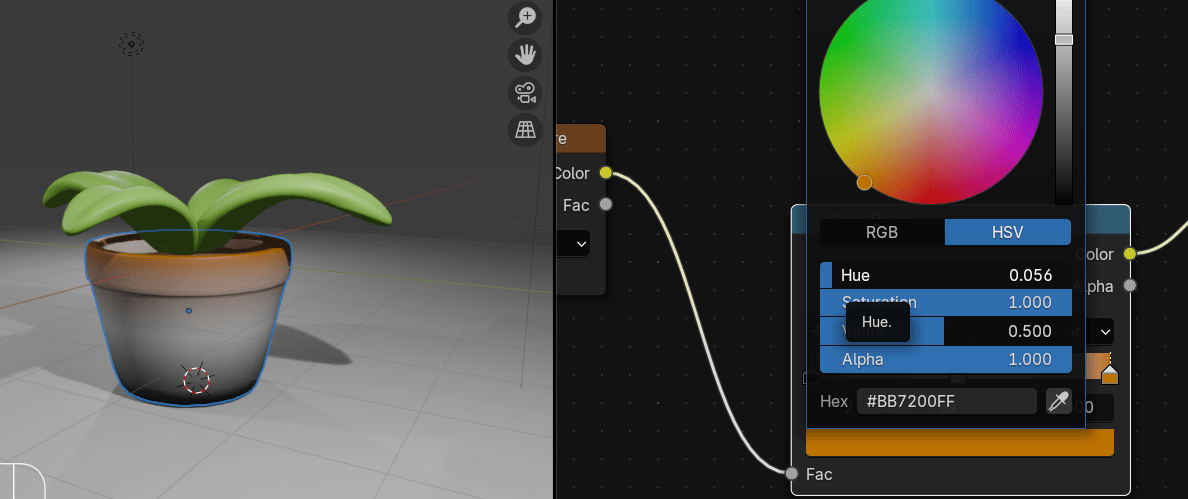
Select the middle color stop and change it to any color that you like
Beginners guide to Blender
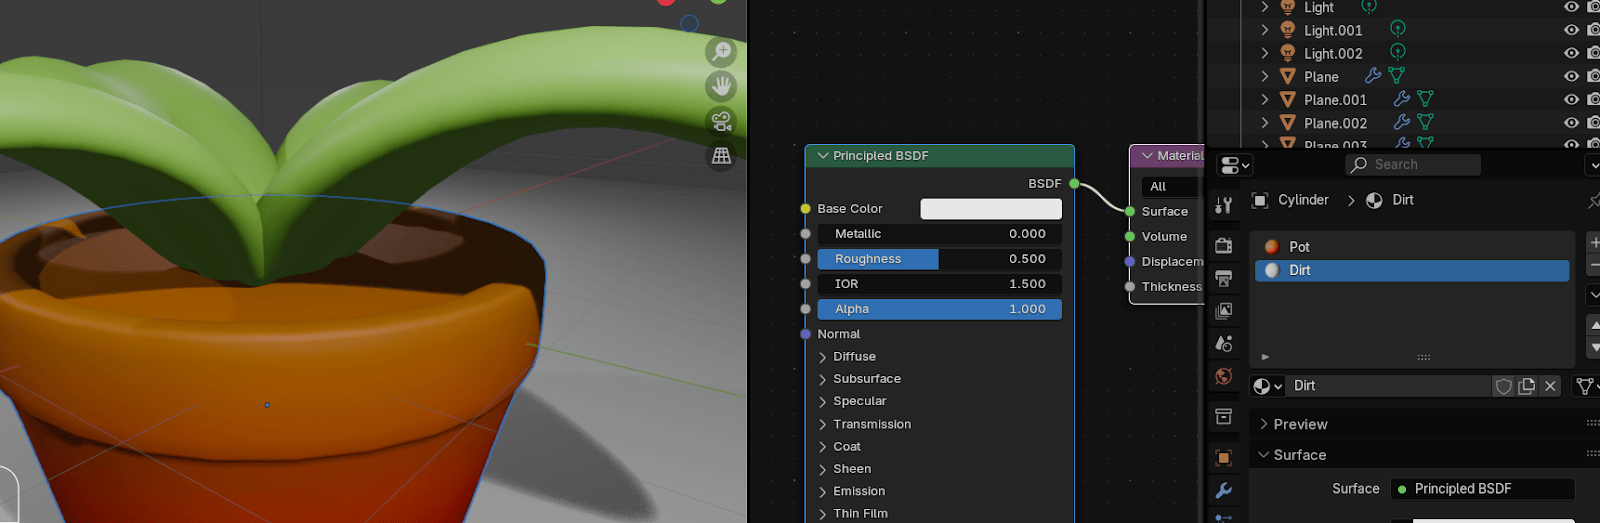
Select the pot and click + to add a new material
Click New and rename it to dirt
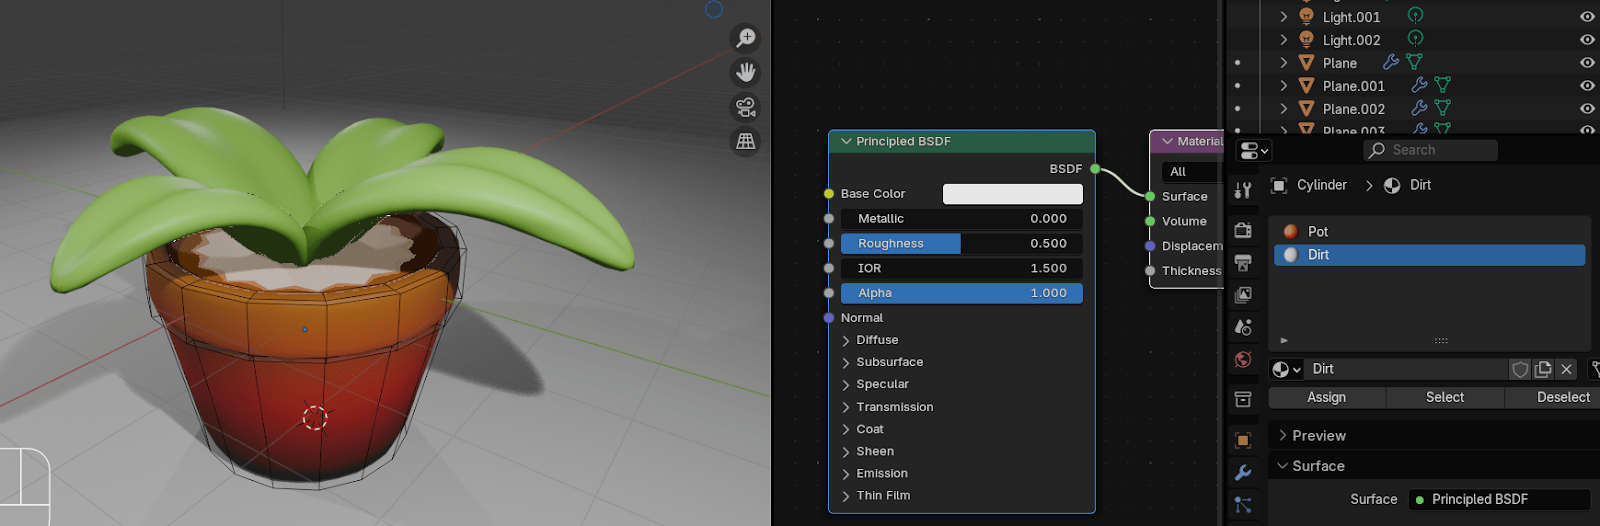
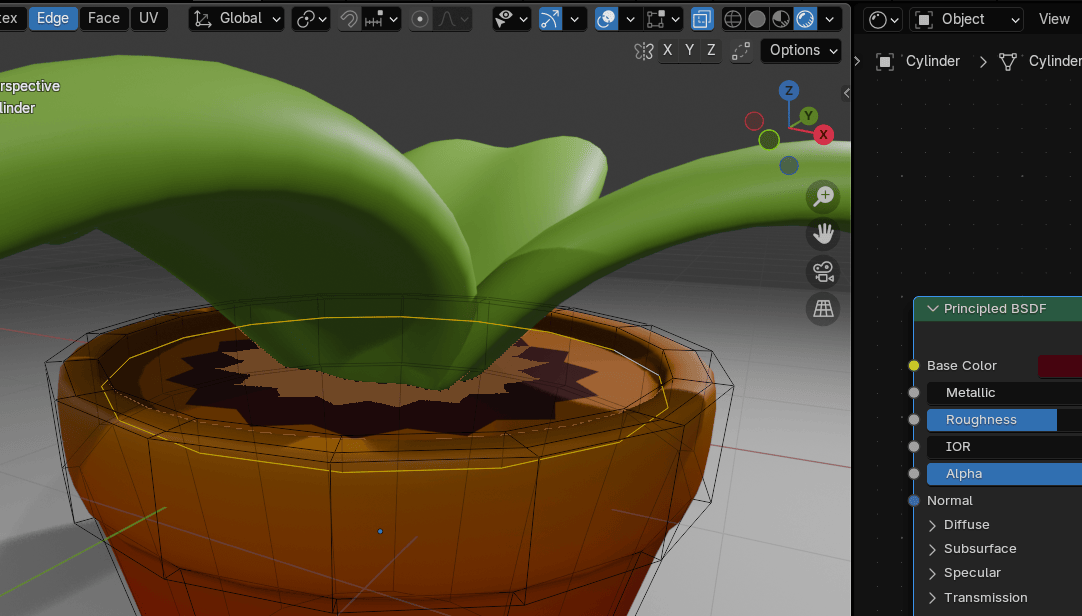
Switch to edit mode with “TAB” and select this face

Choose Dirt Material and click Assign
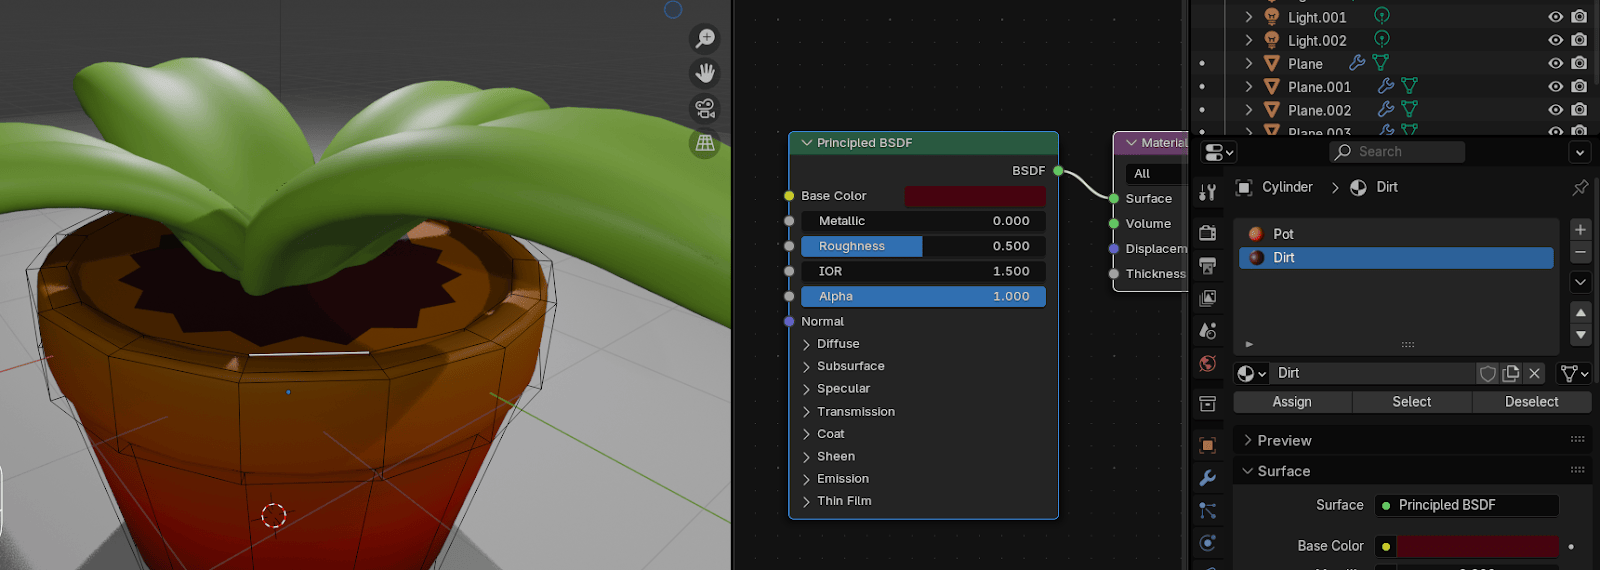
Beginners guide to Blender
Change material to some dark brown
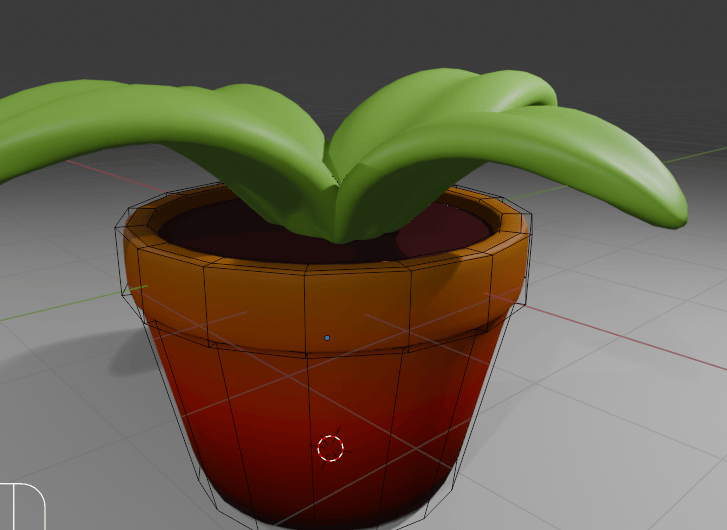
If this happens to your dirt, it is because of the subdivision modifier, so just
turn on X-ray mode with “ALT+Z” select this edge loop
and bevel it a little with “CTRL+B” to fix that

It is fixed now
Beginners guide to Blender
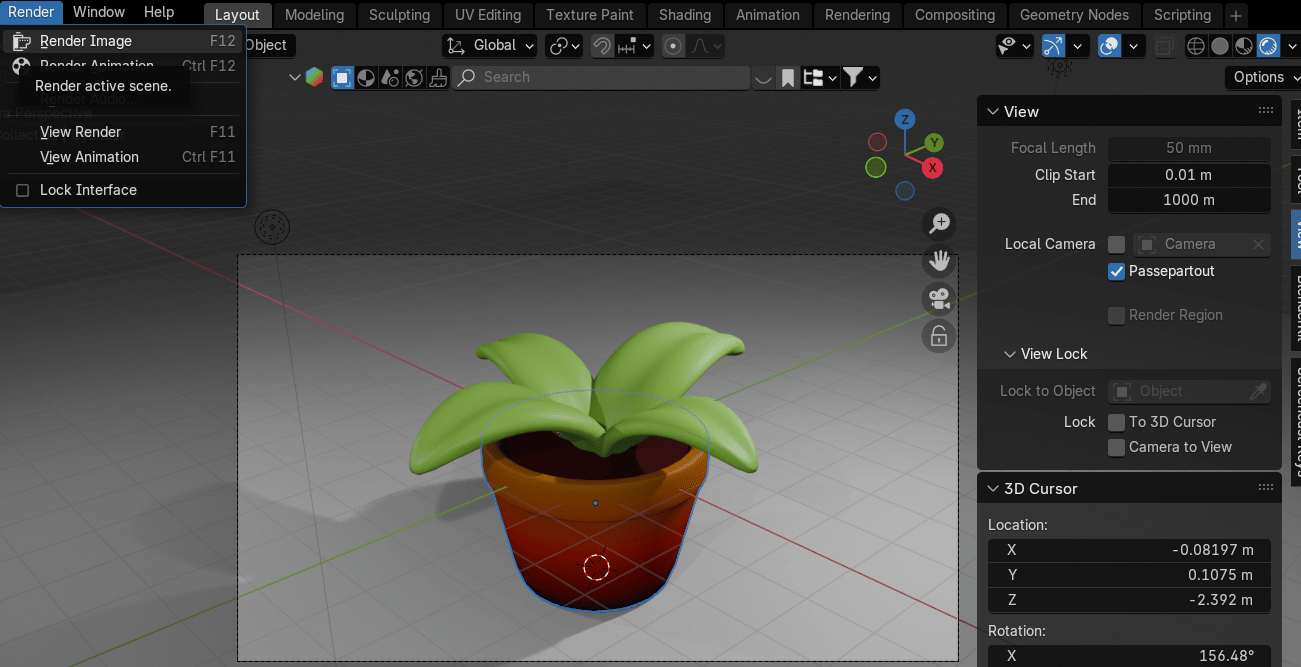
Switch to object mode with “TAB” and click on the camera icon.
Go to view, and turn on the camera to view.
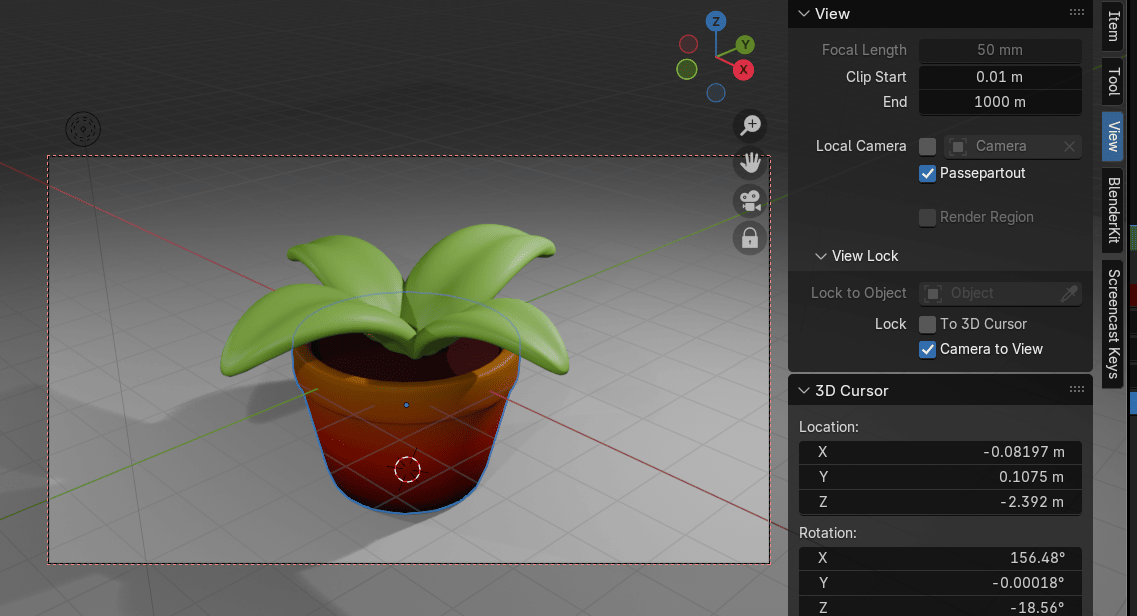
Now you can adjust the view far or near by scrolling up or down the mouse wheel, androtating the view while pressing the mouse wheel and moving the mouse left or right.
If you want to move the whole camera, hold “SHIFT” and press the mouse wheel whilemoving the mouse up or down.
When you are satisfied with the framing, turn off the camera to view, click Render, and renderthe image.
Beginners guide to Blender
That is it for today’s lesson. I hope you learned something new.
Happy Blending everyone!
Byee, see you next time!
Chapter 27- Rigging a cute 3D Mushroomcharacter