Chapter 8: Copying an object to the scene
It is time to learn how to copy an object to the scene.
There are a few methods, but try to remember the one that uses the shortcut.
Copying an object without using the shortcut
- Select the cube with the LMB. 2. Click on it with the RMB and choose “Copy objects” from the menu.
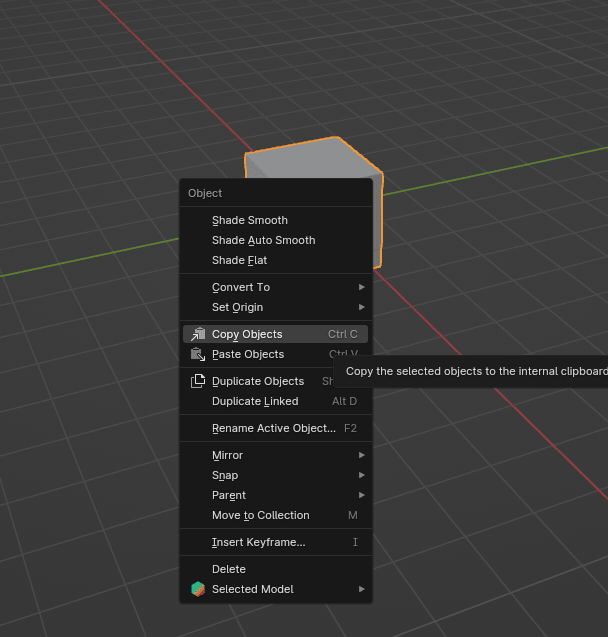
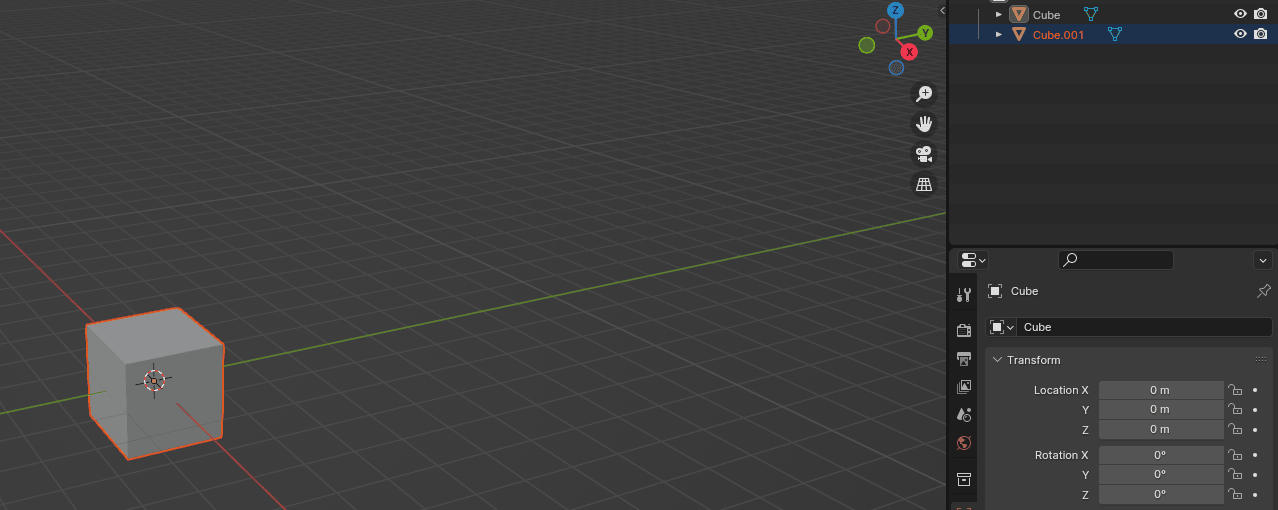
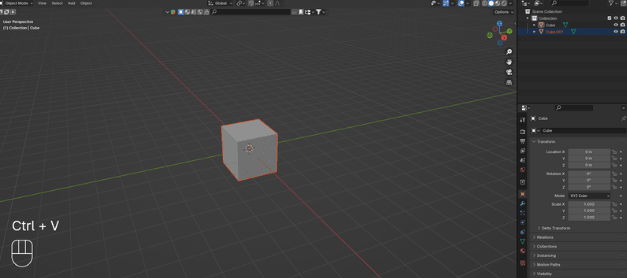
If you click the RMB again and choose “Paste Objects” from the menu, your object (in this case, the cube) will be copied, but it will be in the same place as the original cube.
One way to know that you have copied the object is by noticing that you now have two cubes in your outliner: Cube and Cube.001.
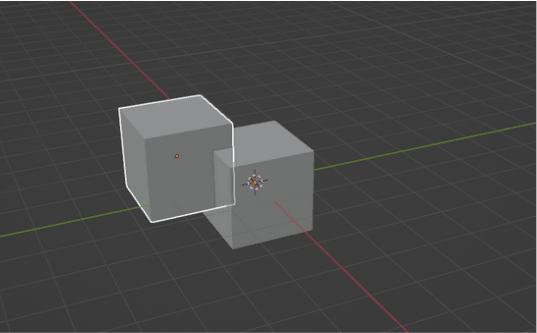
Another way is to select the cube and see that there is another one in the same place.
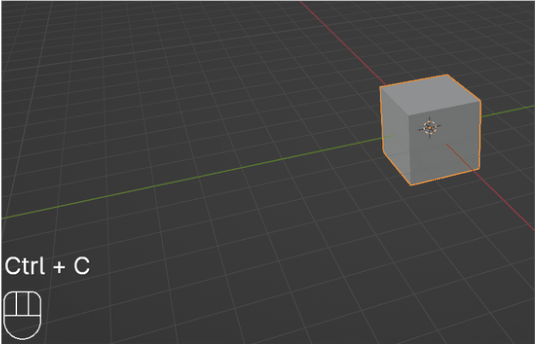
Copying the object by using the shortcut
- Select the cube with the LMB.
- Press “CTRL+C” to copy the object.
- Press “CTRL+V” to paste the object
Now, before I teach you about edit mode, you need to learn about a few things.
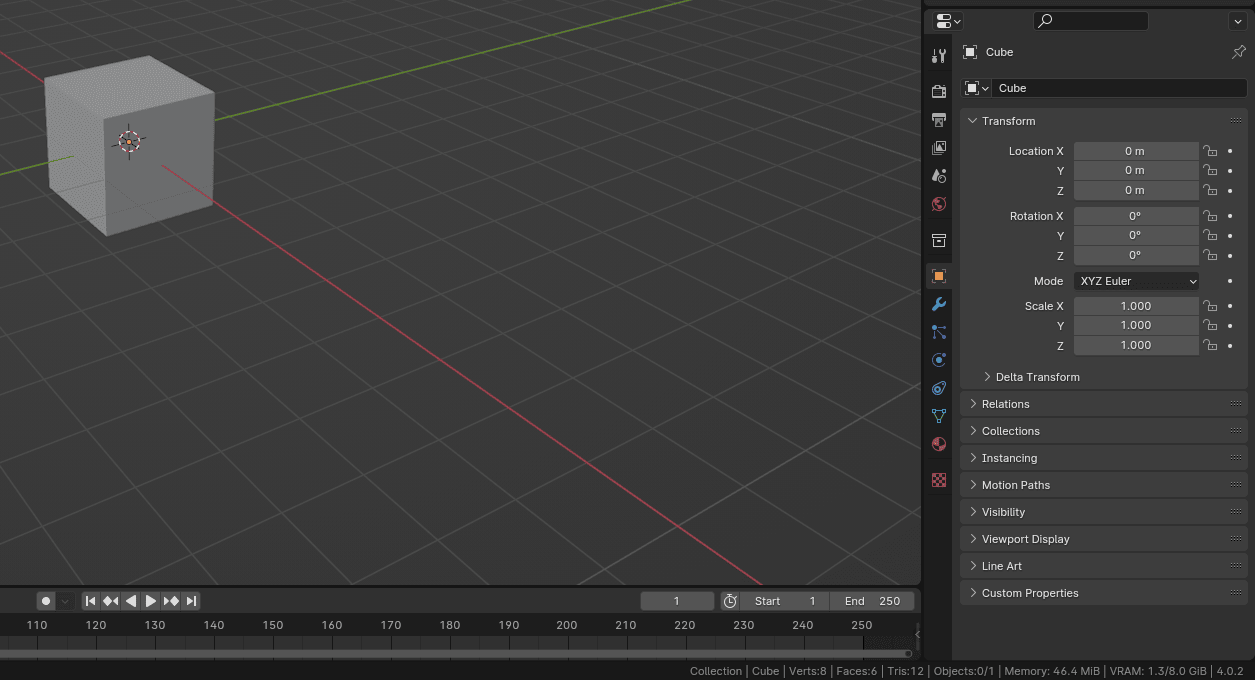
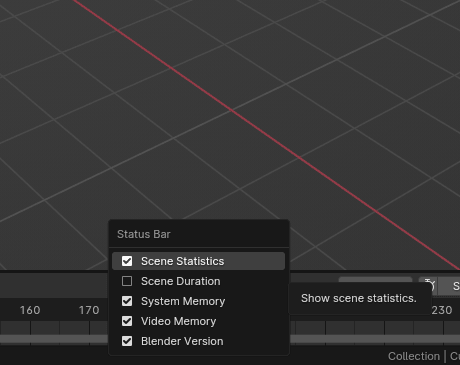
This part in the bottom right contains some important scene statistics.
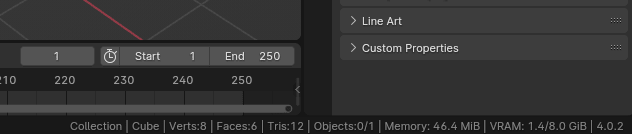
If it is not showing, just click on that black bar (Status bar) with the RMB and choose Scene Statistics.
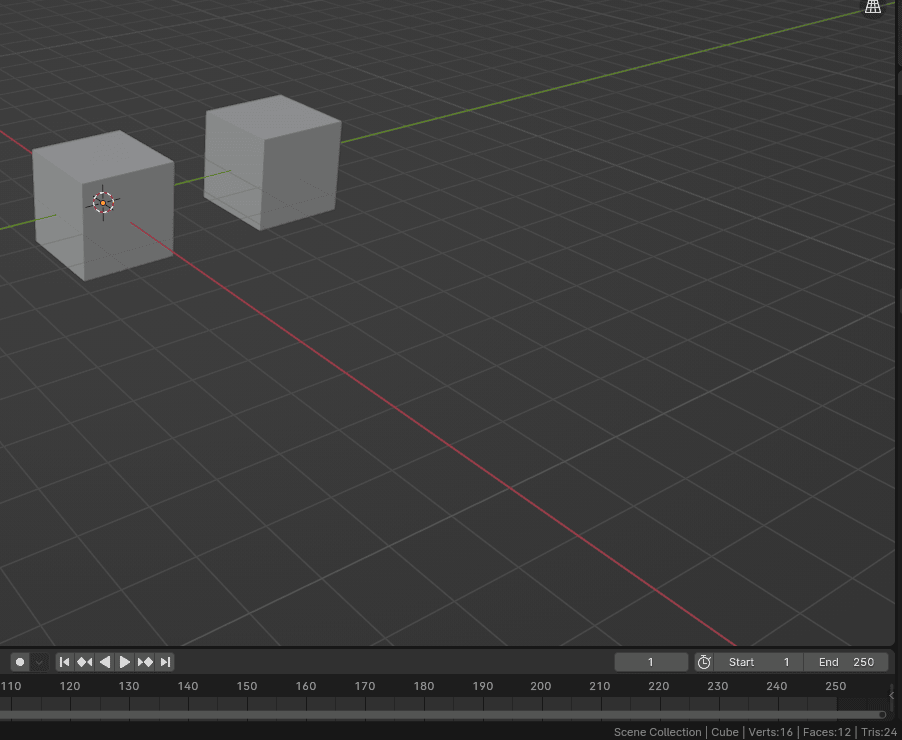
First, you will see the name of your selected collection - Collection, the name of your selected object - Cube, the number of Vertices of that object - 8, the number of faces of that object - 6, and the number of objects in the collection. After that, other important information includes memory and VRAM, but we will talk more about that when we start modeling and rendering.
The last number is the version of Blender that you are currently using - for me, it is currently 4.0.2.
When you are copying the objects, the number of vertices, tris, and faces increases as it should.
But is there a way to have, for example, a thousand cubes in the scene and still have the number of vertices, faces, and tris be the same as if we have only one cube in the scene?
Yes, there is. You will learn about that cool trick in one of the next chapters.