Chapter 26a: Modeling, and texturing a Bucket
Beginners guide to Blender
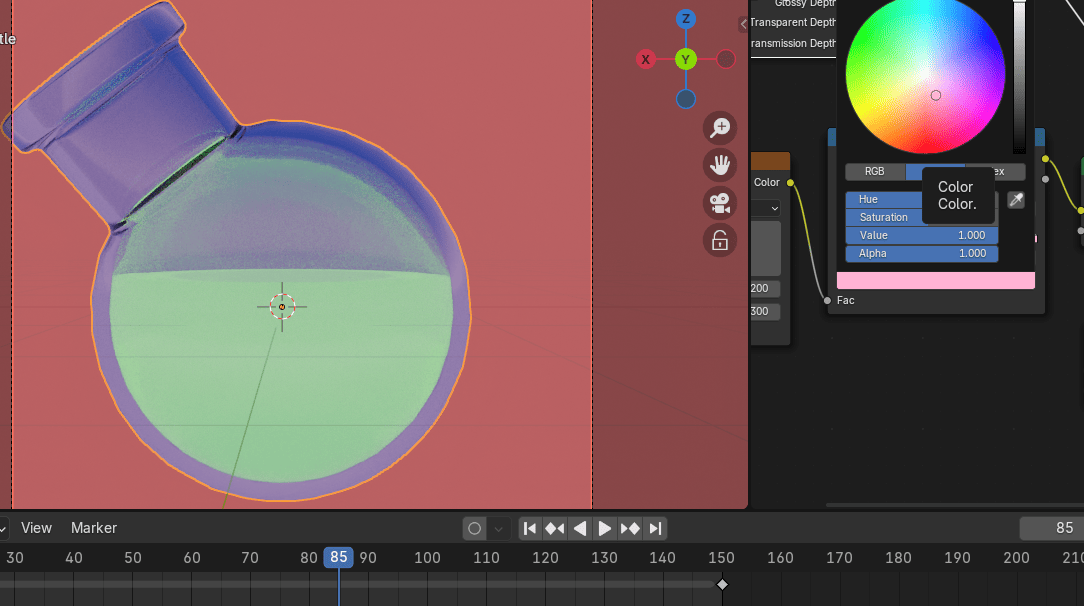
That is it! Now you know how to model, texture and animate magic potion in Blender.
I hope you enjoyed in this tutorial. I will try to add one more chapter before the end of thisyear, but I can’t promise anything!
If I don’t add anything, wish you all to have wonderful holidays and to have wonderful 2025.year :)
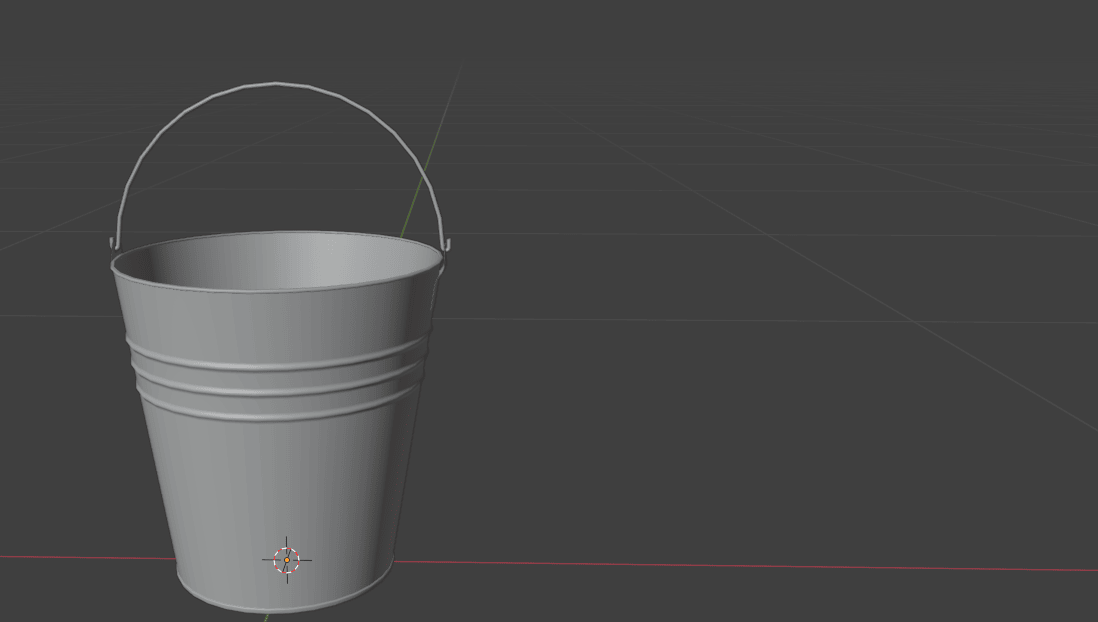
See you in 2025. for sure 😀Chapter 26 - Modeling, and texturing aBucket(Blender Version 4.2.1)
This time you will learn how to model and texture a bucket.
(You can check out video tutorial on my YouTube channel:
Let’s begin!
Select all with “A” and delete with “X.”
Beginners guide to Blender
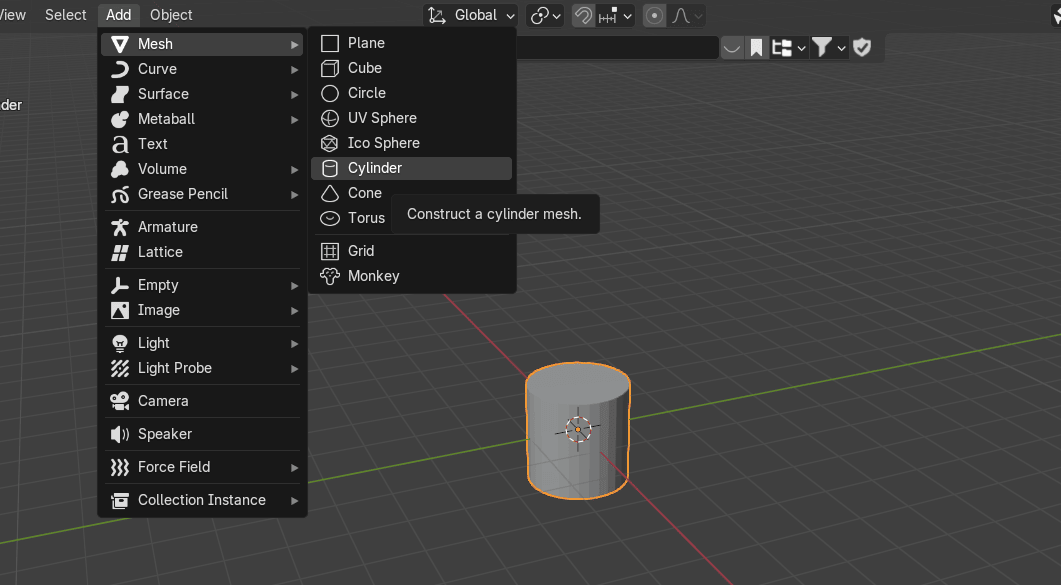
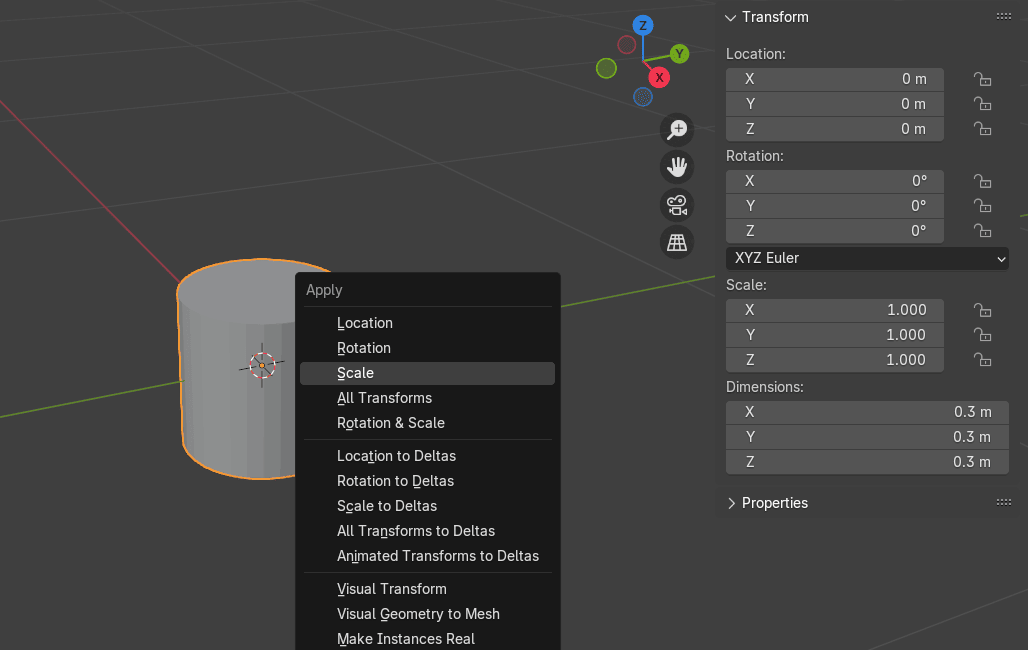
Add Mesh → Cylinder
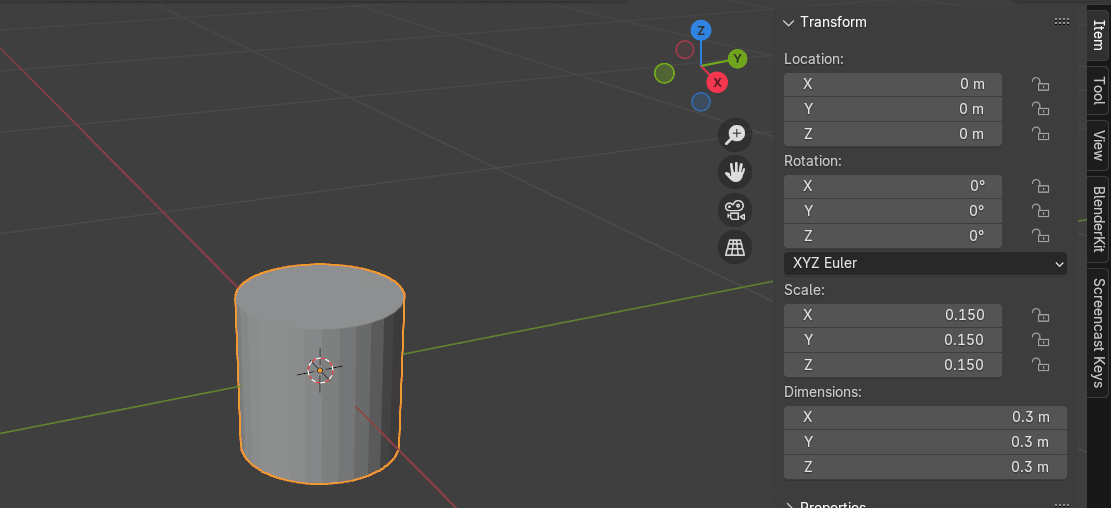
Press “N” to open side bar menu on the right, choose “Item” and change dimensions.
I changed x,y and z to 0.3 m. You can change them if you don’t like it that way.
Beginners guide to Blender
CTRL+A to apply scale.
Switch to edit mode with “TAB”.
Beginners guide to Blender
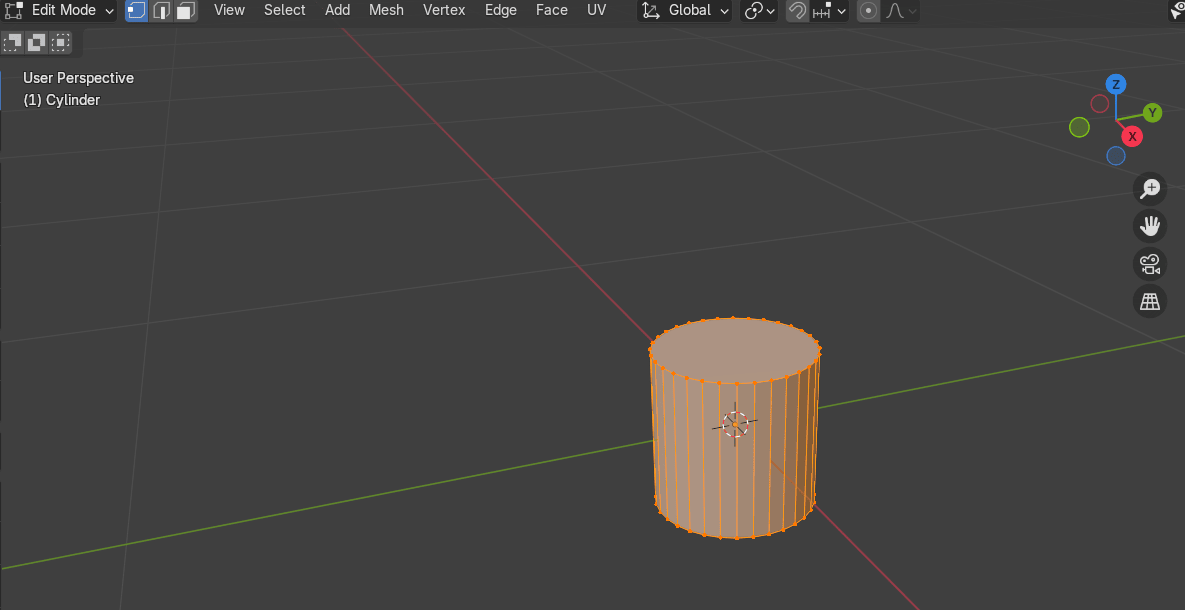
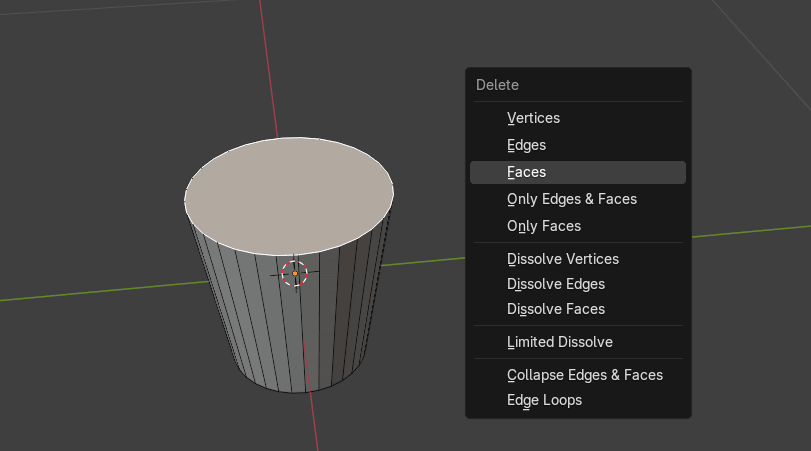
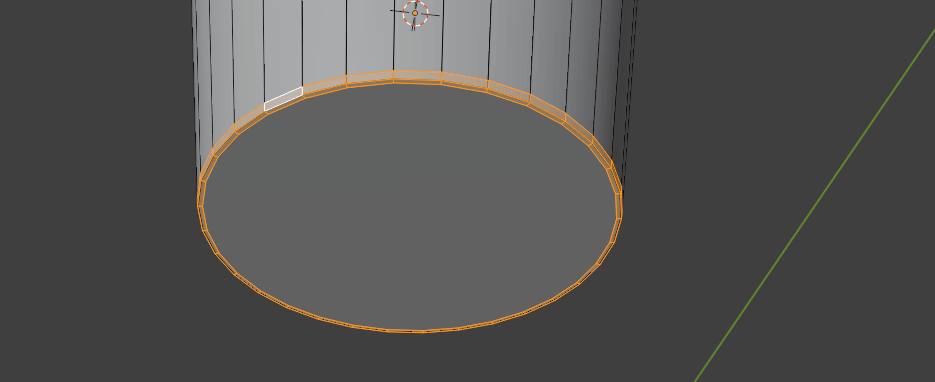
Switch to selecting faces with 3 and select this bottom face.
Scale it with “S”.
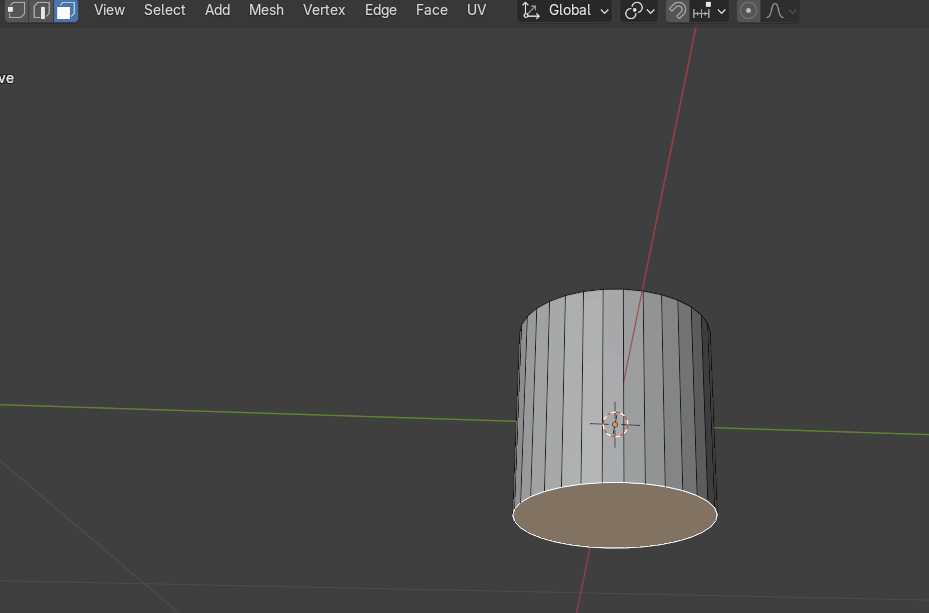
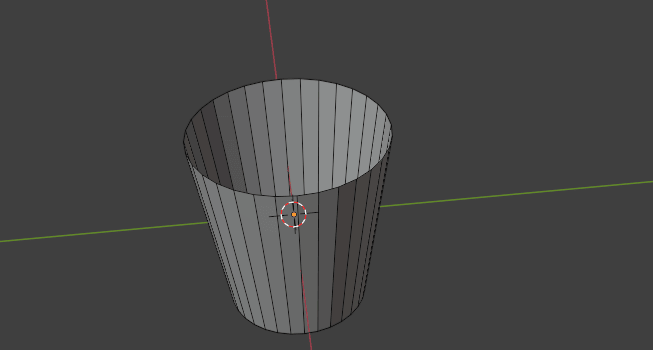
Select the top face and delete face with “X”.
Beginners guide to Blender
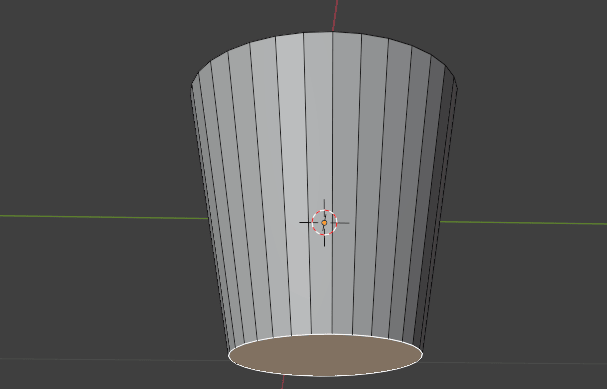
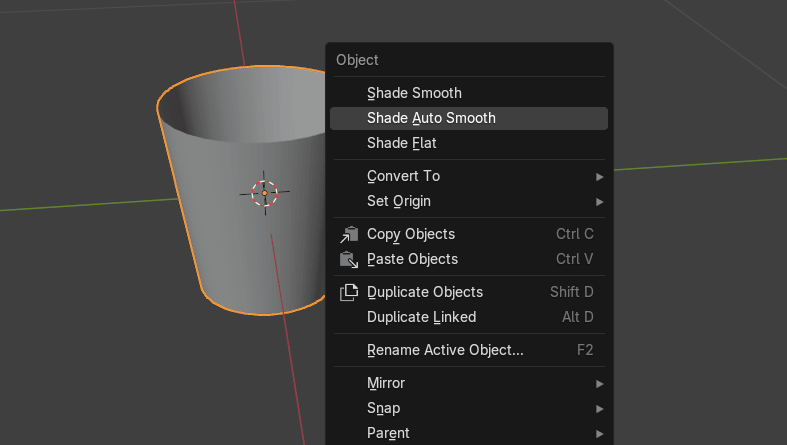
Switch to edit mode with “TAB”.
RMB click and choose Shade Auto Smooth.
Beginners guide to Blender
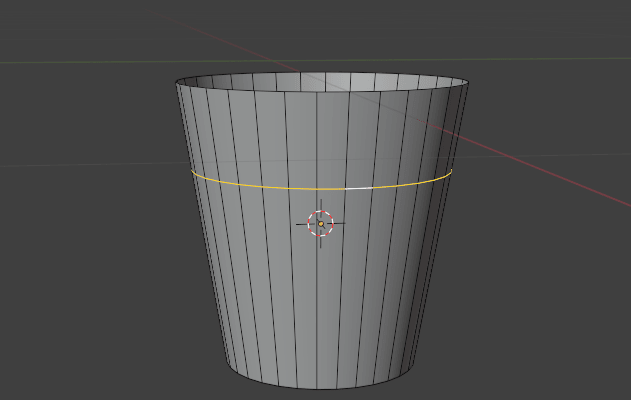
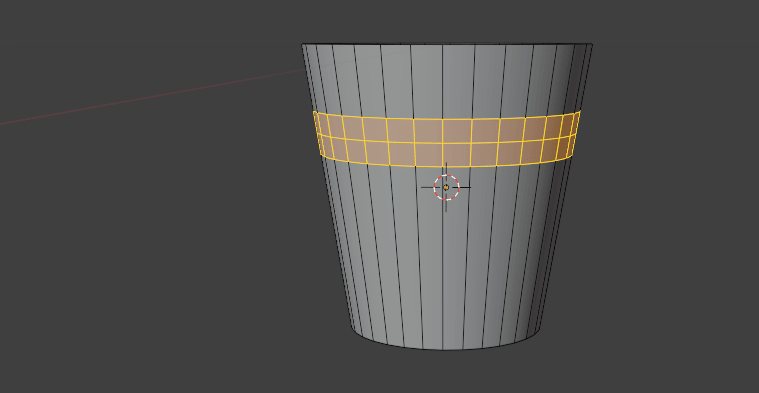
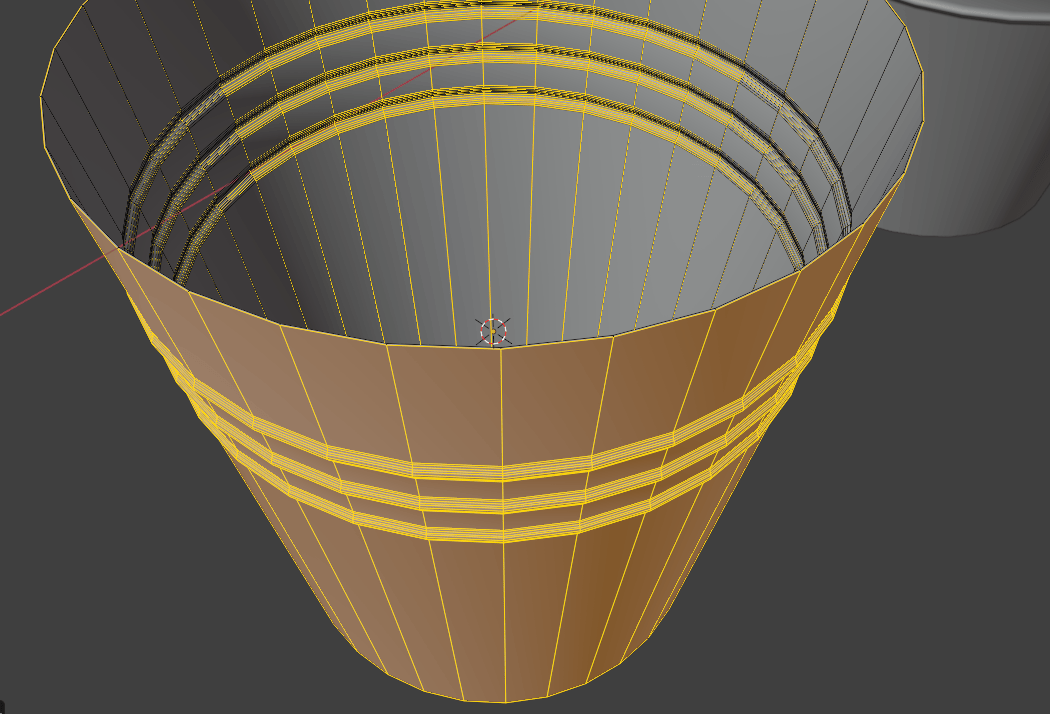
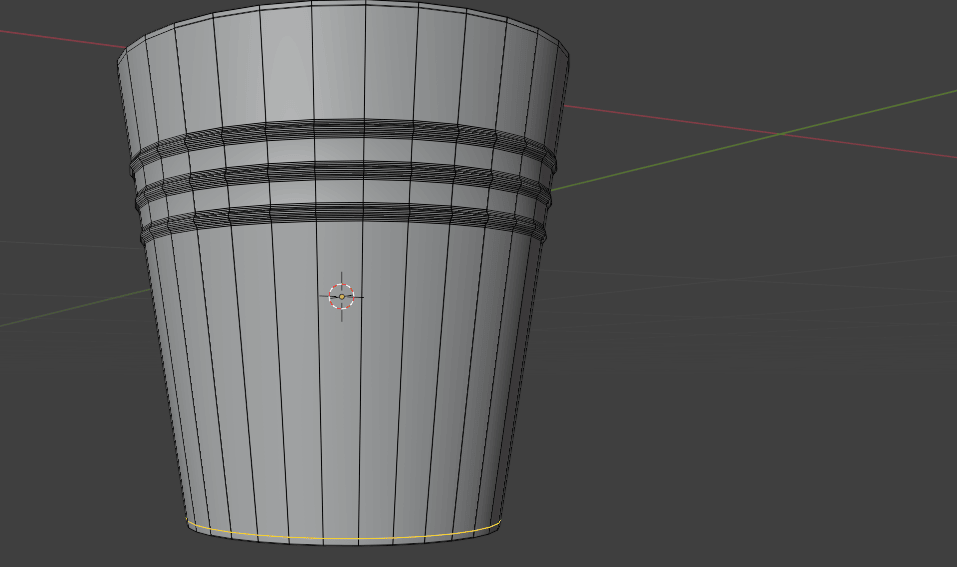
Switch back to edit mode with “TAB” and add a loop with “CTRL+R”. Move it a bit up.
Press “CTRL+B” and scroll mouse wheel once to add one more segment. Move the mouseuntil you are satisfied with the look of it.
Beginners guide to Blender
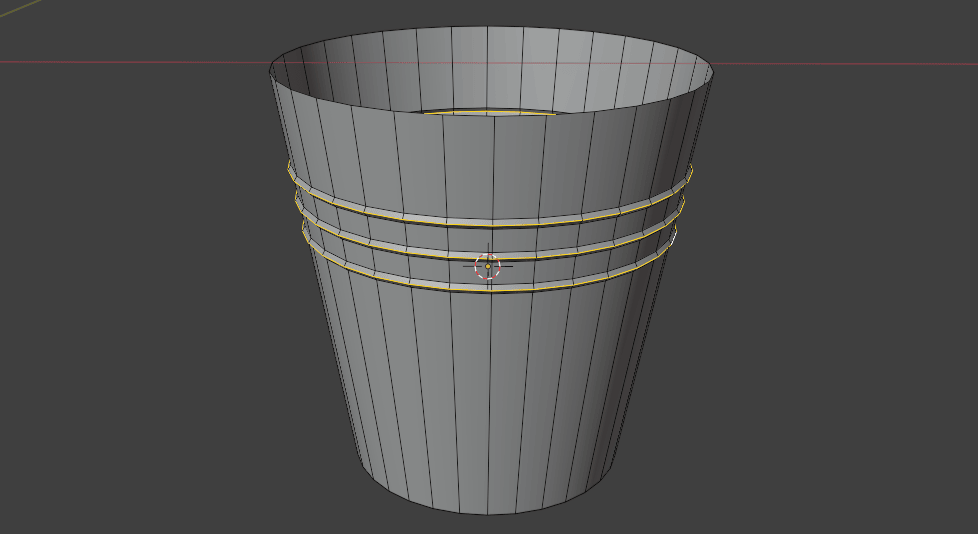
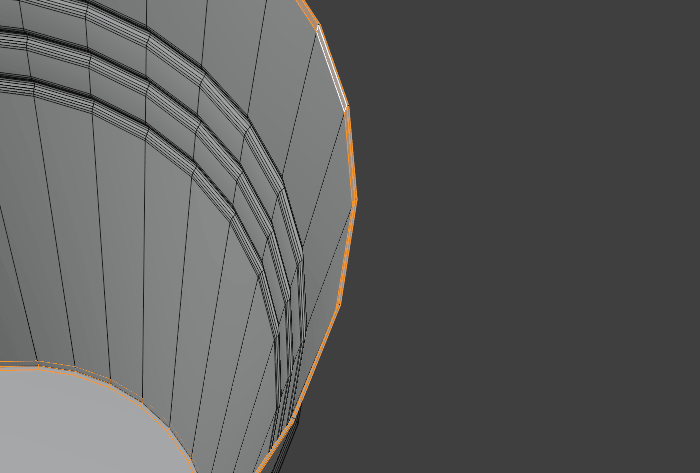
Select all three loops
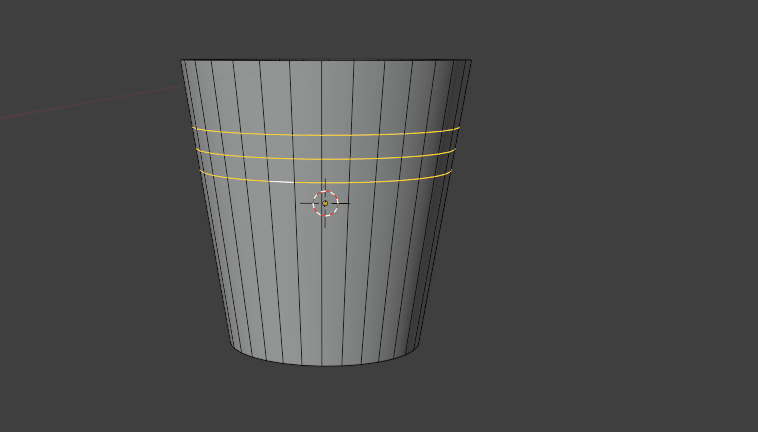
and bevel them.
Beginners guide to Blender
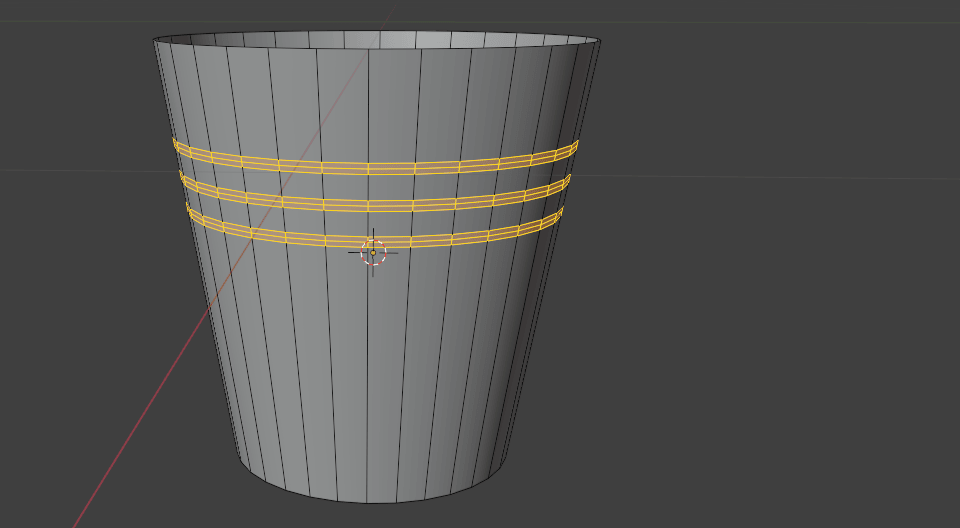
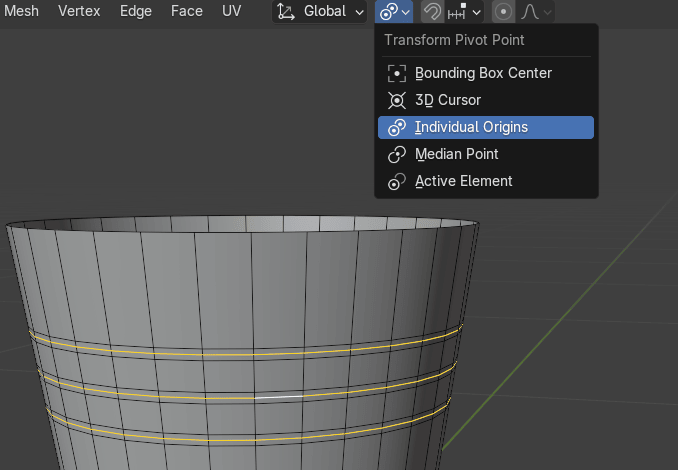
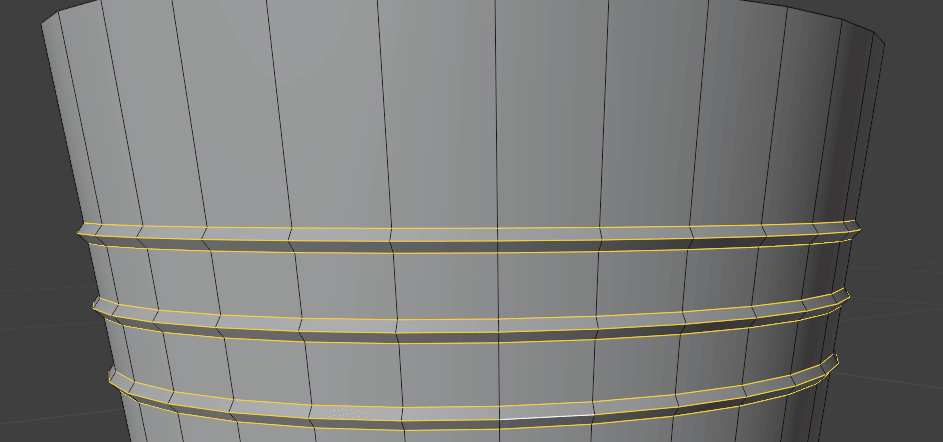
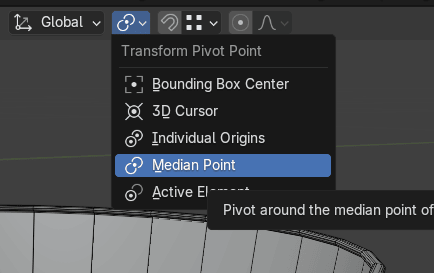
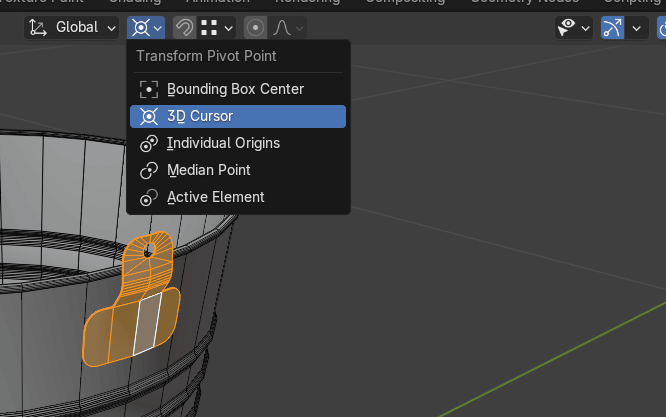
Now select all those middle loops

Switch from Median Point to the individual origins so that the loops don’t move away fromeach other along the Z-axis while you are scaling them.
Beginners guide to Blender
Now you can scale them to the outside with “S.”
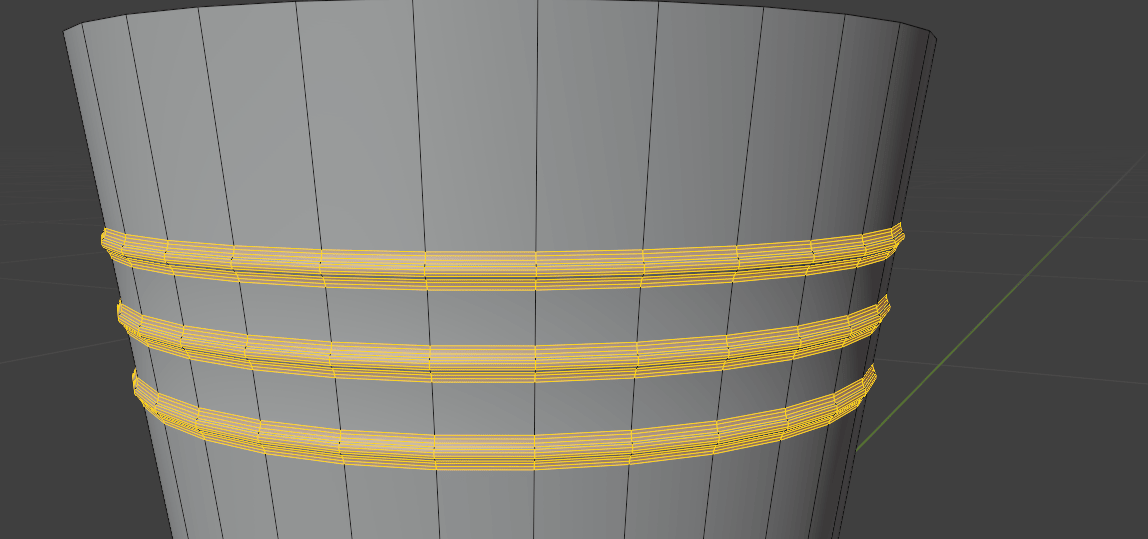
Now select all the loops,
Beginners guide to Blender
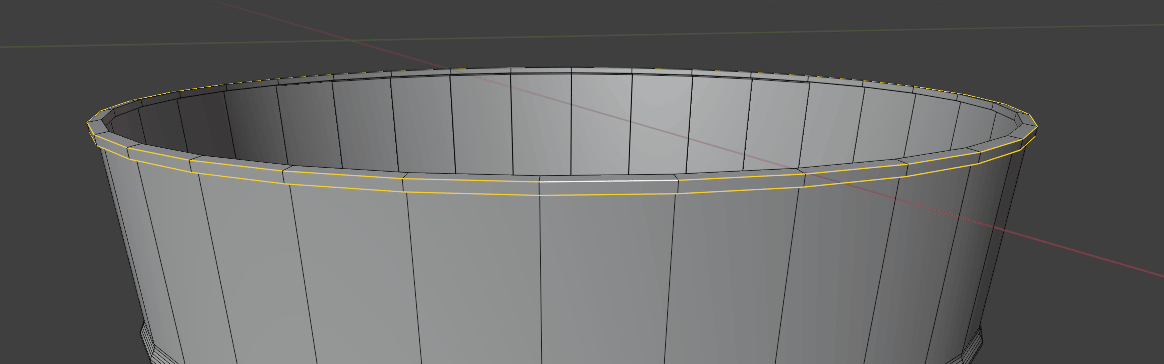
press “CTRL+B” add one more segment with a mouse wheel and bevel them as you wish.
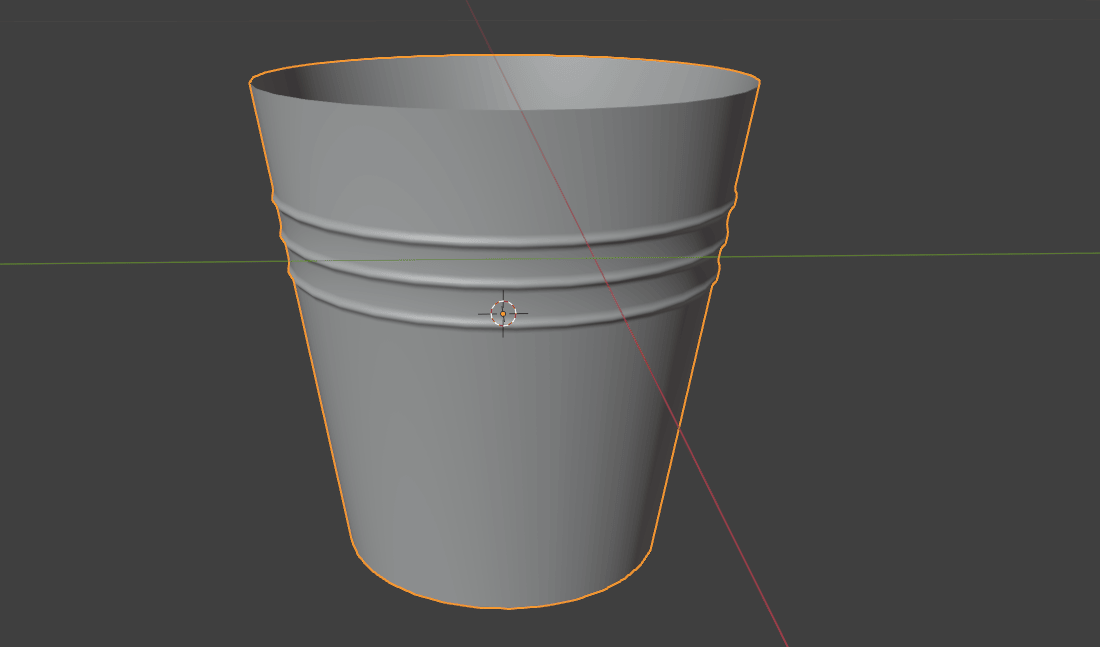
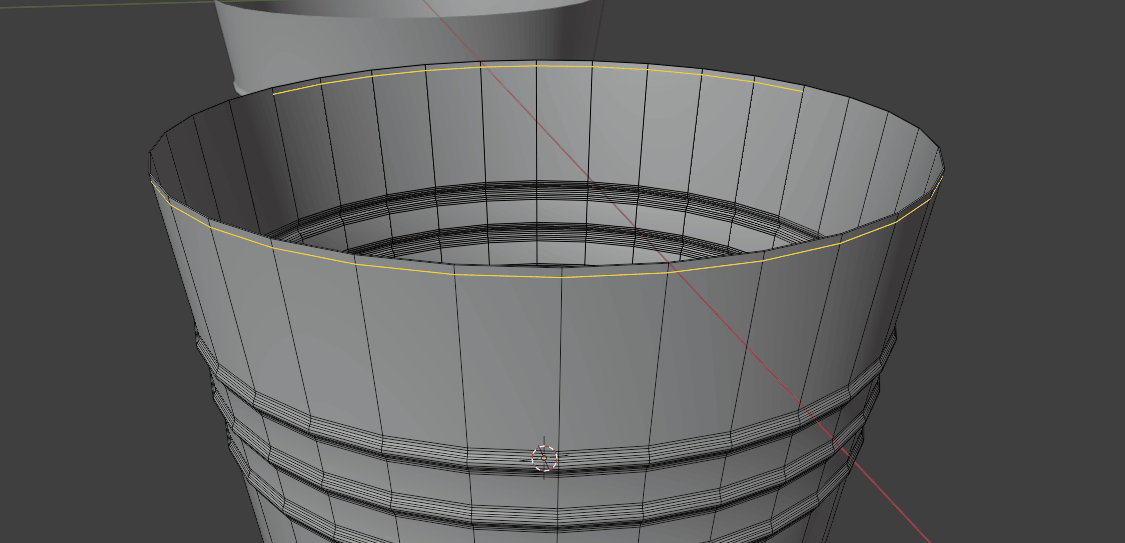
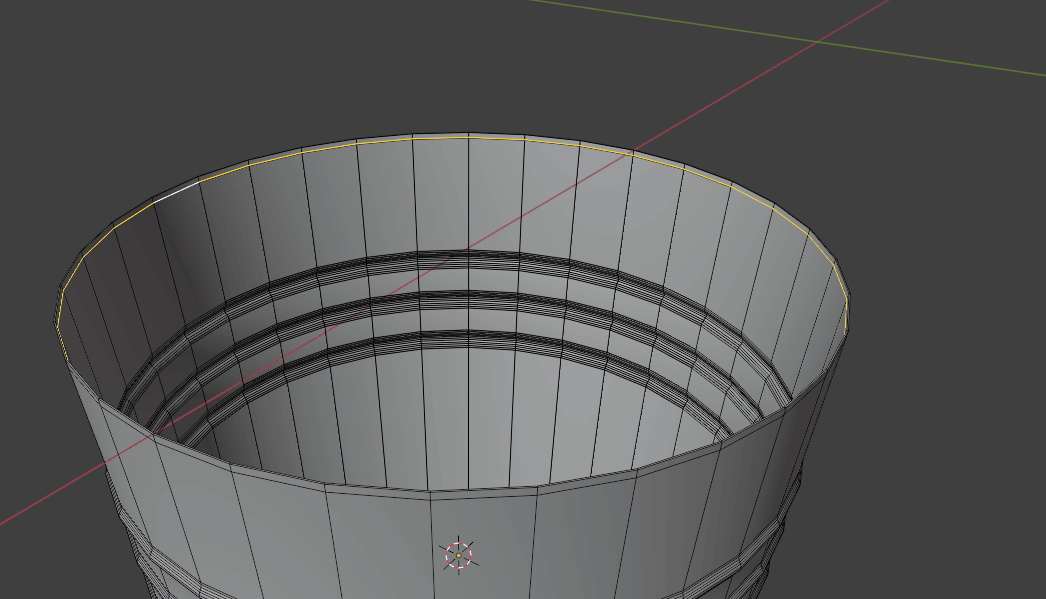
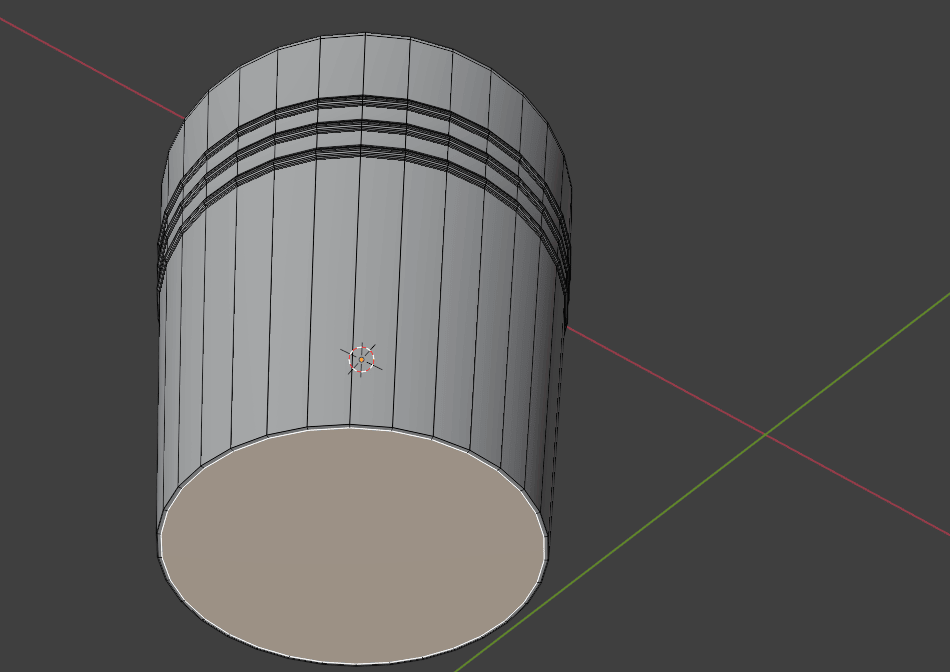
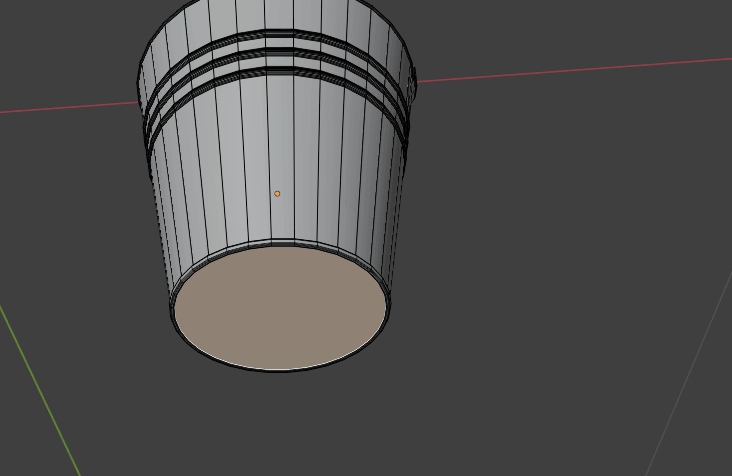
Switch to object mode so you can see how your bucket looks now.
Beginners guide to Blender
Switch back to edit mode.
Select all with “A”.

Press “ALT+E” and select extrude faces along normals a bit to the outside.
Beginners guide to Blender

Press “CTRL+R” to add one loop and move it up a bit.
Beginners guide to Blender
And do the same from the inside
Switch to selecting faces with 3, select the bottom face, click I to inset a new face.
Beginners guide to Blender
Add a new loop with “CTRL+R” and move it down a bit.
Switch to selecting faces with 3. And select those faces.
Beginners guide to Blender
Continue selecting top faces as shown

Caution! Don’t select upper middle face. It seems like it is selected but it is not.
Beginners guide to Blender
And extrude along normals to the outside all faces that you previously selected.
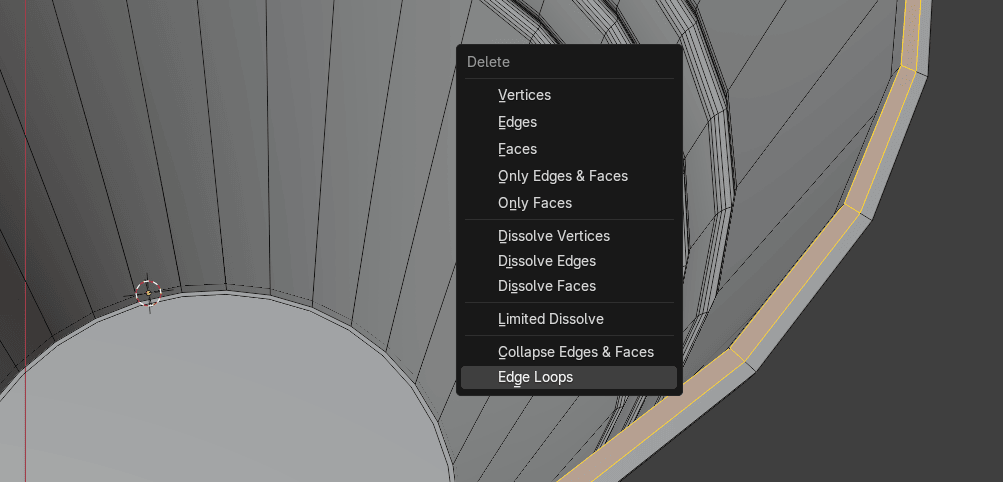
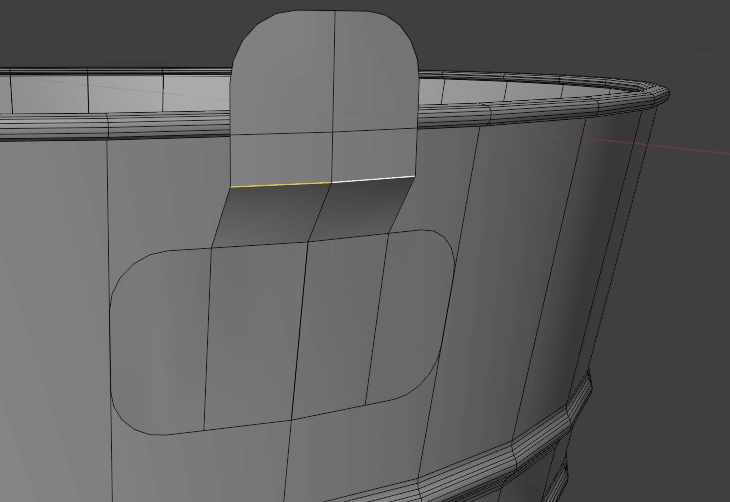
Now select this loop
Beginners guide to Blender
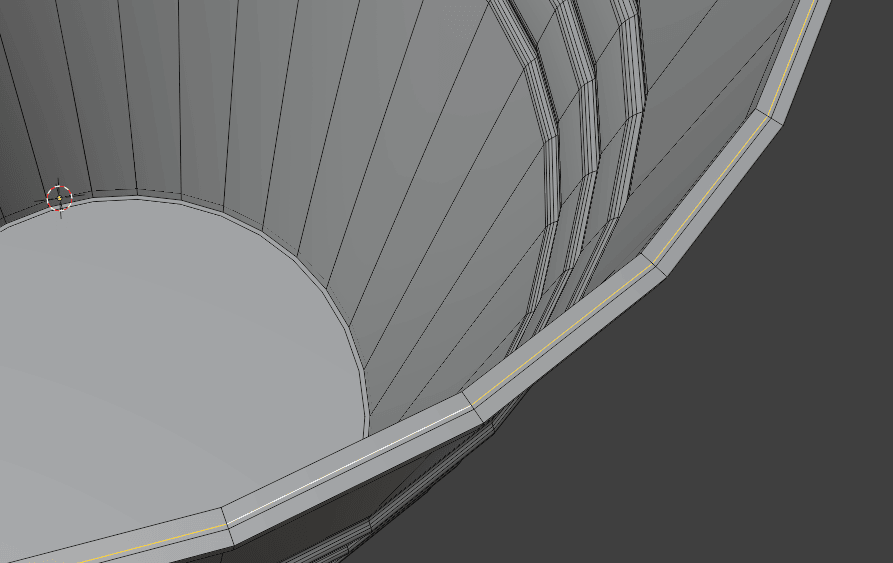
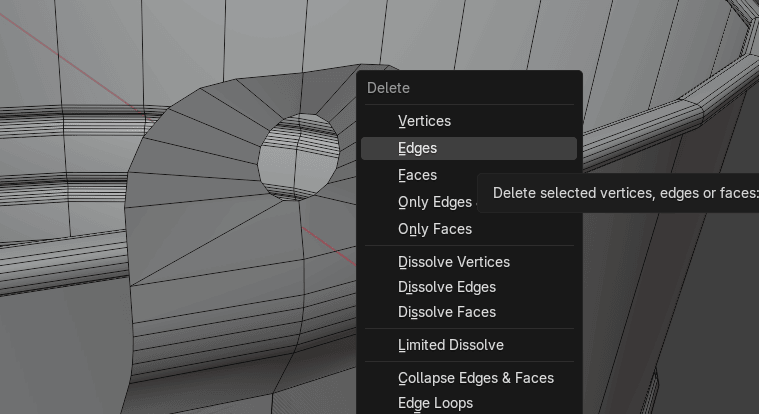
and press “X” edge loops.
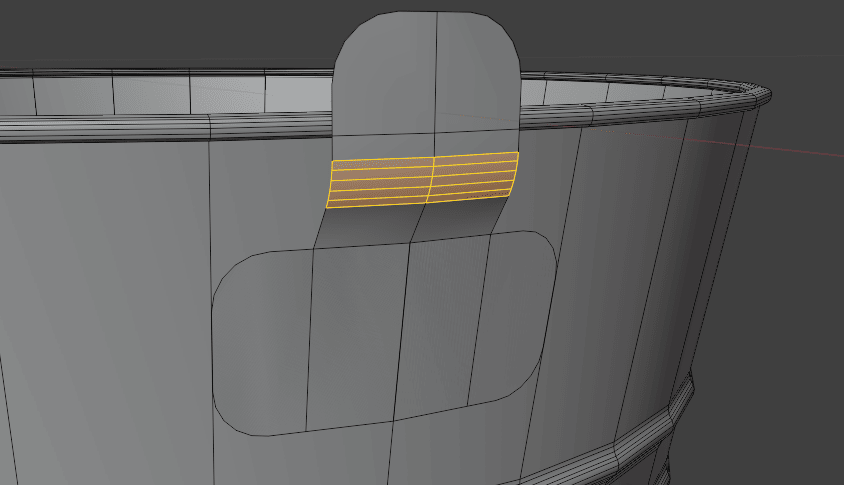
Beginners guide to Blender
Do the same with the middle loop as well.
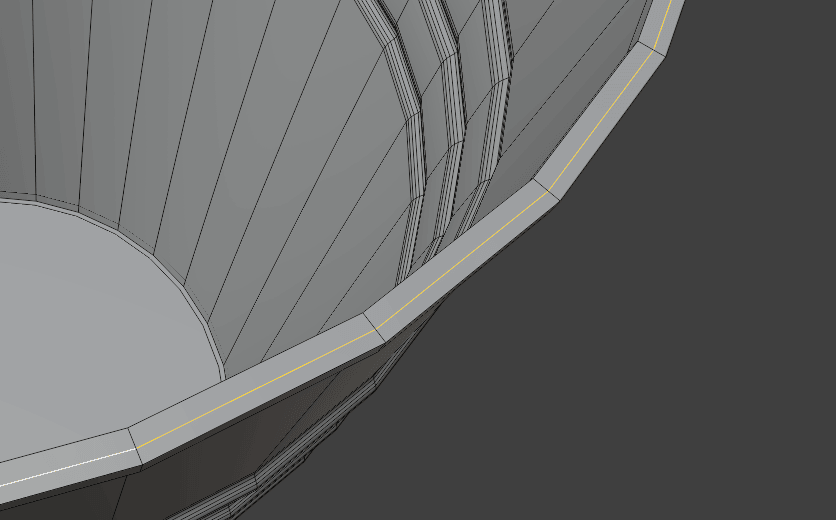
You are doing this to get rid of extra loops (geometry) that you don’t need.
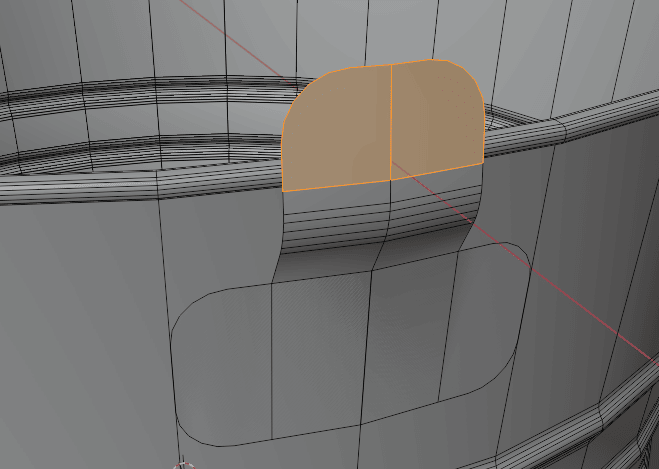
Beginners guide to Blender
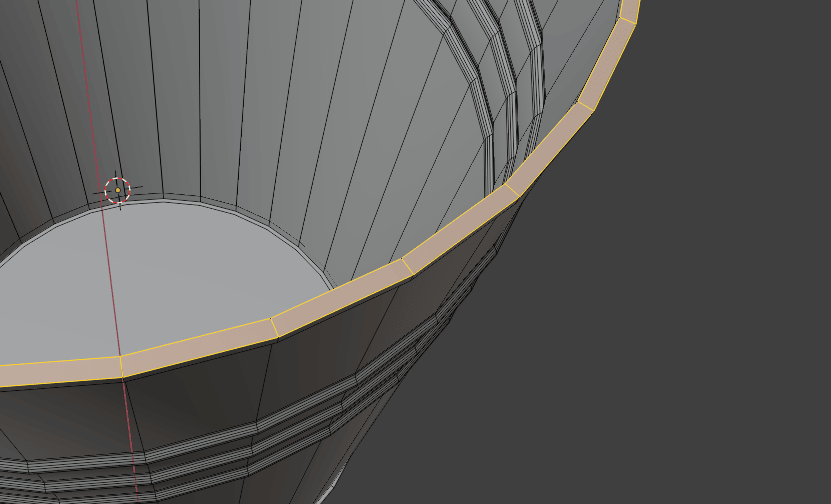
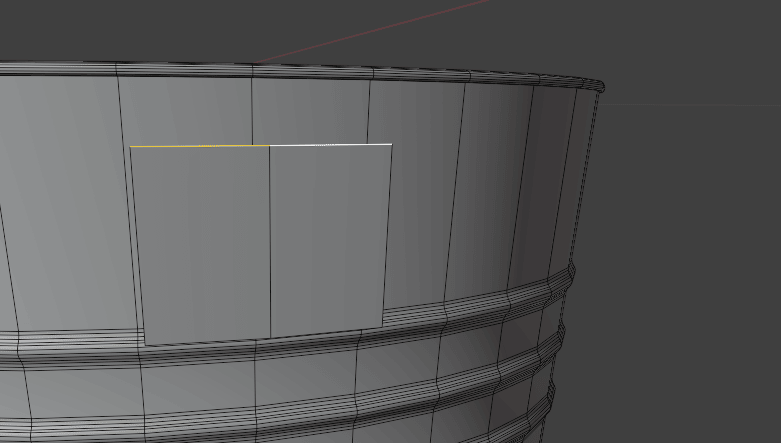
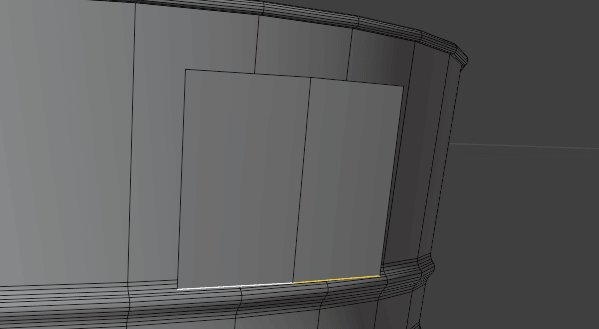
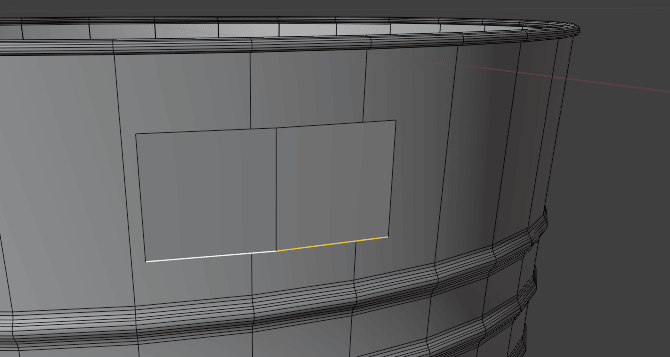
Select this bottom loop
this
Beginners guide to Blender
this
those on the top
and those
Beginners guide to Blender
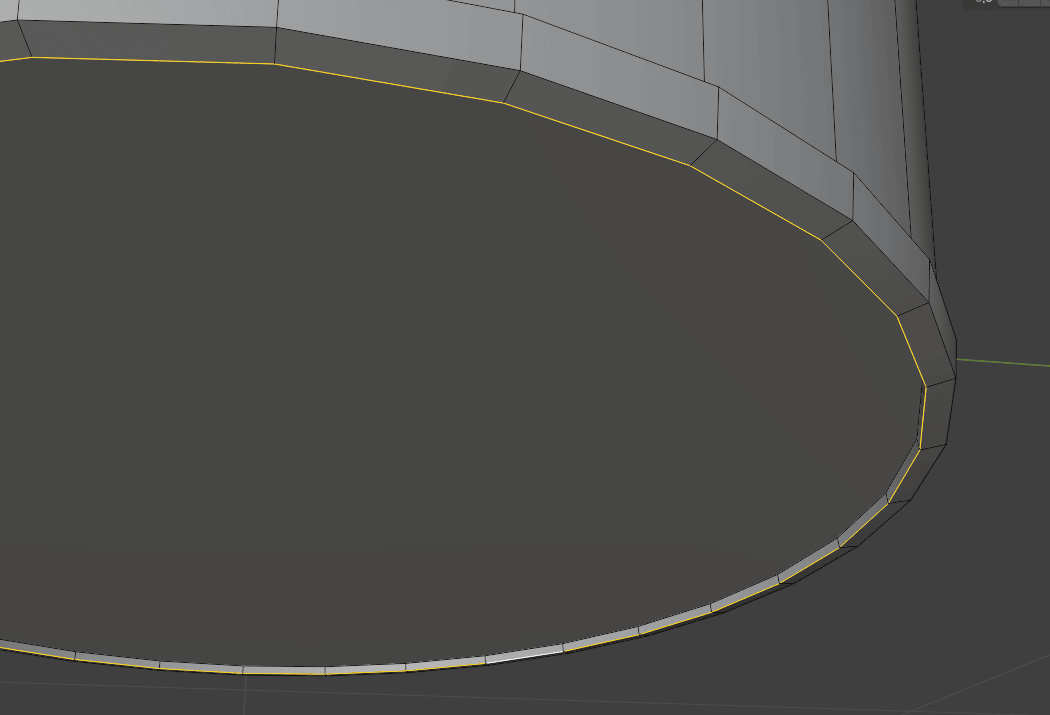
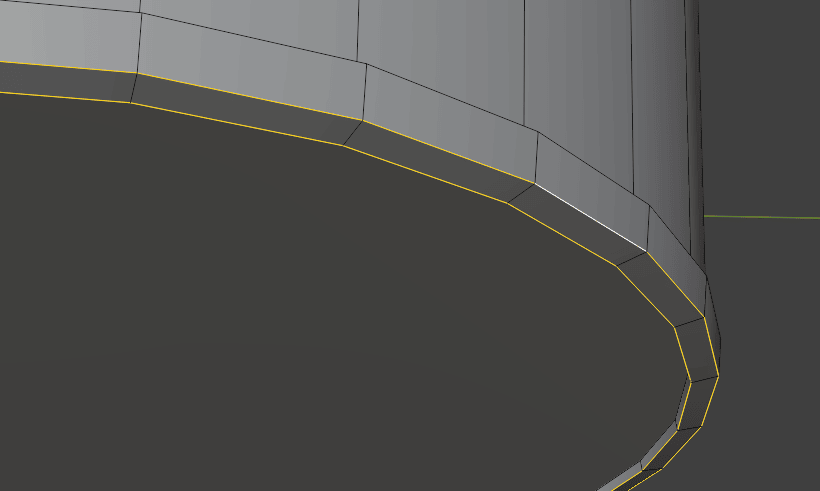
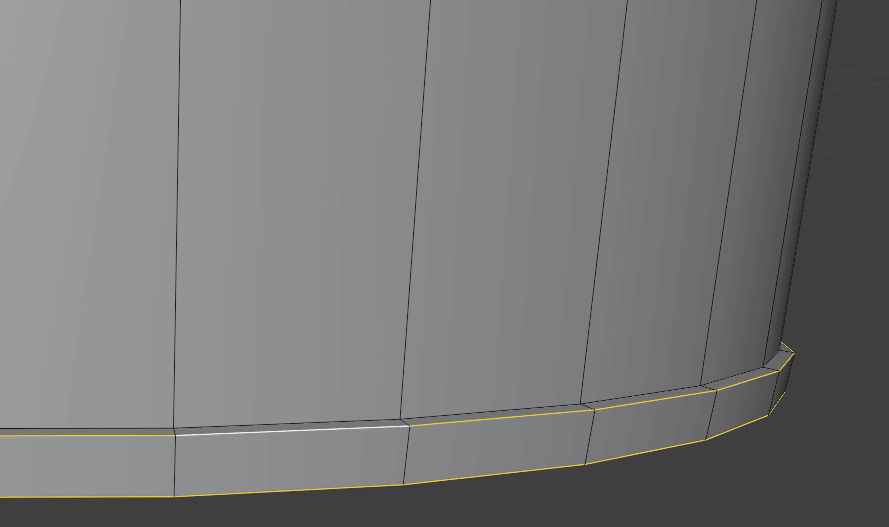
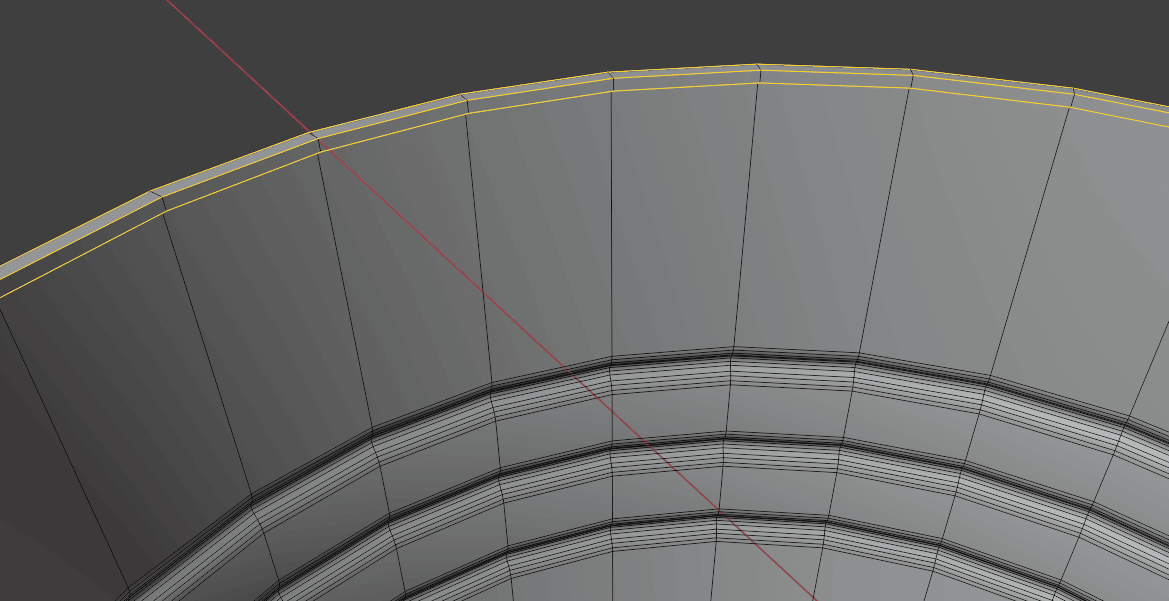
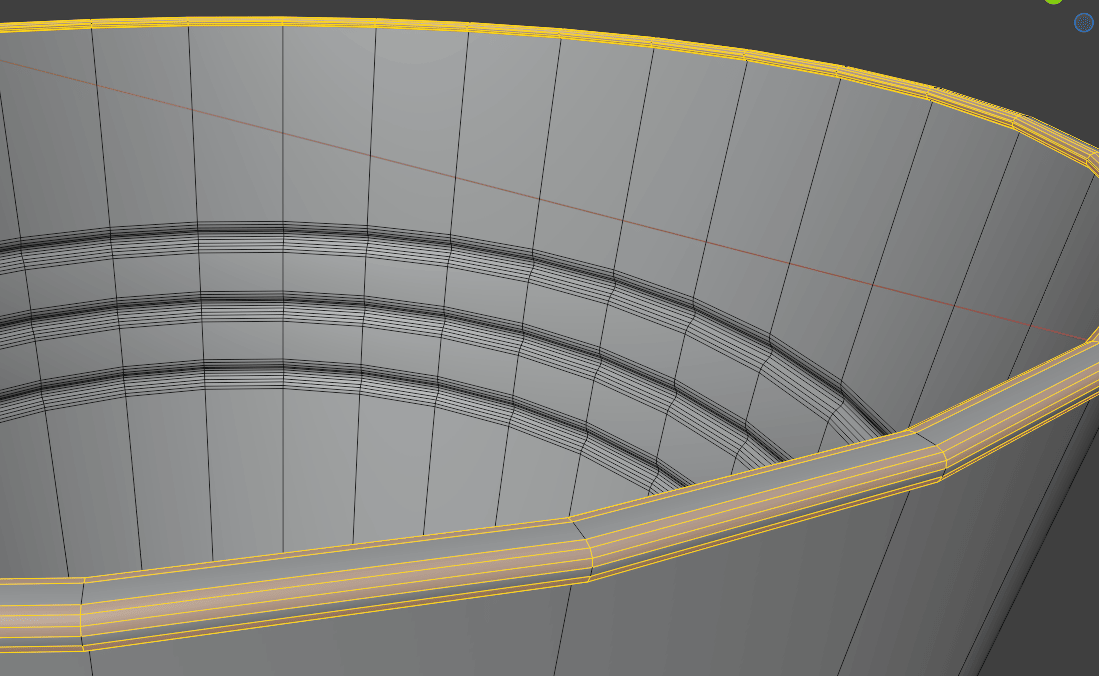
and bevel all with “CTRL+B”
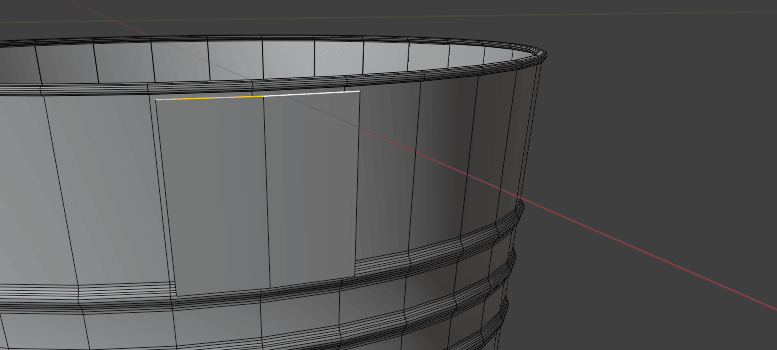
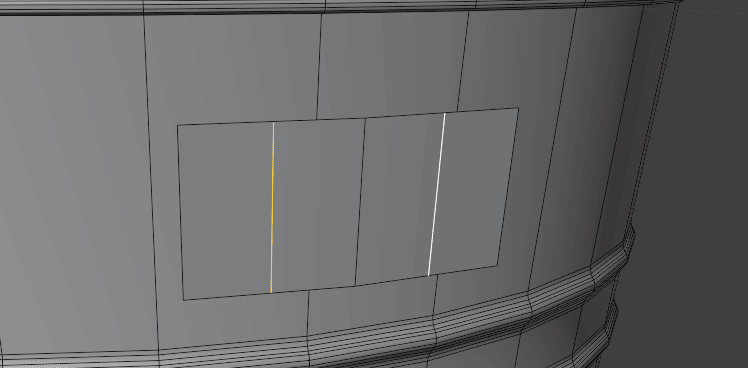
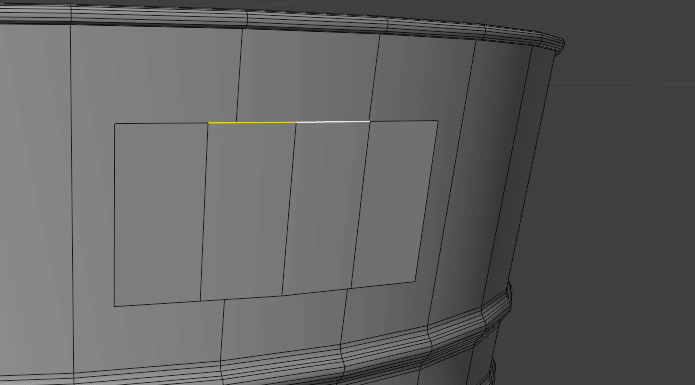
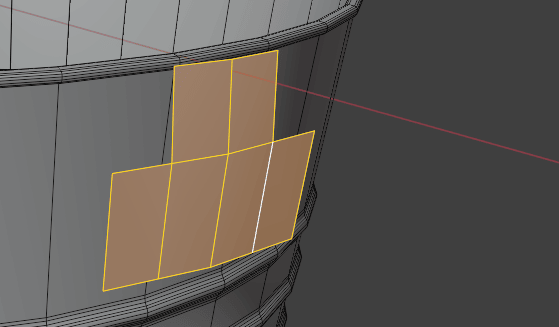
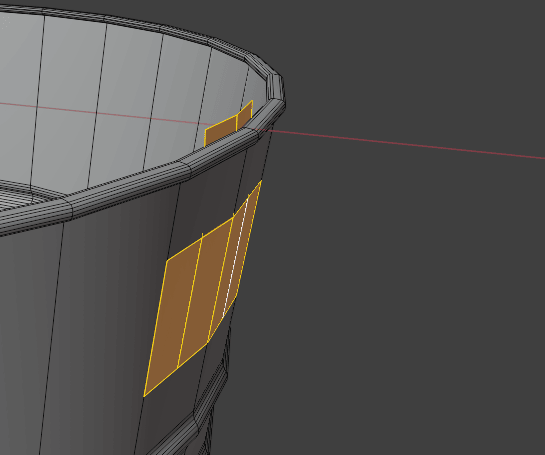
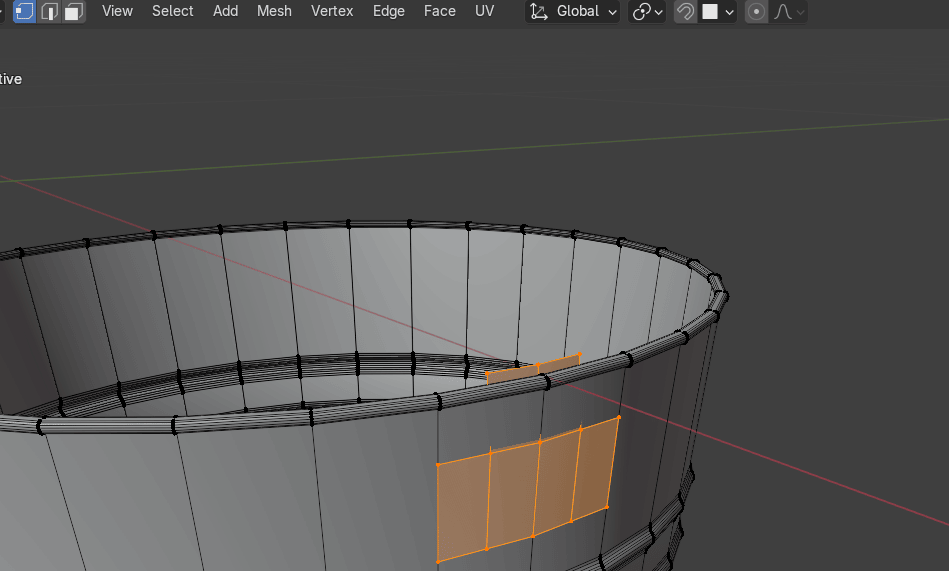
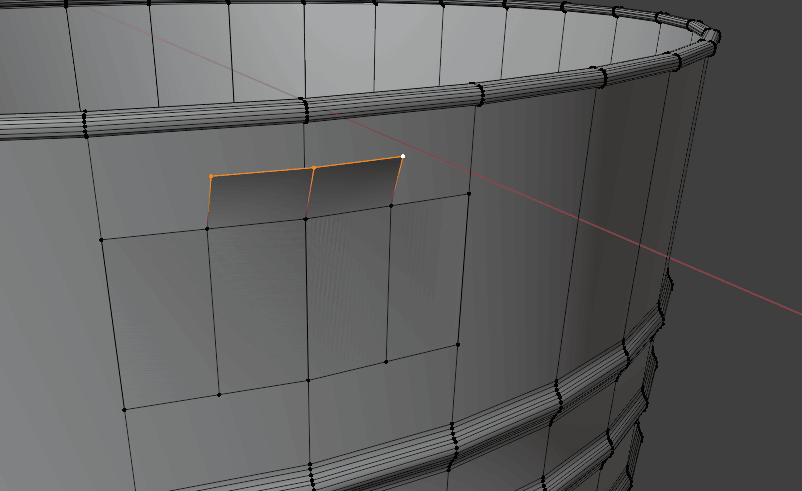
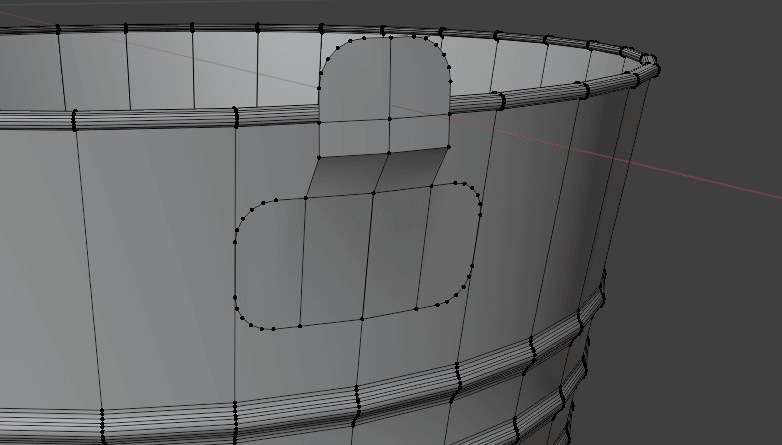
Switch to selecting faces, and select two faces that are in the middle of x-axis.
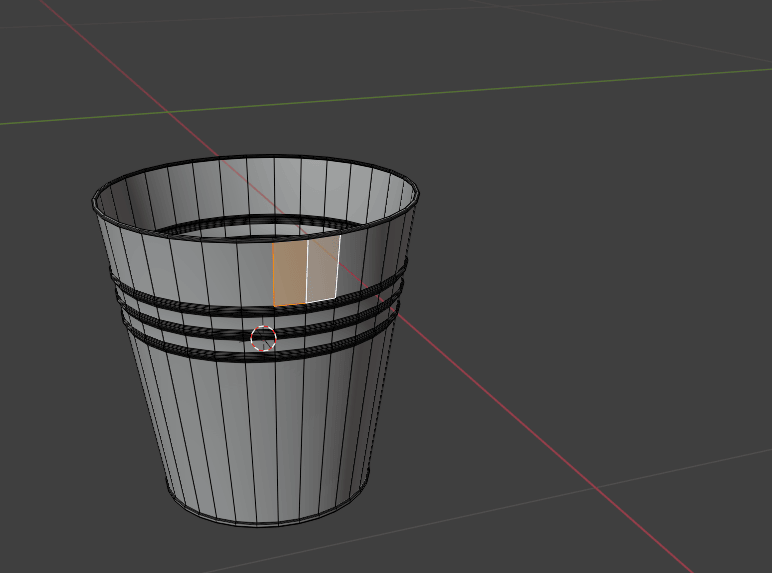
Copy them with “SHIFT+D” and move it with “G+X” along the axis.
Beginners guide to Blender
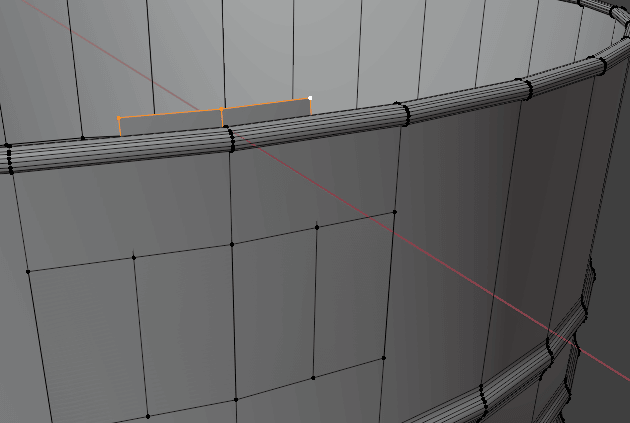
Switch to selecting edges with 2.
Select these edges
Press G two times
and move them (slide them) down a bit.
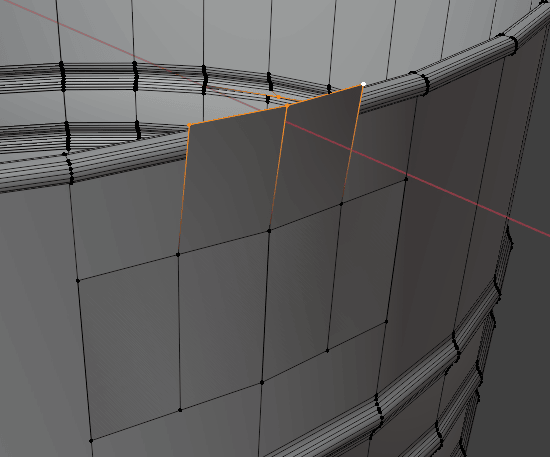
Now select the bottom edges and do the same.
Beginners guide to Blender
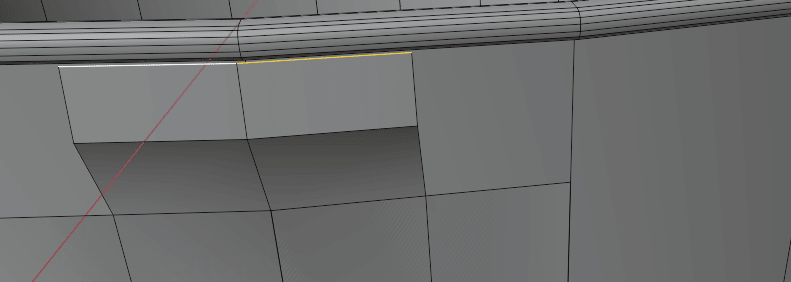
Add one loop on each face
Select those edges
Beginners guide to Blender
and extrude them along the z-axis with “E+Z”

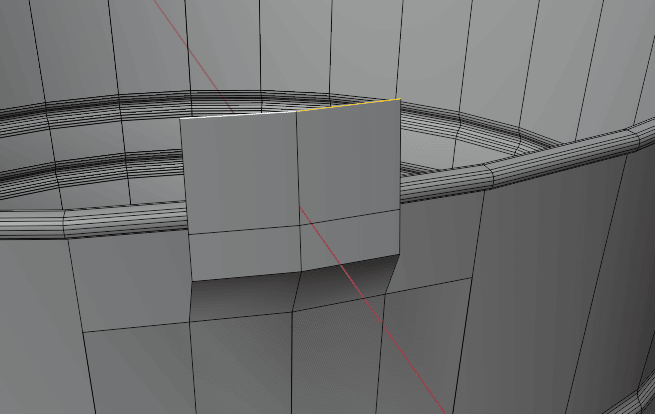
Press “L” to select linked
Switch to median point if you already didn’t
Beginners guide to Blender
Turn on snapping (magnet icon).

and select face.
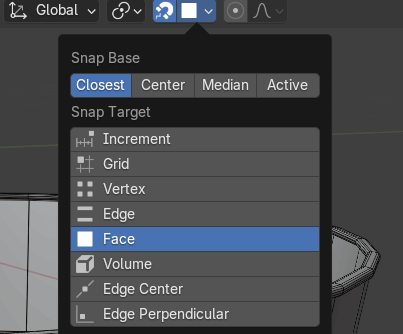
Snap it to the face while holding “G+X”.
Beginners guide to Blender
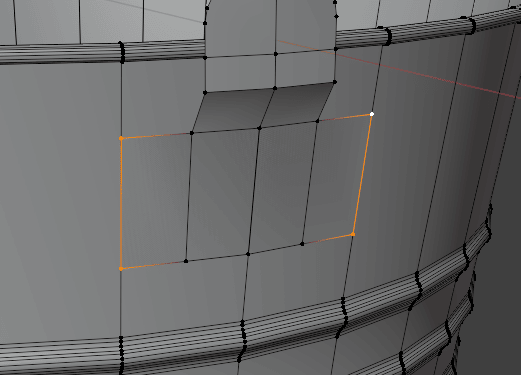
Switch to selecting vertices and turn off snapping.
Select these 3 vertices
Beginners guide to Blender
and move them with “G+X”.
and move them down with “G+Z”.
Beginners guide to Blender
Extrude it with “E+Z” along the axis.

Switch to selecting edges with 2 and select those edges
Beginners guide to Blender
and extrude them with “E+Z”.
Switch to selecting vertices with 1 and select these vertices
Beginners guide to Blender

click “SHIFT+CTRL+B” to bevel vertices.
Add two more segments (now you will have 5) and bevel them.

Now select these vertices
Beginners guide to Blender
and bevel them
Beginners guide to Blender
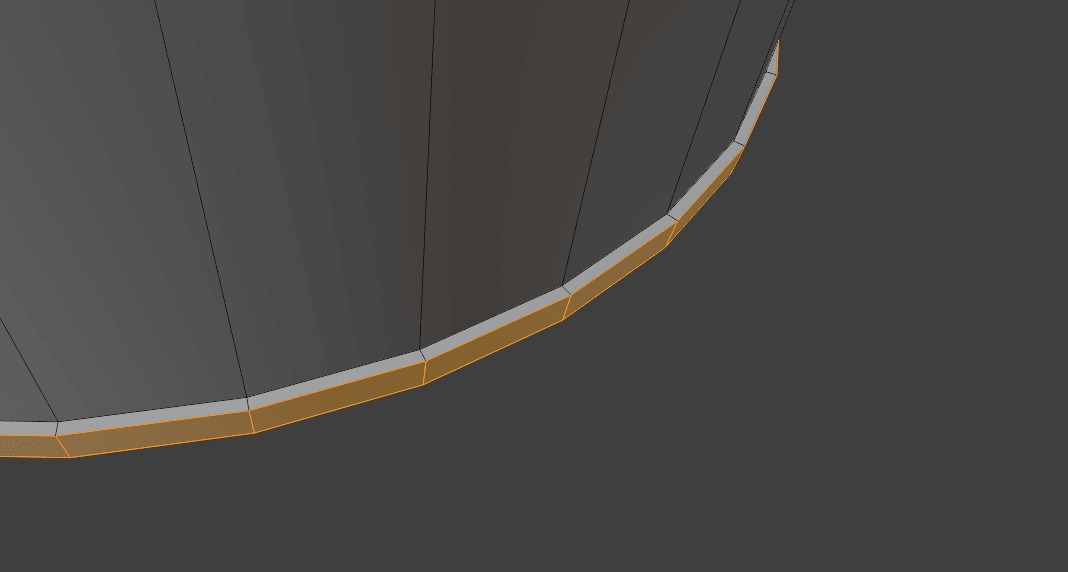
Switch to selecting edges with 2, select these edges
and bevel them with “CTRL+B”.
Beginners guide to Blender
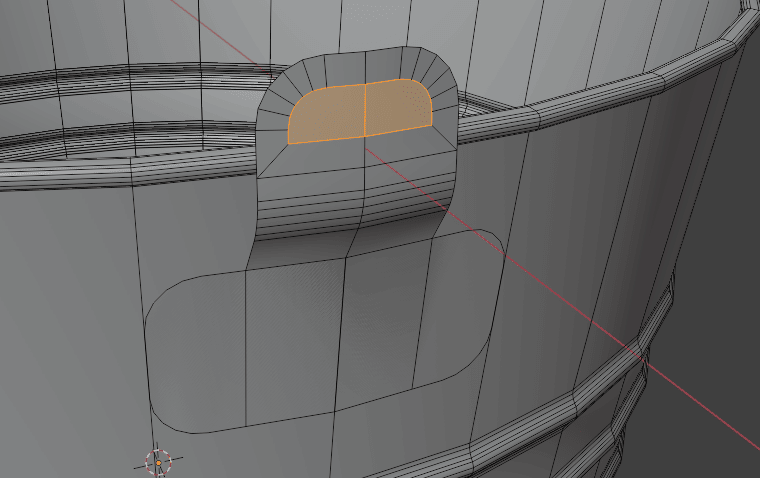
Switch to selecting faces with 3 and select these faces
and inset new faces with “I”.
Beginners guide to Blender
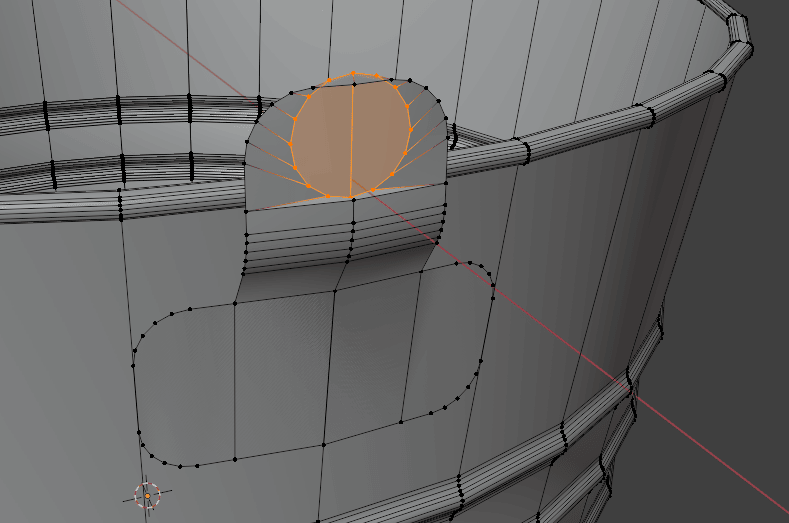
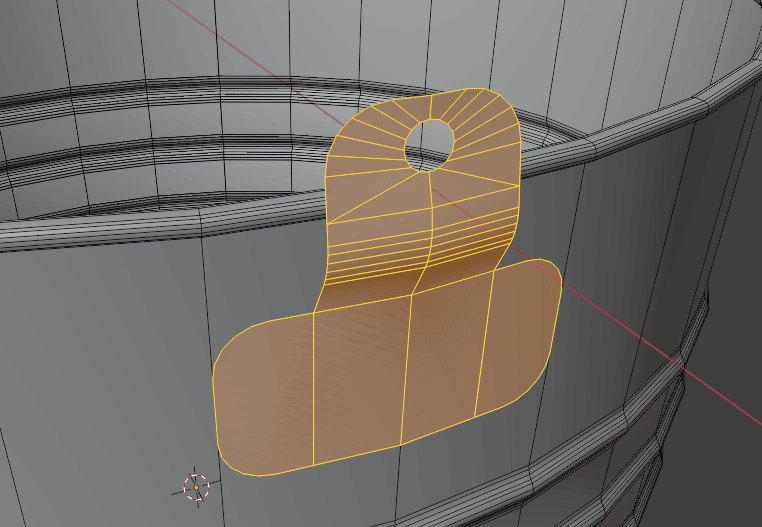
Switch to selecting vertices with 1, and RMB and select Loop Tools → Cirlces.
If you don’t have installed loop tools already, it is a free addon so just go to Edit → Preferences.
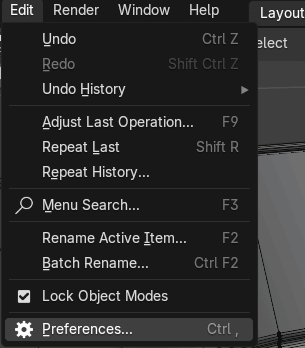
Get extension, write loop tool or just loop in search bar and install it.
Now when you click RMB and Loop tools, circle you will get this.
Beginners guide to Blender
Scale it a bit with “S”.

Switch to selecting edges with 2 and select this edge.

Press “X” and select delete edges.
Beginners guide to Blender
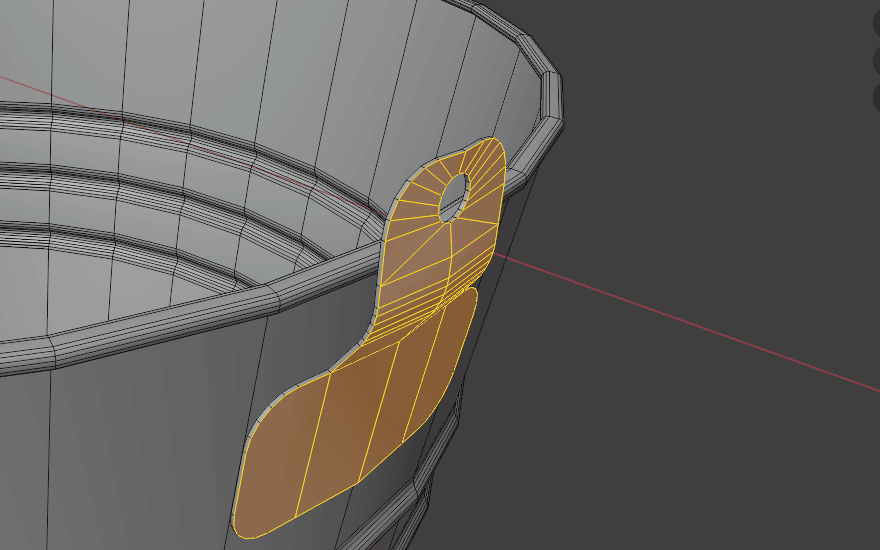
Press “L” to select linked.
Press “ALT+E” and choose extrude faces along normals.
Beginners guide to Blender
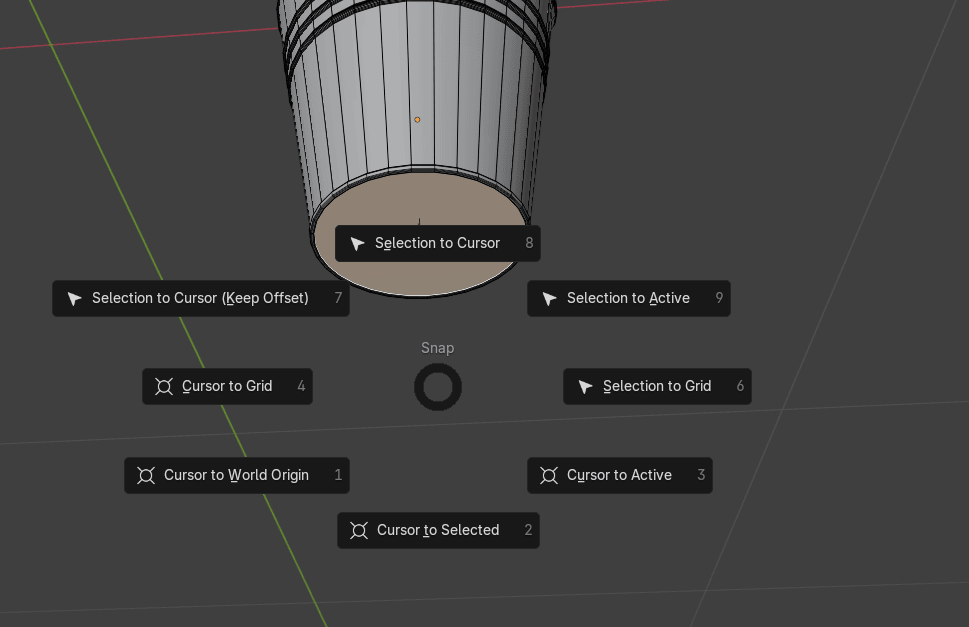
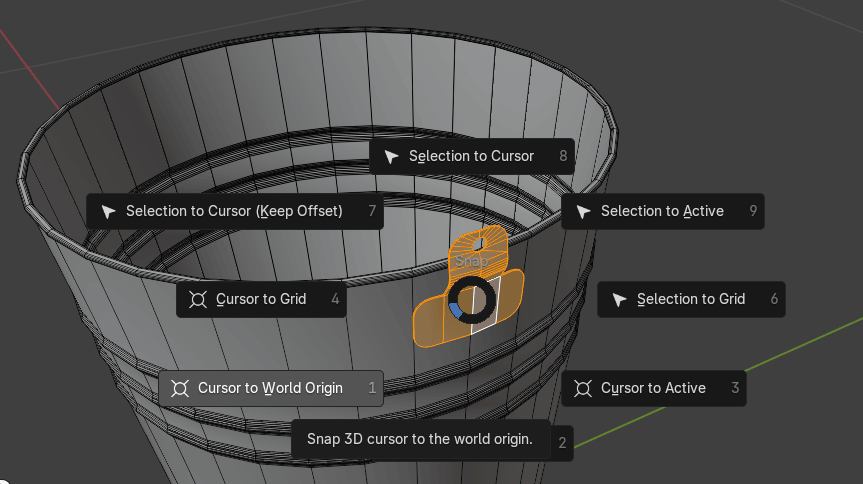
If your model isn’t on the world origin (in the middle) then do this.
Select this face
Press “SHIFT+S” and choose cursor to selected.
Beginners guide to Blender
Switch to object mode, select object → Set origin → Origin to 3D cursor.
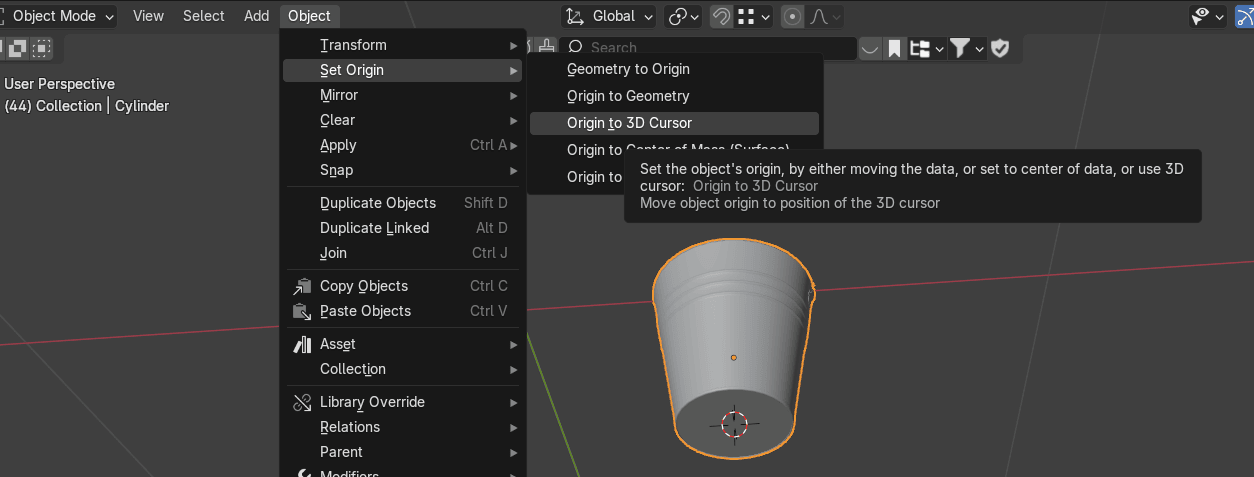
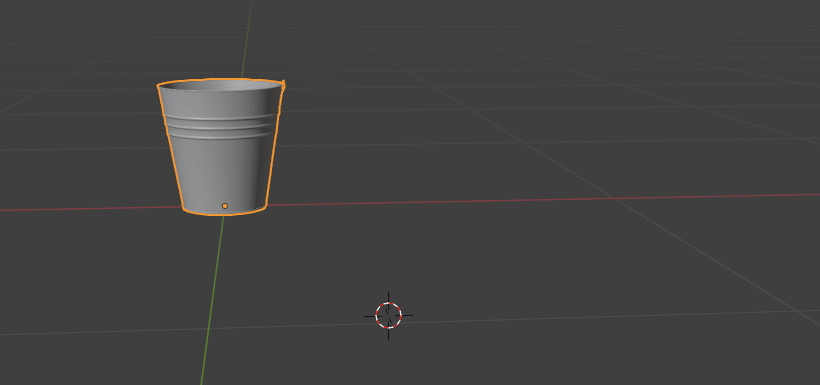
and then press “ALT+G” to move the bucket back to the world origin.
Beginners guide to Blender
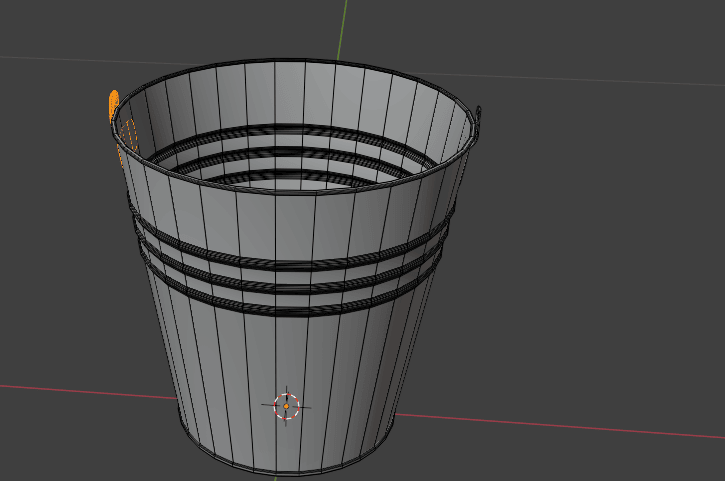
Now you can switch back to edit mode.Select linked with “L”
Switch from median point to 3D cursor.
Beginners guide to Blender
Click “SHIFT+S” and choose cursor to world origin.
Duplicate it with “SHIFT+D” and rotate it with “R+Z” for 180° degrees.
Beginners guide to Blender
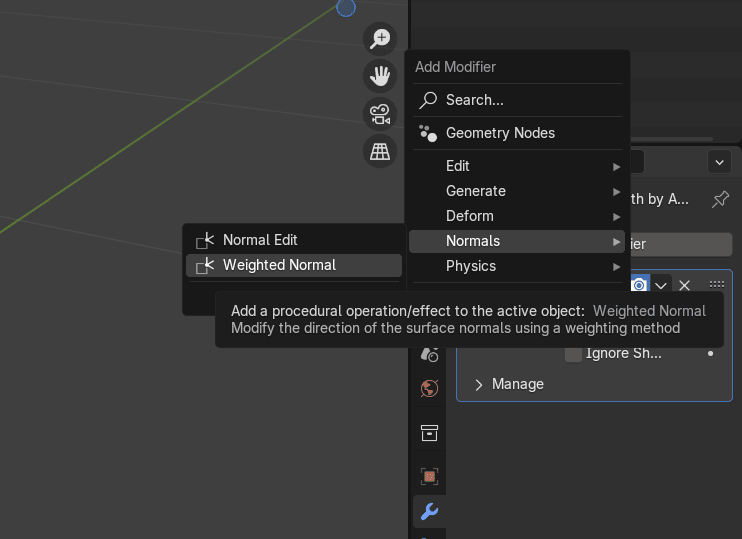
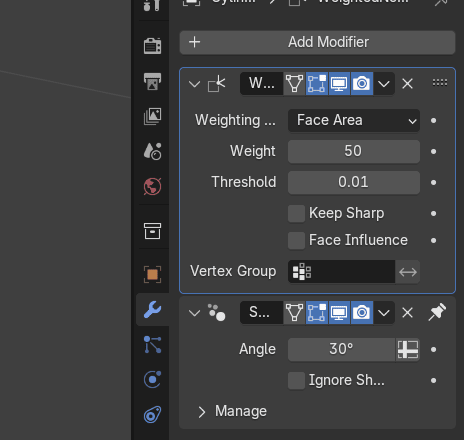
Switch to object mode, click RMB and choose shade auto smooth.
Go to modifiers, normals, weighted normals.
Beginners guide to Blender
Unpin smooth by angle
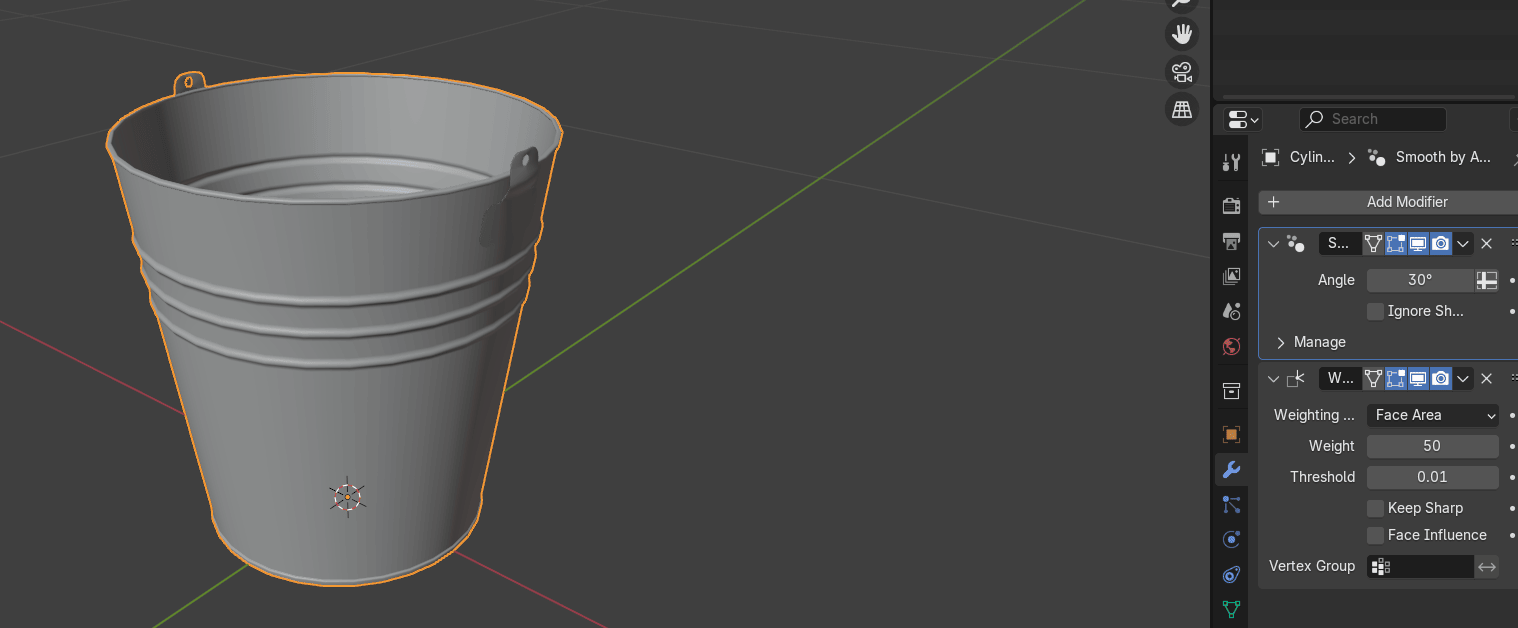
Beginners guide to Blender
and move it up.
Click on green Y (gizmo) on the screen for back ortographic view.
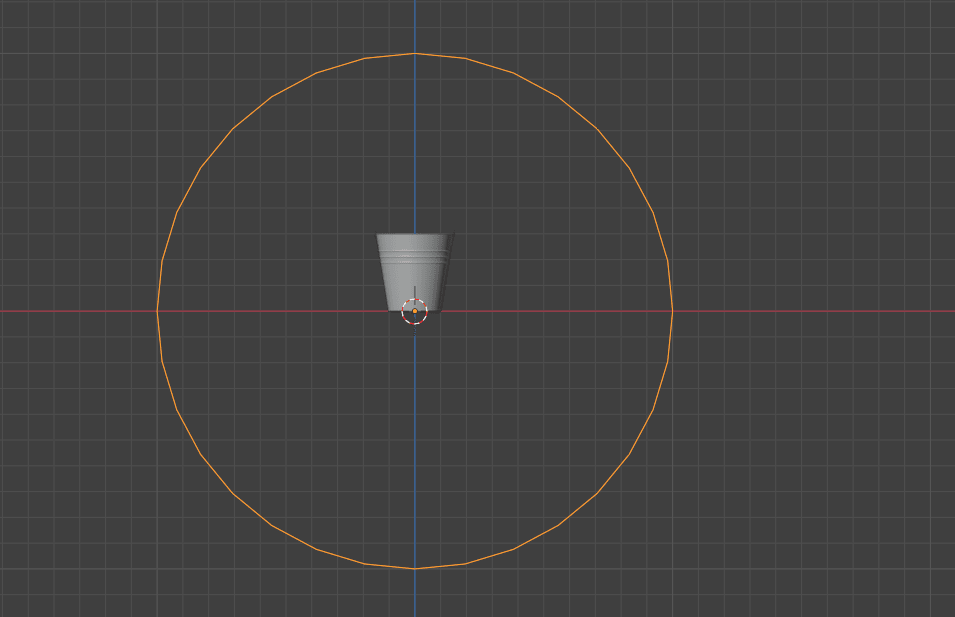
Add mesh → Circle.
Beginners guide to Blender
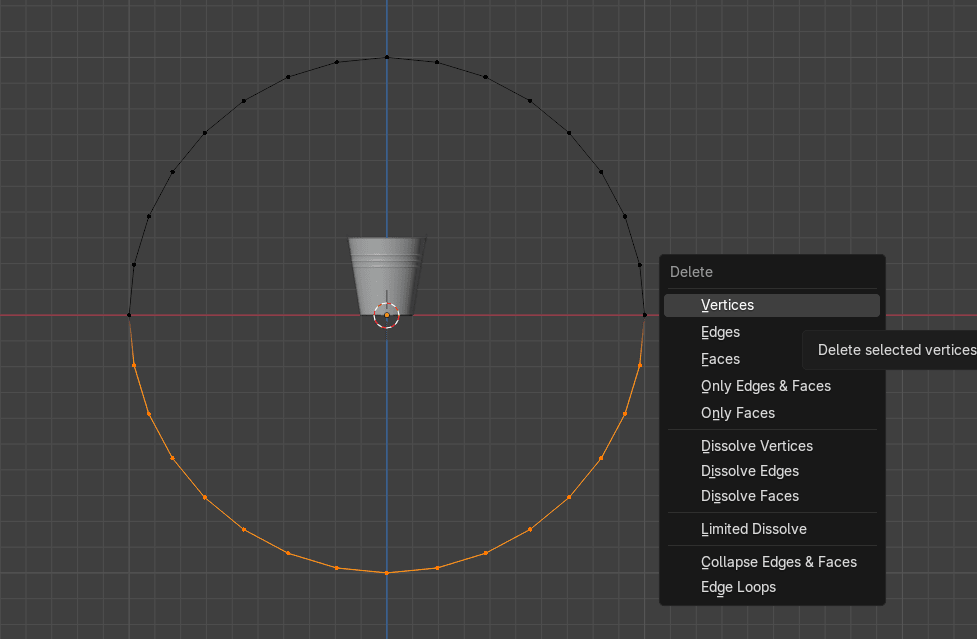
Rotate it with “R+X+90”.
Switch to edit mode and select vertices as shown.
Delete it them with “X”.
Beginners guide to Blender
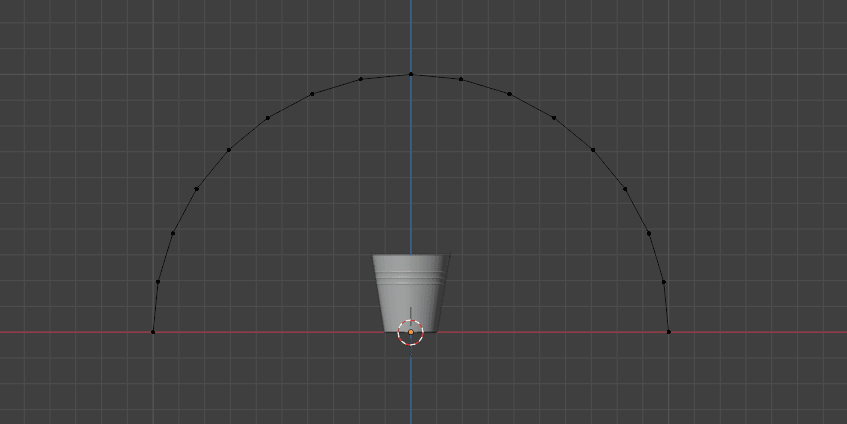
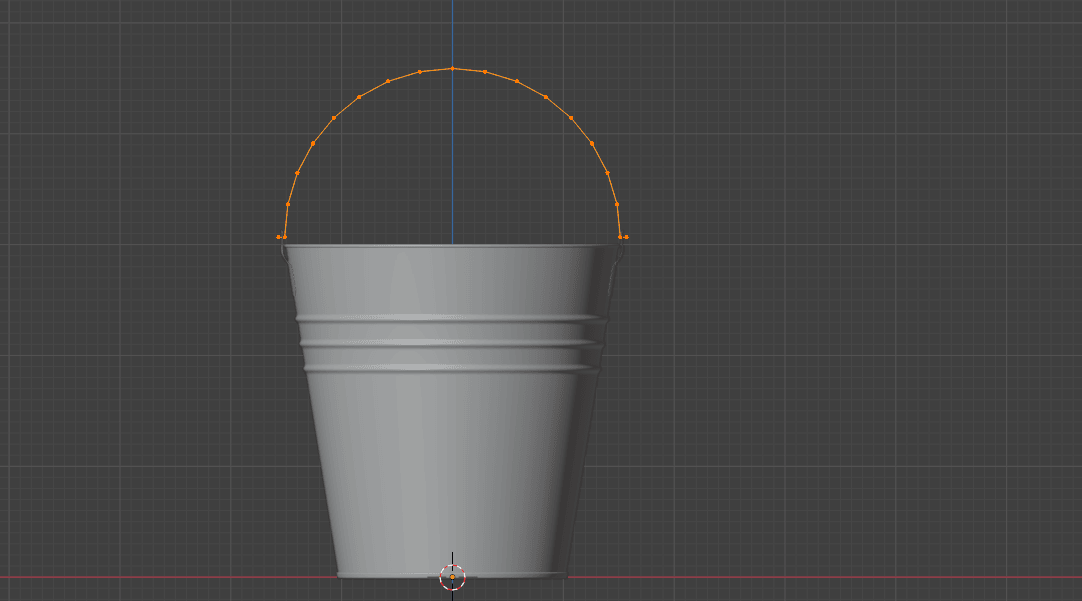
Select all with “A” and scale it with “S”.
Beginners guide to Blender
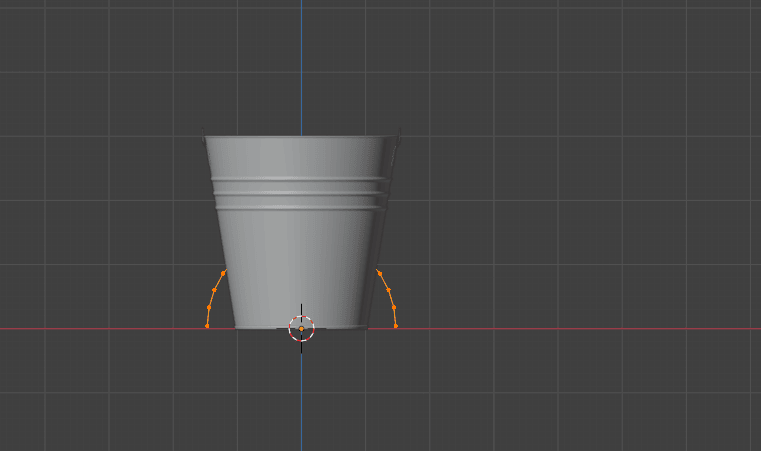
Move it up with “G+Z”
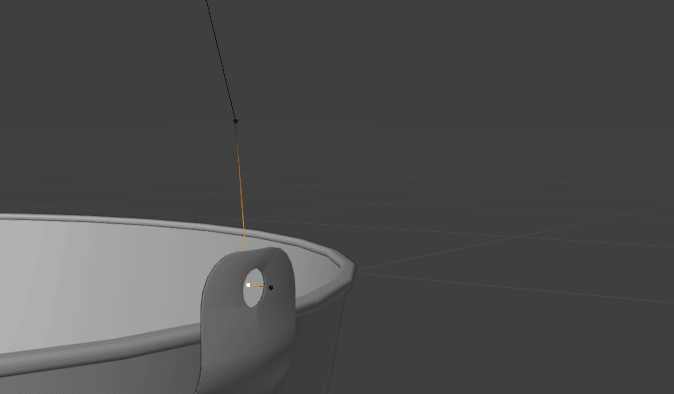
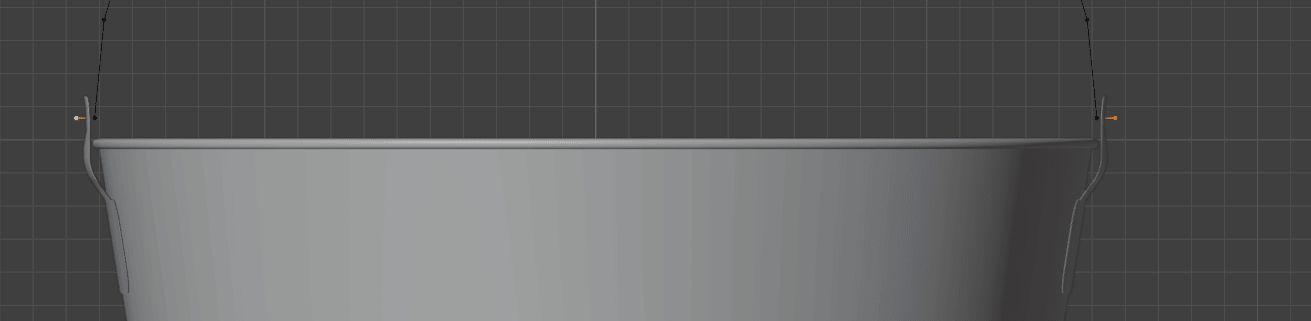
Switch to left ortographic view by clicking on red -X and adjust the handle until it is in themiddle.
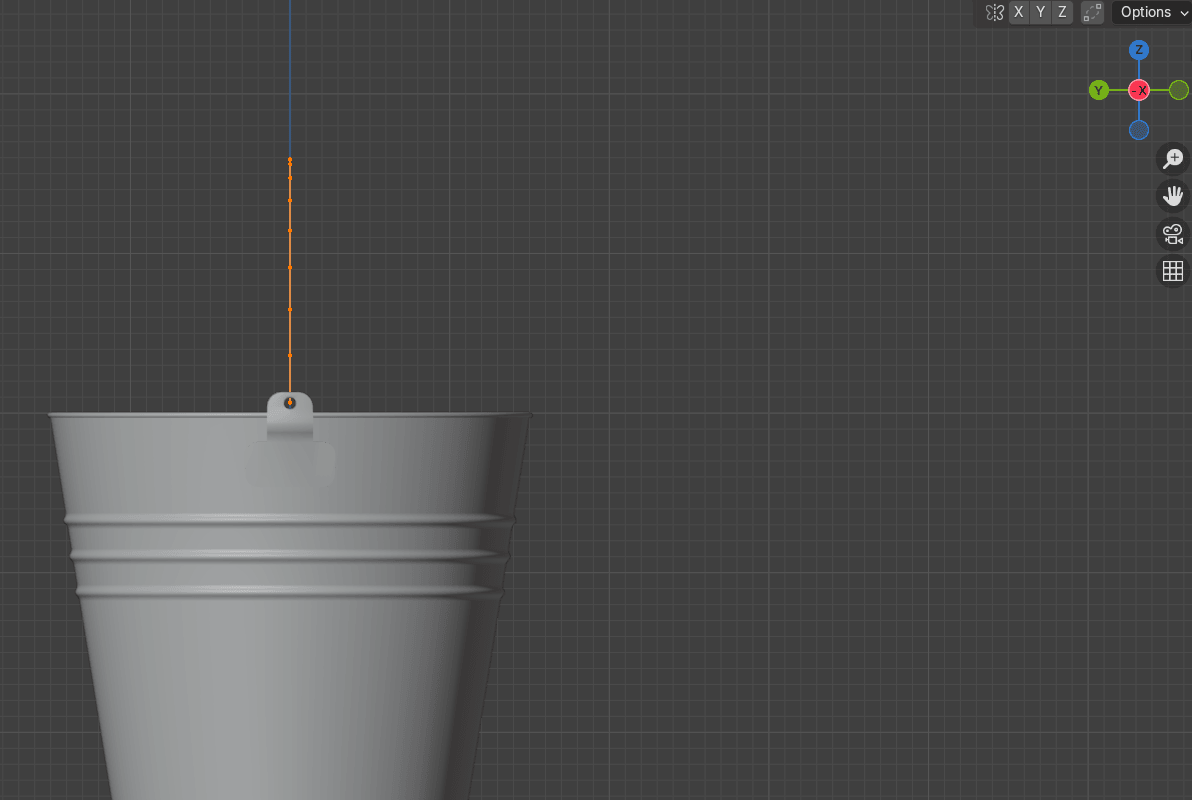
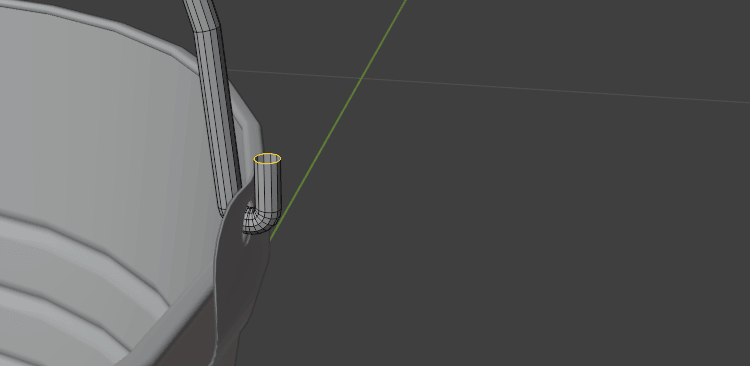
Select this vertex and extrude it along the x for -0.007 (or any other number you like).
Beginners guide to Blender
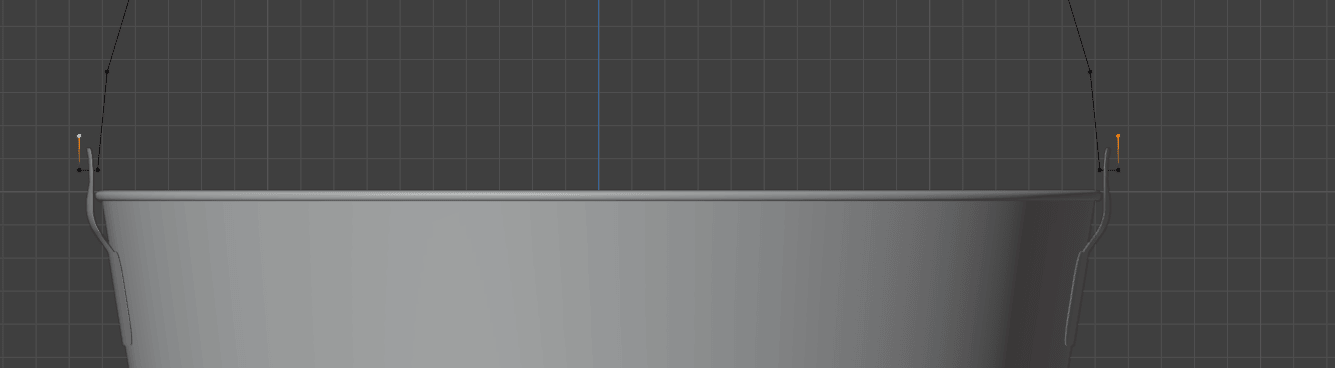
Select this vertex and extrude it along the x for 0.007 (or any other number you like).
Scale it a bit along the x-axis.
Beginners guide to Blender
Select these two vertices
and extrude them along the z-axis.
Beginners guide to Blender
Select these vertices
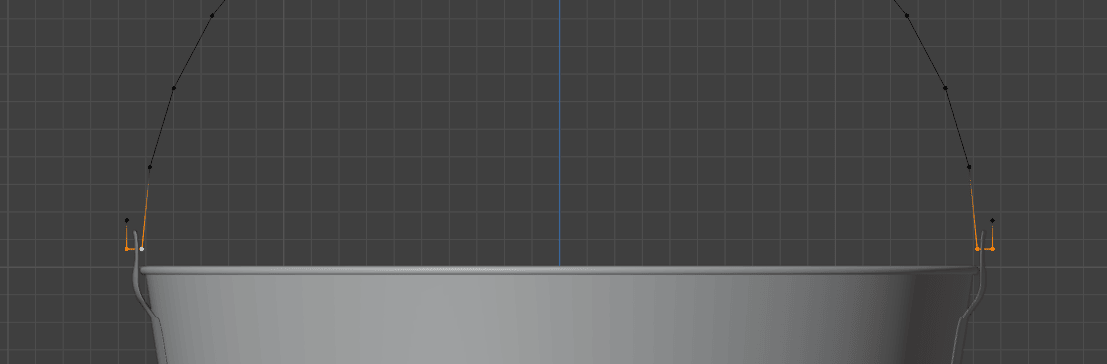
and bevel them with “CTRL+SHIFT+B”.

Switch to object mode.
Go to Object → Convert → Curve.
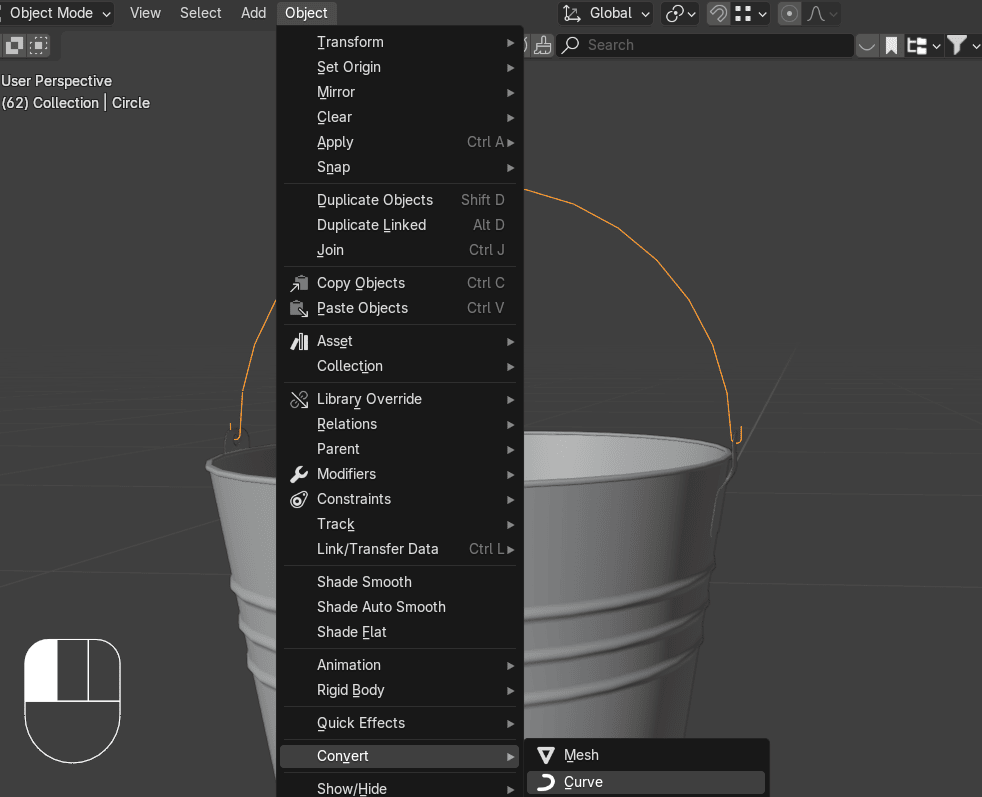
Beginners guide to Blender
Click on Data (Green Curve Icon)
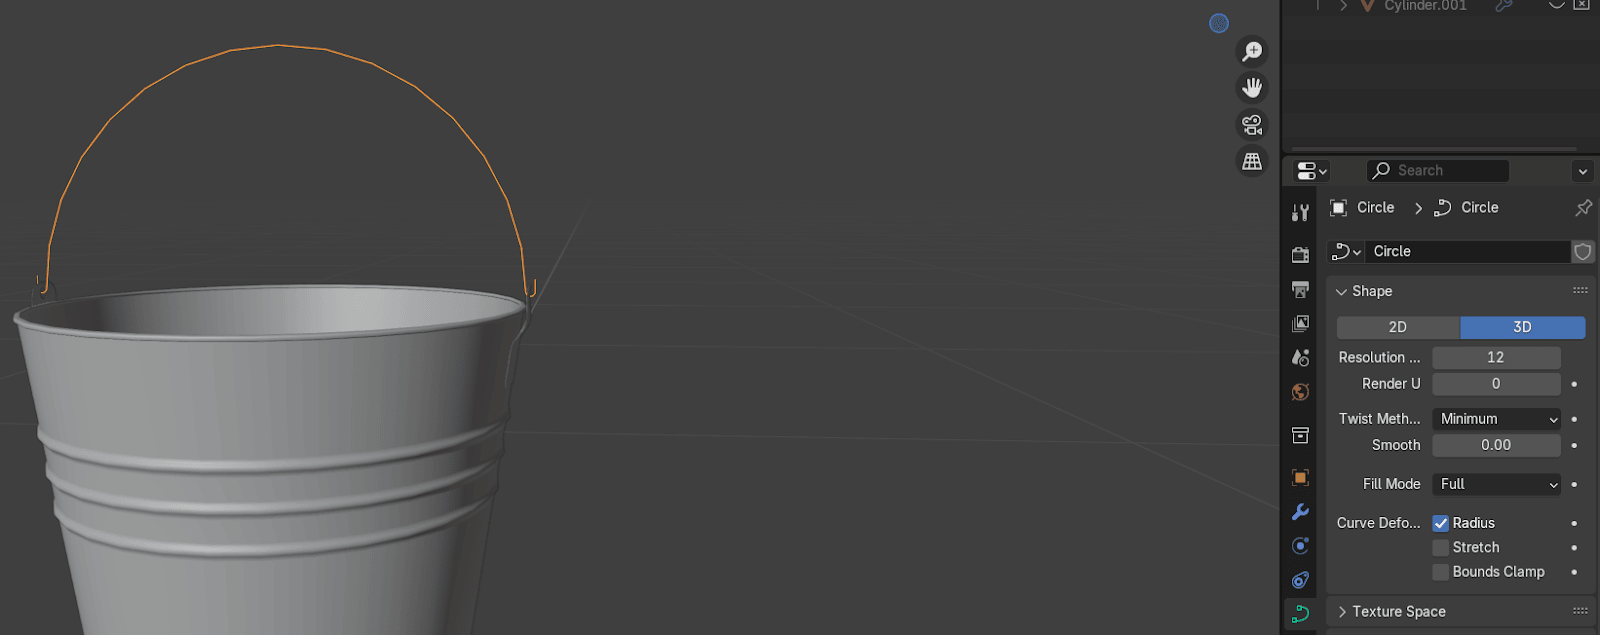
Go to geometry
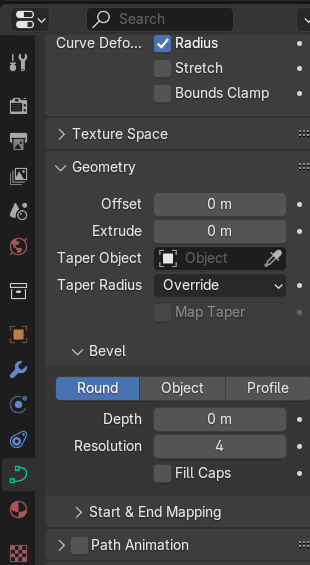
Beginners guide to Blender
Go to bevel - depth and change depth to 0.002 m (or any other number you like).
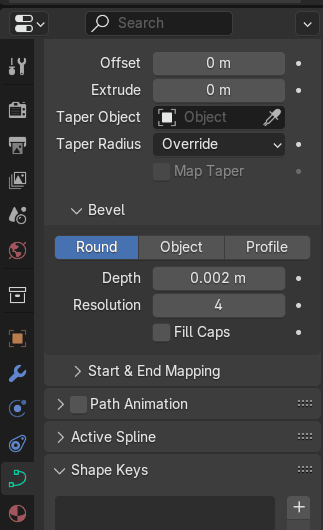
If you like how it looks
Beginners guide to Blender
Go to object - convert and switch it back to mesh.
Switch to edit mode.
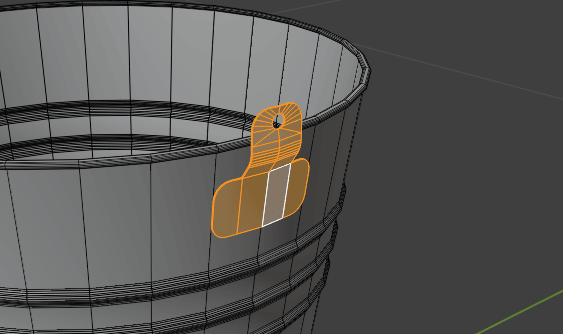
Select this part on the both sides and fill it with an “F”.
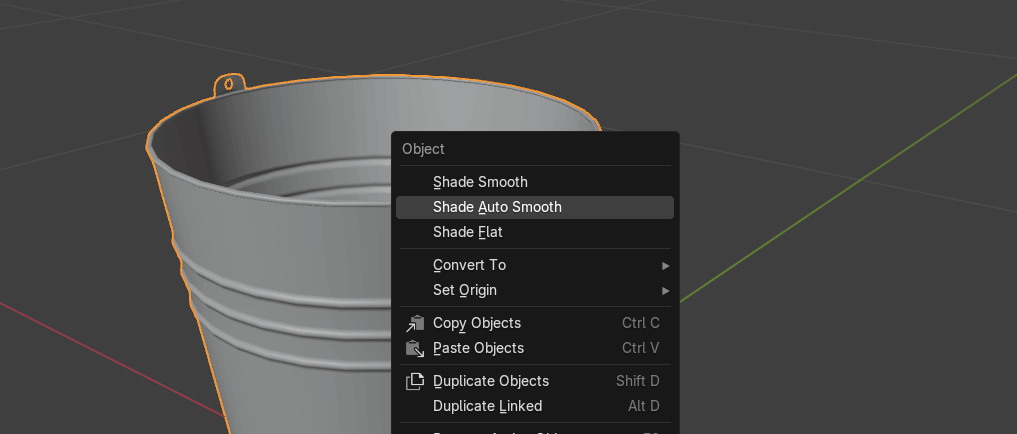
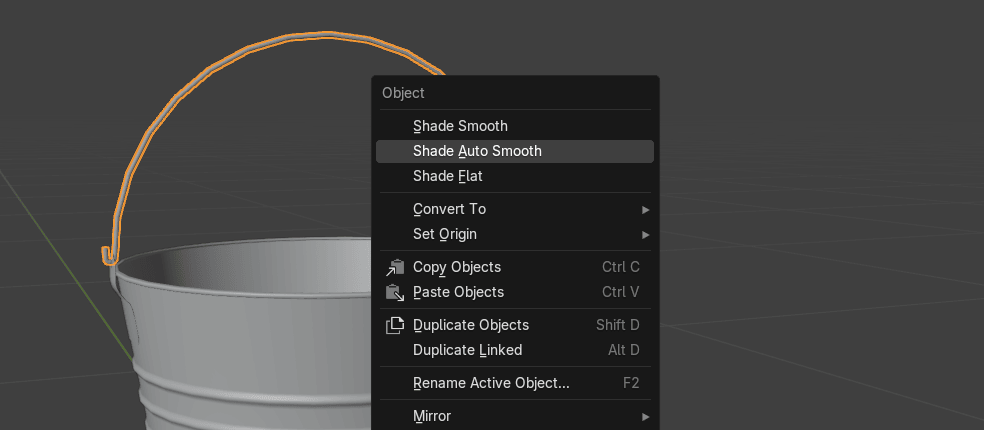
Switch to object mode and RMB Shade Auto Smooth.
Beginners guide to Blender
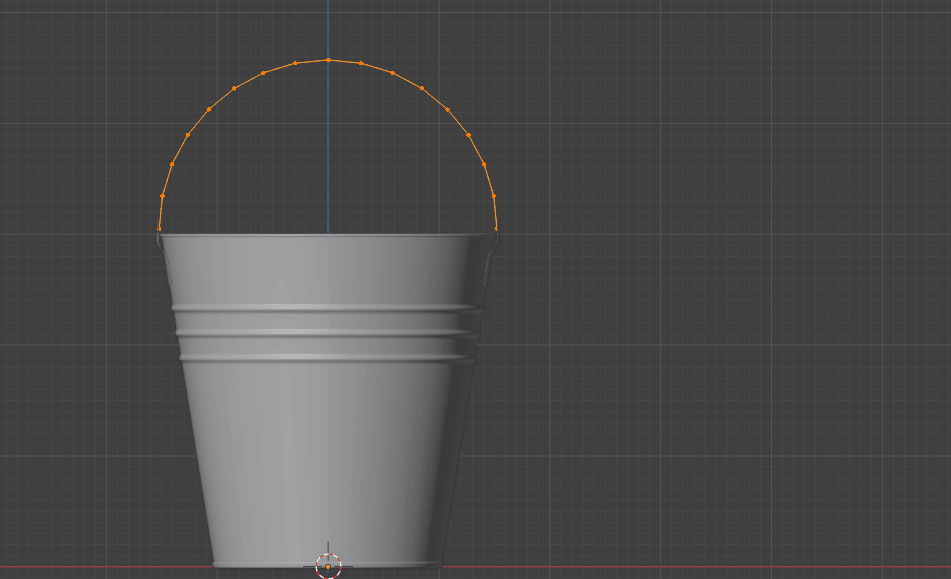
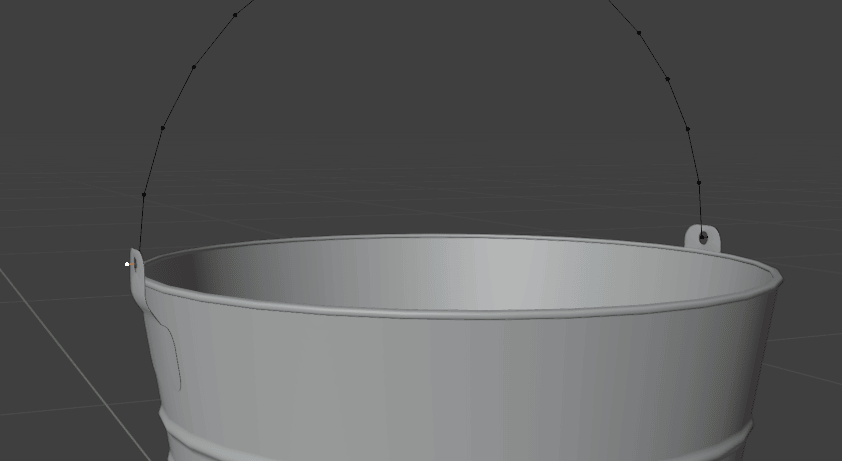
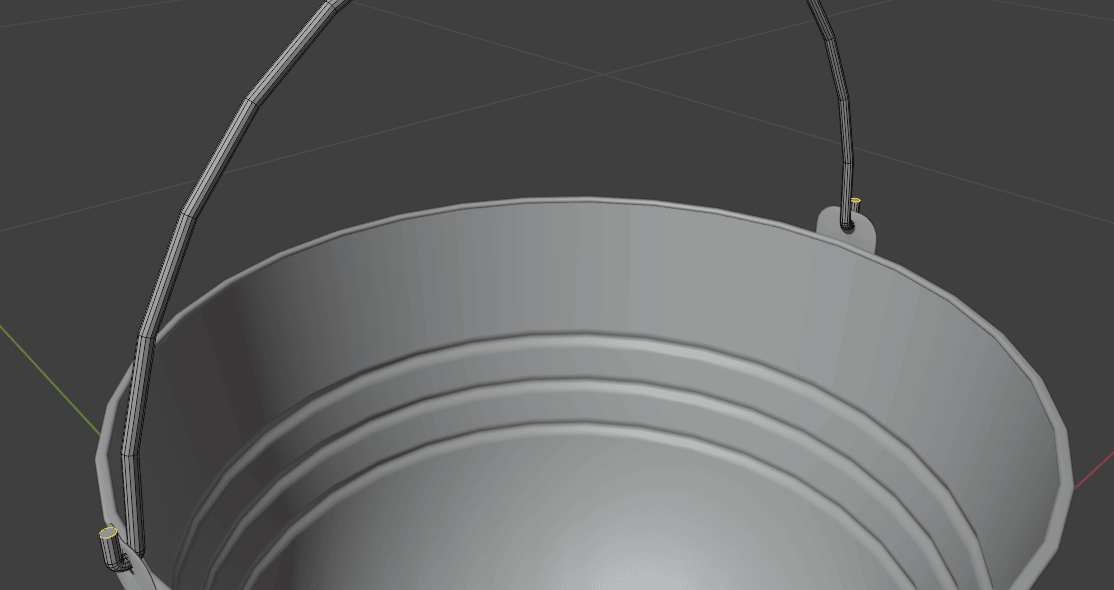
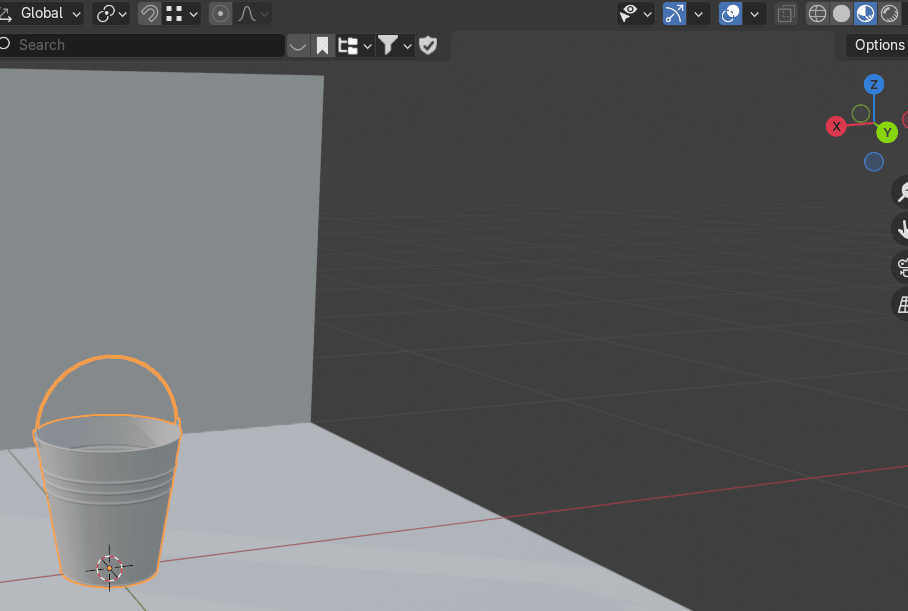
Select handle and the rest of the bucket and press “CTRL+J” to join them together.
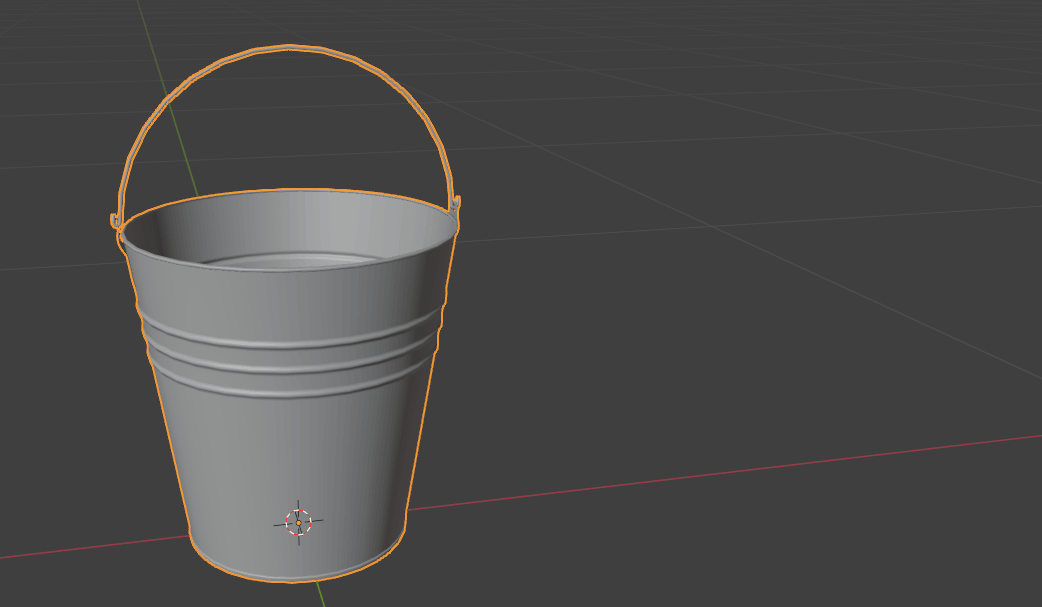
Now when you modeled a bucket, it’s time for texturing.
Add mesh -plane.
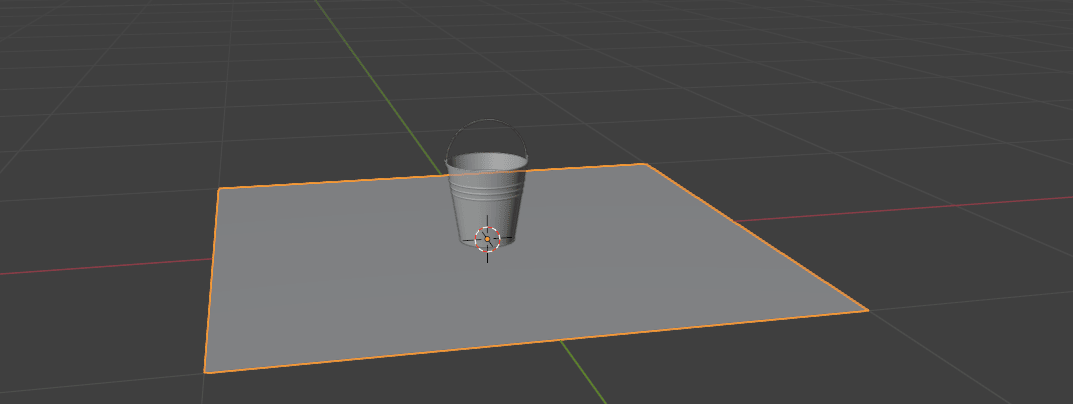
Switch to edit mode and select this edge.
Beginners guide to Blender
Extrude it along the z-axis with “E+Z”.
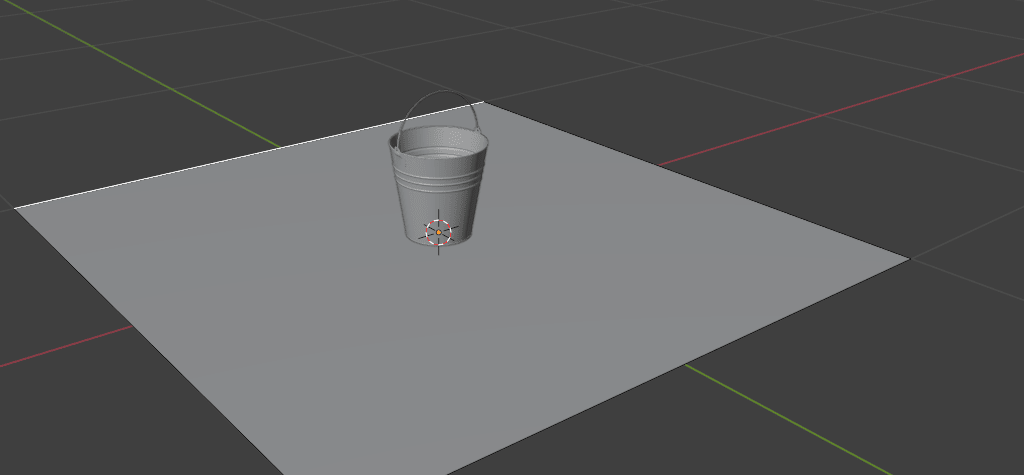
Switch back to object mode.
Switch to material preview mode.
Beginners guide to Blender
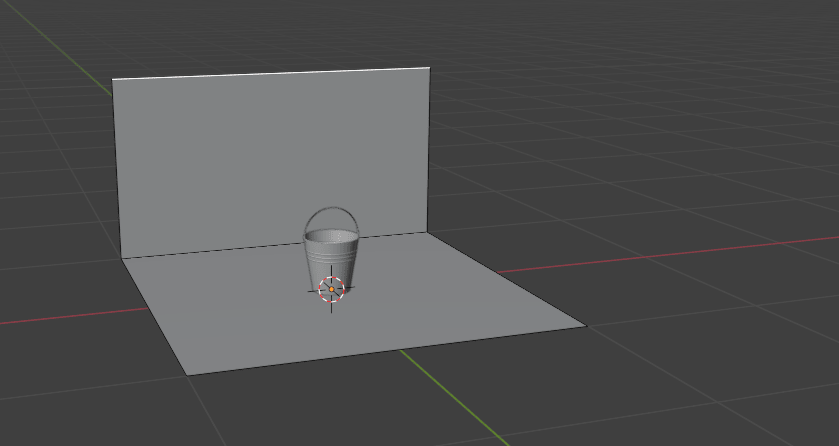
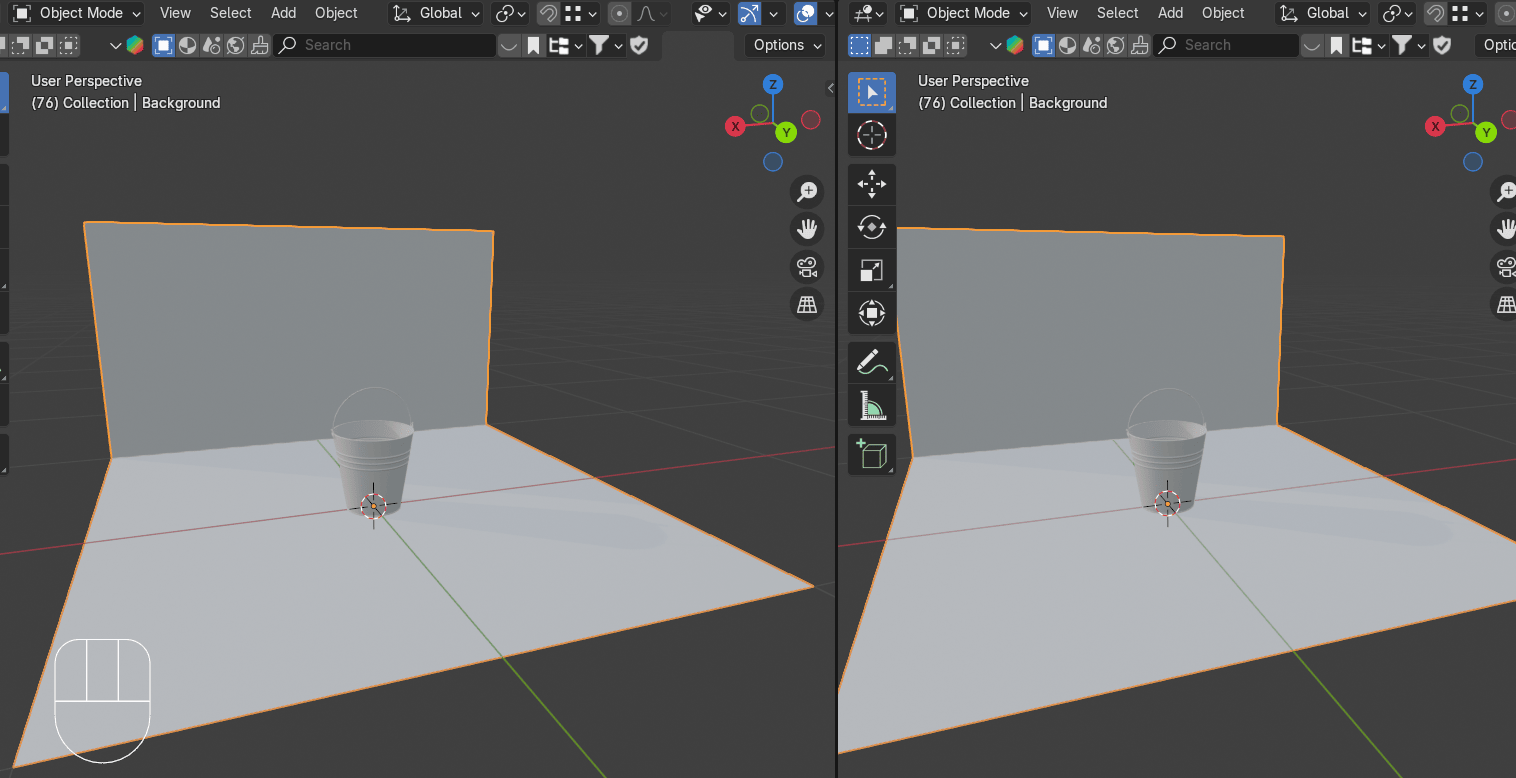
Rename Cylinder to Bucket and plane to background (or anything else).
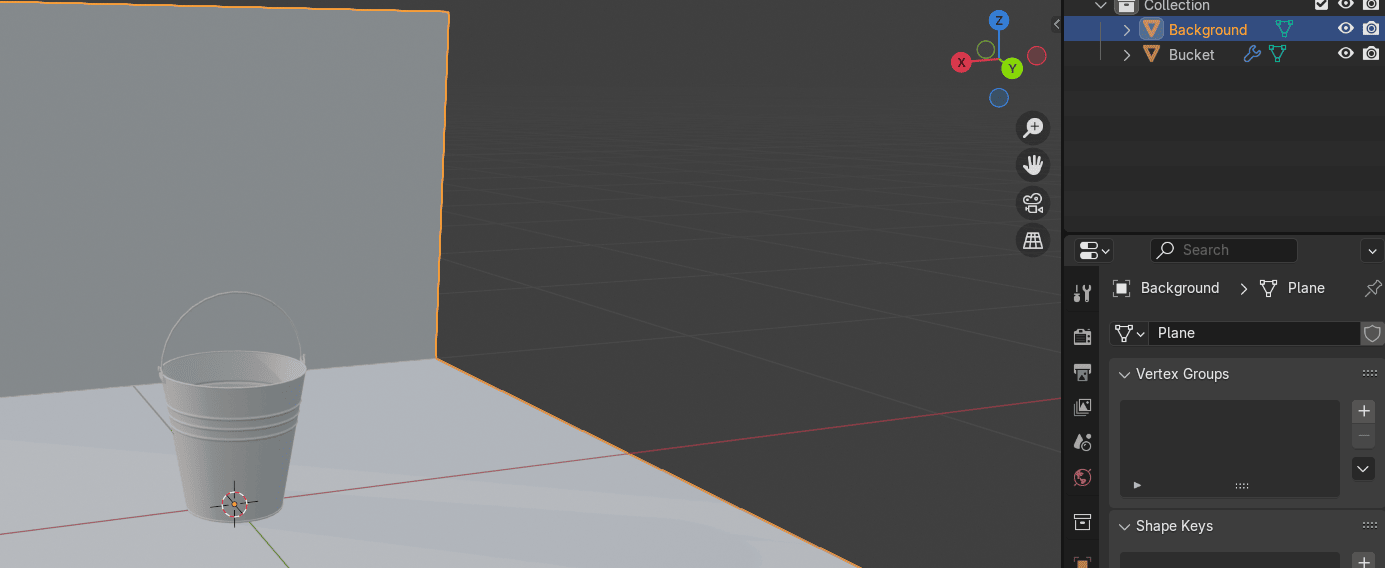
Select the bucket. Go to materials.
Add a new material and rename it to Bucket_Metal ( or anything else).
Beginners guide to Blender
Place the cursor on the upper side of the screen as shown, and when you see plus,
just pull it down to the left while holding the left mouse button.
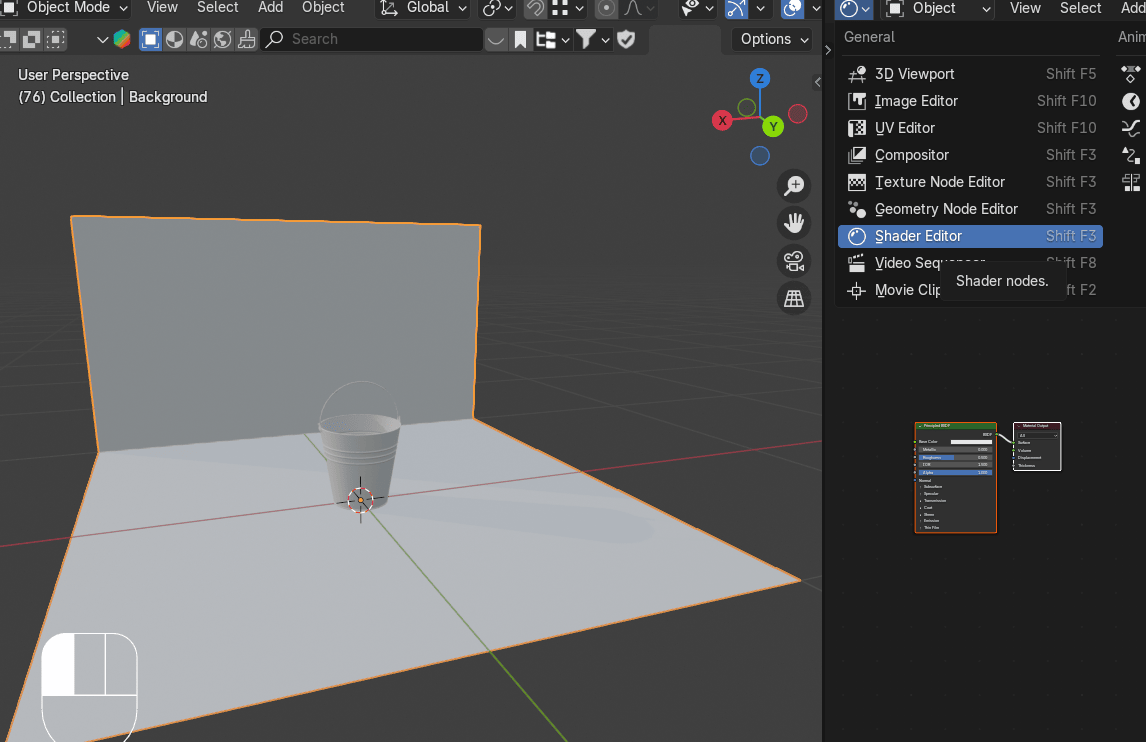
Open the shader editor in the window you just created. Click “N” to hide that sidebar on theright because you don’t need it.
Beginners guide to Blender
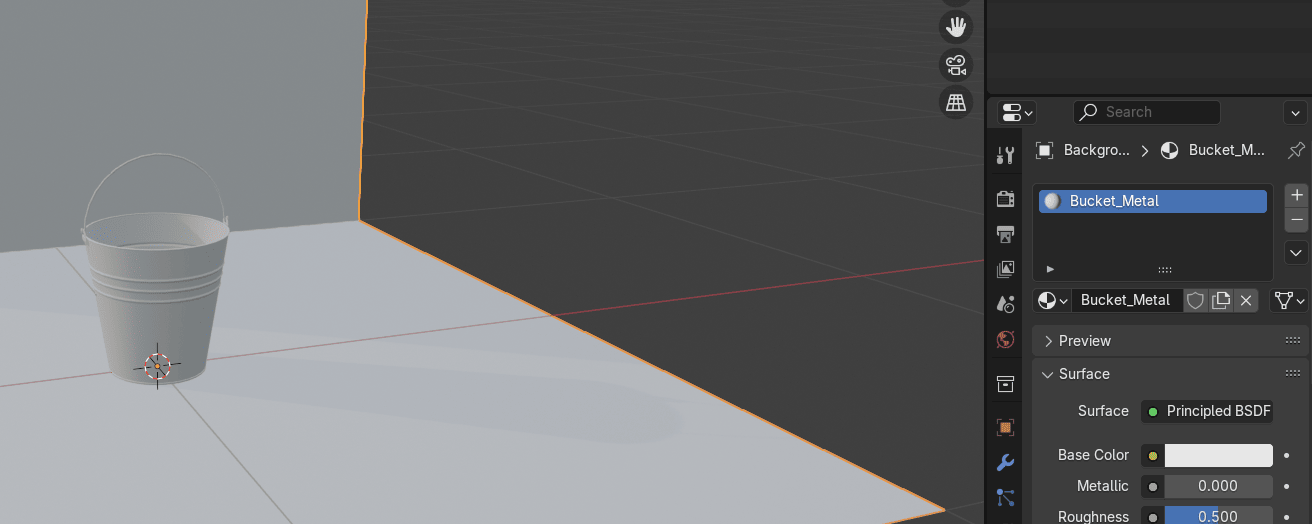
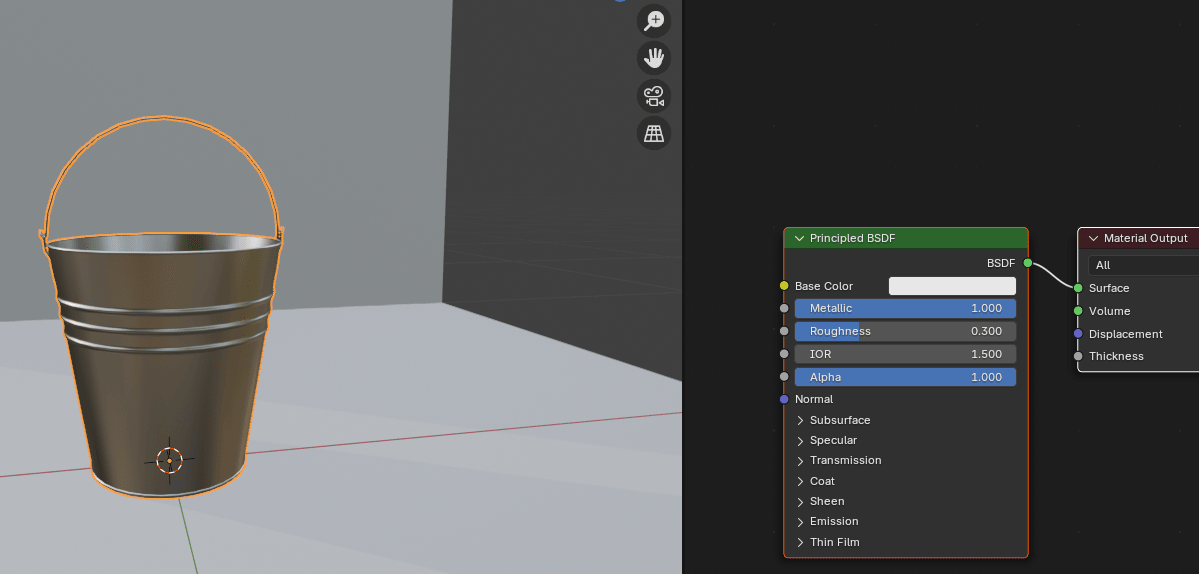
Change metallic to 1.
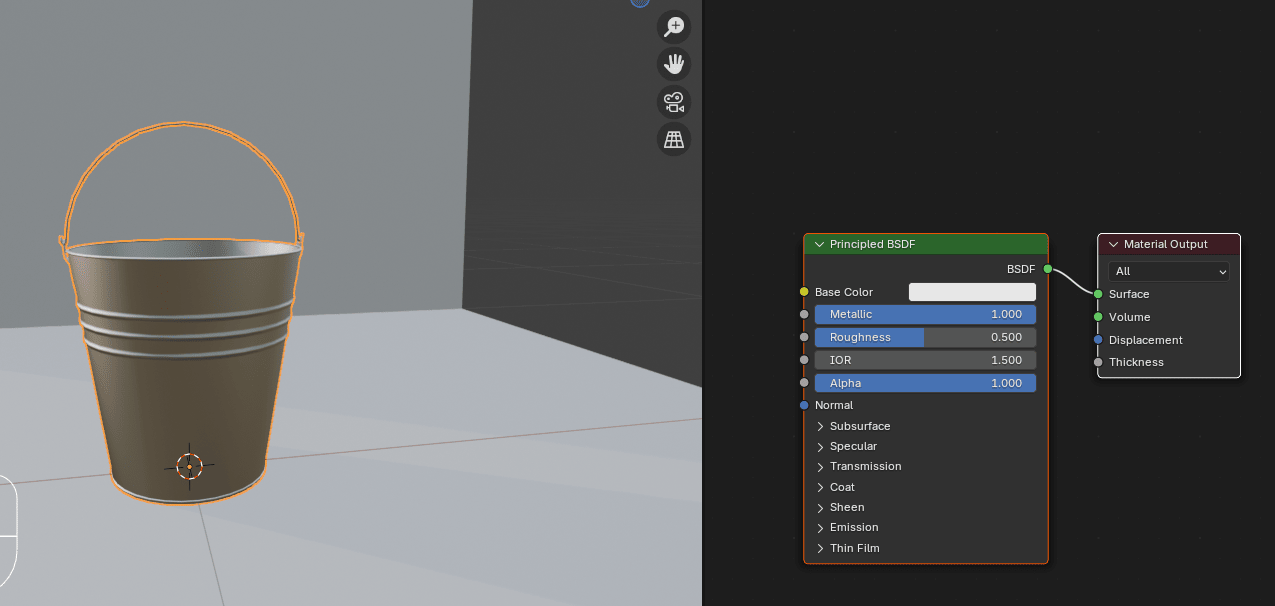
And roughness to around 0.3
Beginners guide to Blender
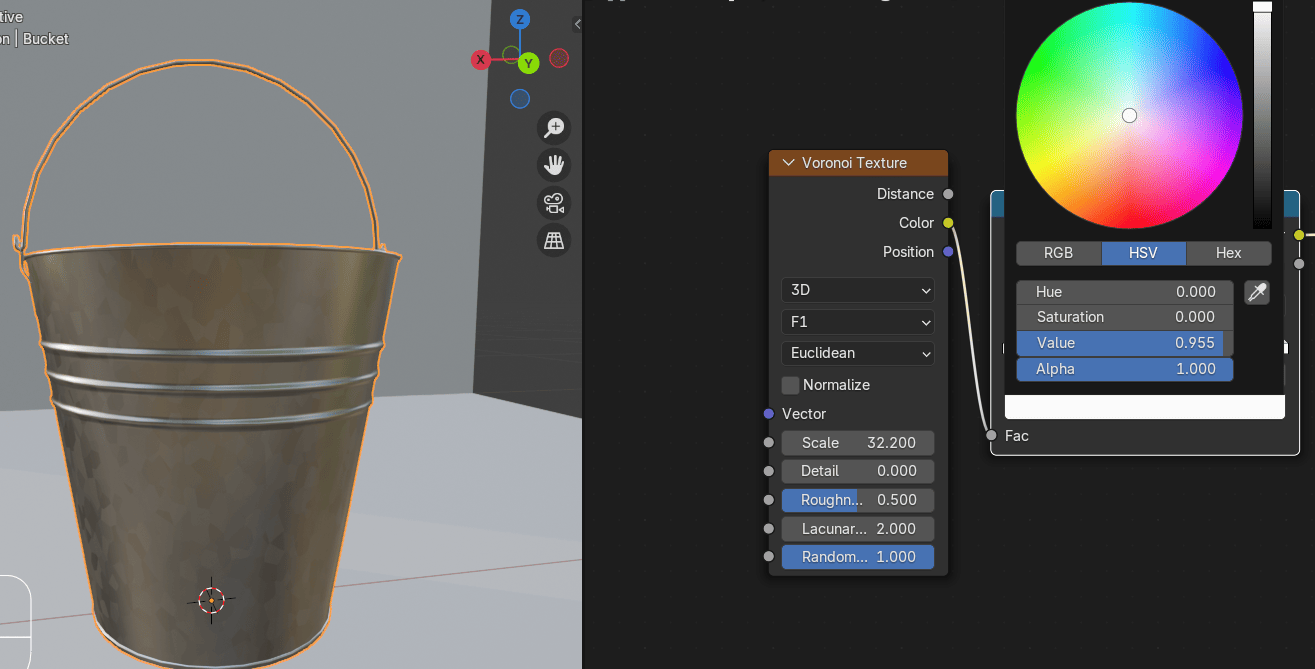
Add - texture - Voronoi texture to add differently colored spots on the bucket.
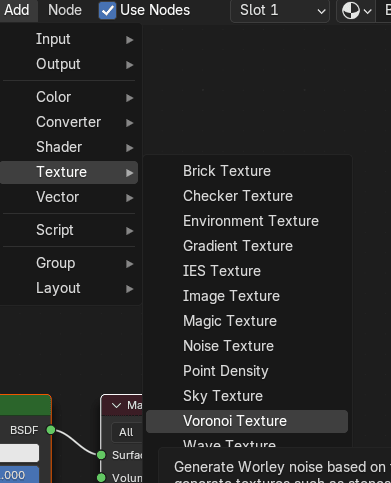
Connect Color from Voronoi Texture to Fac from Color Ramp in order to get a grayscale colorgradient.
Beginners guide to Blender

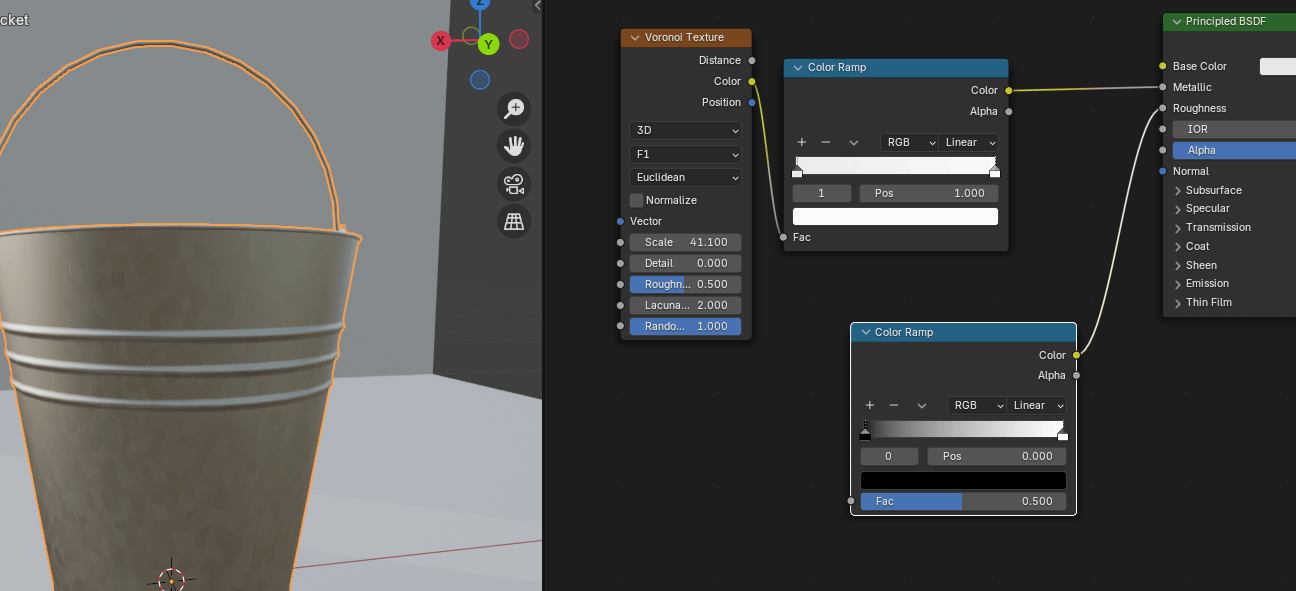
Connect Color from Color Ramp with Metallic from Principled BSDF.
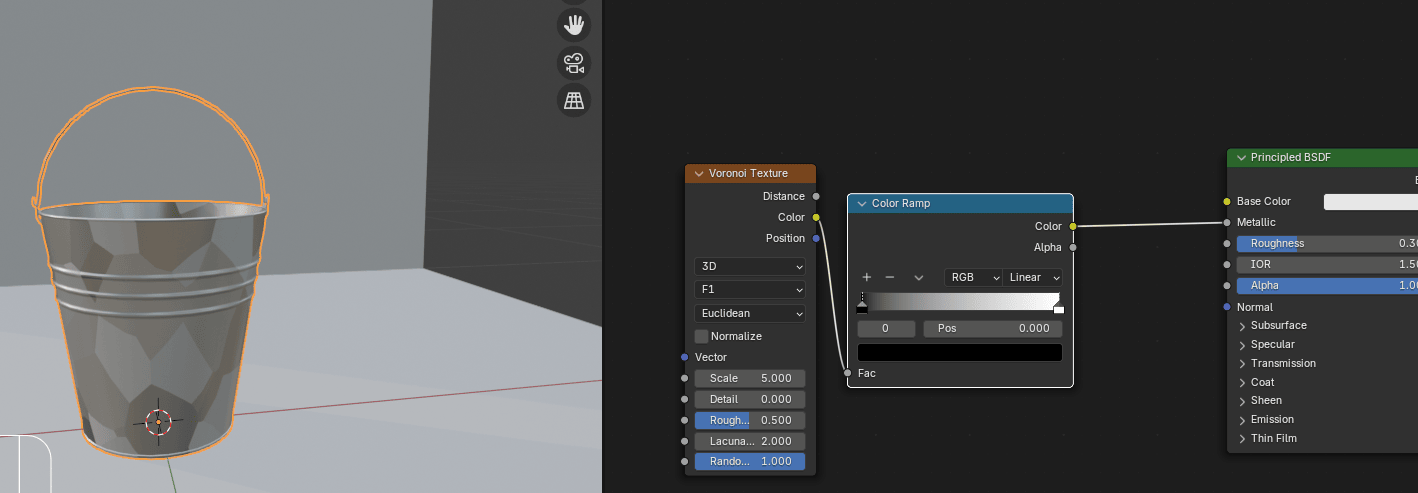
Change scale in Voronoi texture to around 41.
Beginners guide to Blender
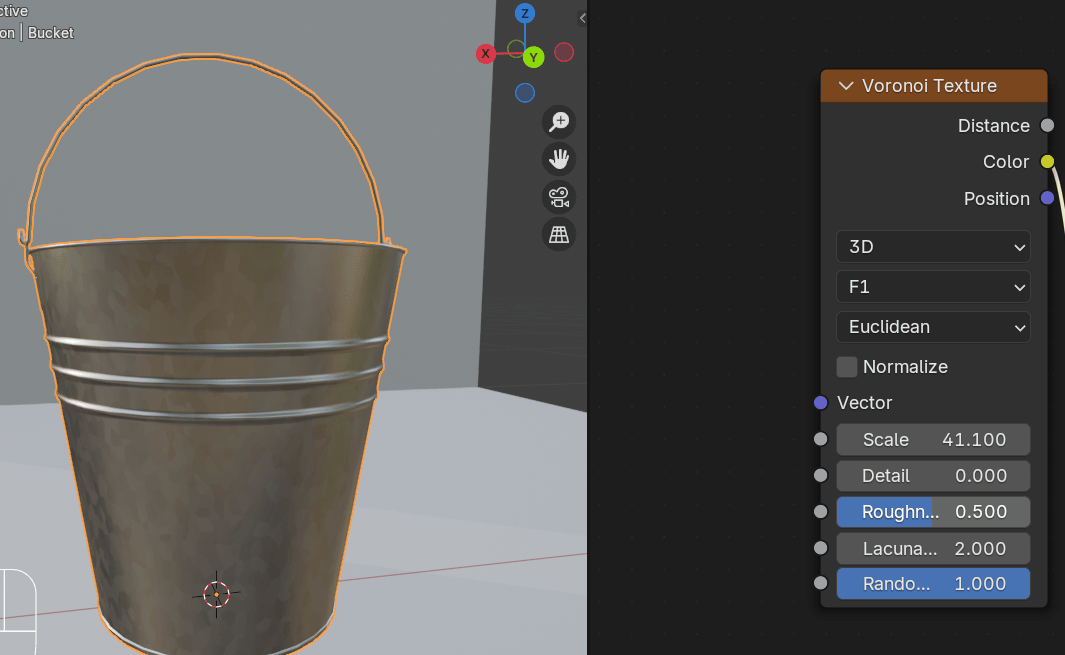
Change the first color in the Color Ramp from Black to very light gray by setting the value to
around 0.8.
You can adjust the second color on the color ramp as well.
Beginners guide to Blender
Connect roughness from Principled BSDF with a Color from Color Ramp.
Connect Fac from Color Ramp with a Fac from a Noise Texture.
Beginners guide to Blender
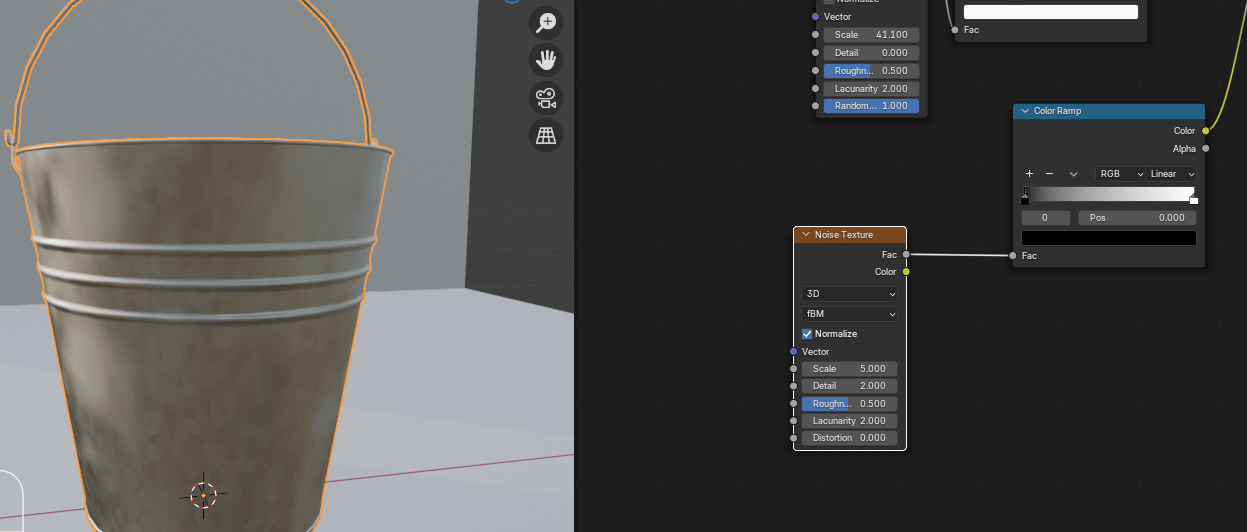
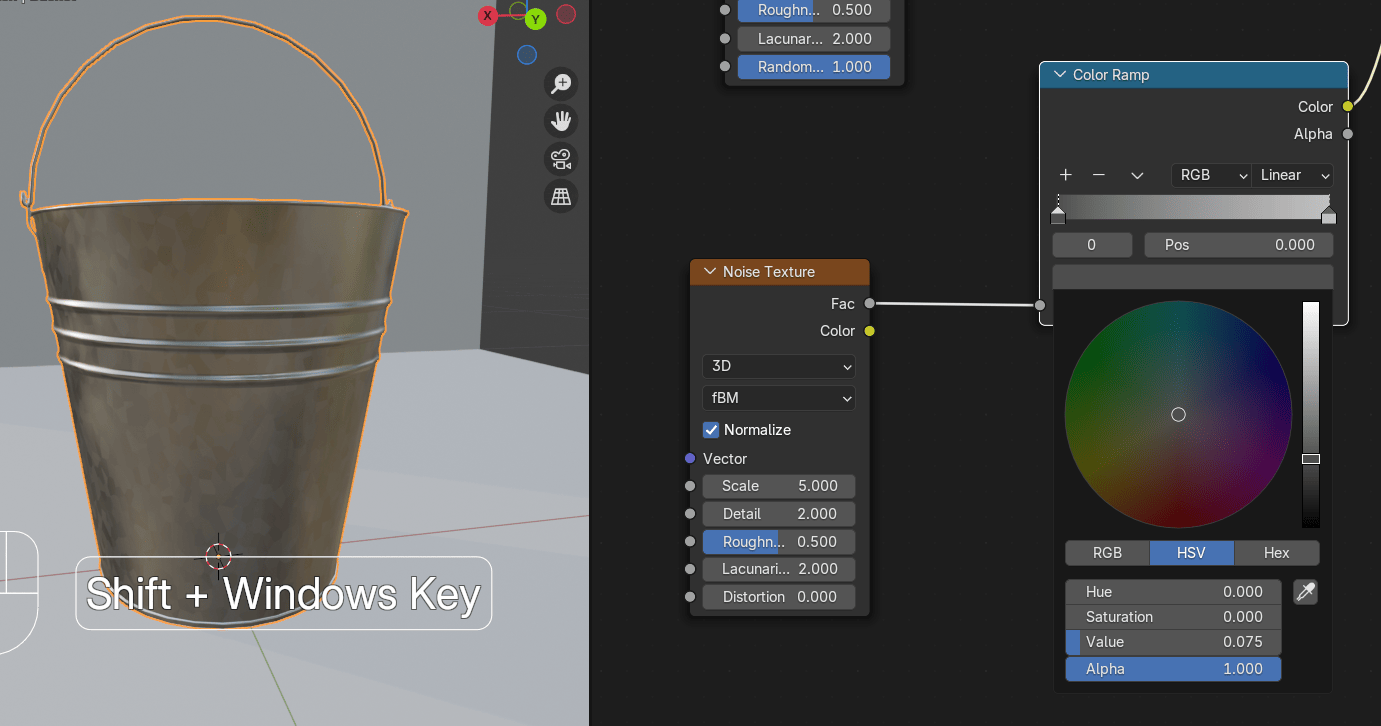
Change the second color on the color ramp to gray.

Change the first color on the color ramp to something a bit lighter.
Beginners guide to Blender
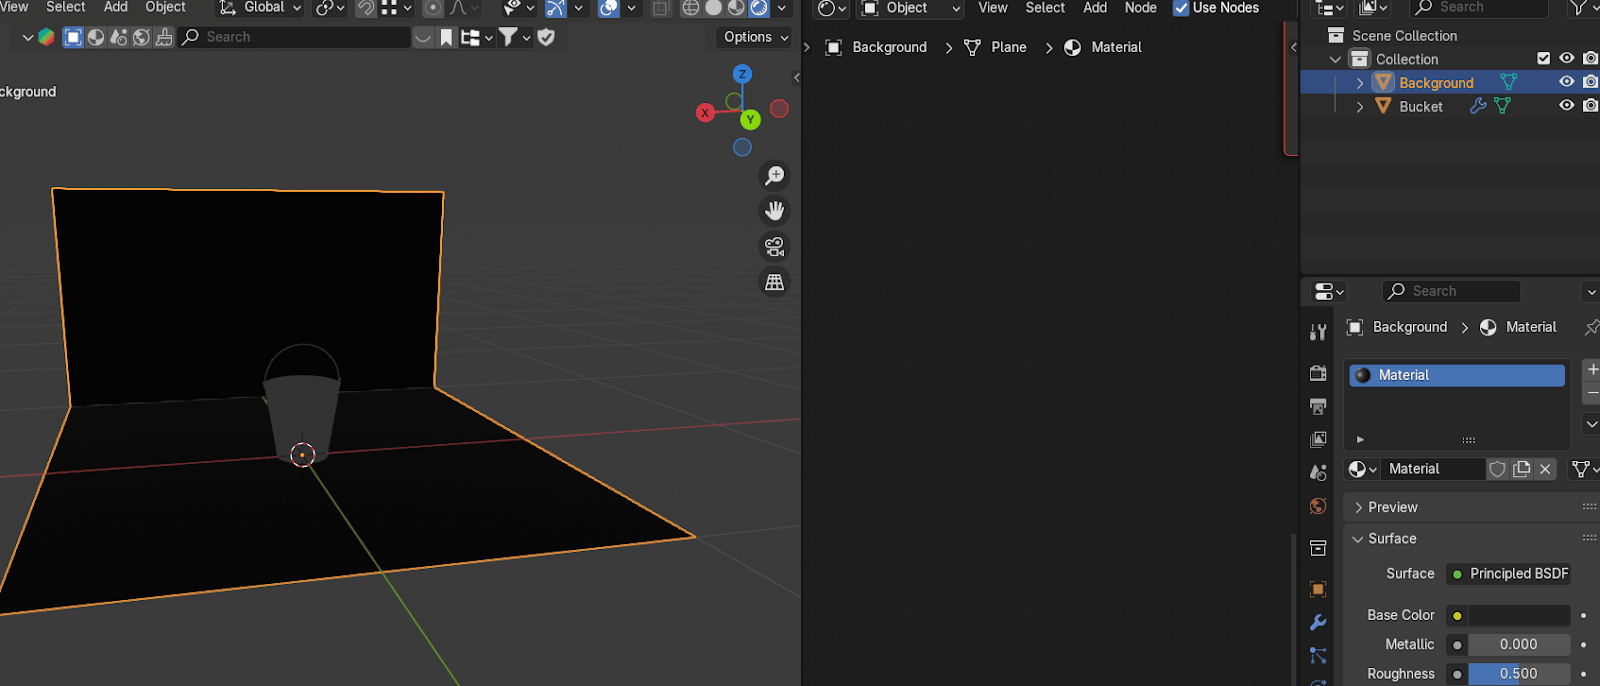
Select the background. Add a new material and change it to black.
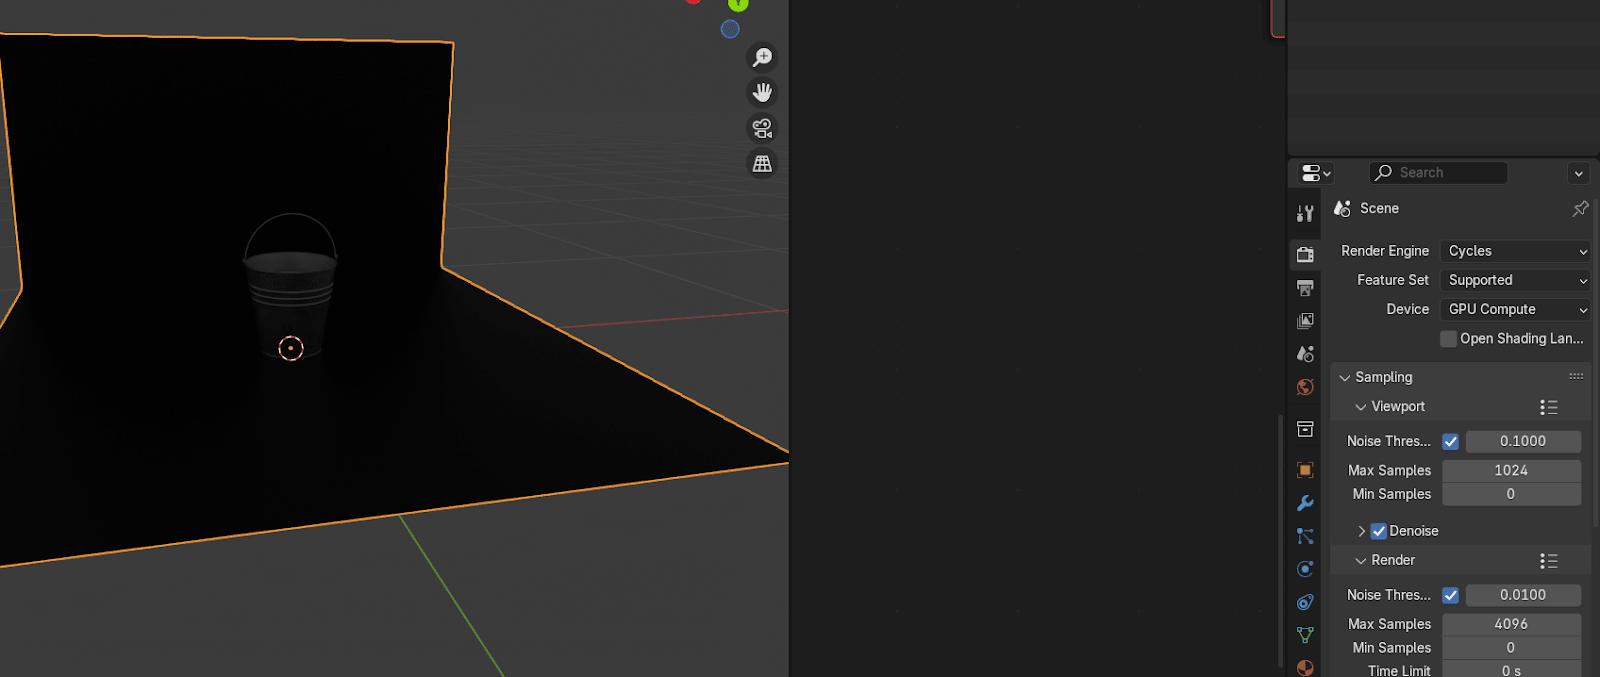
Switch to rendered mode.
Change the render engine to cycles and the device to GPU if your graphics card is betterthan the processor. Also, turn on denoise in the viewport.
Beginners guide to Blender
Change from object to world.
Connect color from Background with Color from Sky Texture.
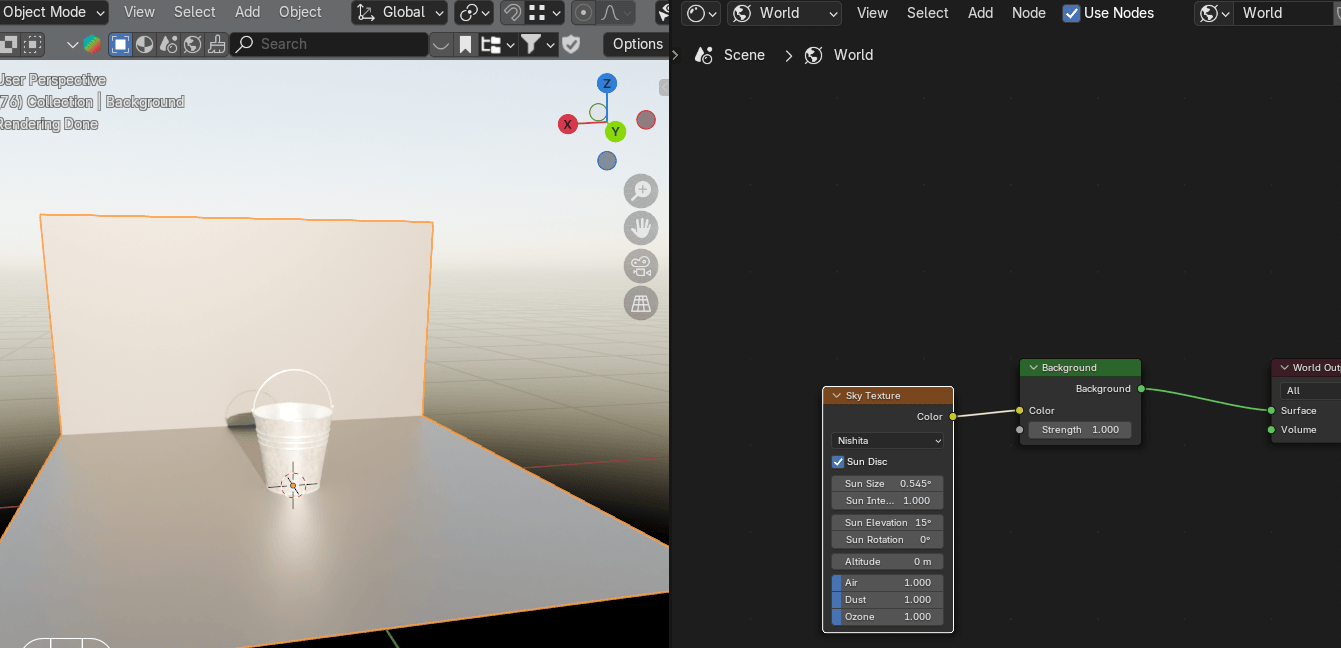
Change from Nishita to Preetham.
Beginners guide to Blender

That is it! Now you can add the camera, adjust it and render this image.
I hope you enjoyed this tutorial.