Chapter 15: Let's model a plate
Now that you know some basic modeling techniques, it’s easier to show you more fun and advanced stuff.
For today’s lesson I’ve decided to teach you how to model a plate.While modeling, you will repeat what you’ve learned about insets, bevels, and loops, but you will also learn some new techniques involving bevels, modifiers, and more.
Are you ready? Let’s get started!
First, we will model a plate.
Modeling a plate
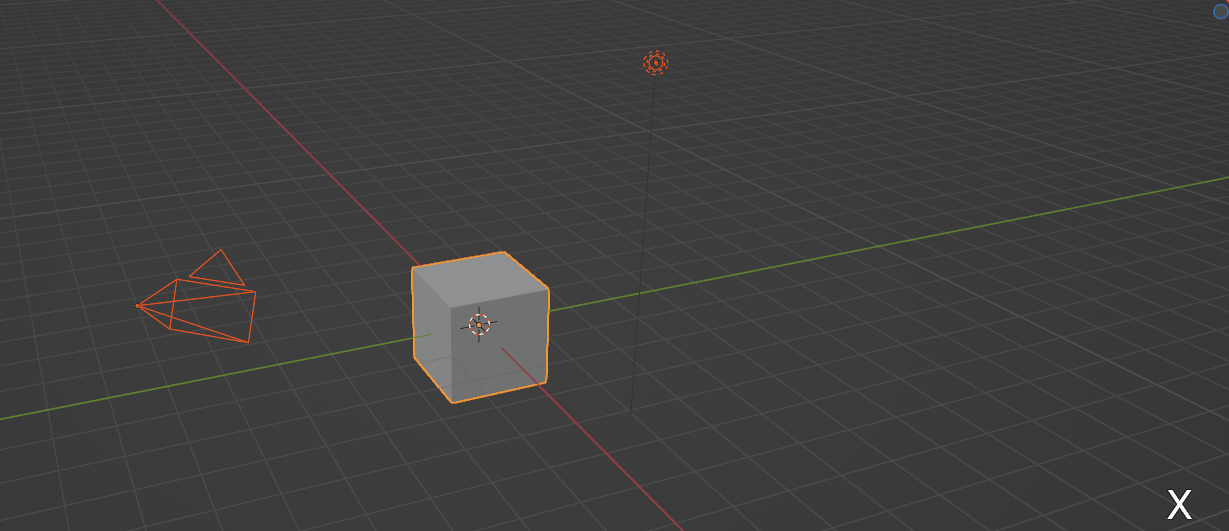
Select everything with “A” and then delete it by pressing “X”.
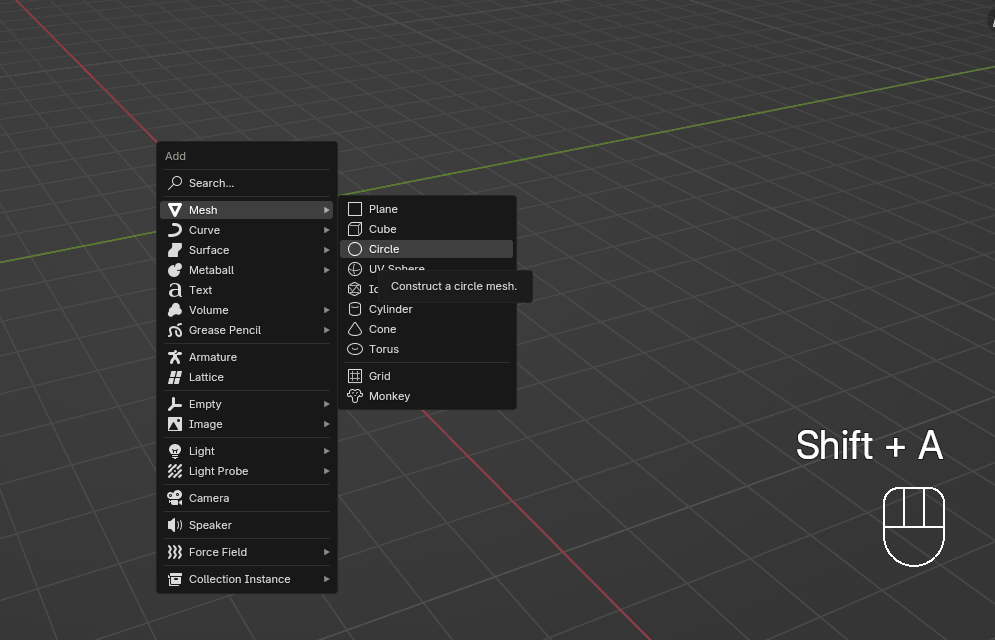
Now, press “SHIFT+A”, go to Add mesh → Circle
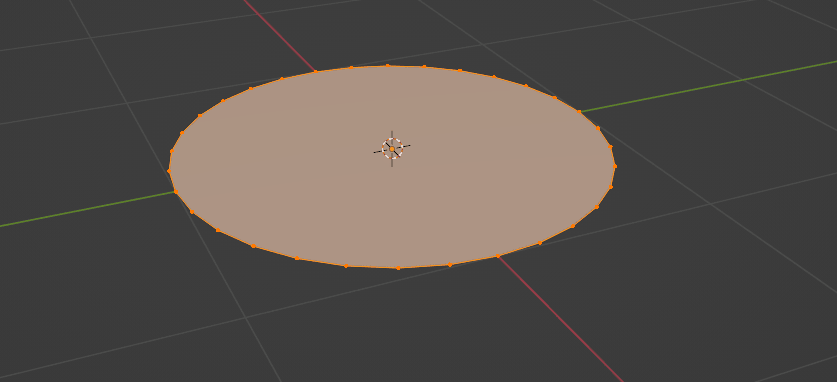
Switch to edit mode with “TAB”.
Click “F” to fill the whole circle.
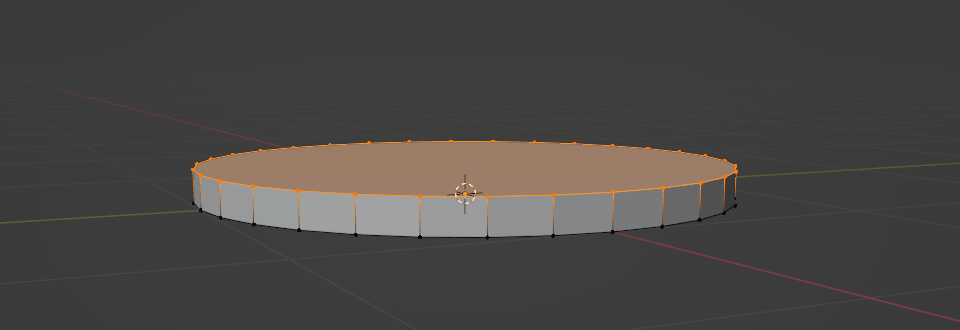
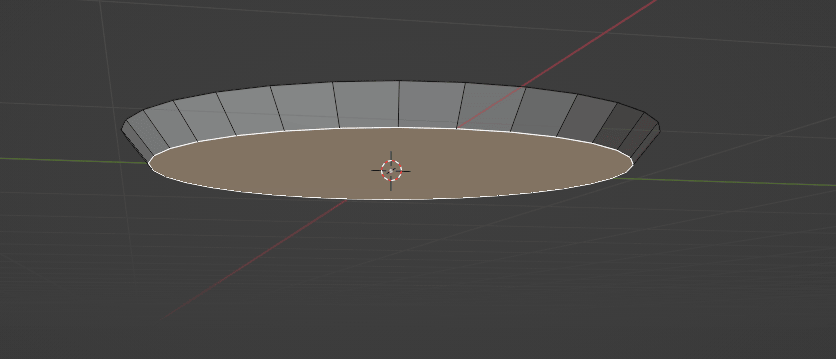
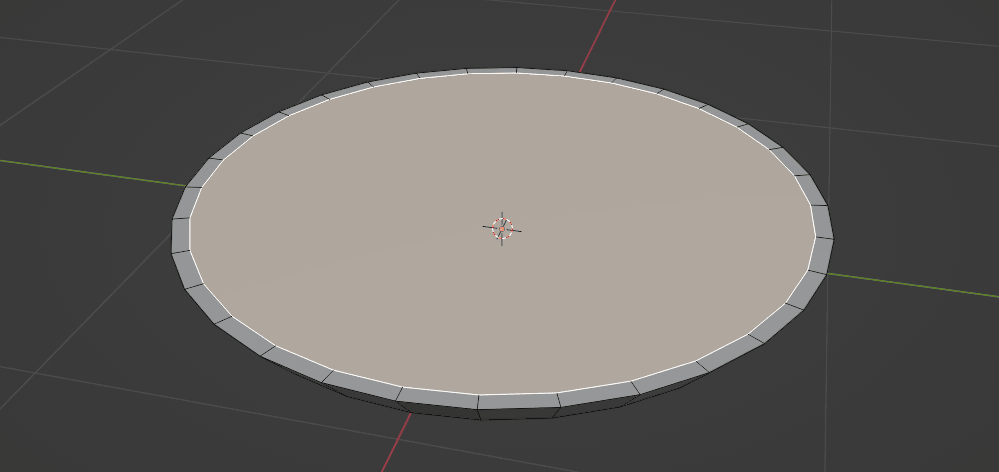
Extrude it with “E” along the Z-axis a bit.
Something like this.
Select the bottom face and scale it with “S”.
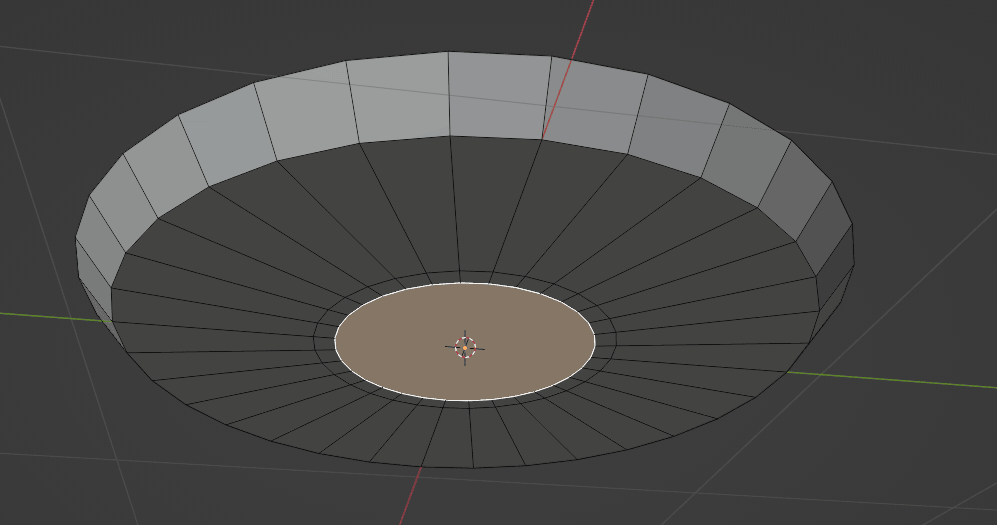
Inset a new face with “I”.

Do it one more time.
Now, it is time to learn something new.
Last time, you learned about loop cuts and loops.
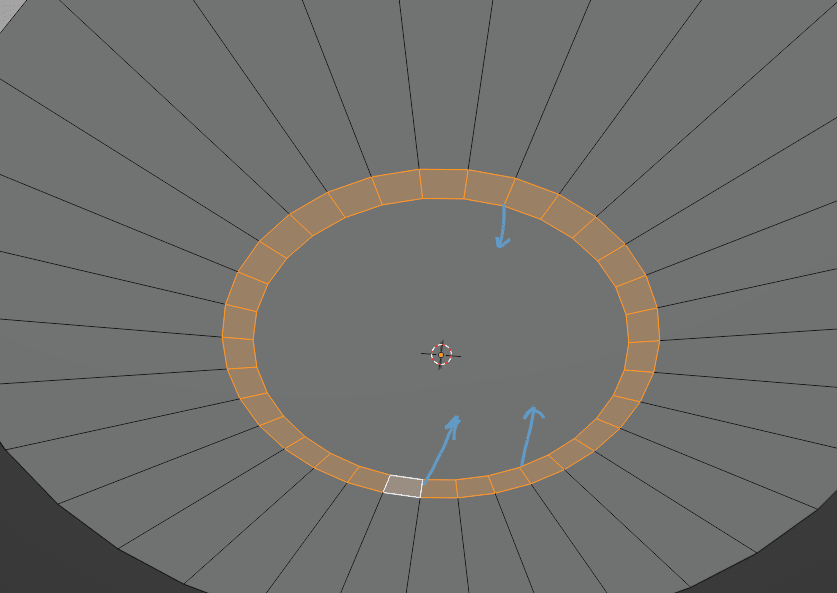
Today, you will learn how to select loops.I want to select this loop here.
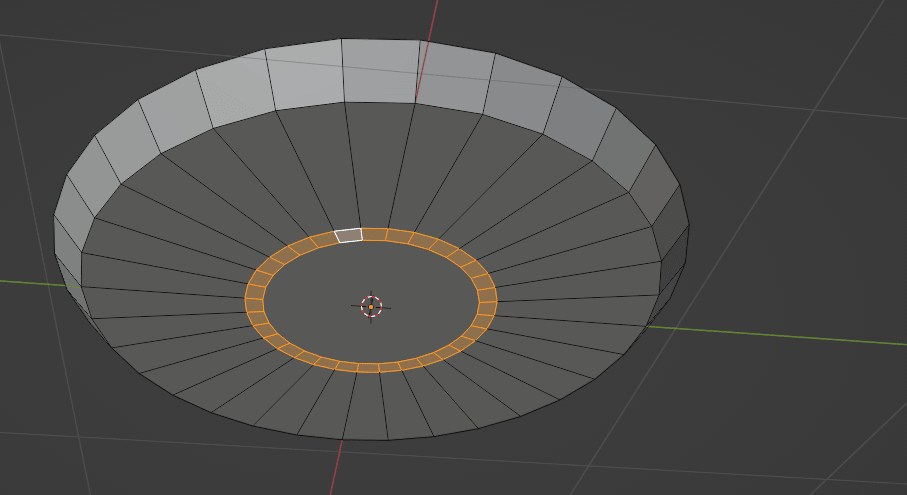
How to do that?
You select loops while holding “ALT” and clicking LMB.But there is one catch.If you select this face, you won’t get loop selection, but this.
To select any “circled” loops, you need to select edges instead of a face.If you click on any of those edges, you will get the right selection.
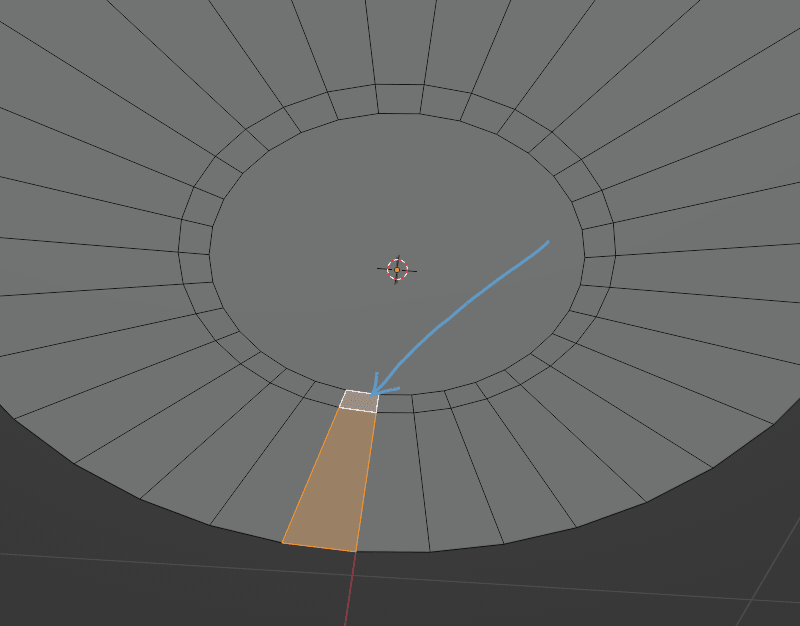
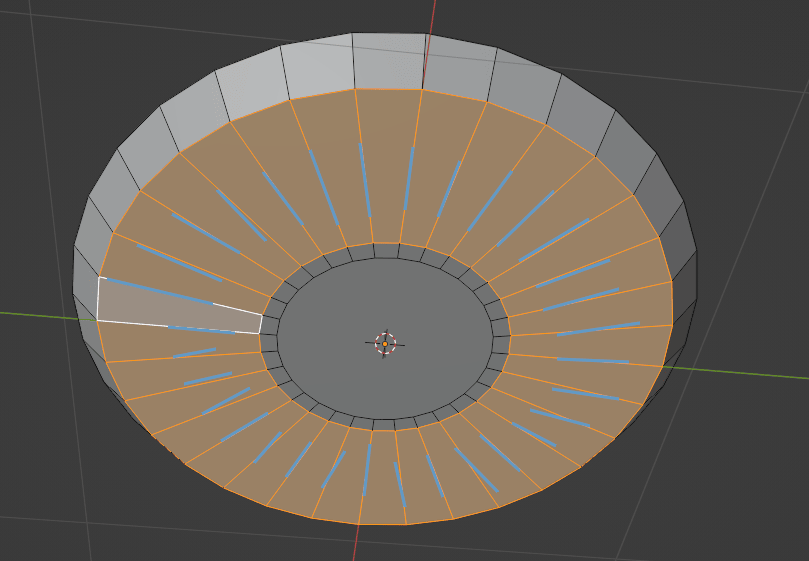
Now, a question: If I want to select this loop, how do I do it?
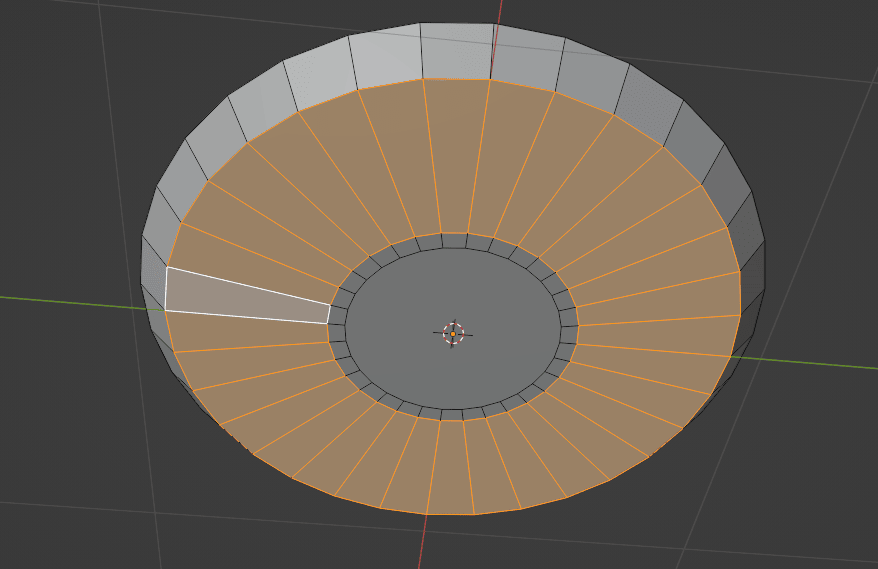
Exactly! Just like in the previous case, hold “ALT” and while holding it, click LMB on any of the middle edges that are part of that circled loop.
Any of those blue-colored edges will work.
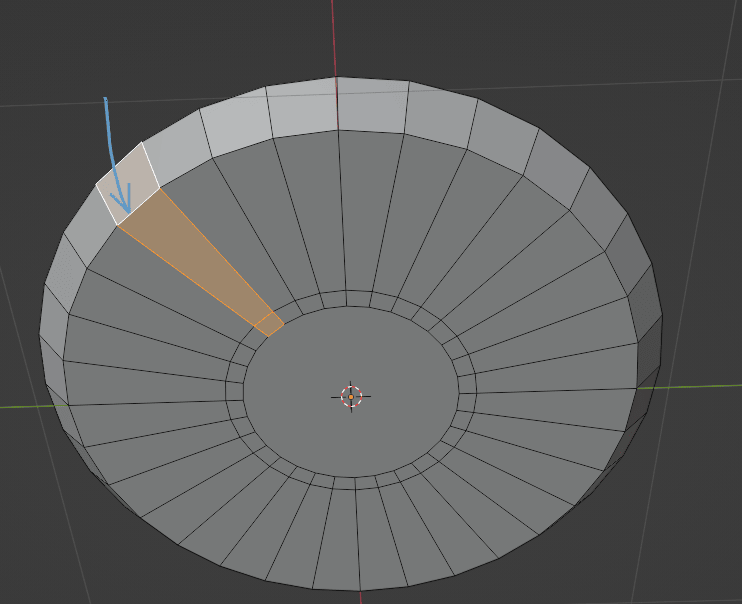
But if you select this edge, you will get this result.
Ok, now we can continue with modeling our plate.
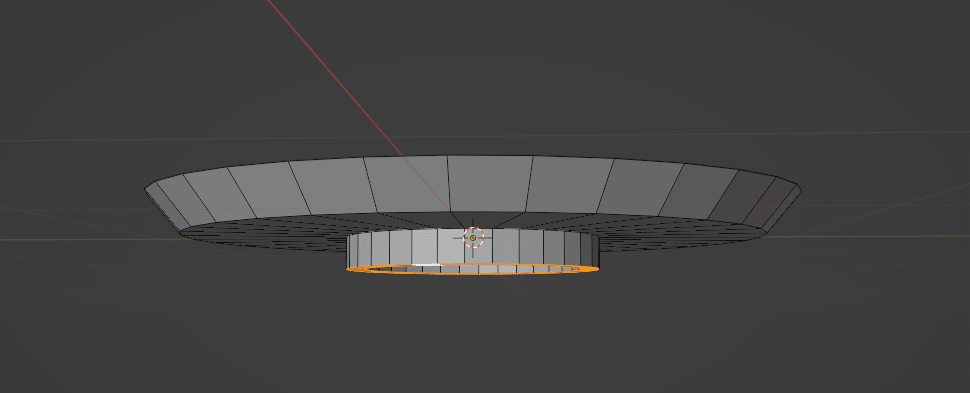
We selected this loop with “ALT” and LMB.

Extrude it down a bit with “E”.
Then, select the top face of the plate and inset a new face with “I”.
Extrude it down with “E”.
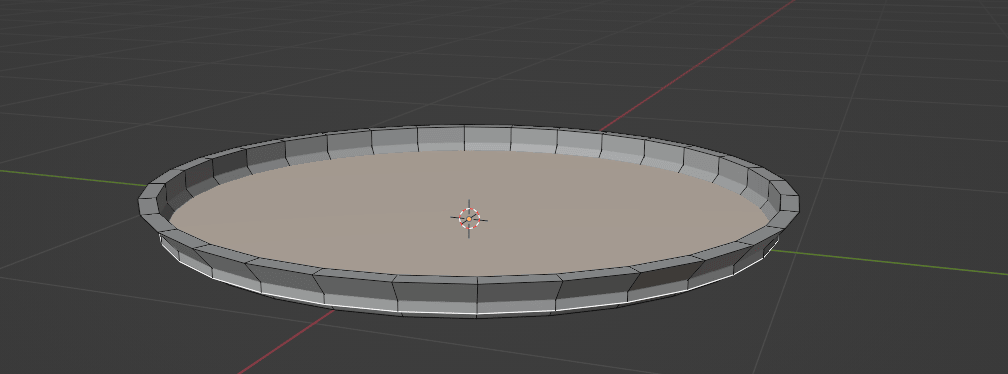
Scale it with “S”.
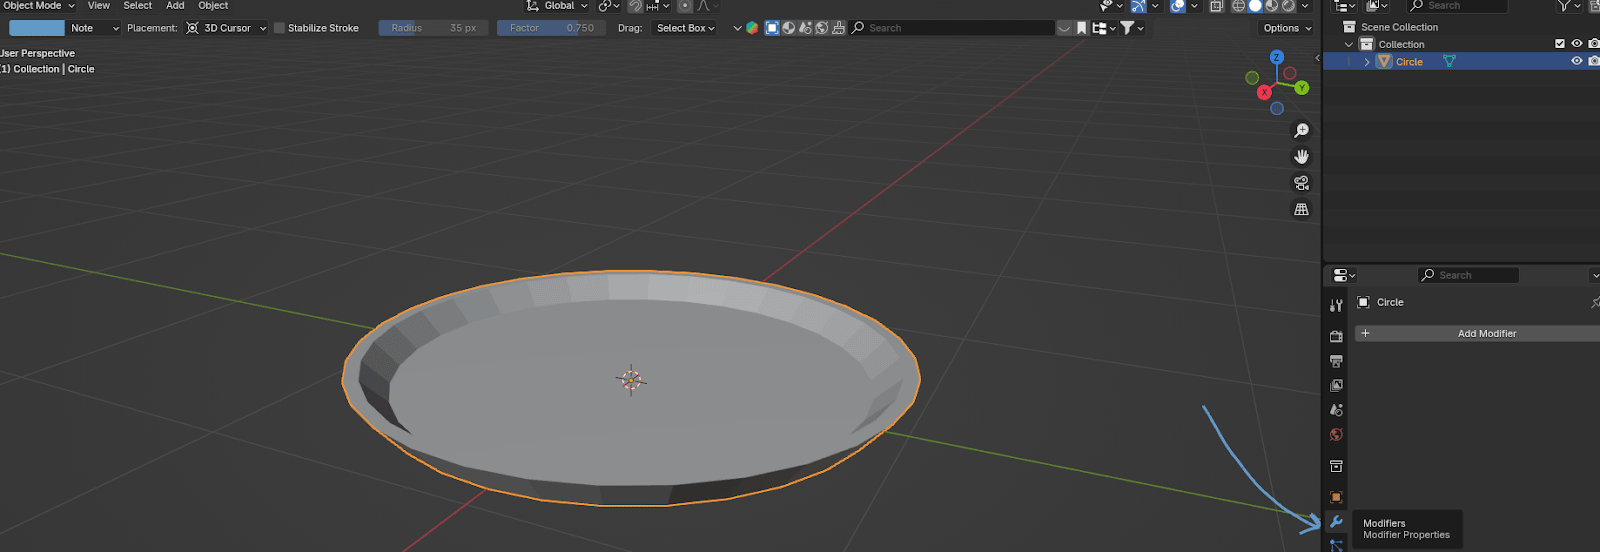
Now it is time to learn about modifiers.
Switch to object mode with “TAB”.
Click on the wrench icon that says “Modifiers”.
Modifiers allow you to change the geometry of an object in a non-destructive way.
I will demonstrate this using a bevel modifier as an example, so you can better understand how modifiers work.
(Don’t apply any of these steps unless you first copy your plate, as we won’t be using the bevel modifier - this is just for demonstration purposes.)
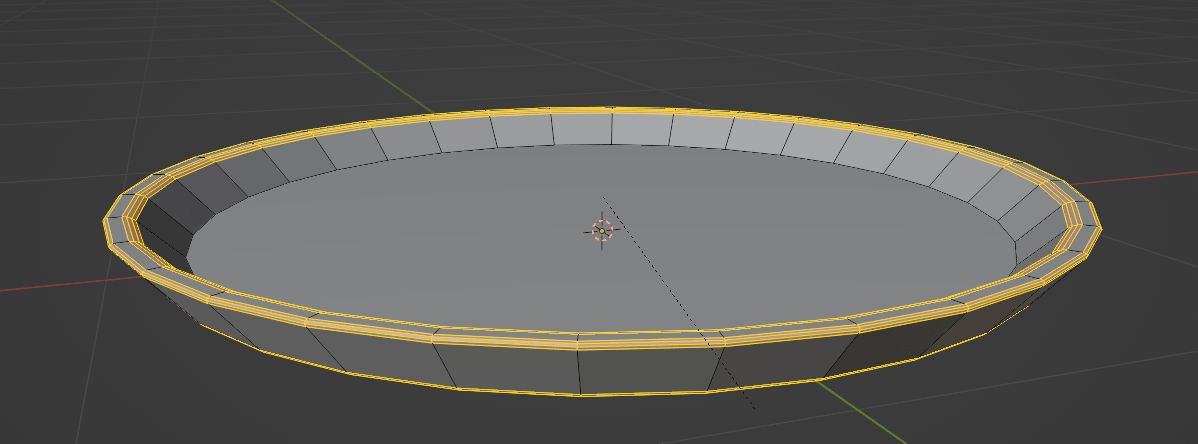
We learned about bevels last time
If we want to bevel those edges using the bevel tool or the “CTRL+B” shortcut, we would select the edges and bevel them. After we did that, there’s no going back (except by using undo).
However, if you’ve made too many steps, you might not be able to undo that action, leaving you stuck with the bevel. In that case, you’d have to start modeling from scratch if that wasn’t the result you wanted.
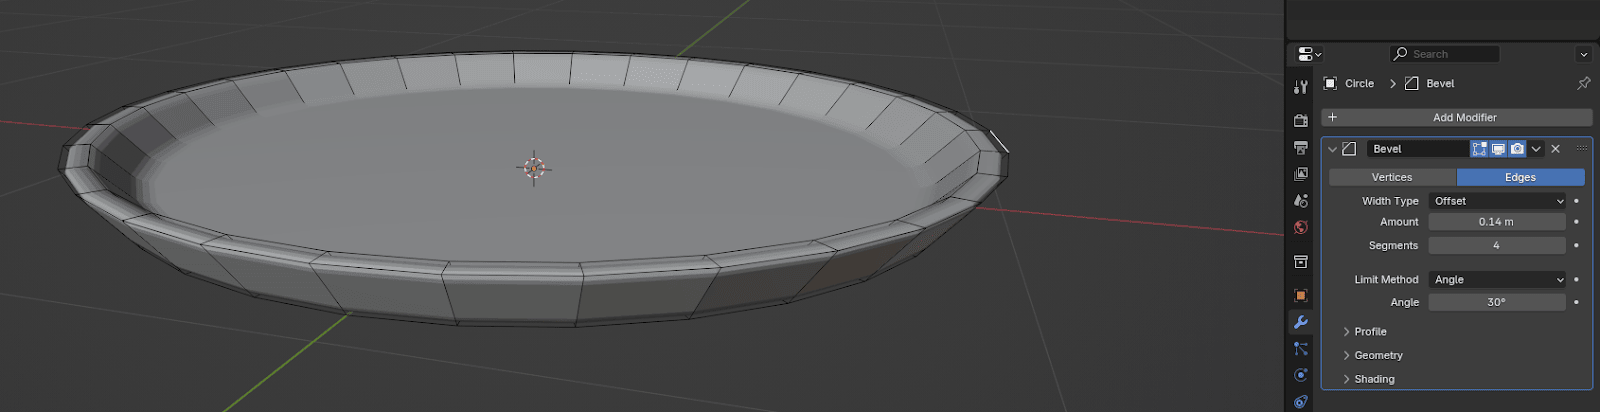
But if you add a Bevel modifier, click Add modifier → Generate → Bevel,
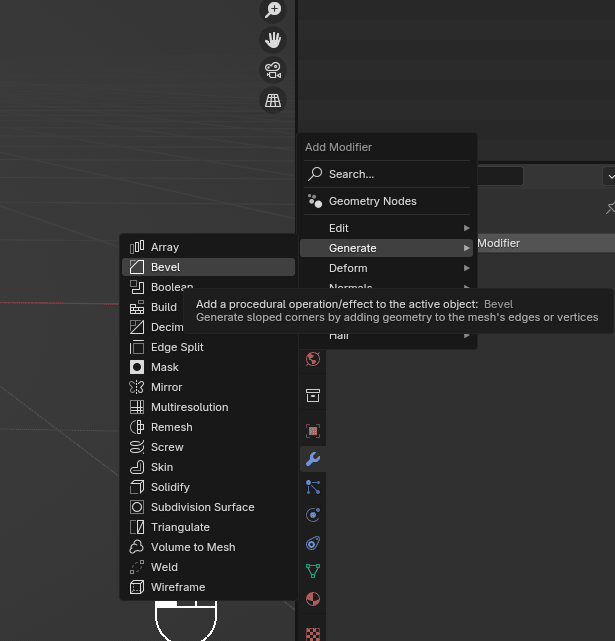
you will get this.
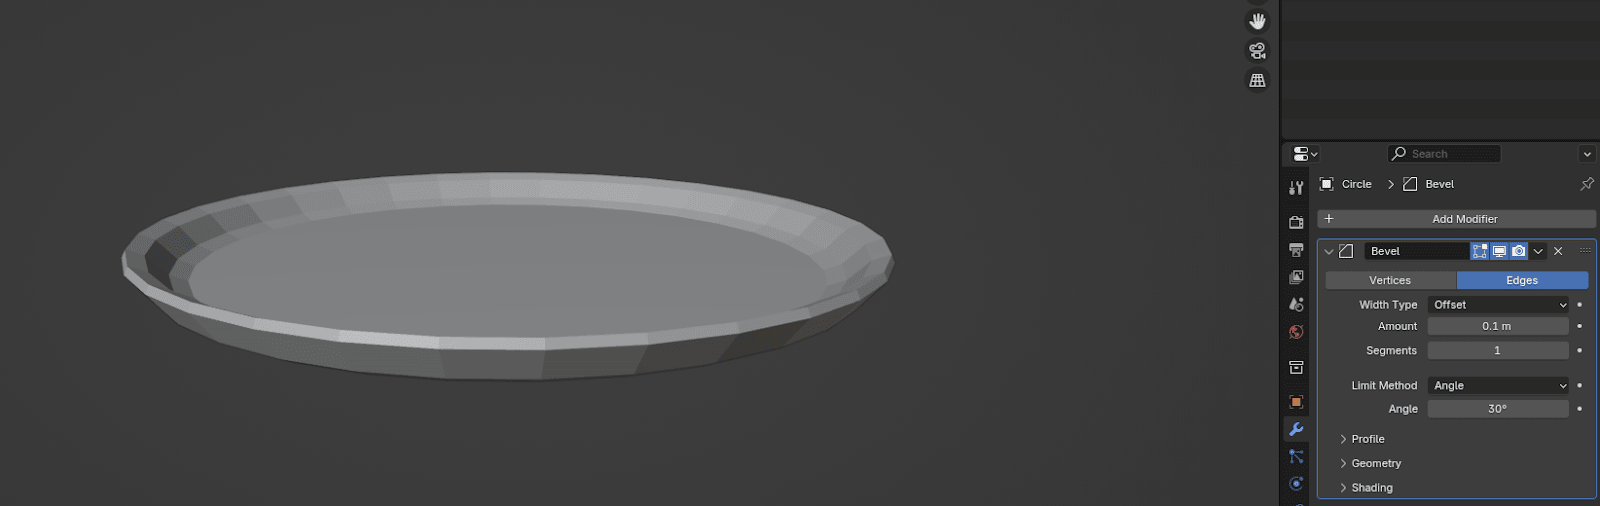
And here
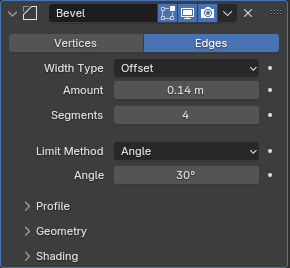
you can change the amount and segments of the bevel as you want.
Yes, you can achieve similar results when beveling with a bevel tool, but with a modifier, you can adjust the bevel segments and amount at any moment – unlike when using the bevel tool, where changes are fixed once applied.
CAREFUL!
In some cases, you may need to apply modifiers. Once you apply them, you lose the ability to make further changes, and your bevel is no longer non-destructive.
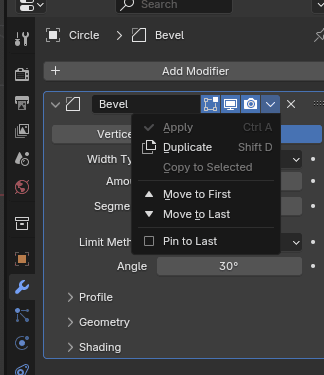
And how do you apply the modifier (in this case, the bevel)?
Click on the dropdown menu arrow, and you will see the “Apply” option.
But why can't you click on it?
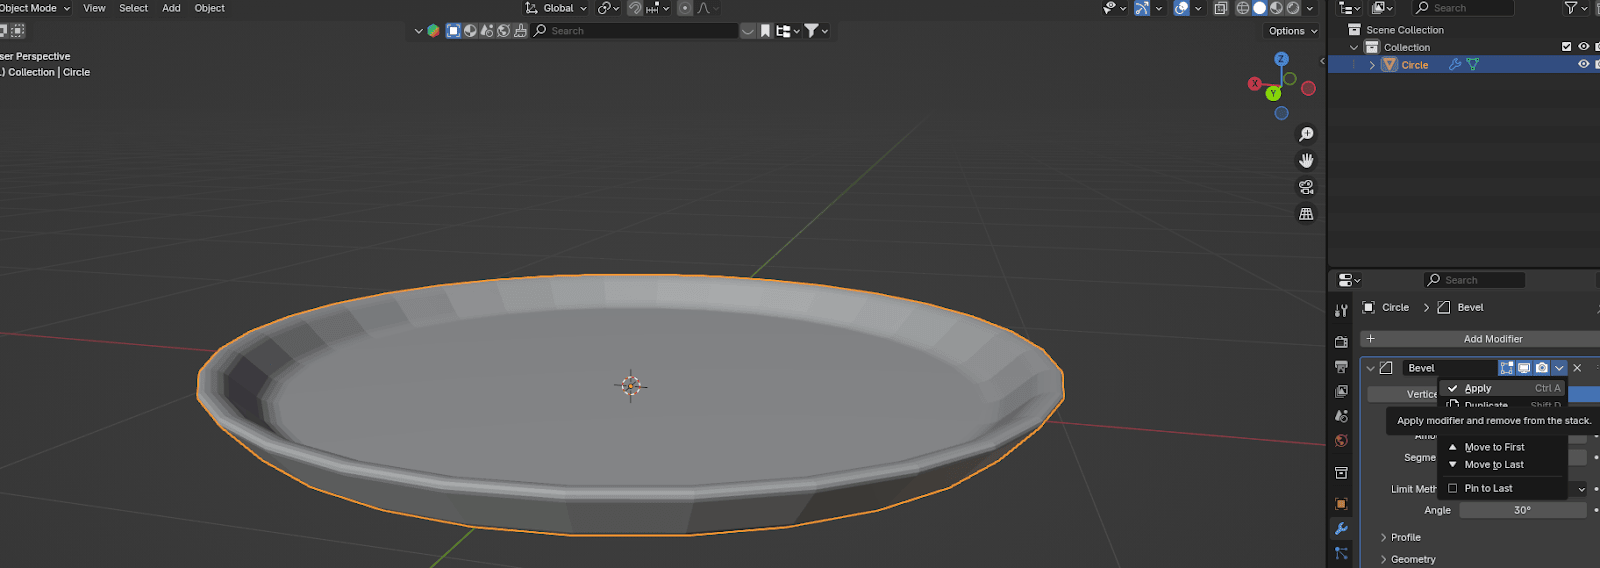
It is because you are currently in edit mode, and modifiers can only be applied while in object mode.
To apply a modifier, make sure to first switch to object mode.
Now that you know about modifiers, it is time to add a modifier to the plate.
I just explained the bevel modifier, but we won’t be adding that one. Instead, we’ll add a new modifier called the subdivision modifier.
So, what does this modifier do?
The subdivision subsurface modifier split the faces into smaller parts, giving it a smoother appearance.
Let’s add it to the plate so you can see what I mean.
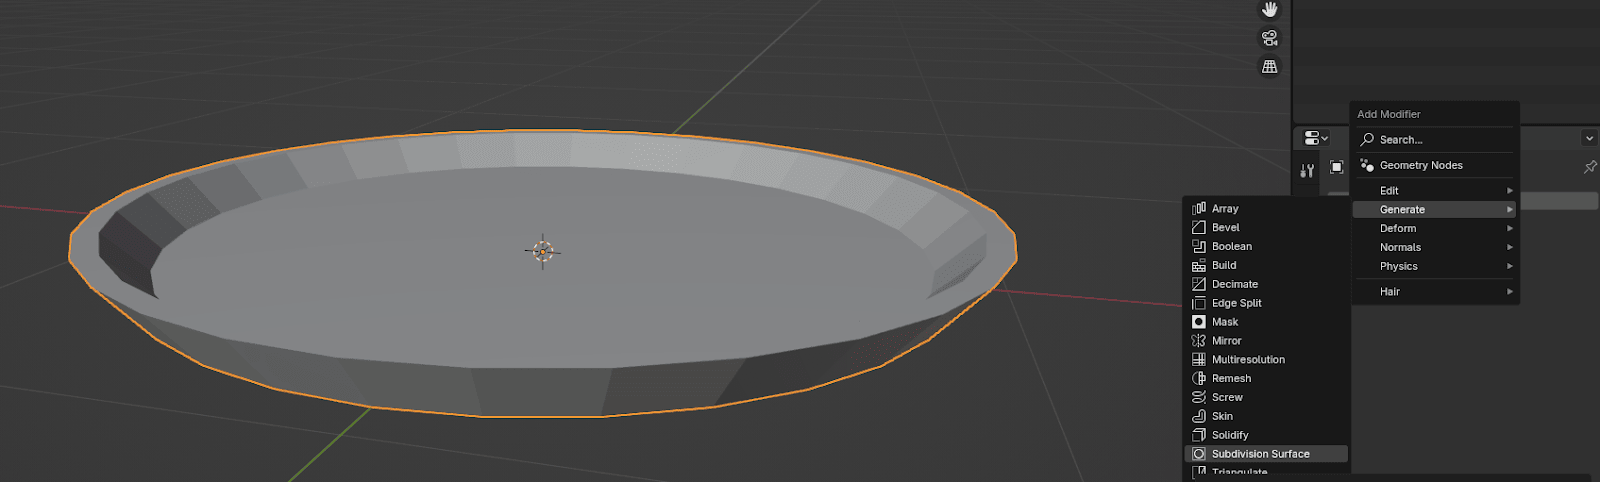
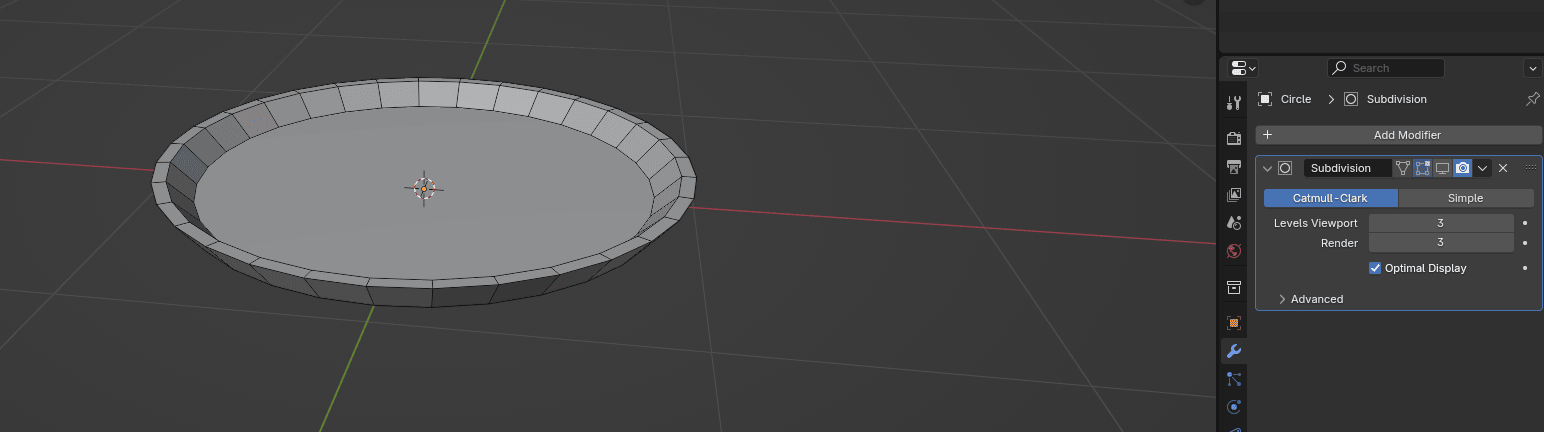
Add modifier → Generate → Subdivision subsurface
This is how our plate currently looks.
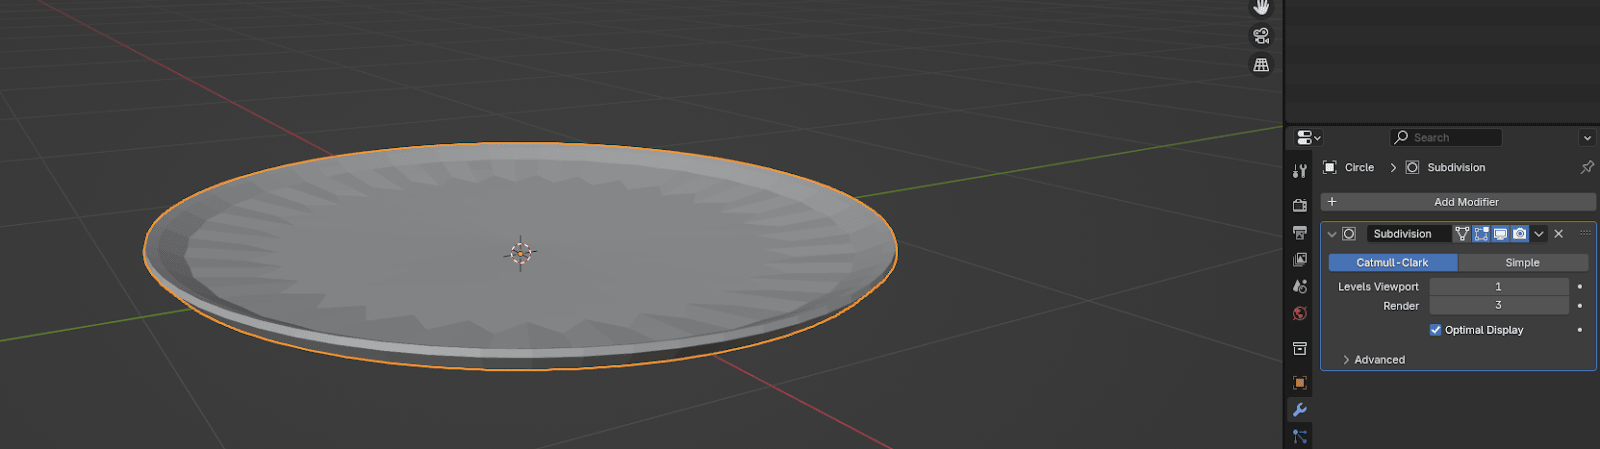

But you can see some additional options. For now, I won’t explain what render means, so just concentrate on levels viewport number.
It is currently 1. But what if you change it to 2?
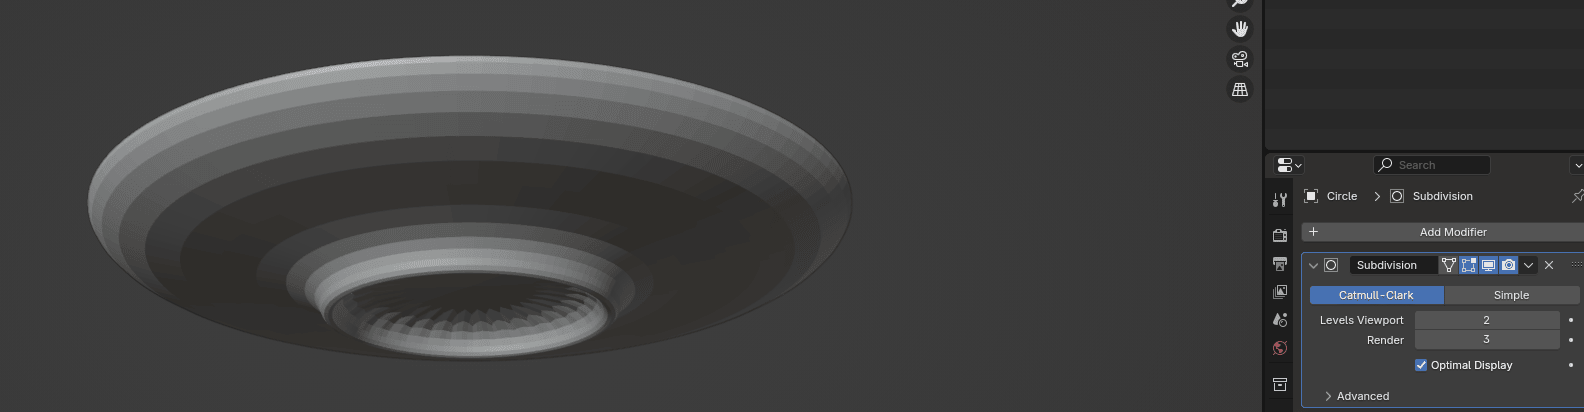
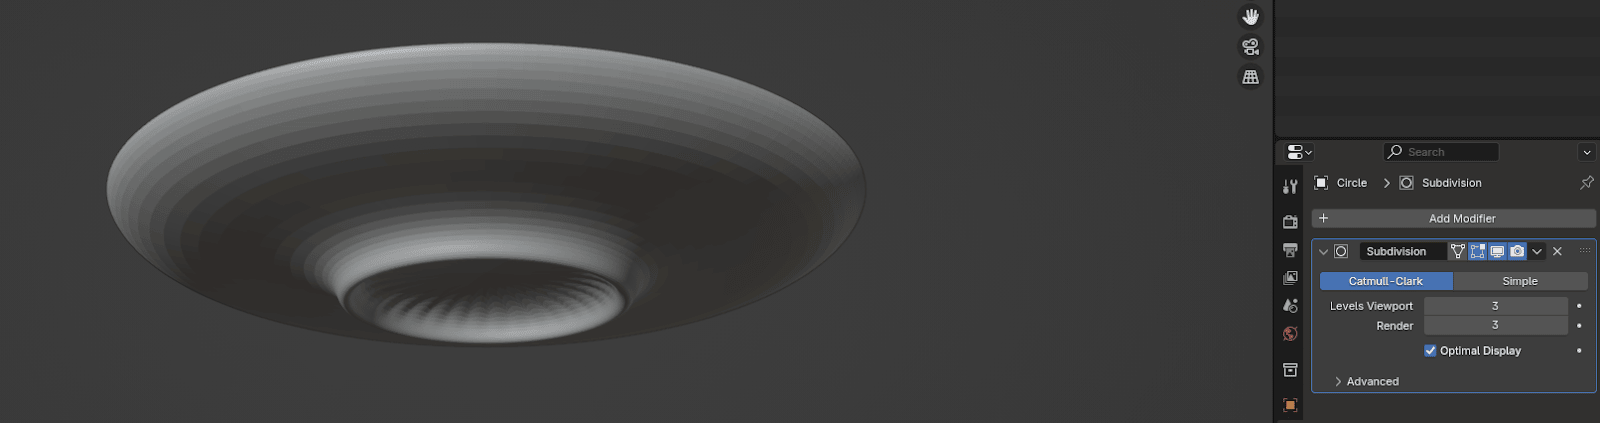
And what about 3?
Much better, right? Just remember that the higher the number, the more faces your model will have. Fewer faces are generally for performance, but your model also needs to look good, so you need to find a perfect balance to achieve both a good appearance and an efficient number of faces.
For this example, I will set it to 3.
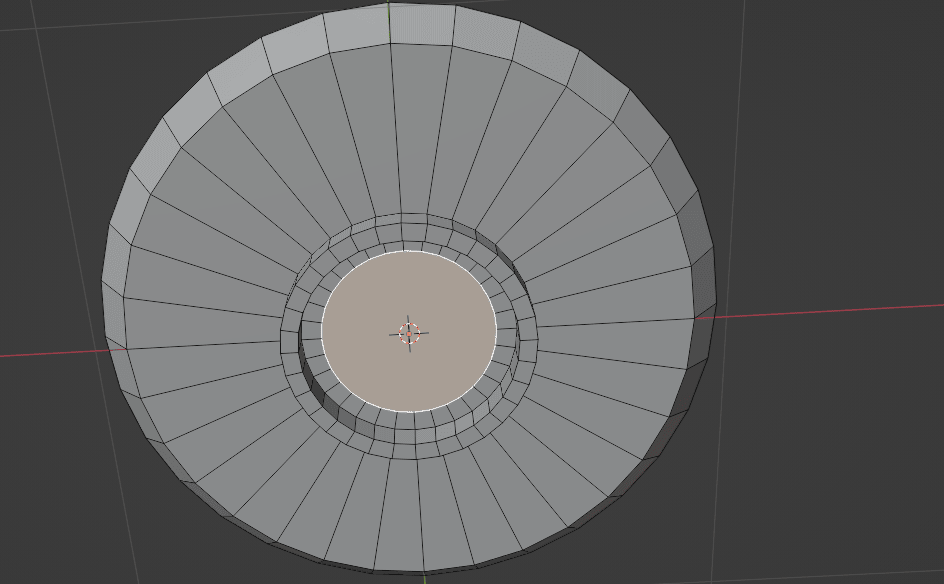
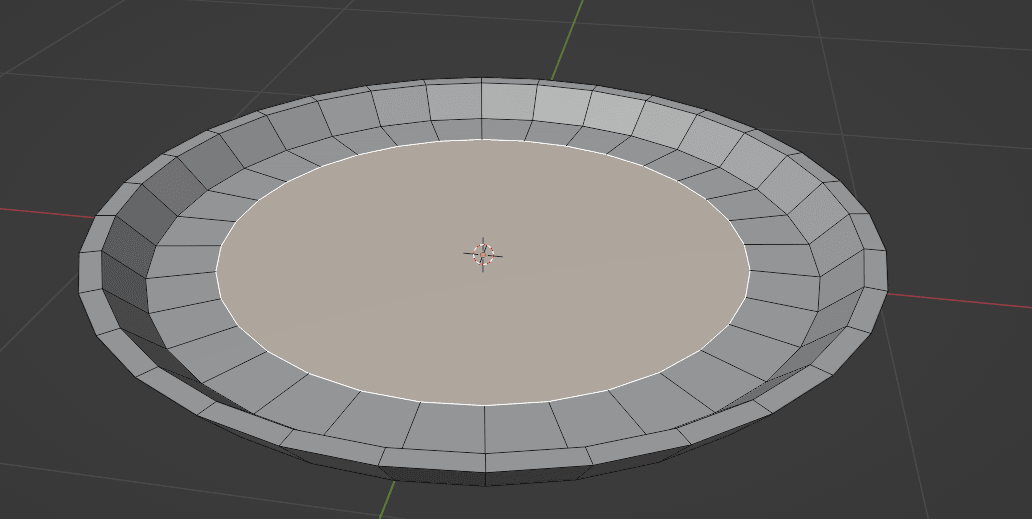
Now, switch to edit mode, and inset a new face on the bottom with “I”.
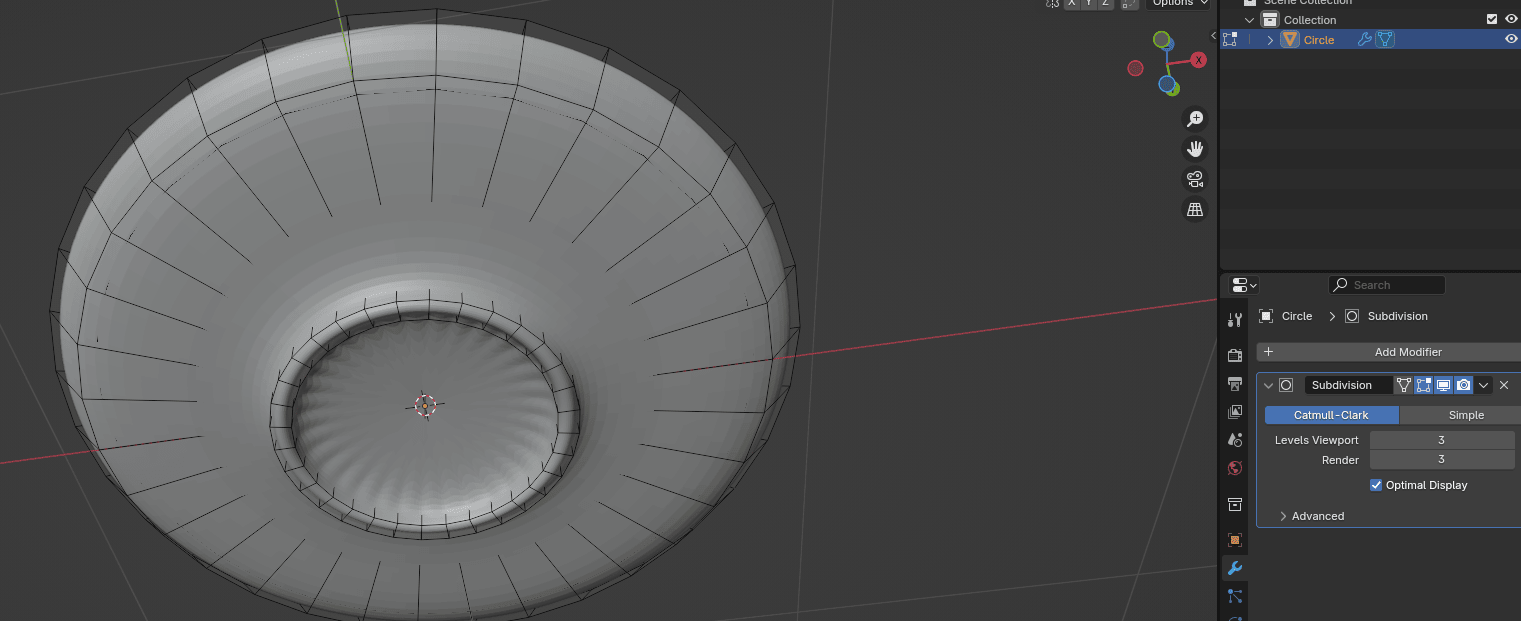
If you encounter the same issue I did– where you can’t see what you’re selecting because of the subdivision modifier,
just click here and you will switch off the modifier in the viewport (everything in object and edit mode is your viewport). You haven't applied or removed the modifier; you’ve just temporarily hidden it so you can easily see what you are doing.
To disable it, just click on this third “screen” icon
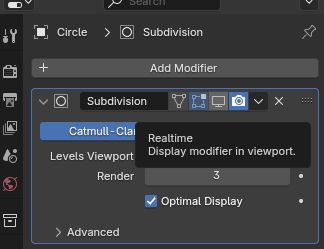
and now you can see what you are doing.
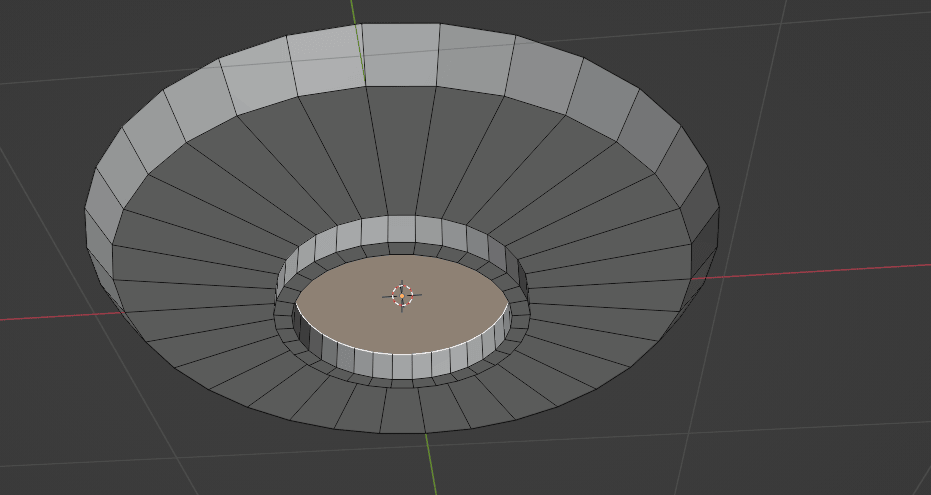
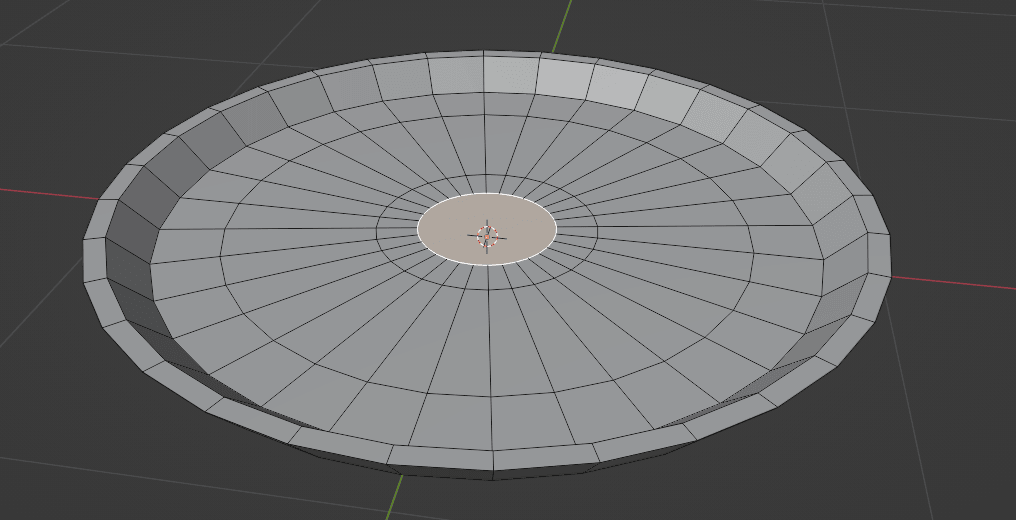
So let’s finally inset a new face on the bottom with “I”.
And one more time.
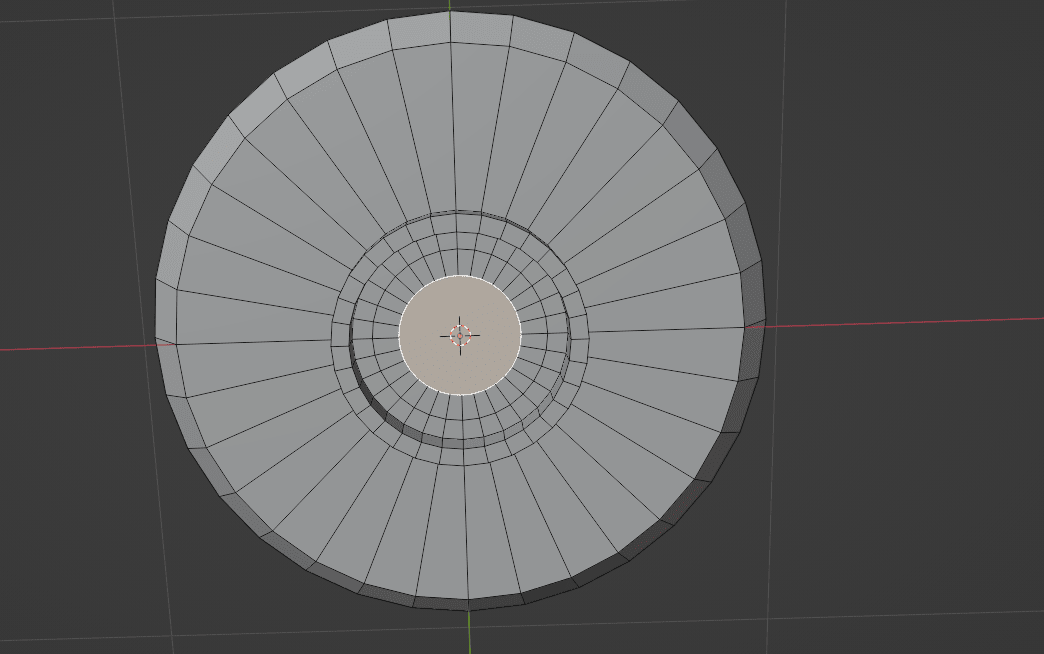
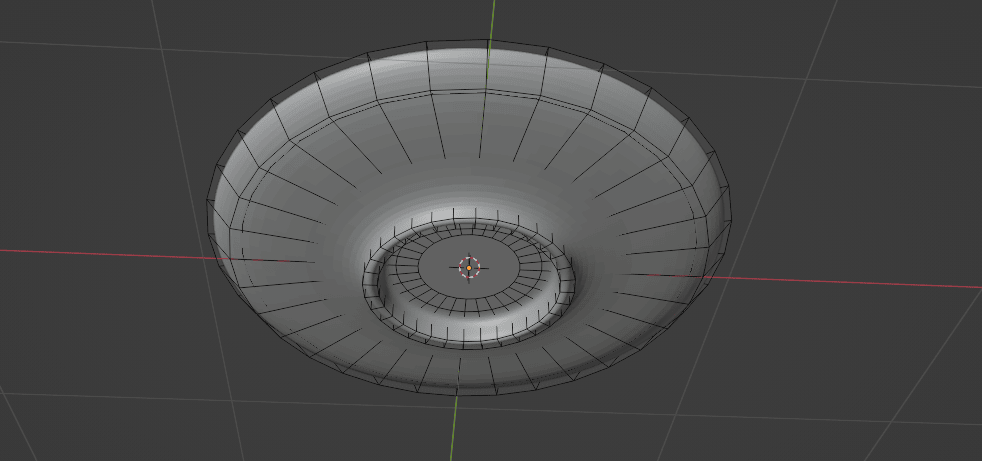
Now you can turn on the subdivision modifier again to see how your plate looks.

Now click “M” and merge at center.

Bottom of the plate is finished,
Now go to the top of the plate.
You can switch off the modifier again in the viewport so you can see what you are doing.
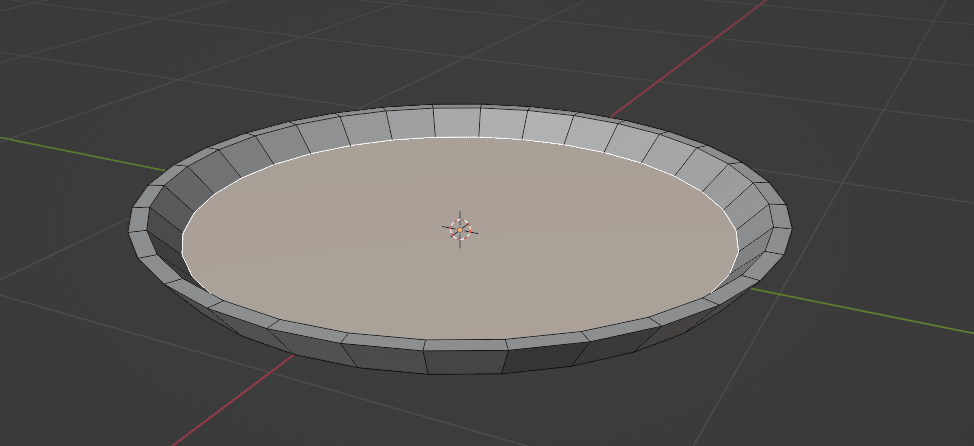
Select the top face and make an inset with “I”.
Select the top face and make an inset with “I”.
And do that two more times.
Now you can turn on the subdivision modifier again to see how your plate looks. Now click “M” and merge at center.
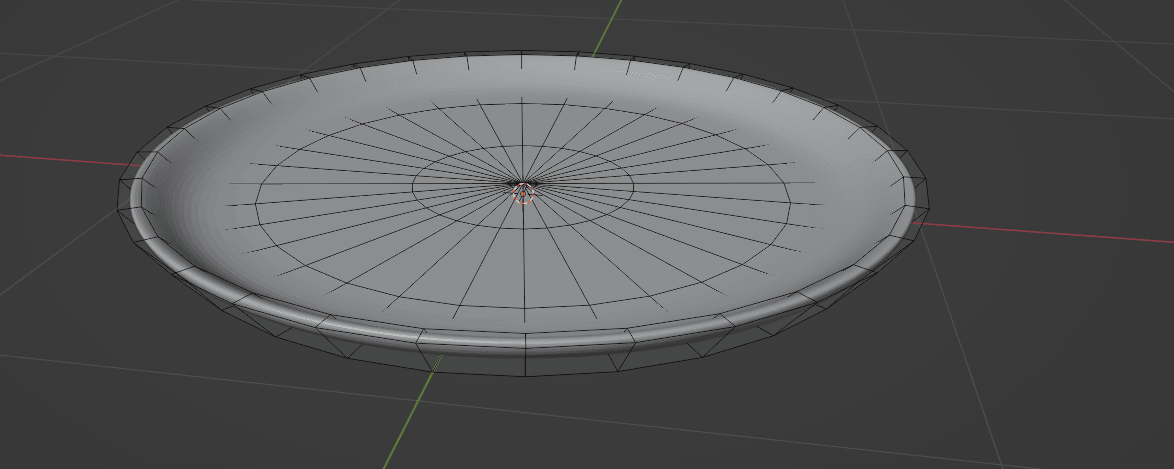
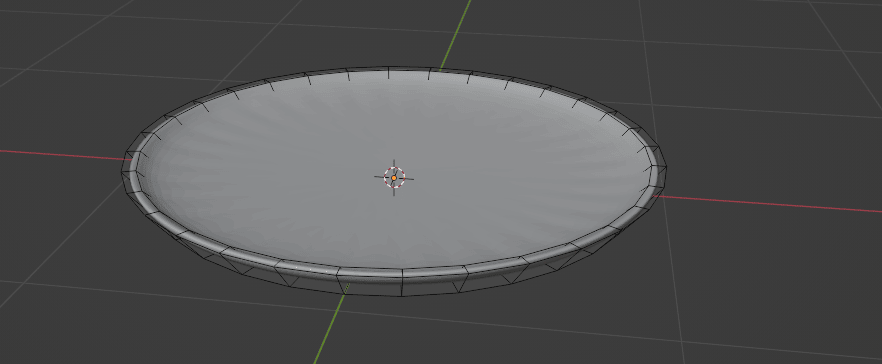
In the end, switch to object mode.
Click RMB and choose Shade smooth to smooth your object.
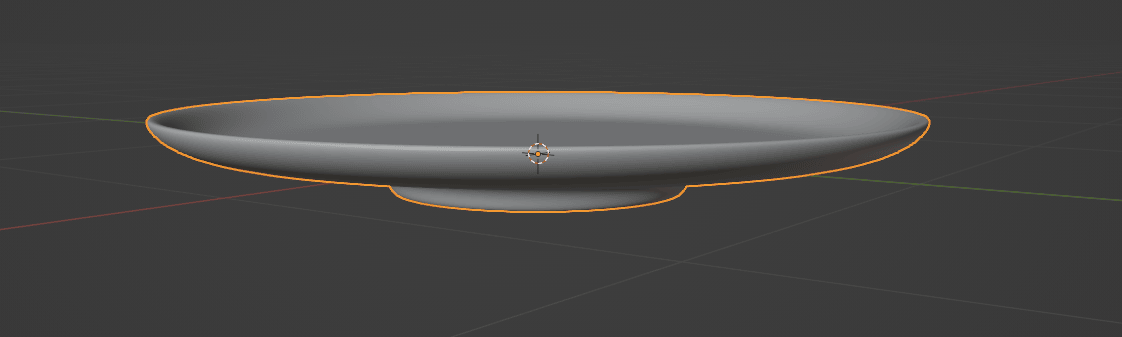
You have a plate!
We will stop here now, but next time you will learn about texturing and modeling a cake.
Oh, before I forget, I finally started my YouTube series for Beginners in Blender based on this guide, and you can check out the first episode on this link if you are interested.
Thank you for all downloads, ratings, and support.
Wish you happy Blending!
Byeee!