Chapter 28: Modeling and texturing a cute 3D cartoony grain sack
Beginners guide to Blender
(Blender Version 4.2.0)
Modeling
Hello everyone! Thank you so much for supporting me on Patreon and YouTube!
It means a lot!
Today we will learn how to model a cute cartoony 3D grain sack in Blender.
I hope you’ll enjoy this tutorial.
You can find more tutorials on my YouTube and on my Patreon (free and paid members)
If you want a video tutorial check my YouTube channel:https://youtu.be/HEkOJ7wn_Bo
Now, let’s begin with modeling!
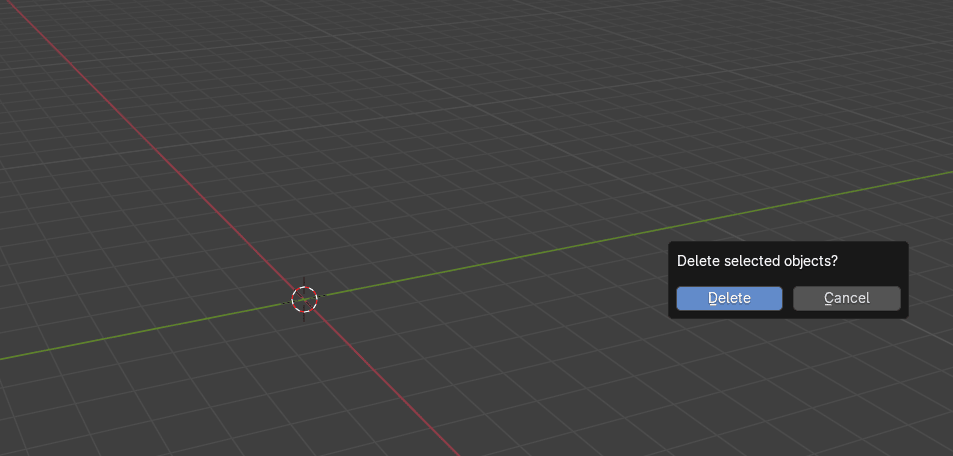
Select everything with “A” and delete with “X”.
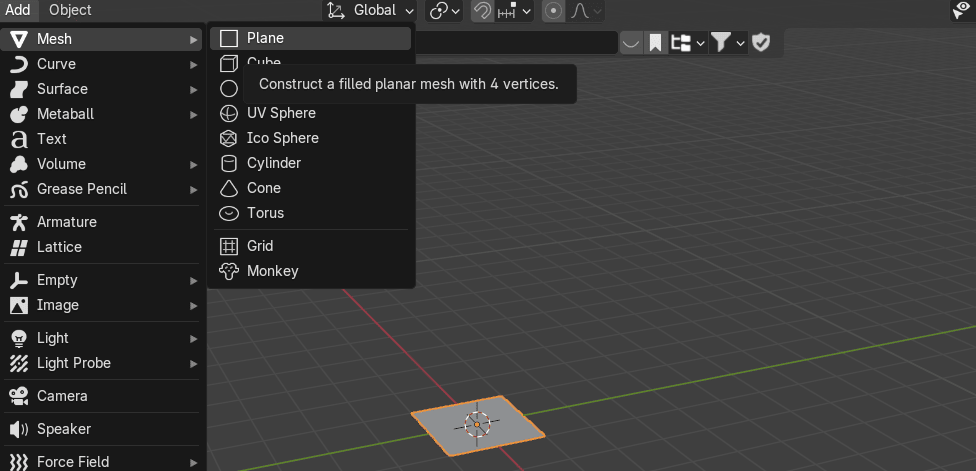
Go to Add → Mesh → Plane
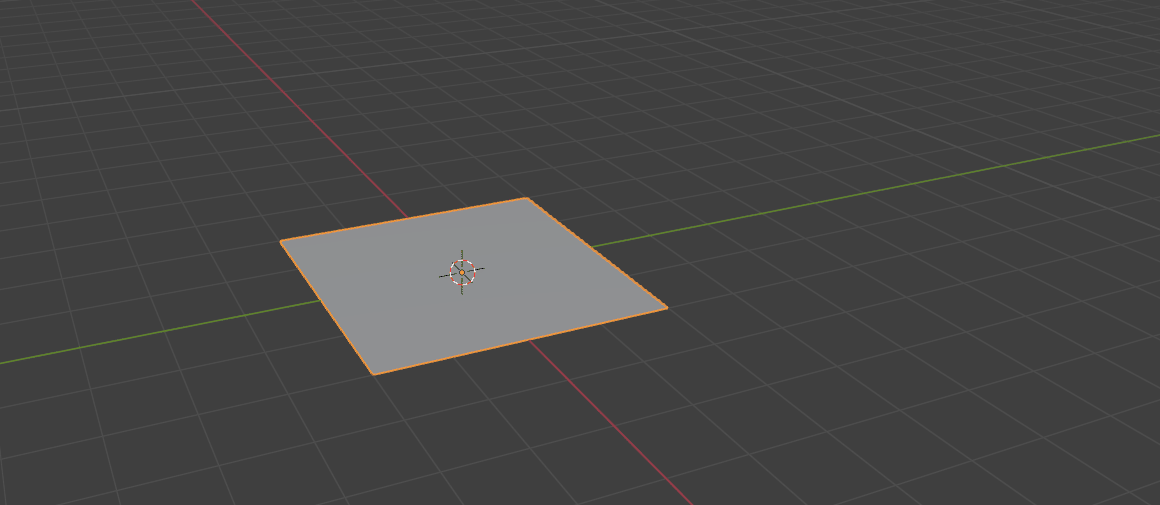
Press “S” + 2 to scale it for 2
Beginners guide to Blender
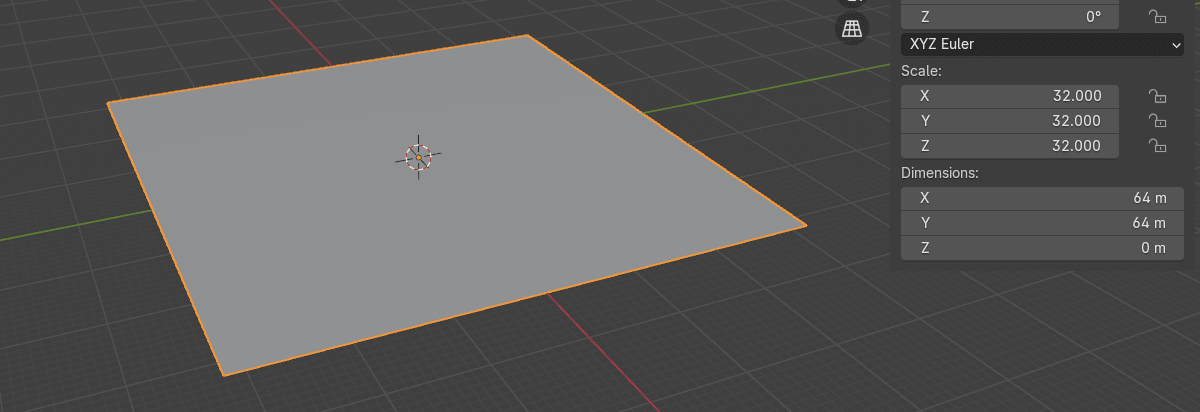
And then press “SHIFT+R” 4x to repeat that action.
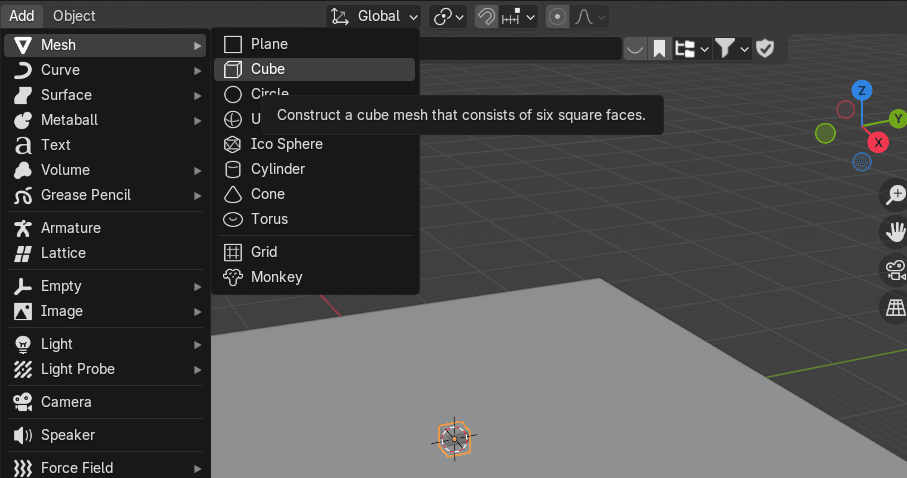
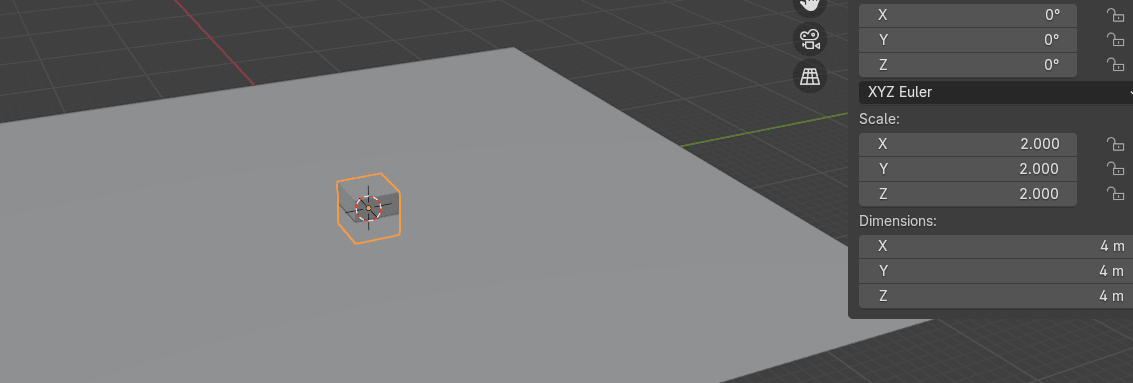
Now go to Add → Mesh → Cube
Press “S” + 2 to scale it for 2
Beginners guide to Blender
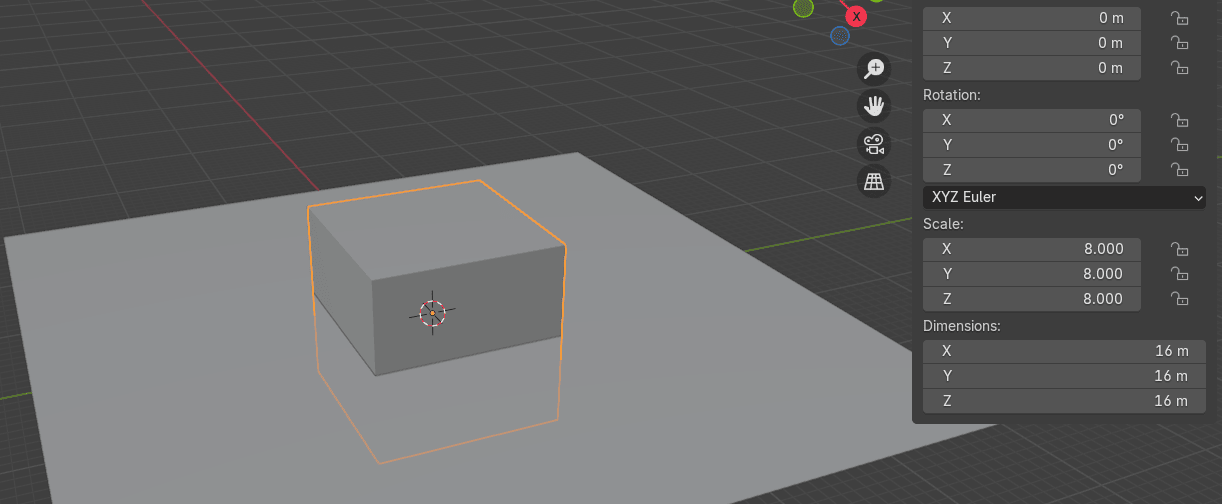
And then press “SHIFT+R” 2x to repeat that action.
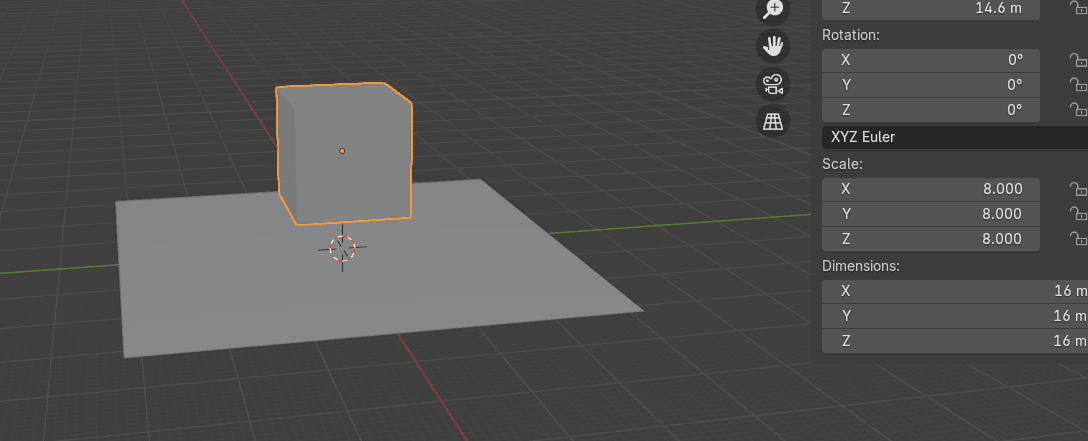
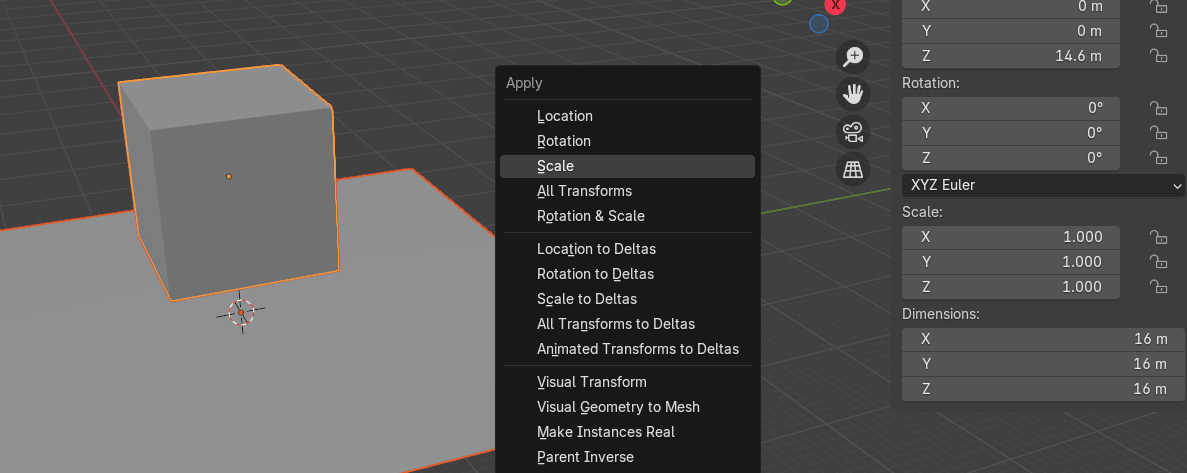
Move it up with “G+Z” for around 14.6
Select everything with A and apply scale with “CTRL+A”
Beginners guide to Blender
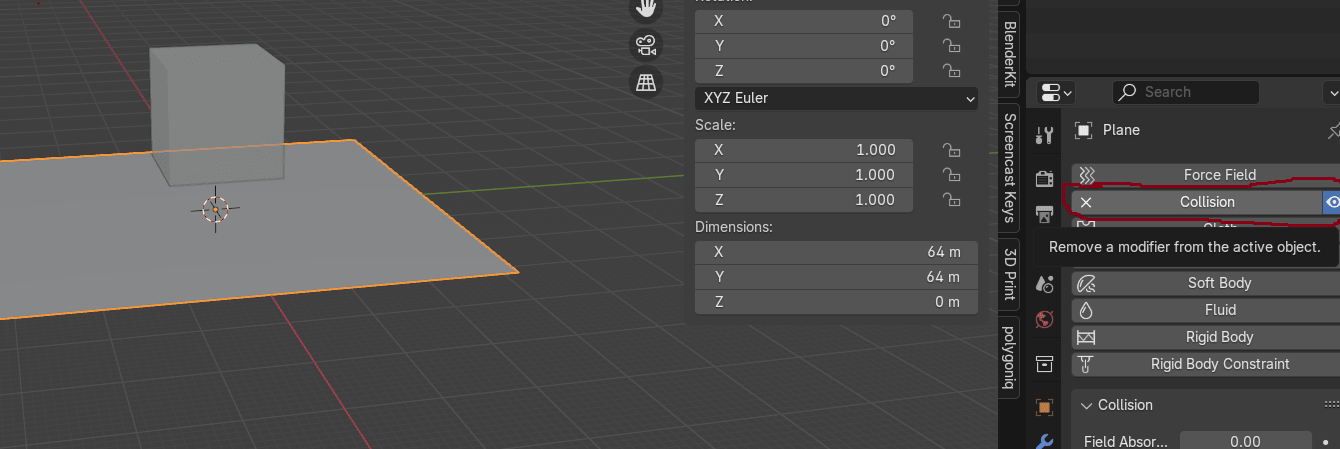
Select the plane, go to Physics
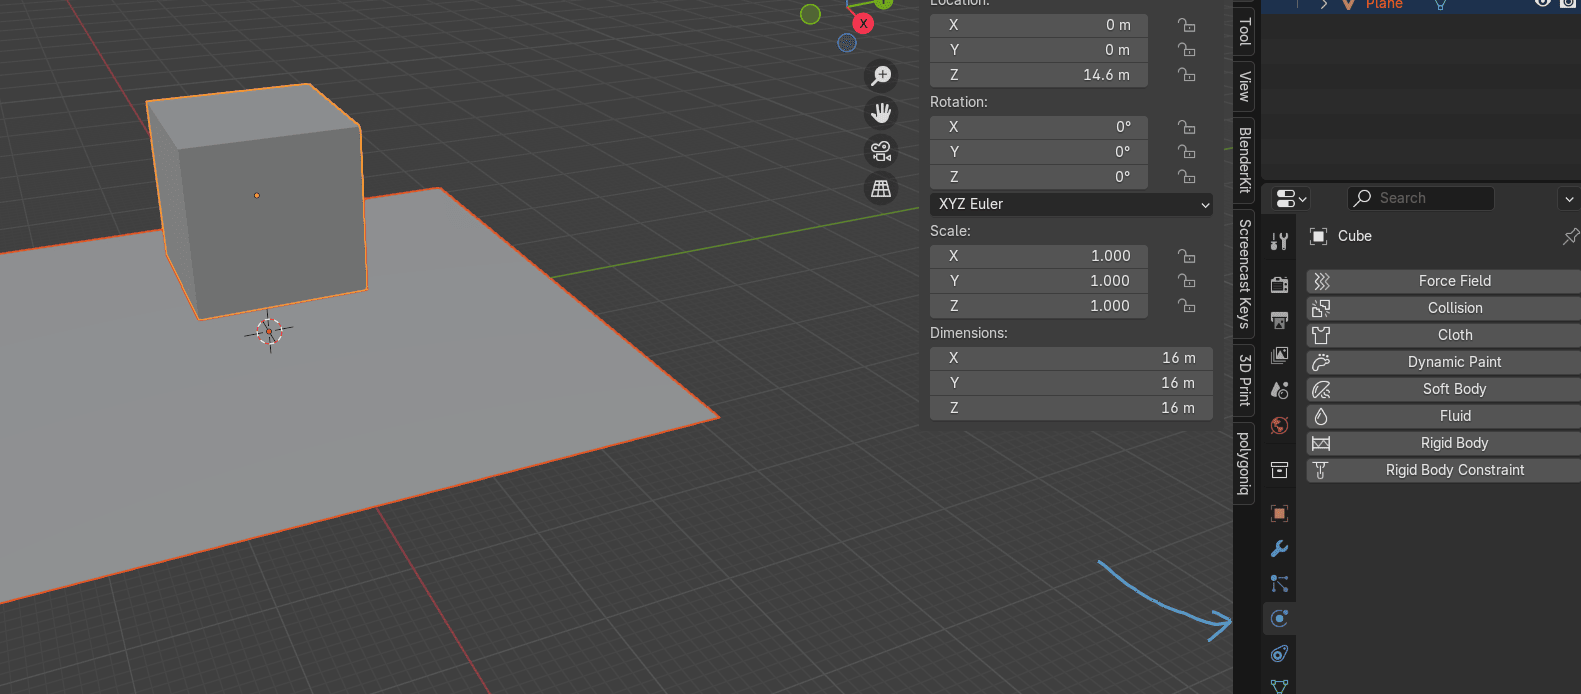
Click on Collision to turn it on for the plane so that our sack could interact with it.
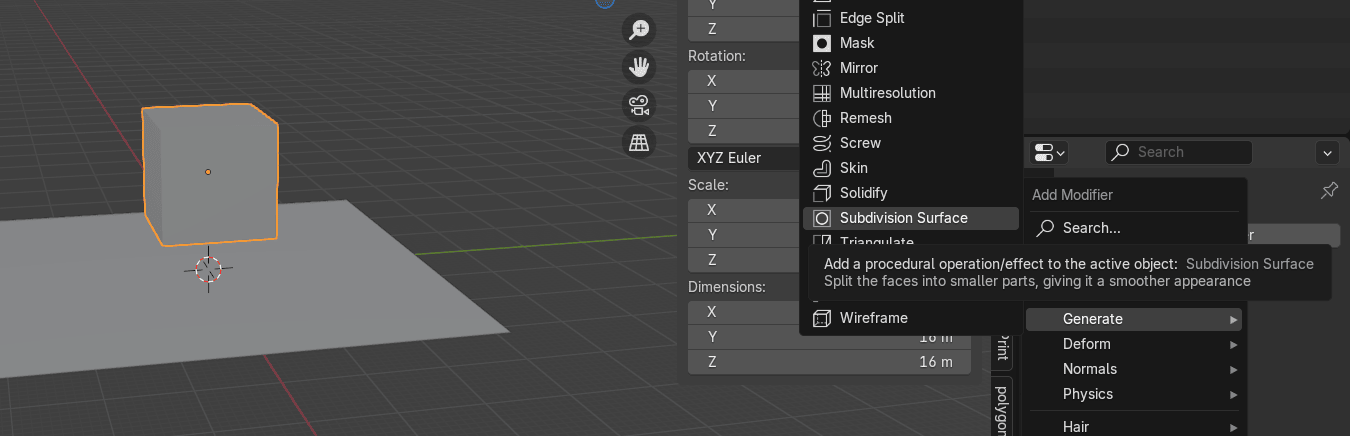
Select the cube and go to modifiers.
Beginners guide to Blender
Go to Add Modifier → Generate → Subdivision Subsurface
Change Levels Viewport to 2
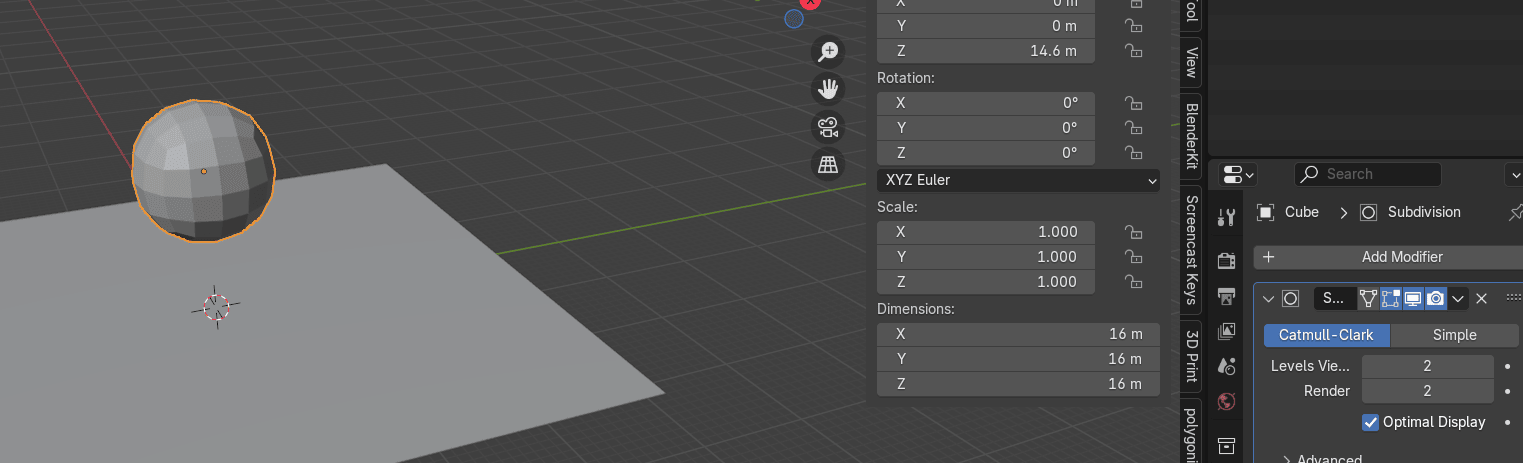
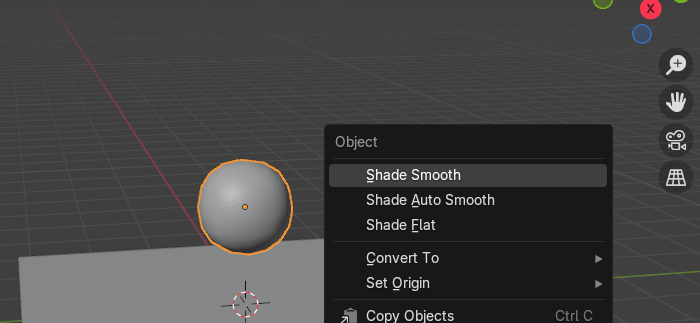
RMB and choose Shade Smooth
Switch to edit mode with “TAB”
Beginners guide to Blender
Add a loop with “CTRL+R”
Select all with “A” and scale it with “S+Y” for around 0.2953
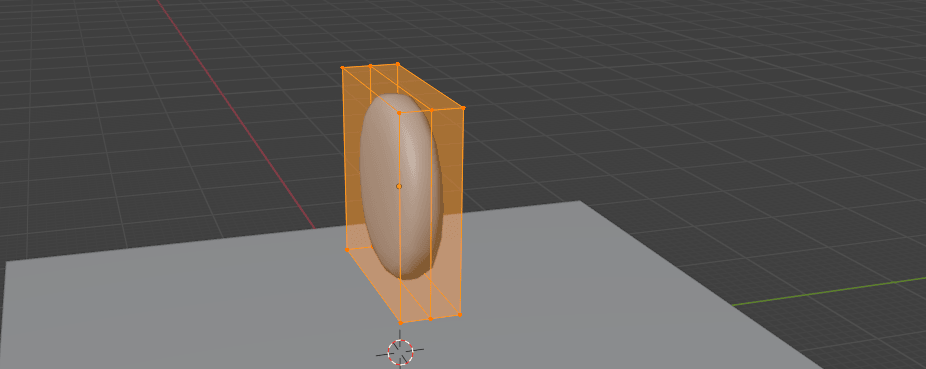
And scale it once again with “S+Y” for around 0.3444
Beginners guide to Blender
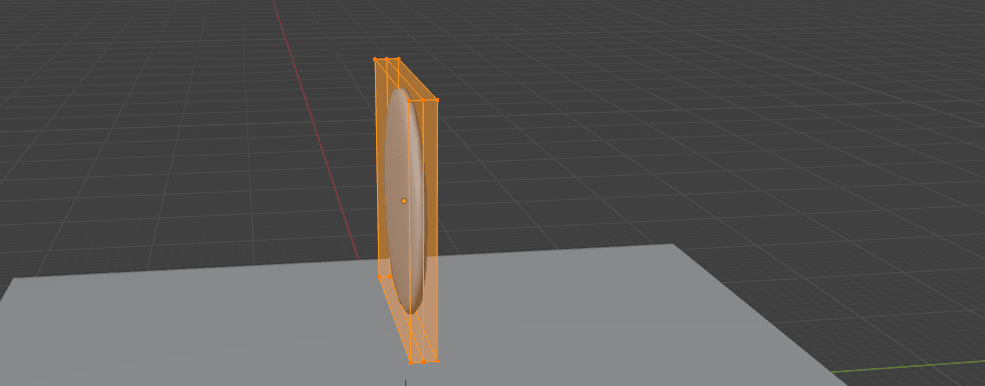
Add a loop with “CTRL+R”
And scroll the mouse wheel up three more times to add 3 more loop cuts.
Confirm the number of cuts with LMB and position with RMB.
Add a loop cut with “CTRL+R” here
Beginners guide to Blender
And scroll the mouse wheel up three more times to add 3 more loop cuts.
Confirm the number of cuts with LMB and position with RMB.
Switch to selecting edges with 2 and select this edge loop with “ALT”+LMB
Press “CTRL+B” to bevel it. Add one more segment by scrolling the mouse wheel up andbevel it for around 0.137
Beginners guide to Blender
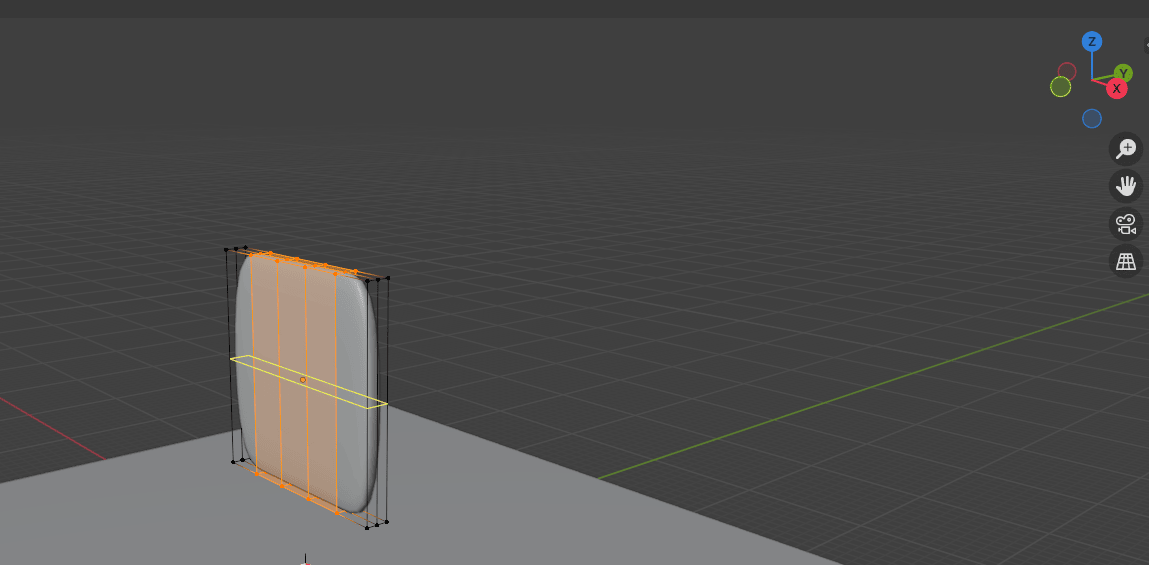
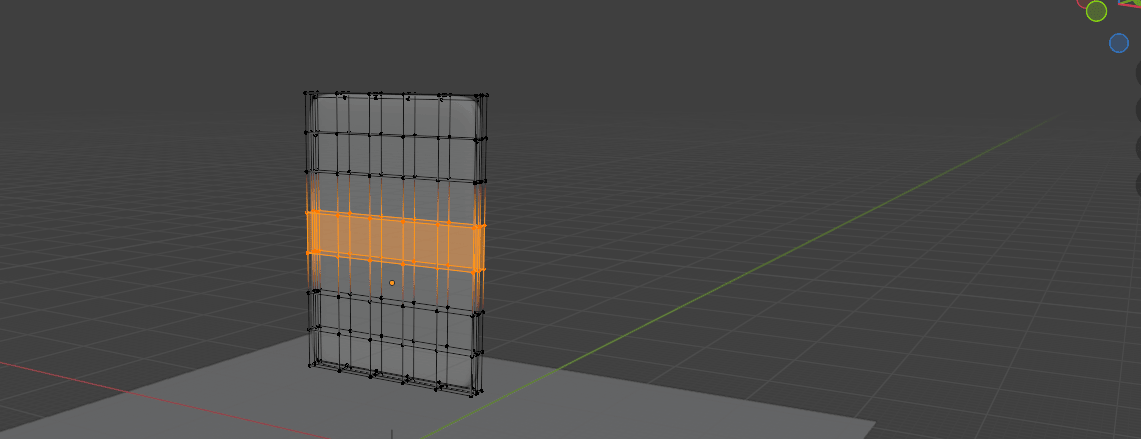
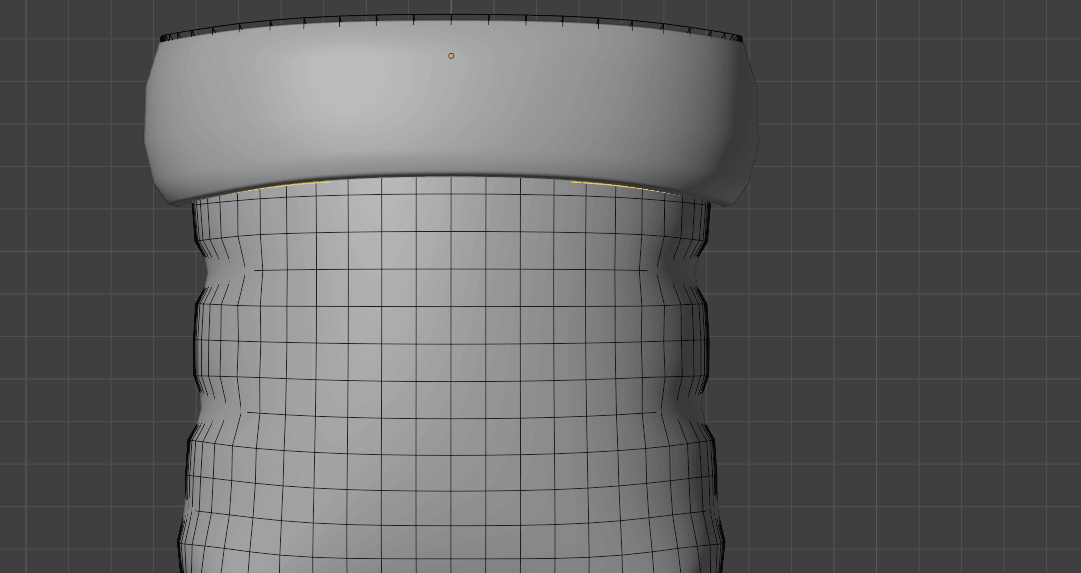
Select this middle loop
and scale it with “S” for around 0.9552
Turn on X-ray mode with “ALT+Z” and switch to selecting vertices with 1.
Beginners guide to Blender
Select this part
and move it with “G+Z” for around 7.036
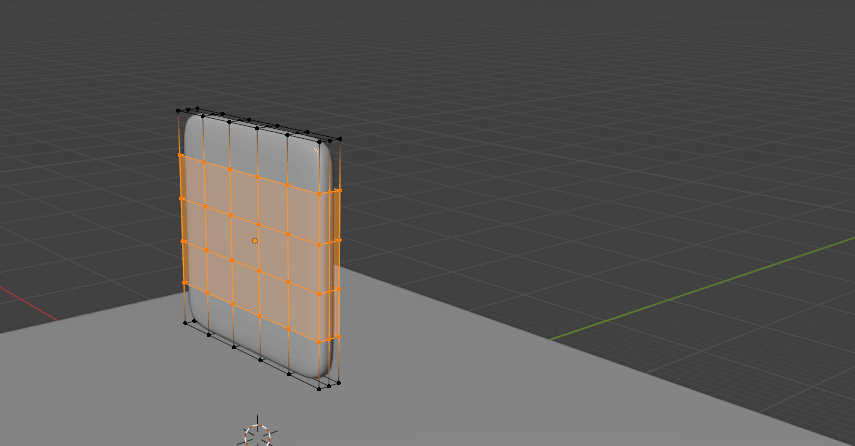
Add a loop cut with “CTRL+R”
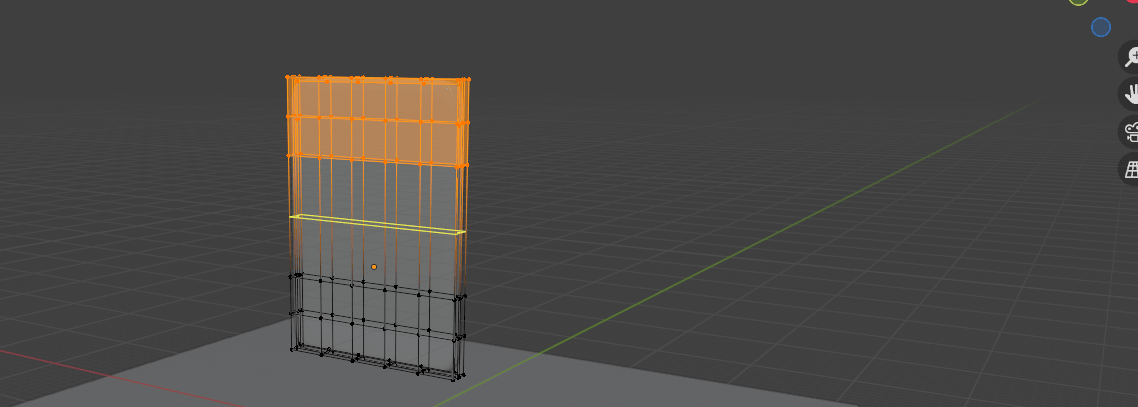
And scroll a mouse wheel one time to add one more loop.
Beginners guide to Blender
Confirm the number with LMB and position with RMB.
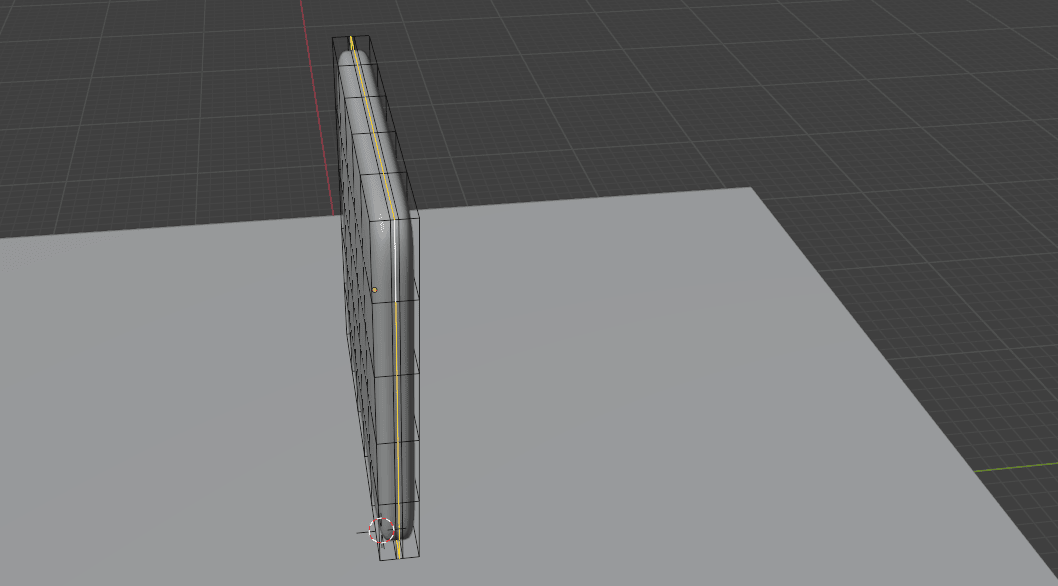
Switch to object mode with “TAB” and turn off the X-ray mode with “ALT+Z”
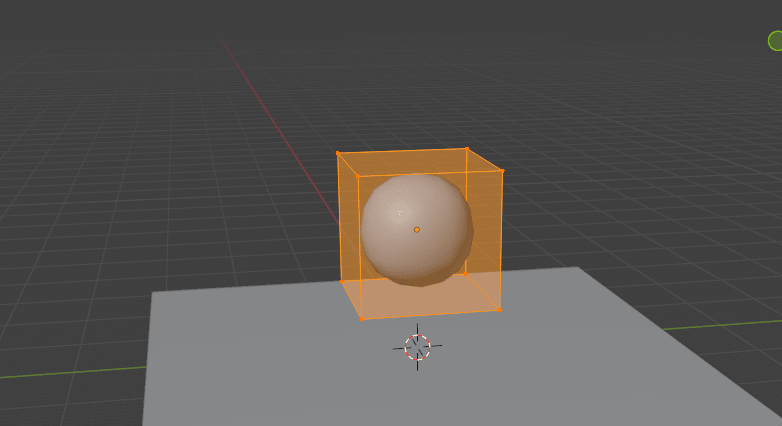
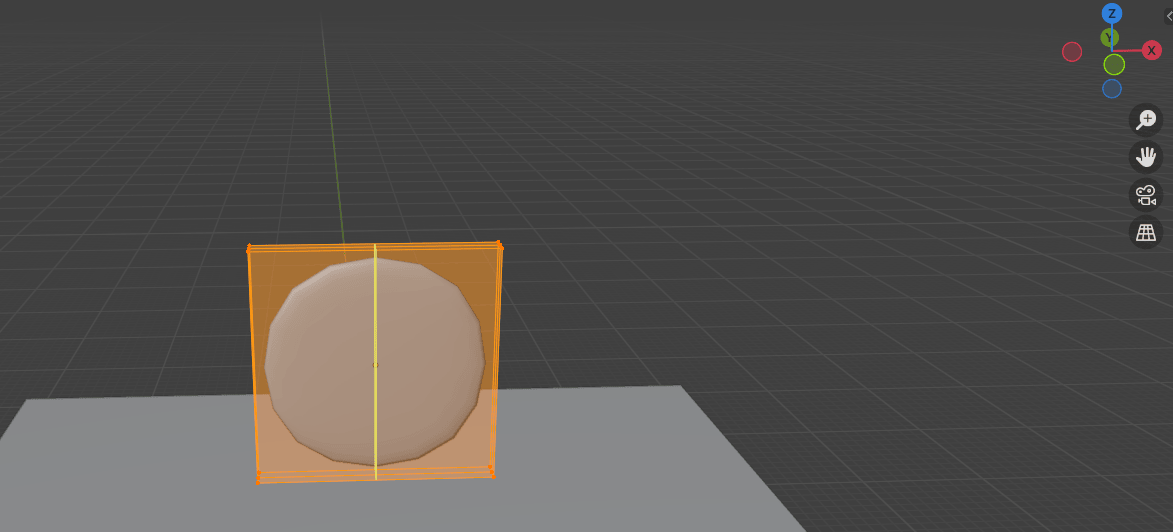
Go to Physics, and turn on Cloth so we could use physics to give our sack its initial shape.
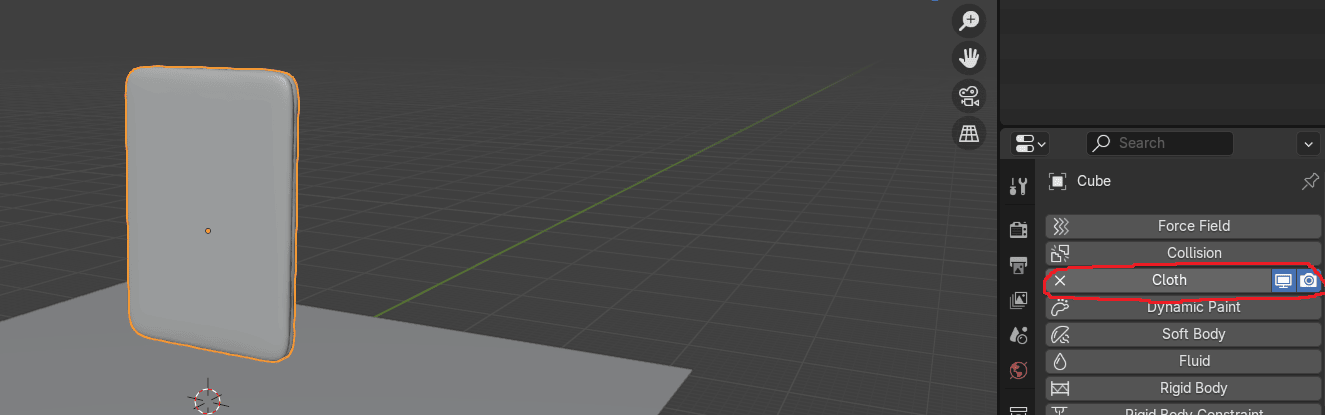
Scroll down to find “Pressure” and turn it on so we can inflate our model.
Beginners guide to Blender
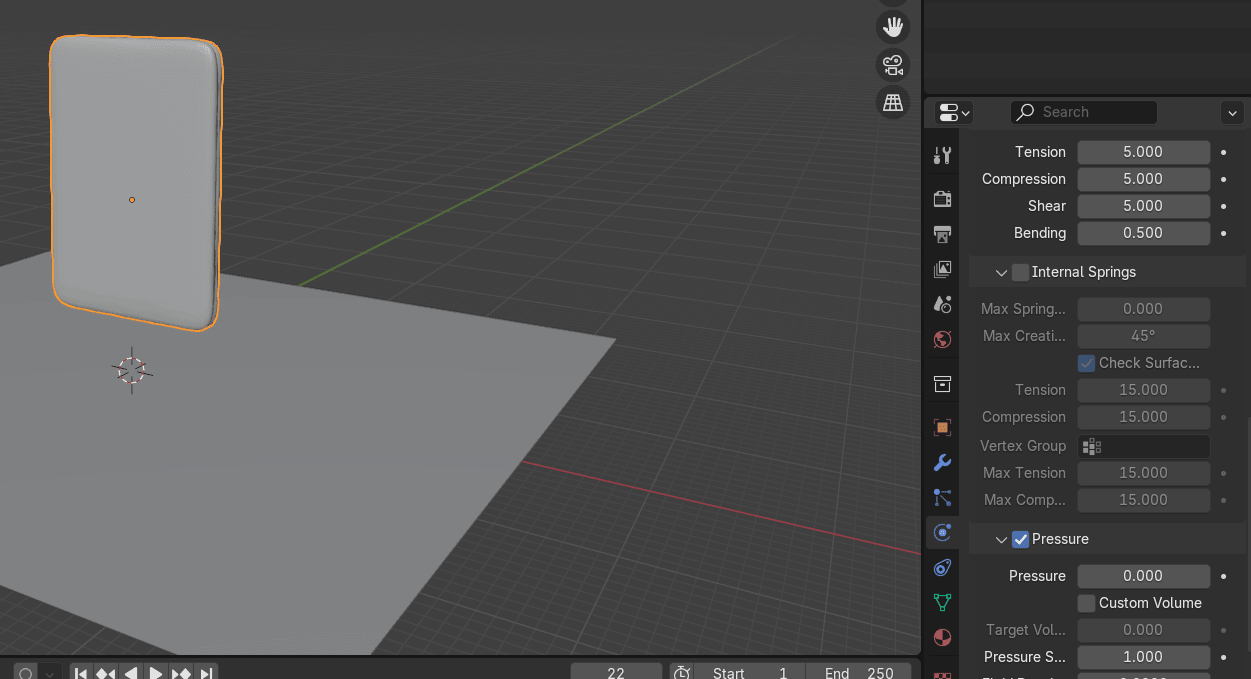
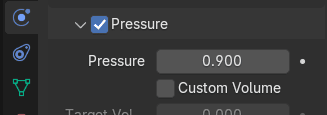
Change Pressure to 0.9
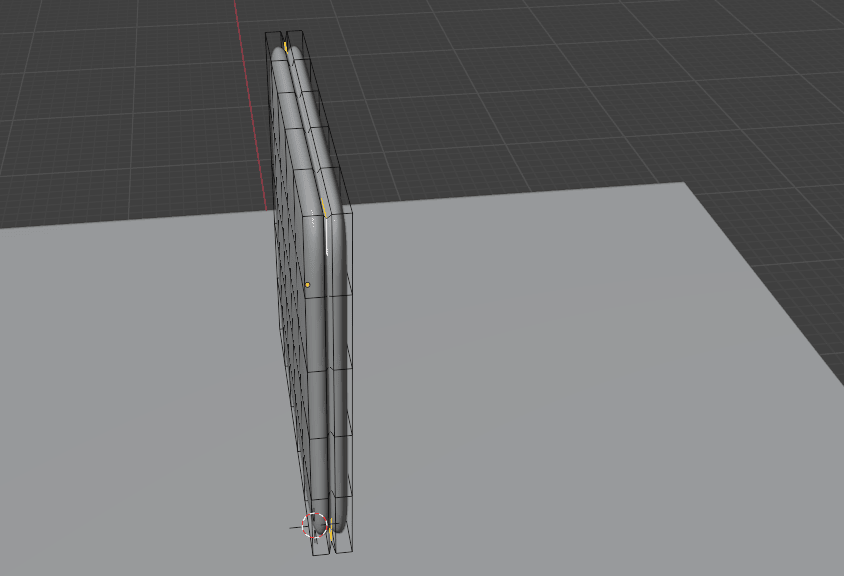
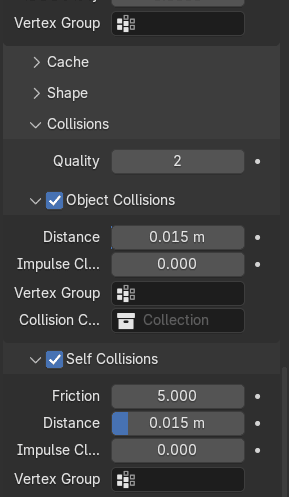
Go to Collisions and turn on Self Collision so that parts of our model don’t clip through facesof the same mesh.
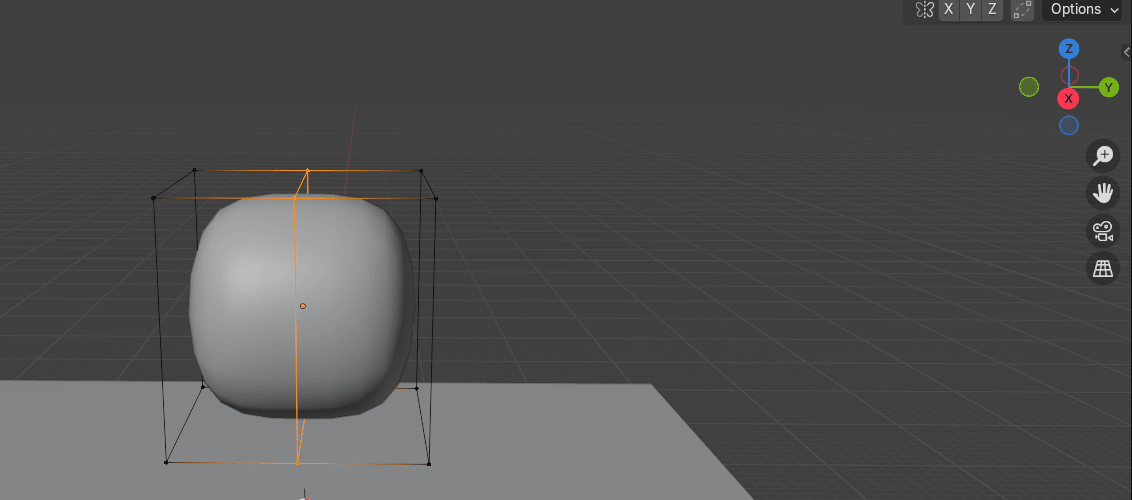
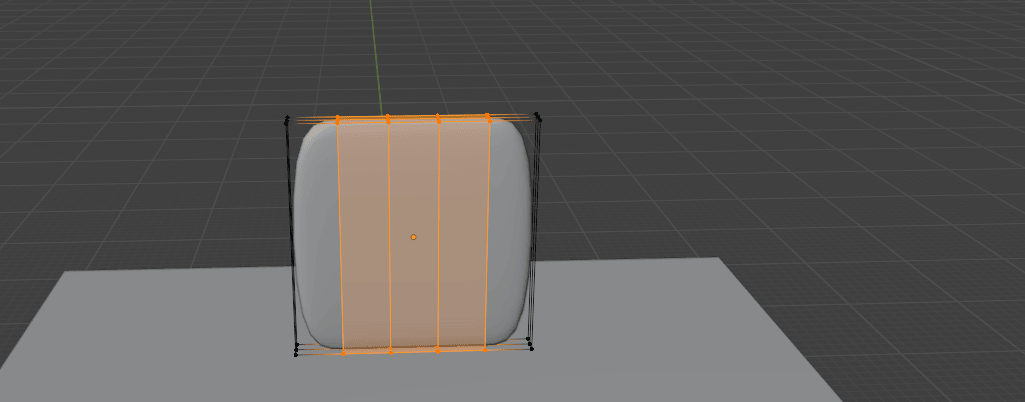
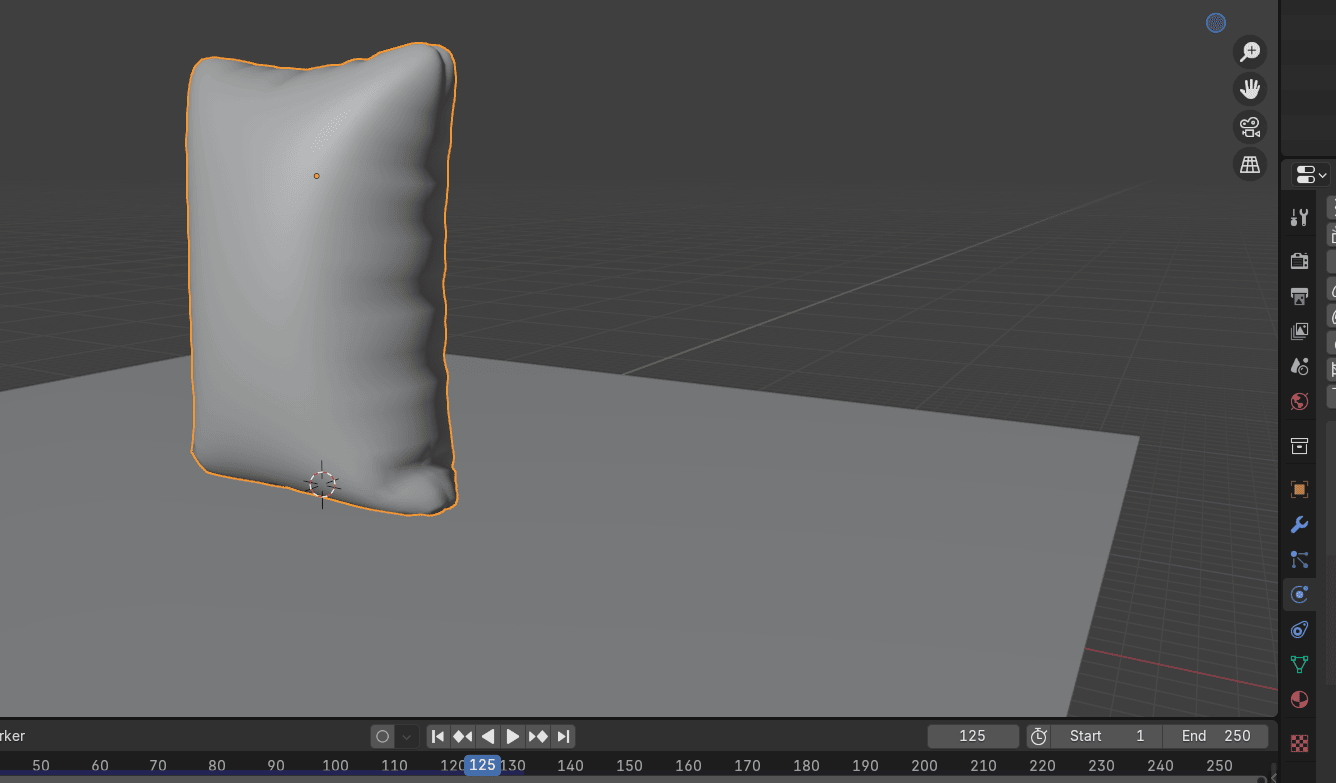
Press Spacebar to start animation
Beginners guide to Blender
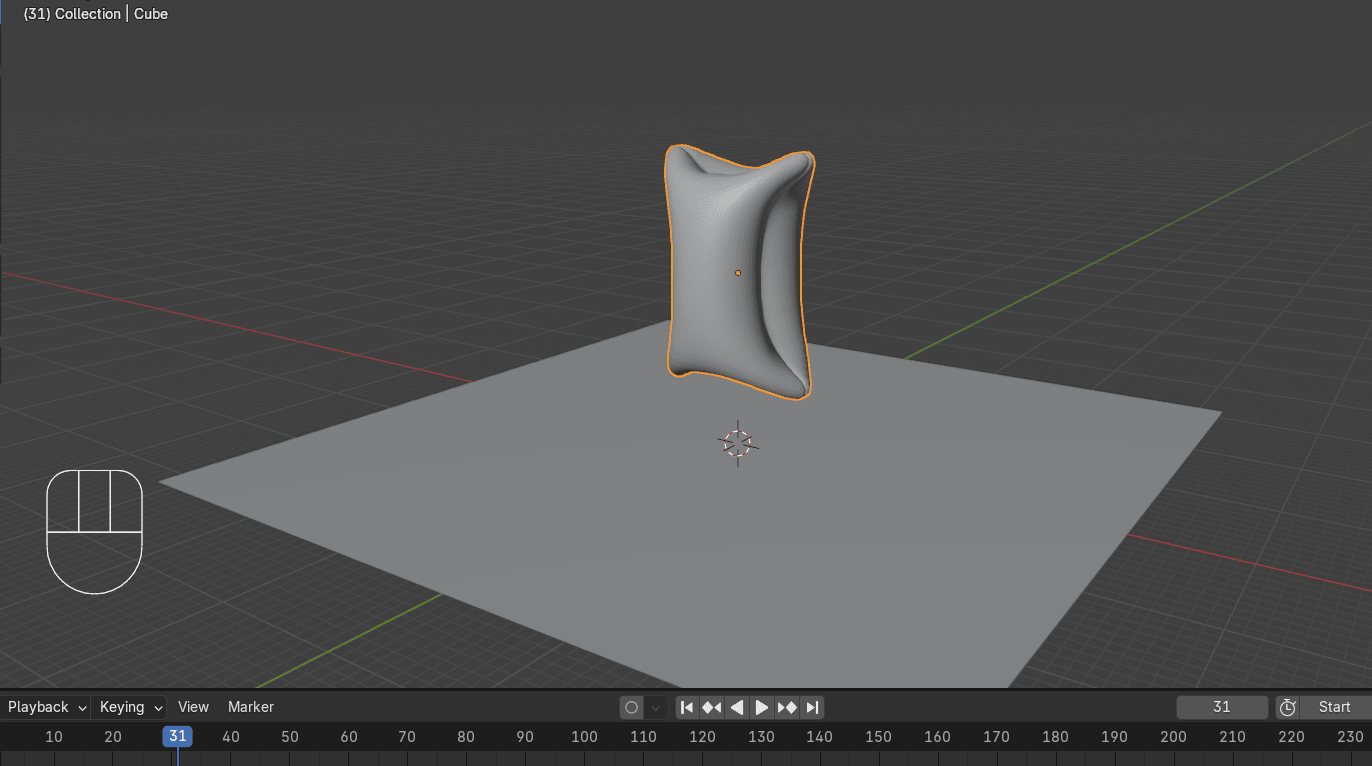
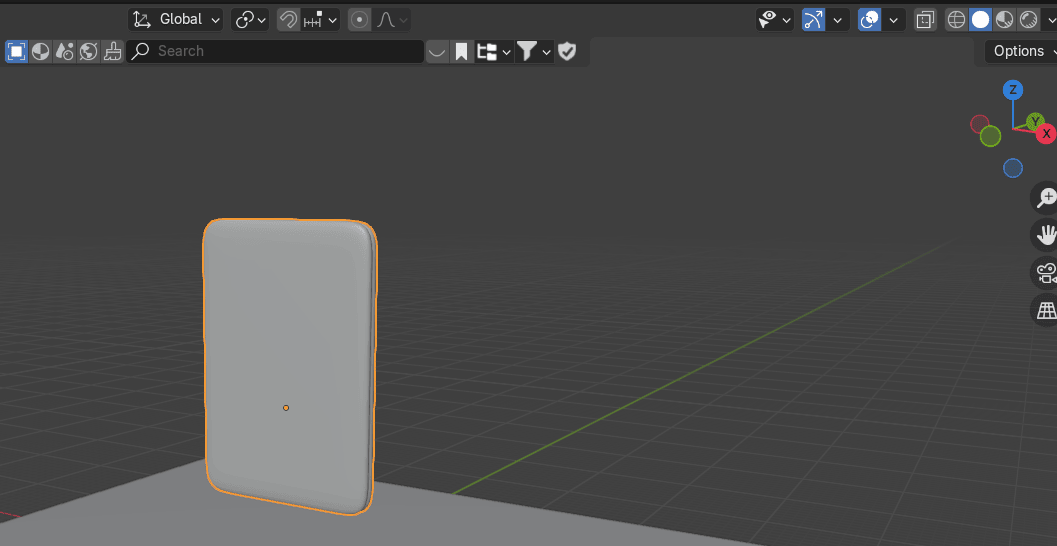
and when you are satisfied with the look press Spacebar again to stop animation.
I stopped on 125th frame
Go to Add Modifier → Generate → Subdivision Subsurface
Beginners guide to Blender
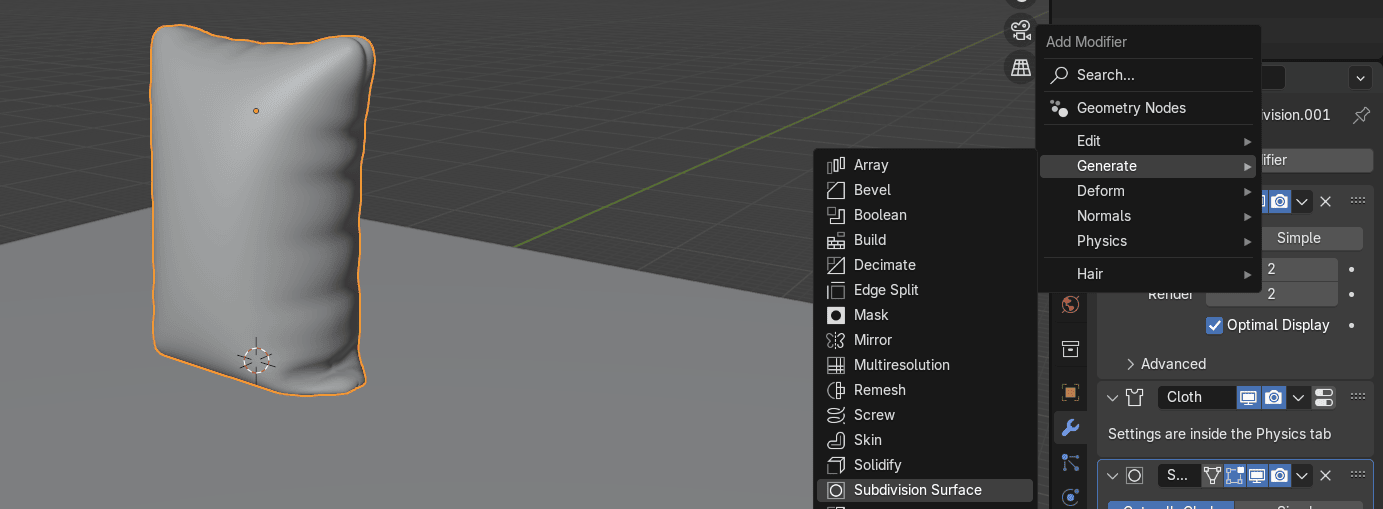
Apply the first subdivision
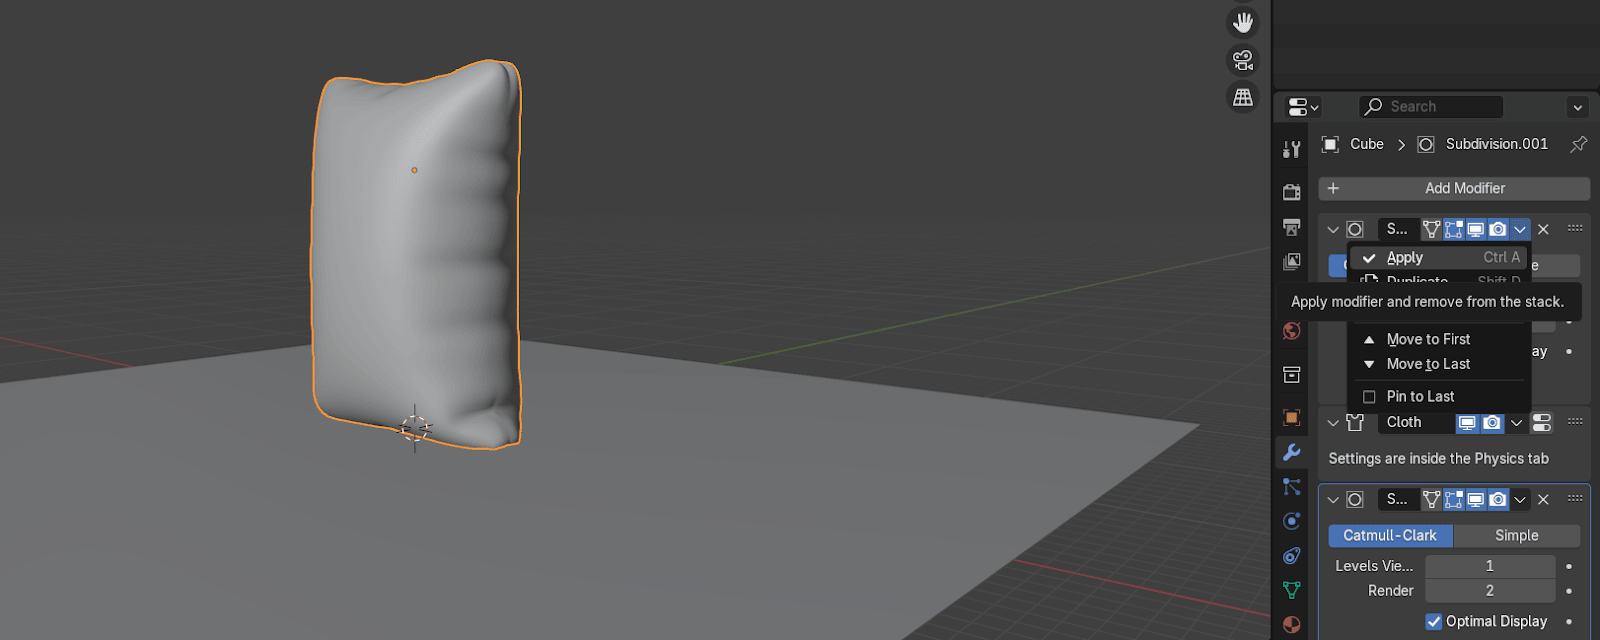
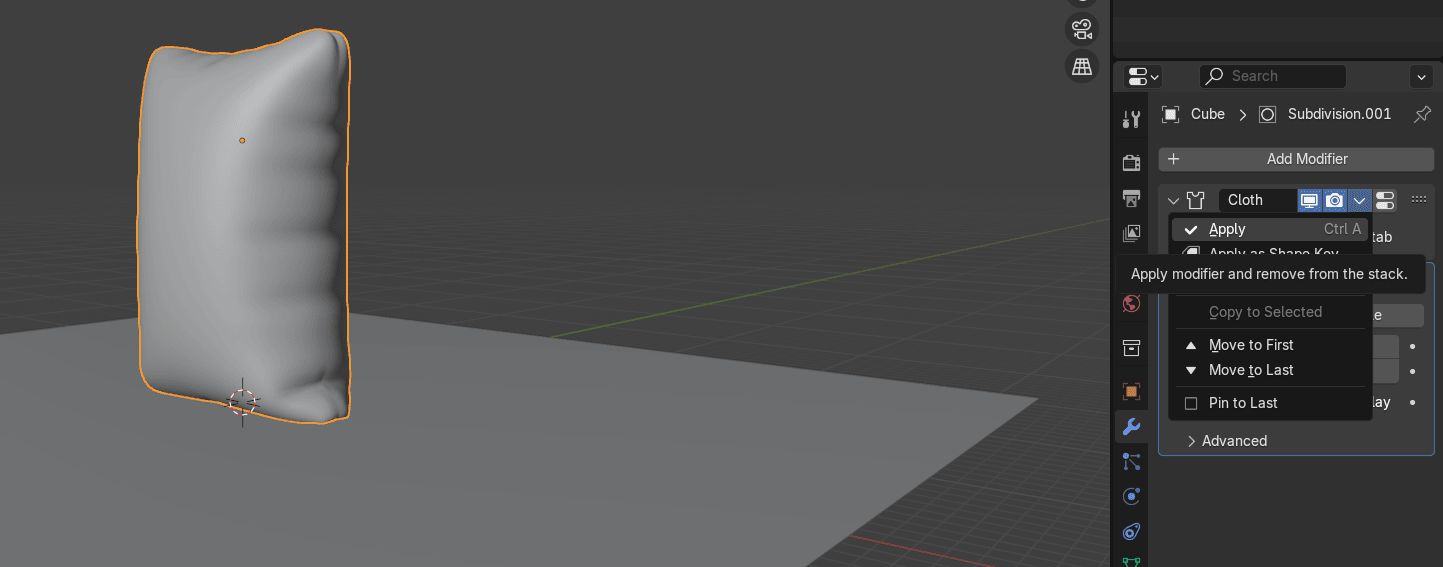
Then apply Cloth to make the shape permanent.
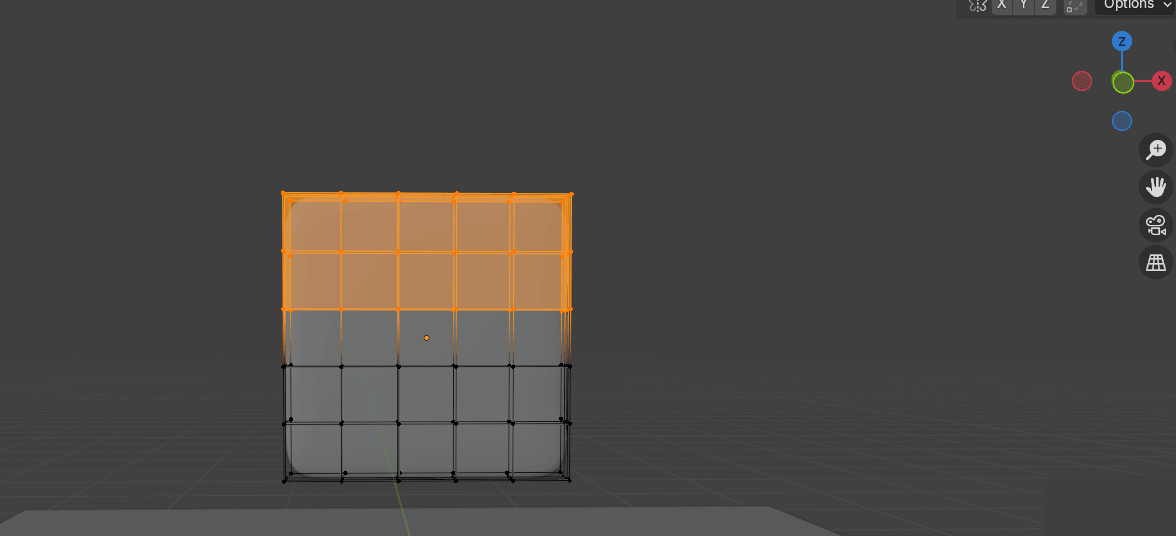
Switch to edit mode with “TAB”.
Switch to the front orthographic view by clicking on that green -Y on Gizmo or pressing“CTRL+ Numpad 1”.
Beginners guide to Blender
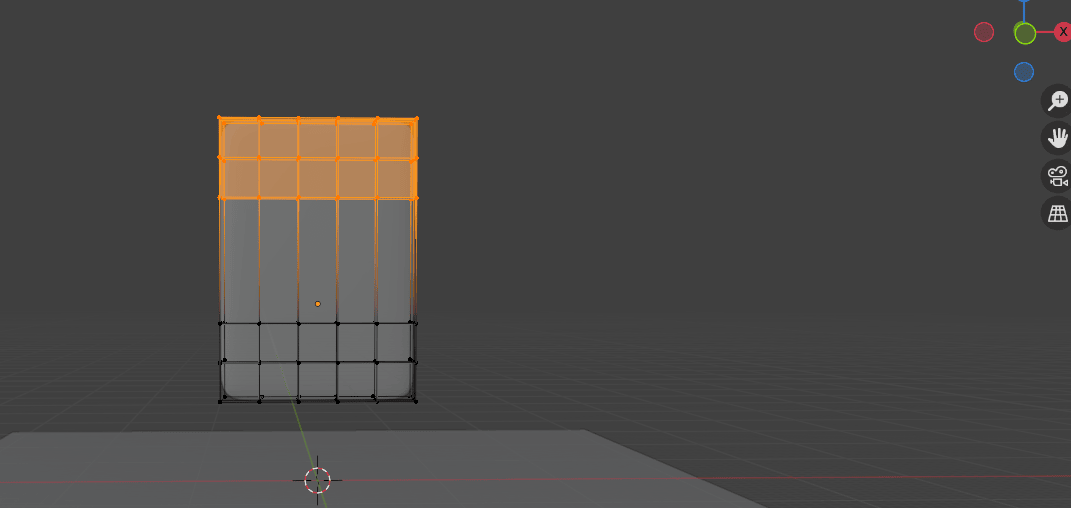
Turn on X-ray mode and select this part
Press “X” and choose delete vertices
Beginners guide to Blender
Turn off X-ray mode and switch to object mode with “TAB”.
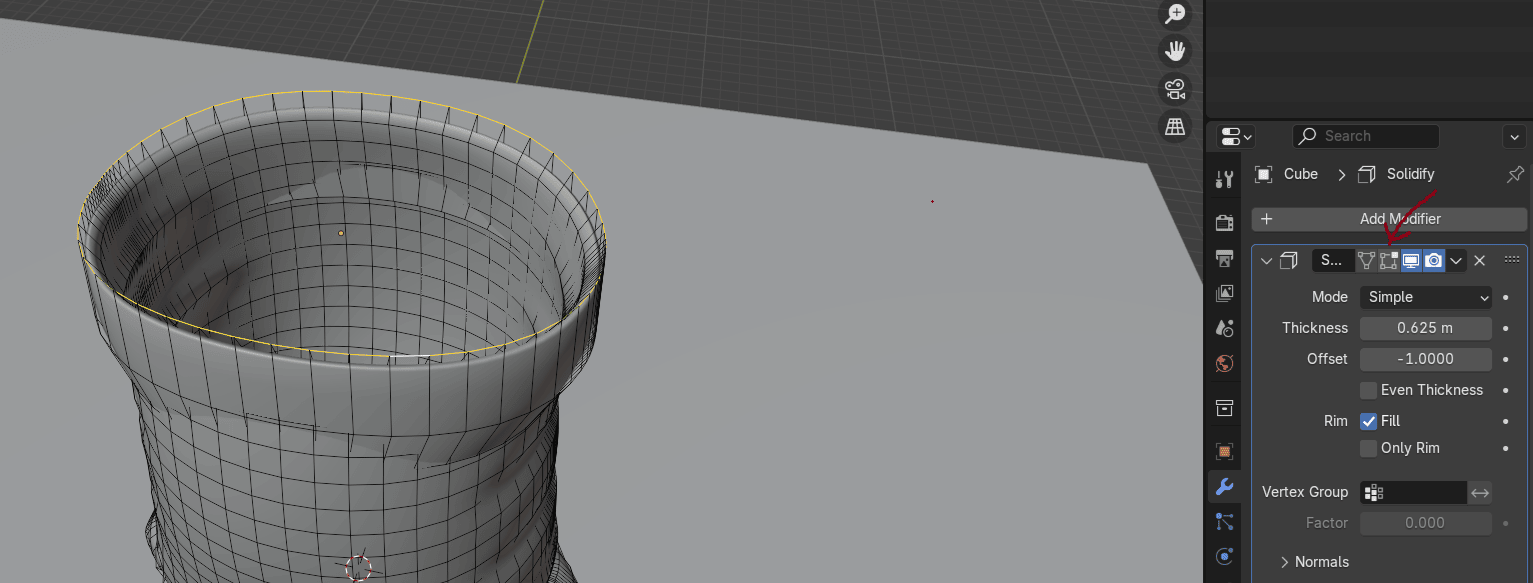
Go to Add Modifier → Generate → Solidify to give our sack some thickness.
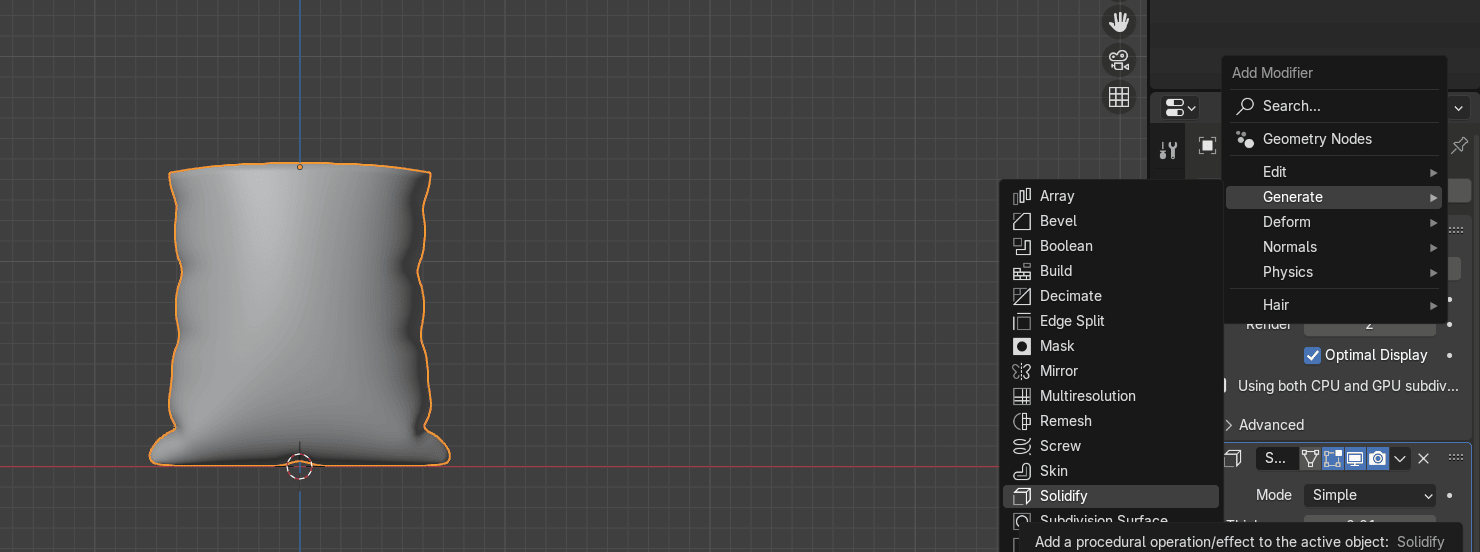
Move Solidify before Subdivision Subsurface
Beginners guide to Blender
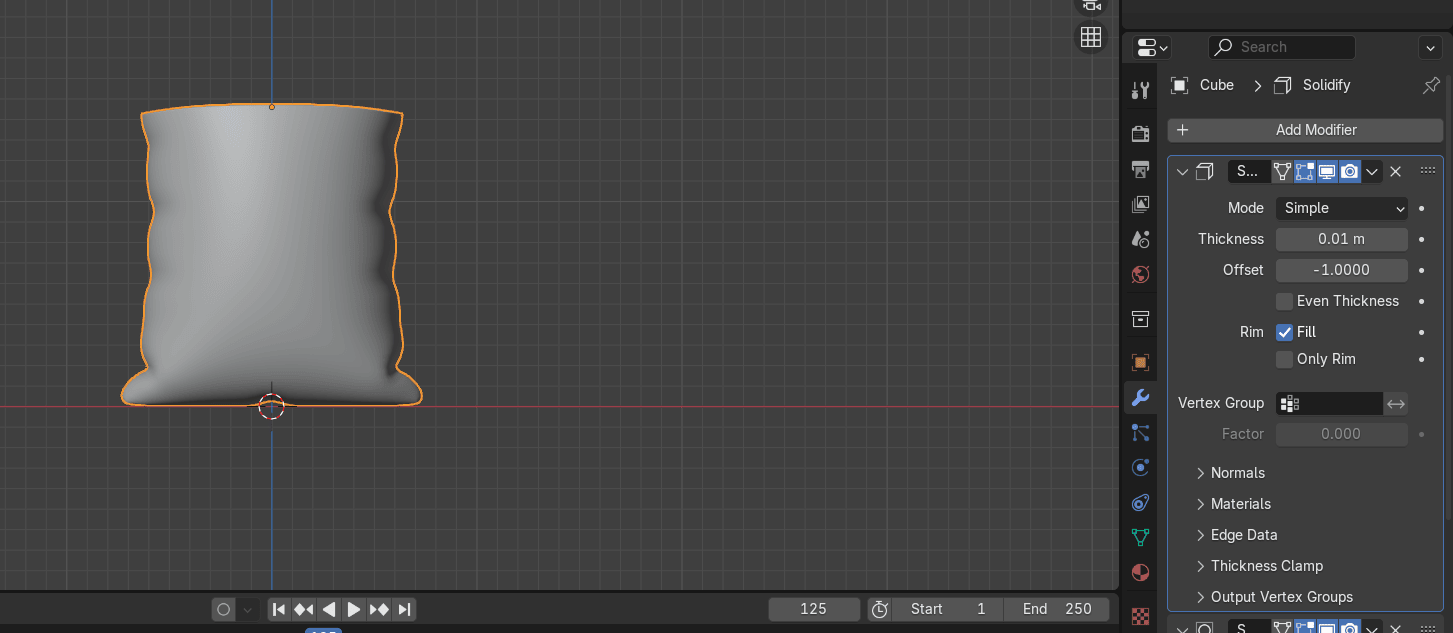
and change Thicknes to around 0.625
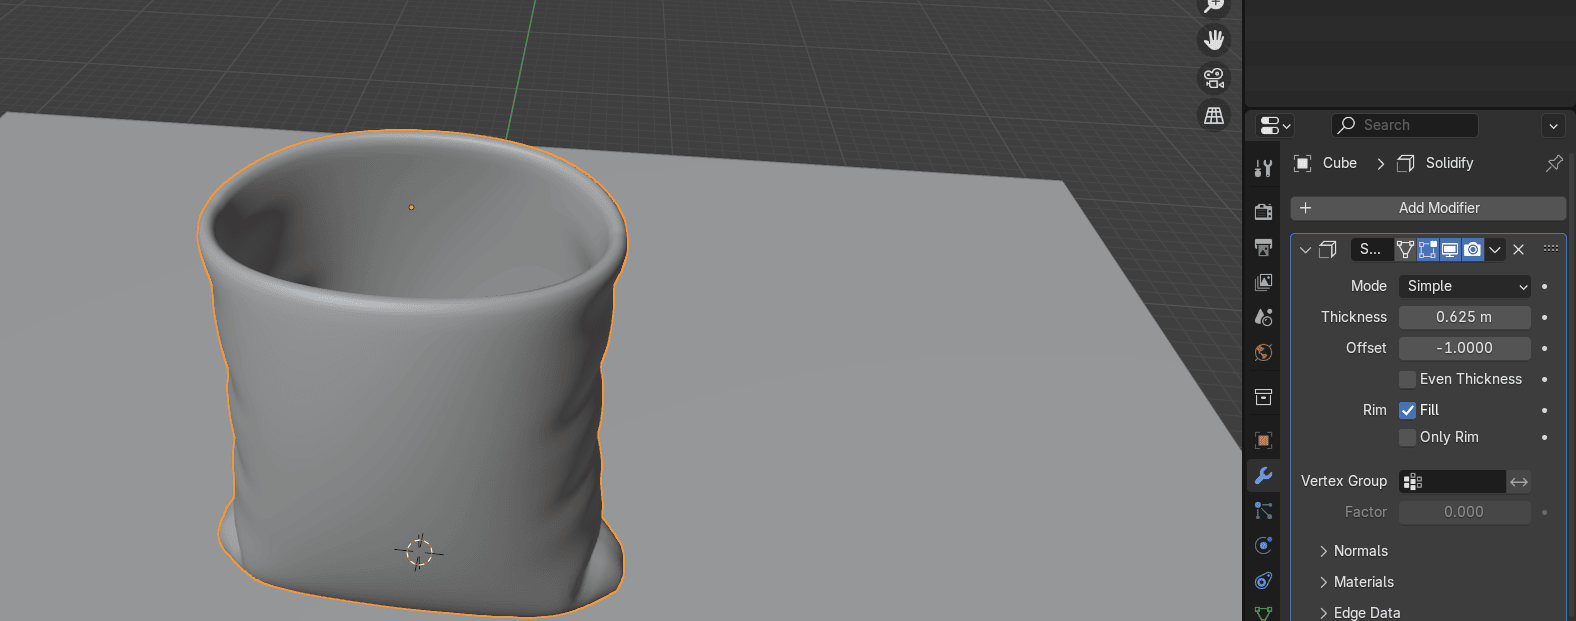
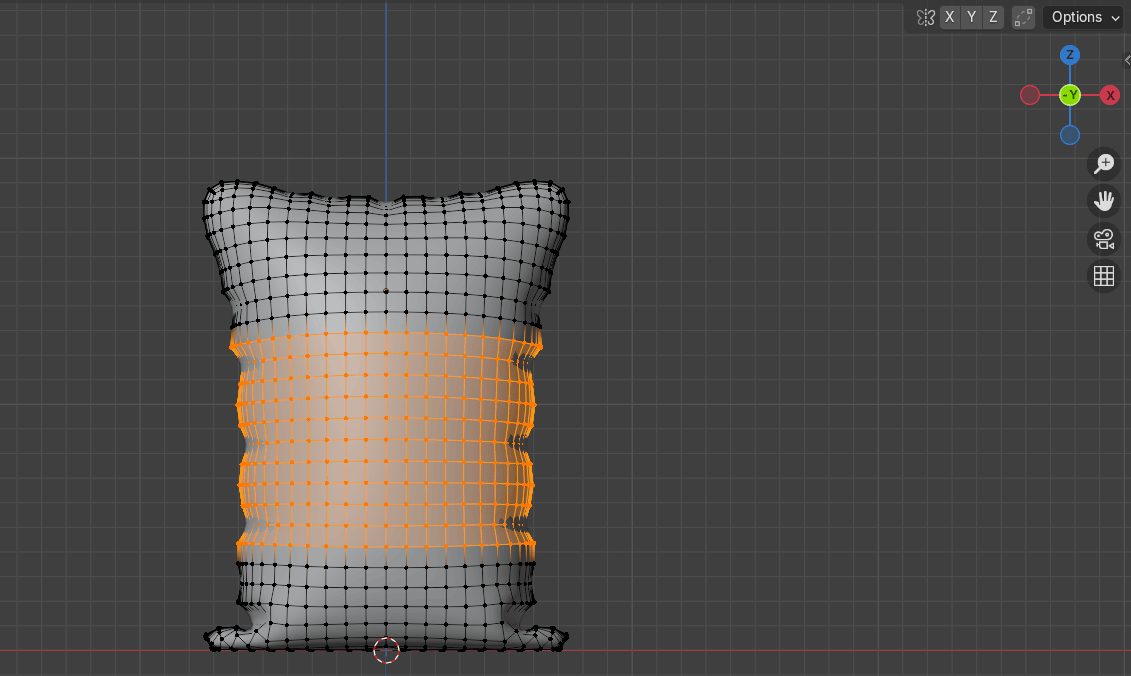
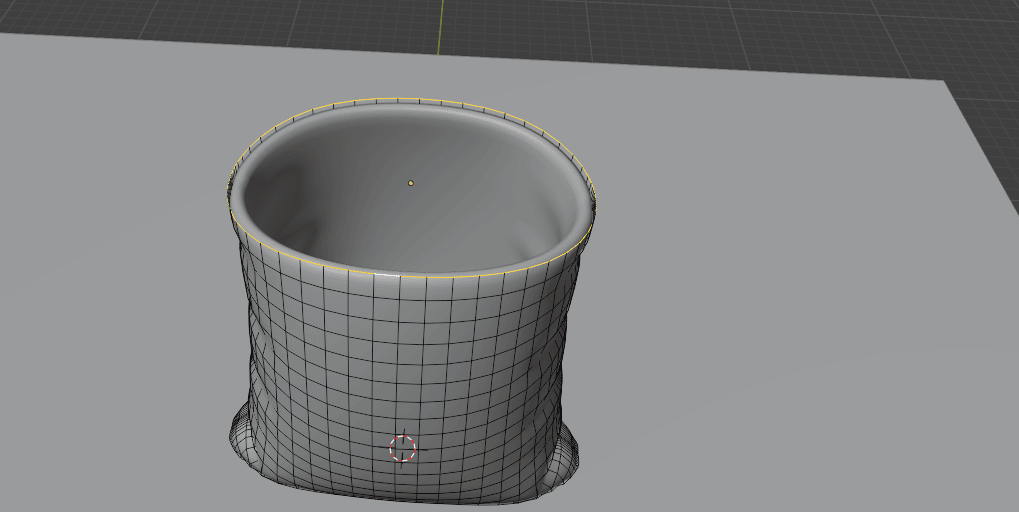
Switch to edit mode with “TAB” and switch from selecting vertices to selecting edges with 2.Select this whole edge loop with “ALT” +LMB
Beginners guide to Blender
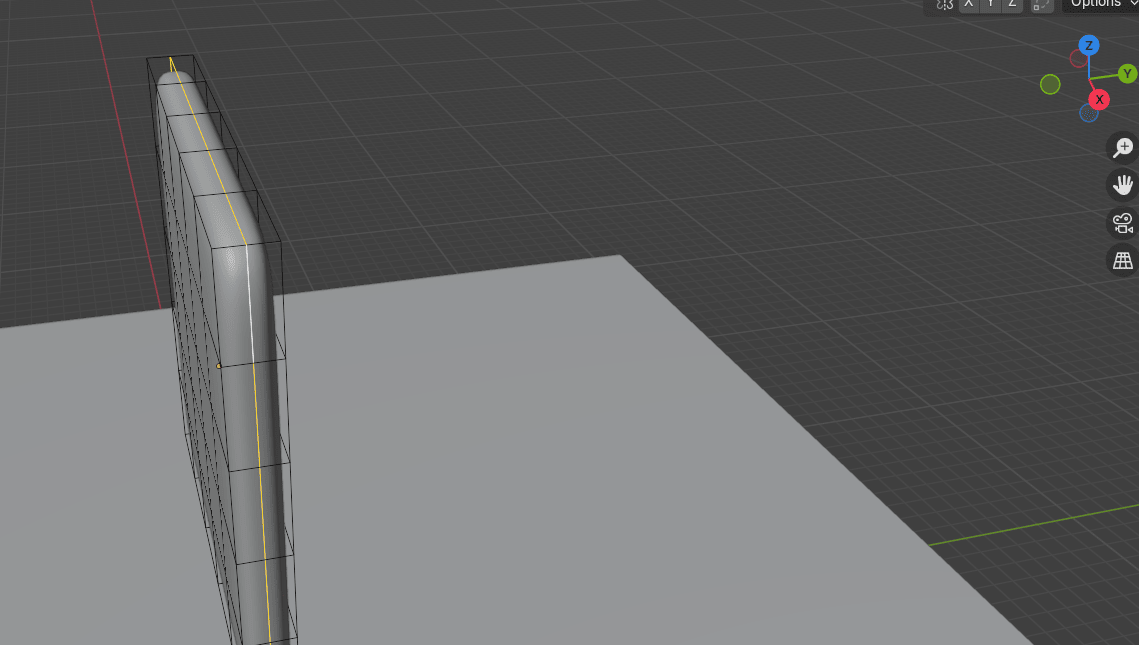
Switch to the front orthographic view by clicking on that green -Y on Gizmo or pressing“CTRL+ Numpad 1”.
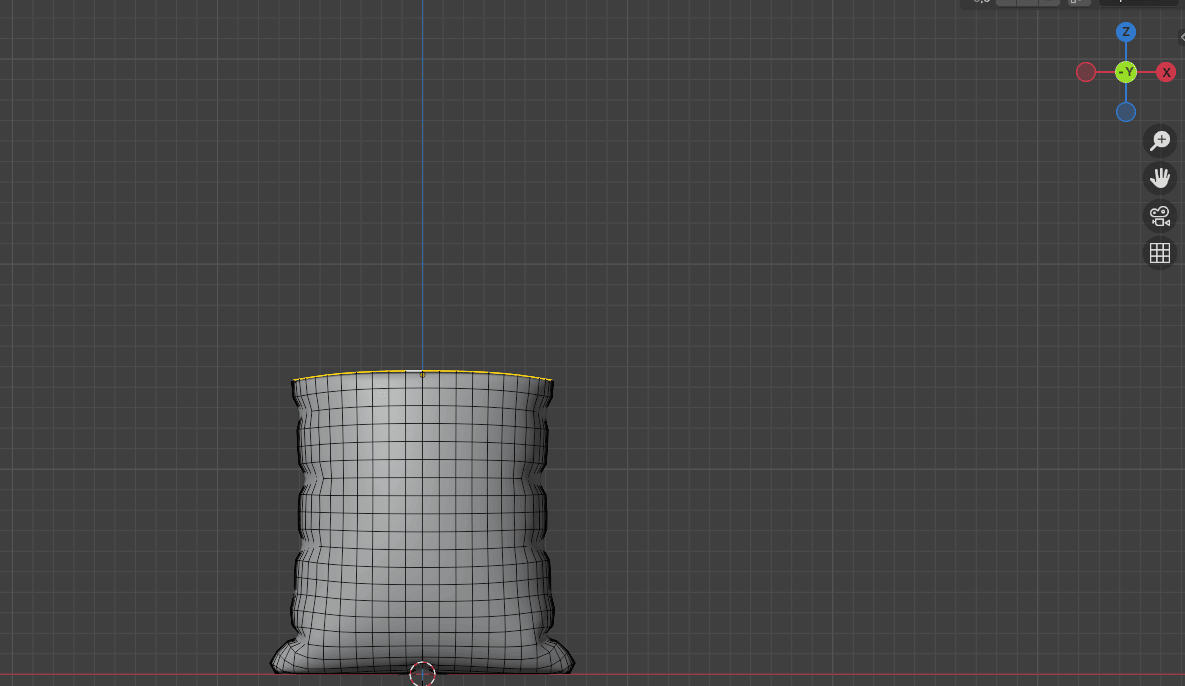
Extrude it with “E+Z” for around 0.76
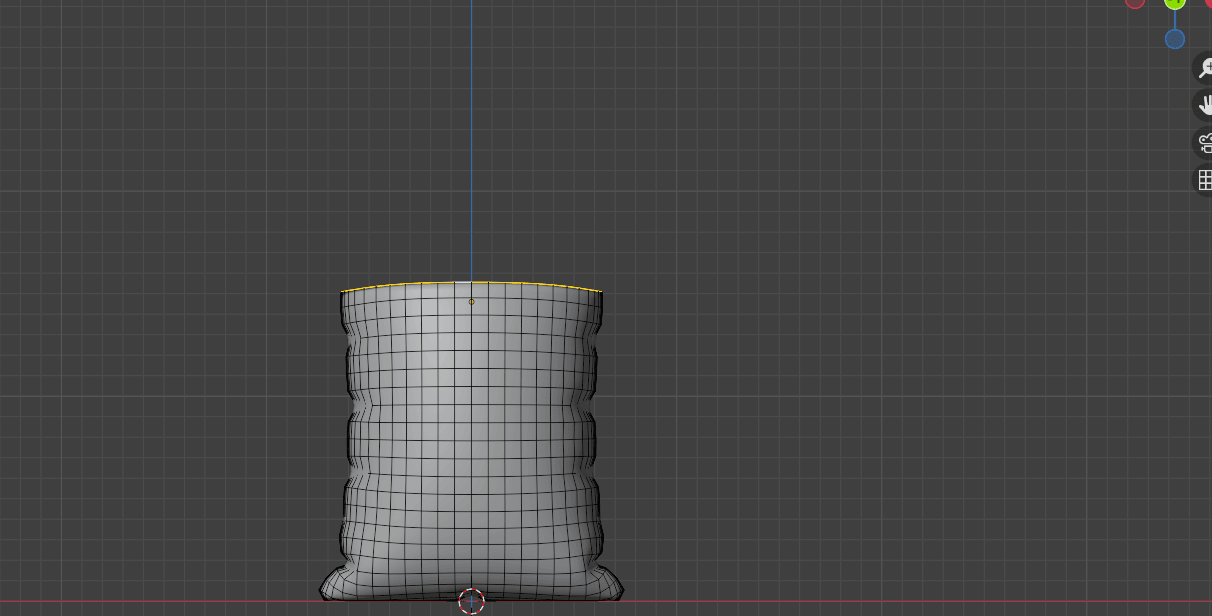
Scale it with “S” for around 1.0713
Beginners guide to Blender
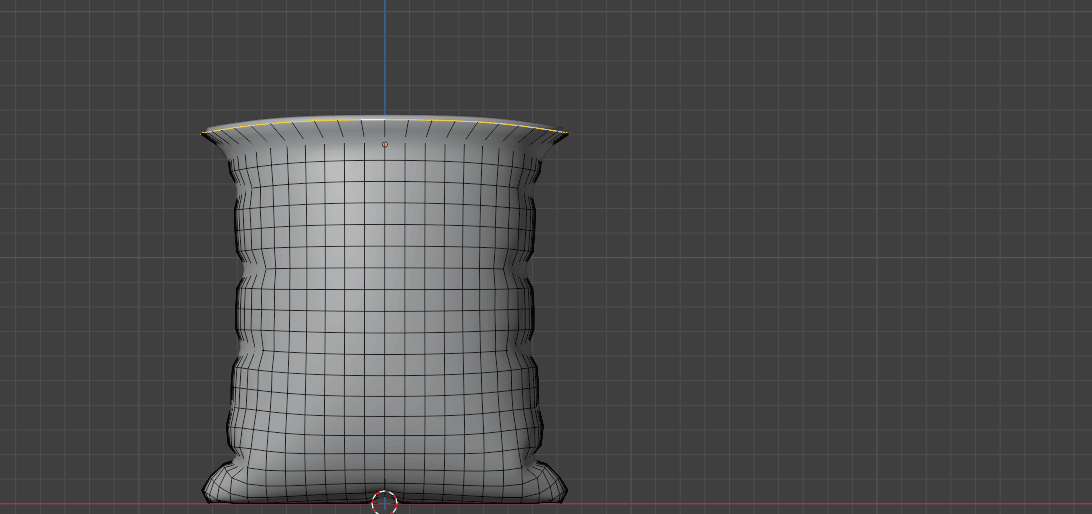
Extrude it with “E+Z” for around -2.604

Extrude it with “E+Z” for around -1.27
And scale it with “S+X” for around 0.8891
Beginners guide to Blender
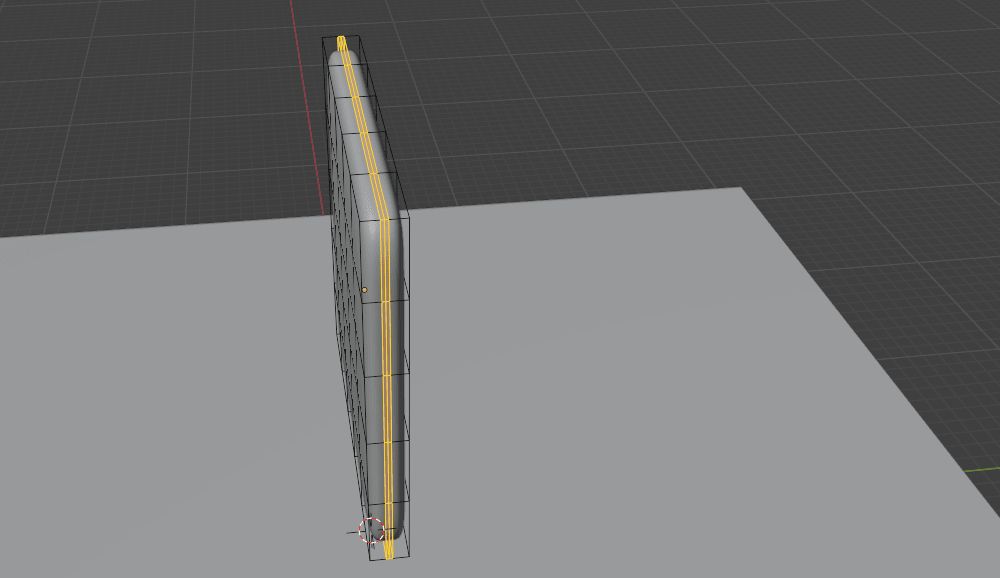
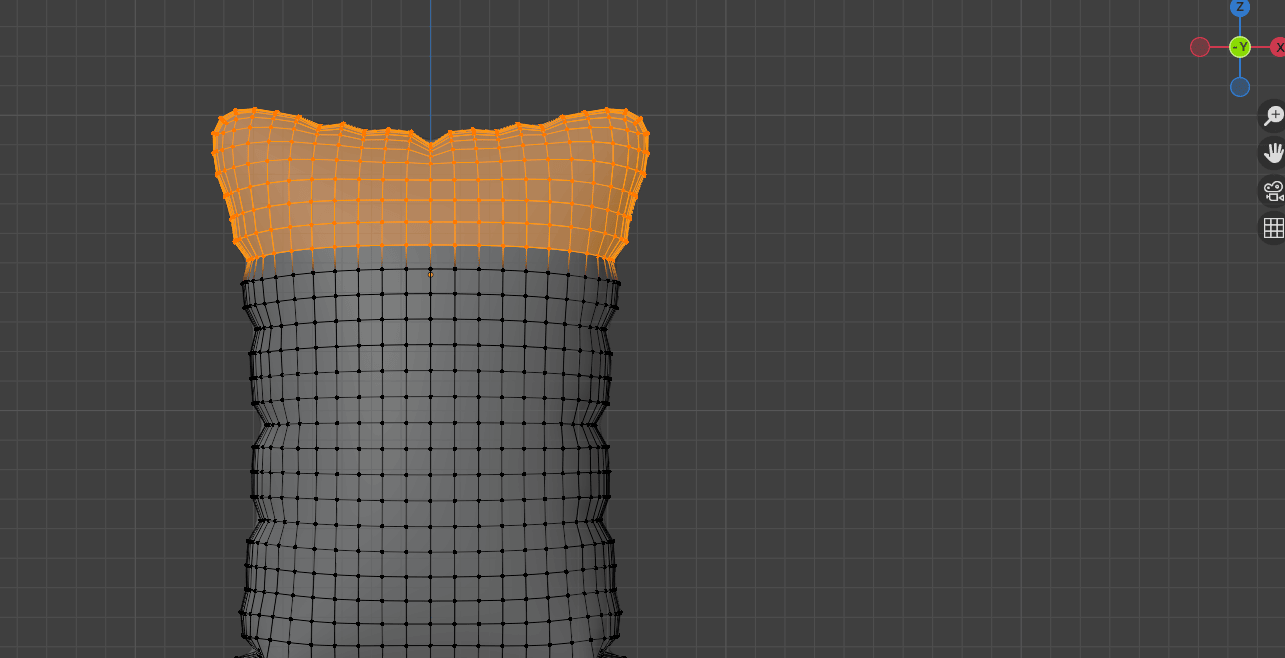
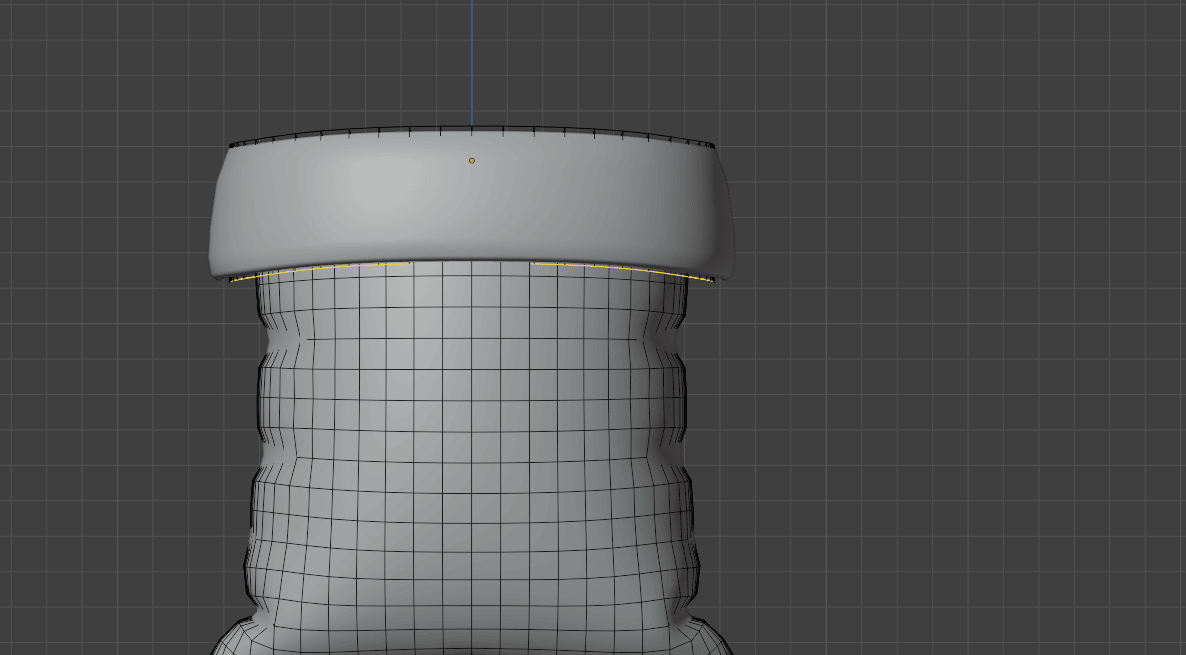
Select this loop with “ALT+LMB”
Turn on Proportional editing with “O”
Scale it with “S” and change proportional size by scrolling the mouse wheel until you aresatisfied with it. Confirm it with LMB.
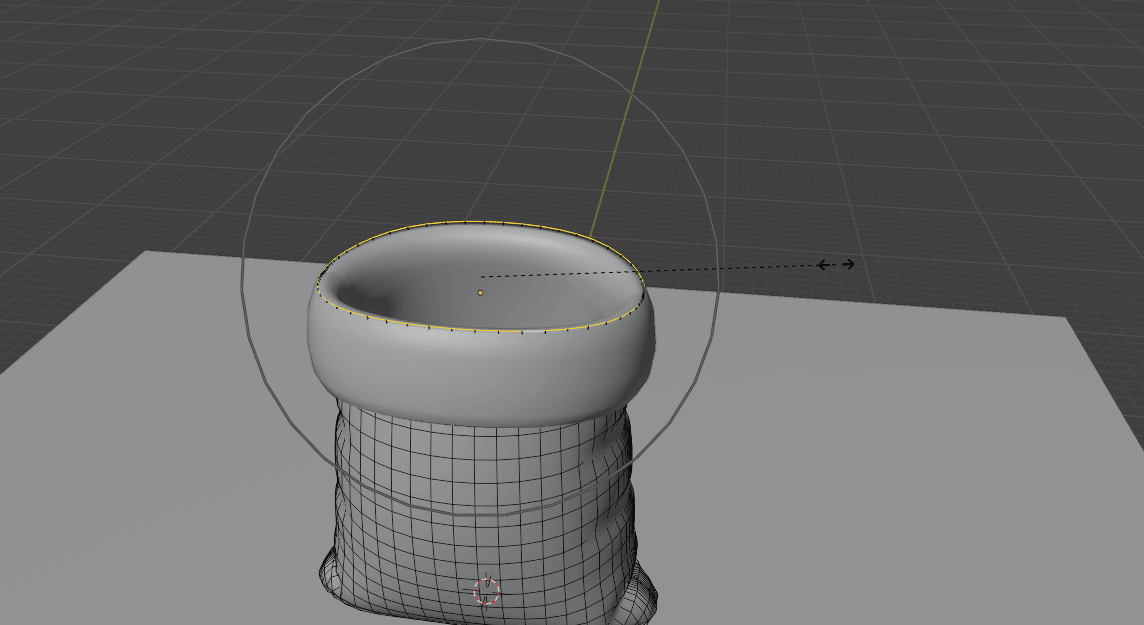
Turn off proportional editing with “O”.
Beginners guide to Blender
Click here on Solidify to turn it off in edit mode so you can see what are you doing.
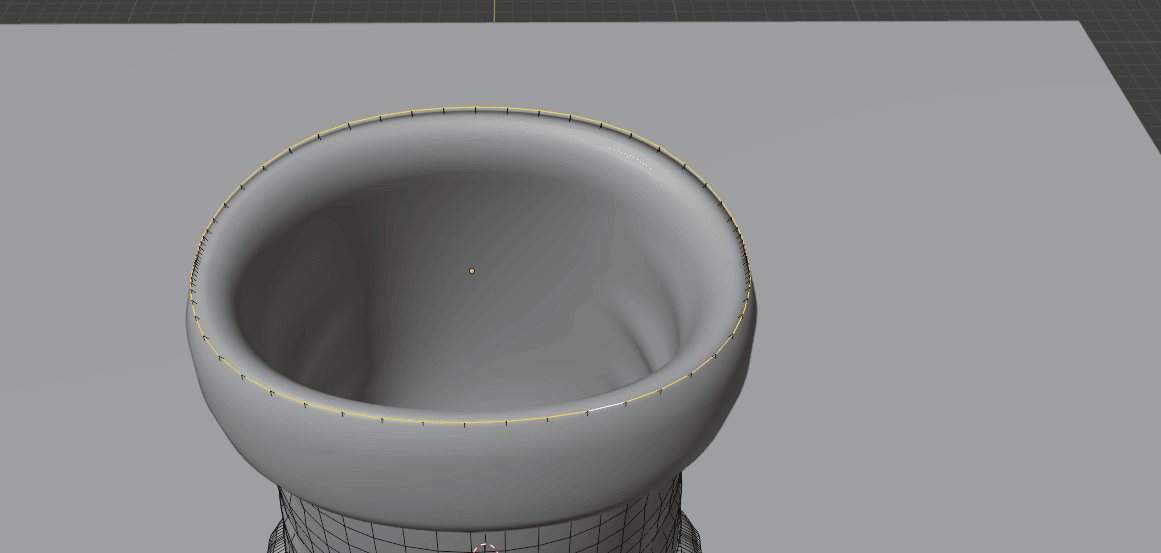
Select this whole loop
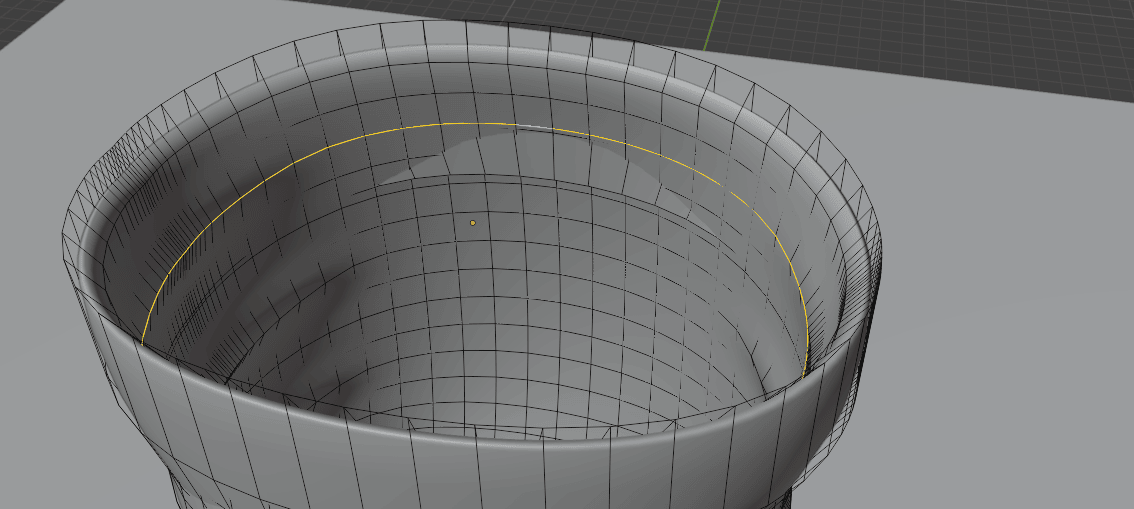
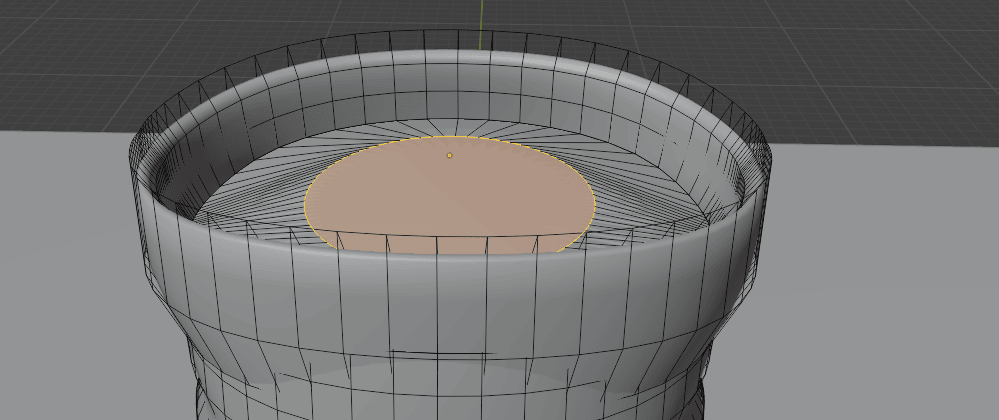
Duplicate it with “SHIFT+D” and fill it with “F”.
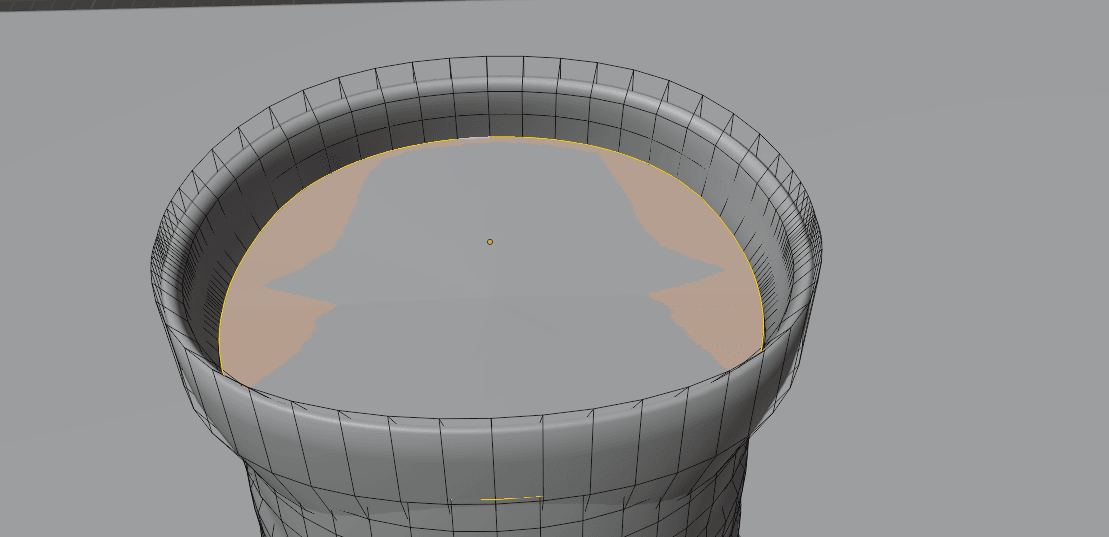
Press “I” for inset and inset a new face for around 0.71
Beginners guide to Blender
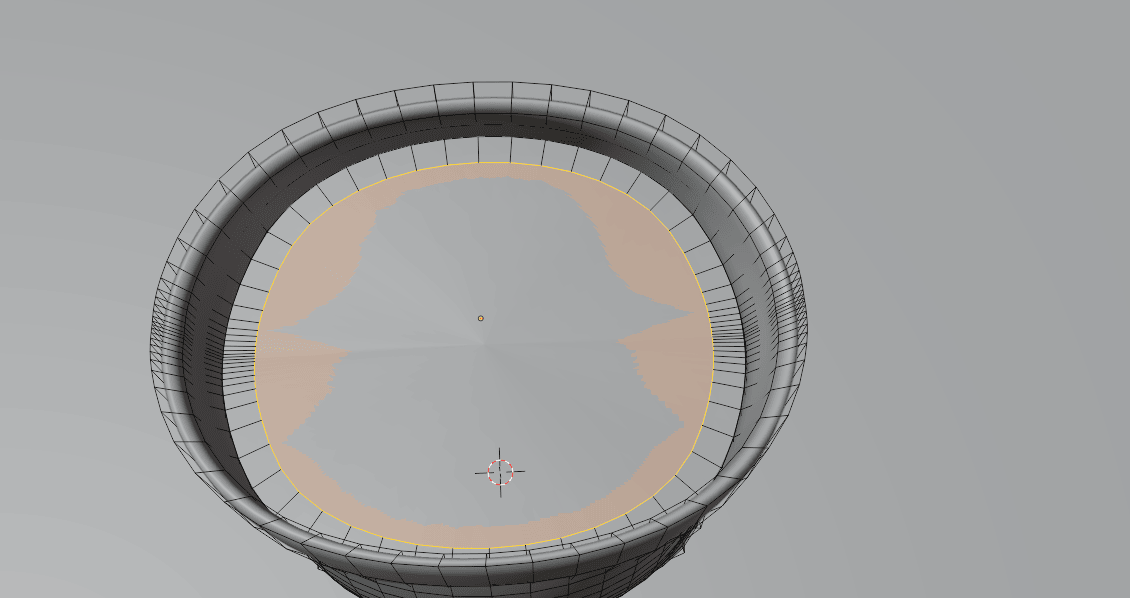
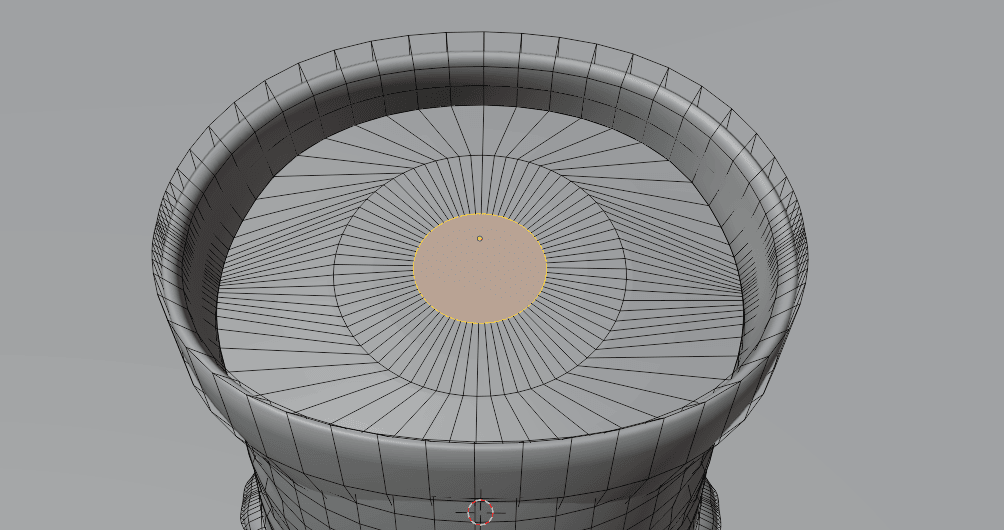
Click “RMB” and choose Loop Tools → Circle
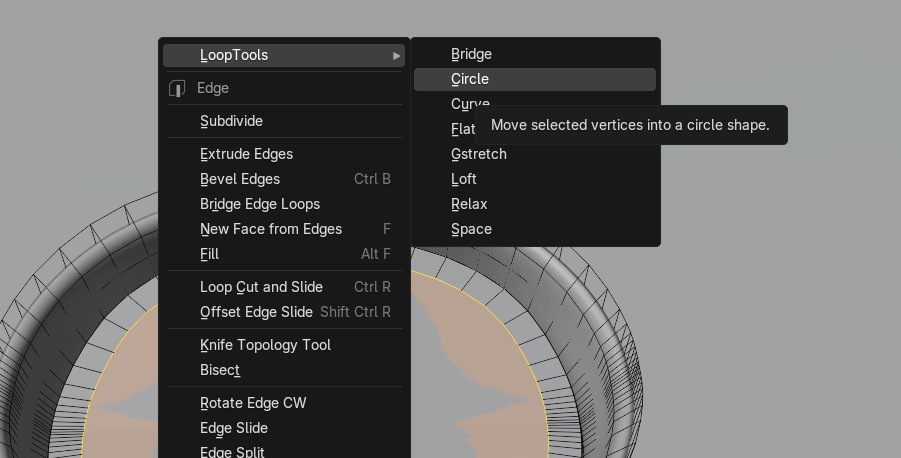
And scale it with “S” for around 0.64

Move it with “G+Z” for around 0.65
Beginners guide to Blender
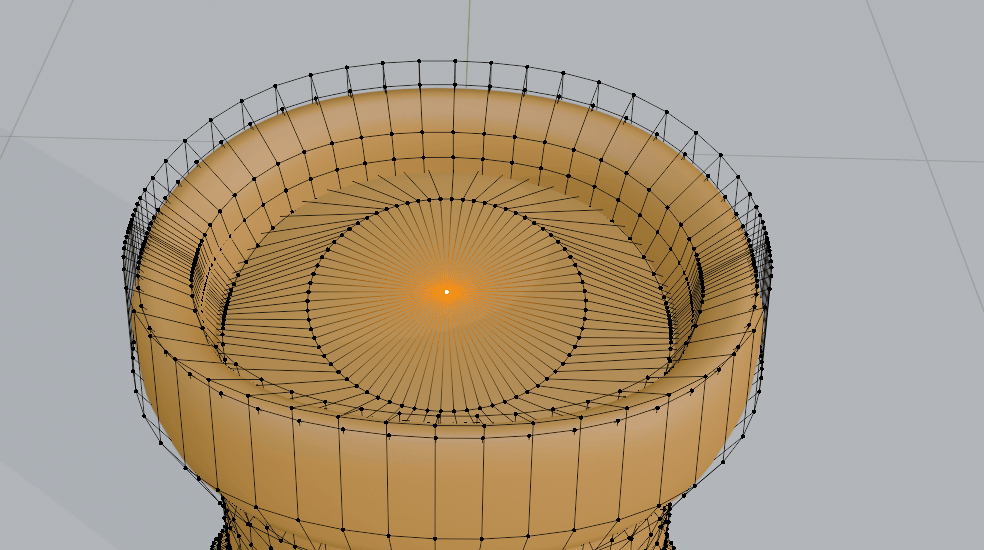
And inset with “I” for around 1.7
And press “M” and choose Merge At Center.
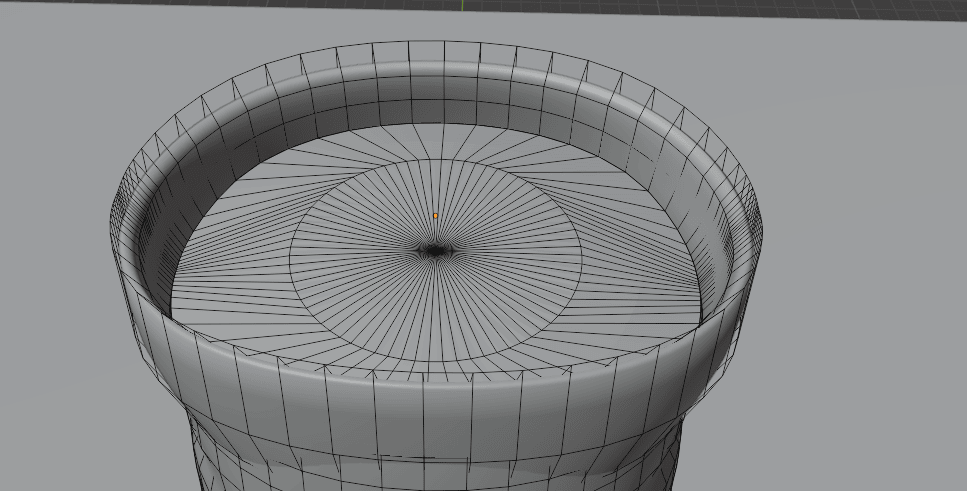
Switch to selecting vertices with 1 and move this vertex with “G+Z” for around 0.15
Beginners guide to Blender
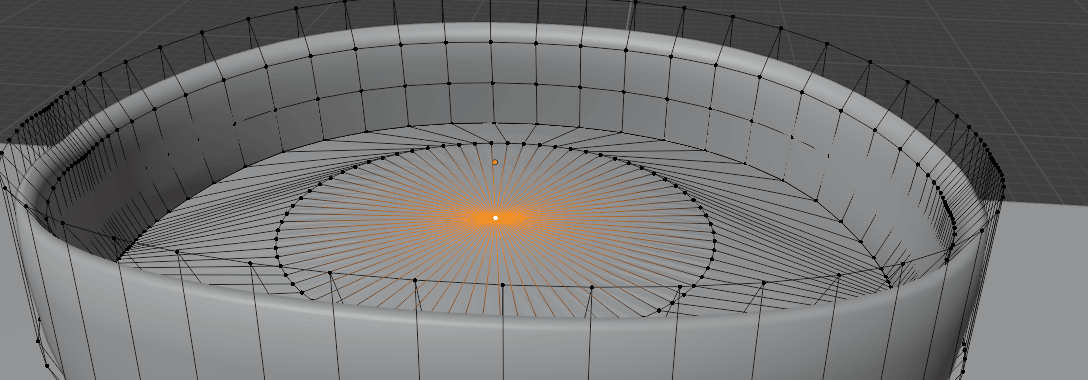
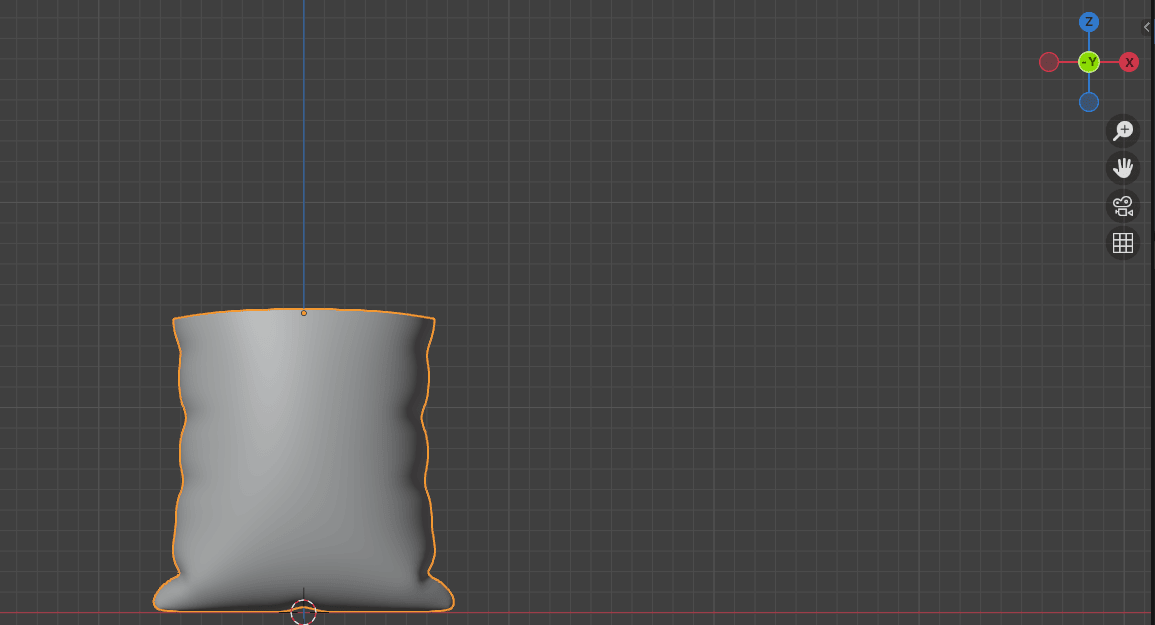
Switch to Object mode with “TAB” and RMB choose Shade Smooth.
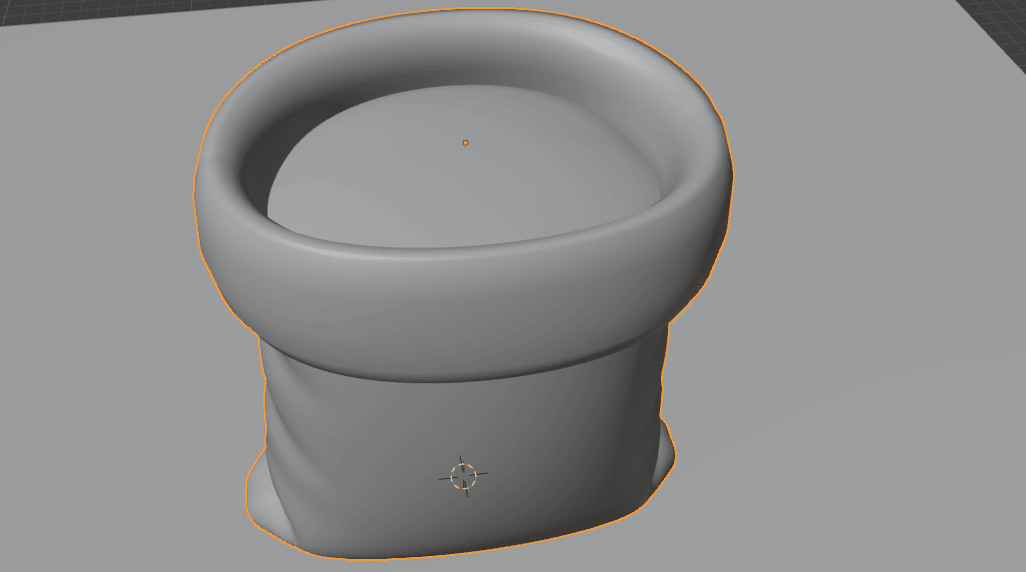
And you can now again turn on Solidify to display in edit mode

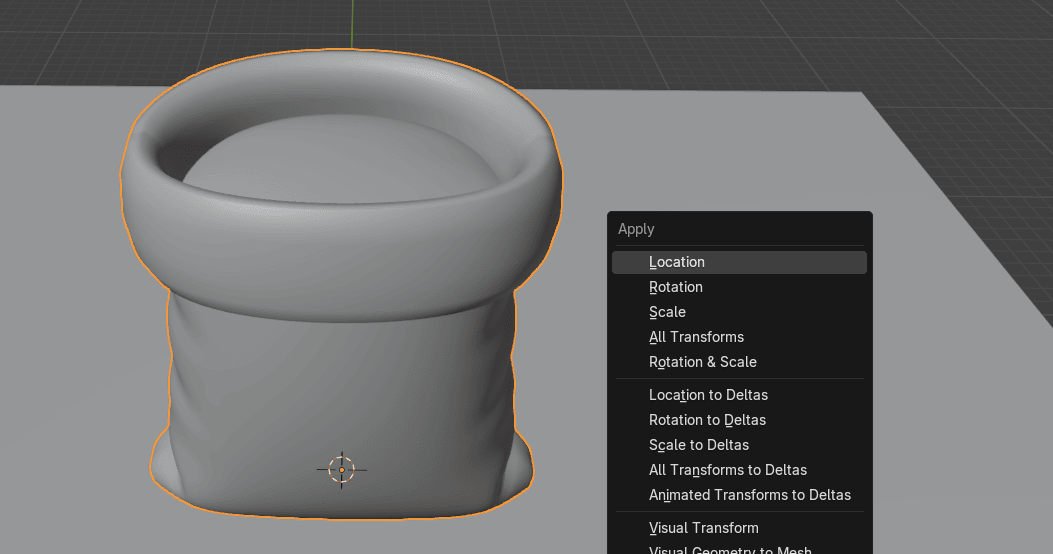
Press “CTRL+A” and choose apply Location.
Beginners guide to Blender
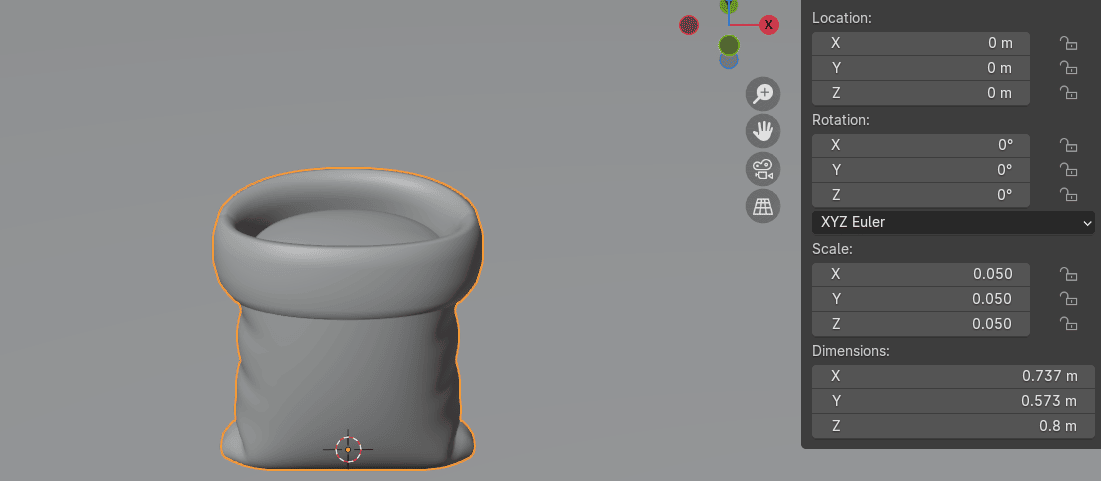
Press N to open the sidebar on the right. Go to Item → Dimensions
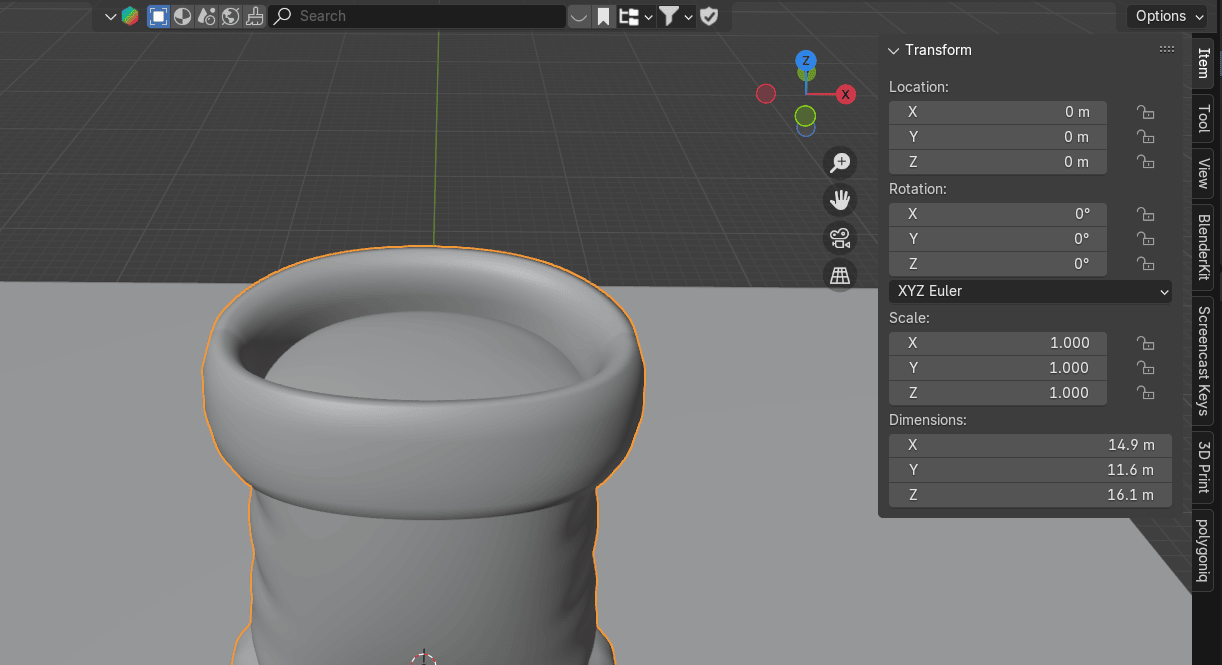
Change Z= 0.8 m (or any other number you want for your sack height)
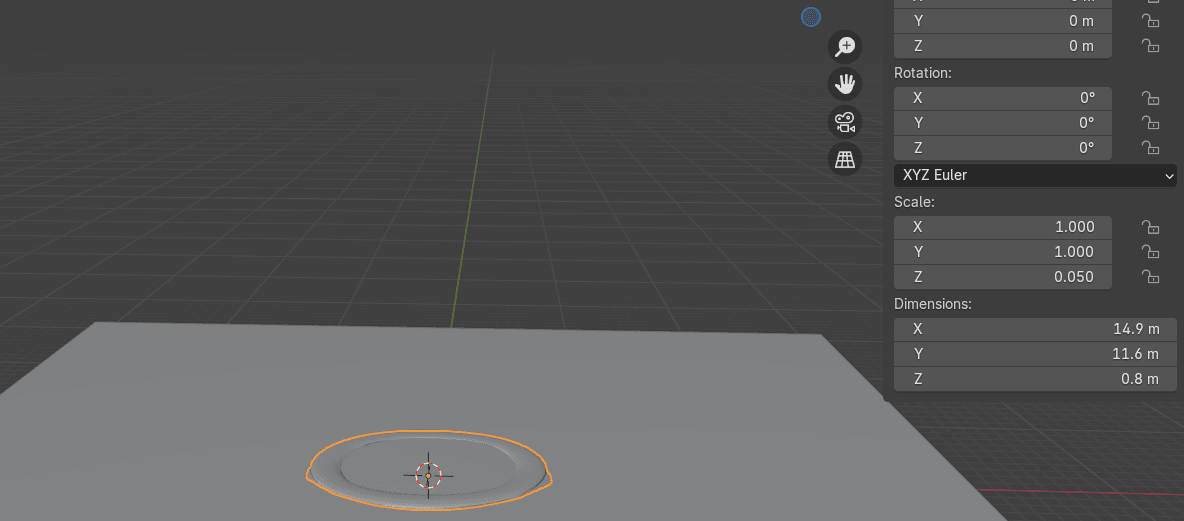
Hover over the Scale Z = 0.050 (in my case) and just press “CTRL+C” to copy it and paste itto X, and Y with “CTRL+V”
Beginners guide to Blender
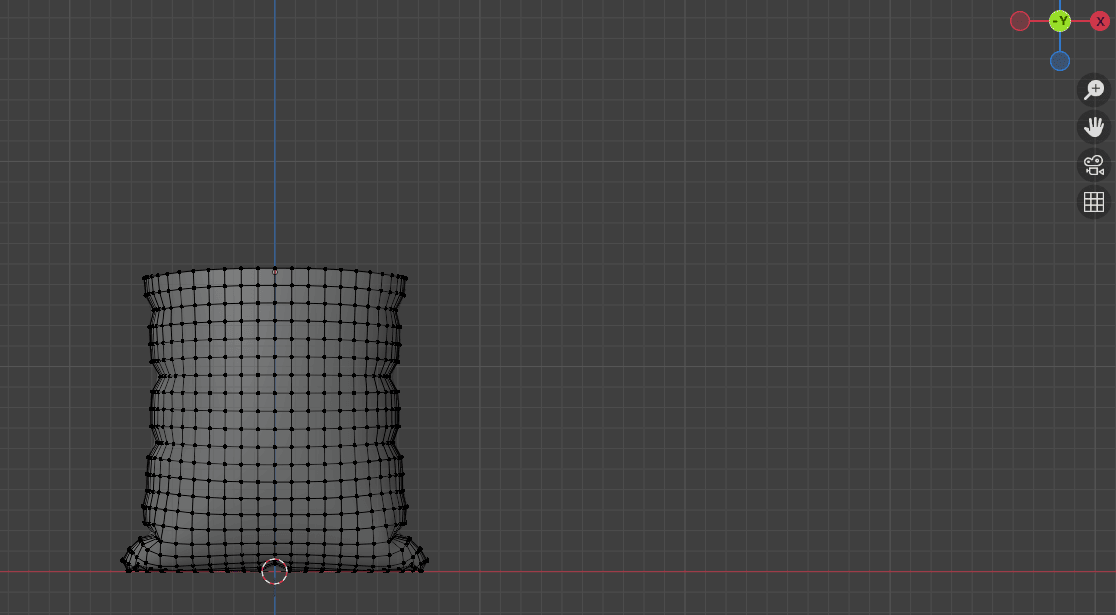
Press “CTRL+A” to apply scale and this will happen.
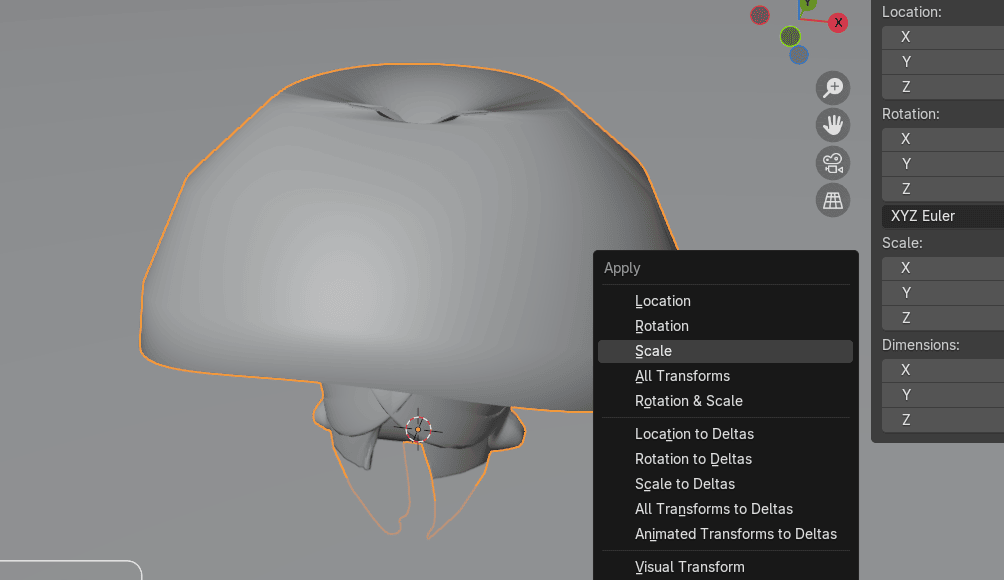
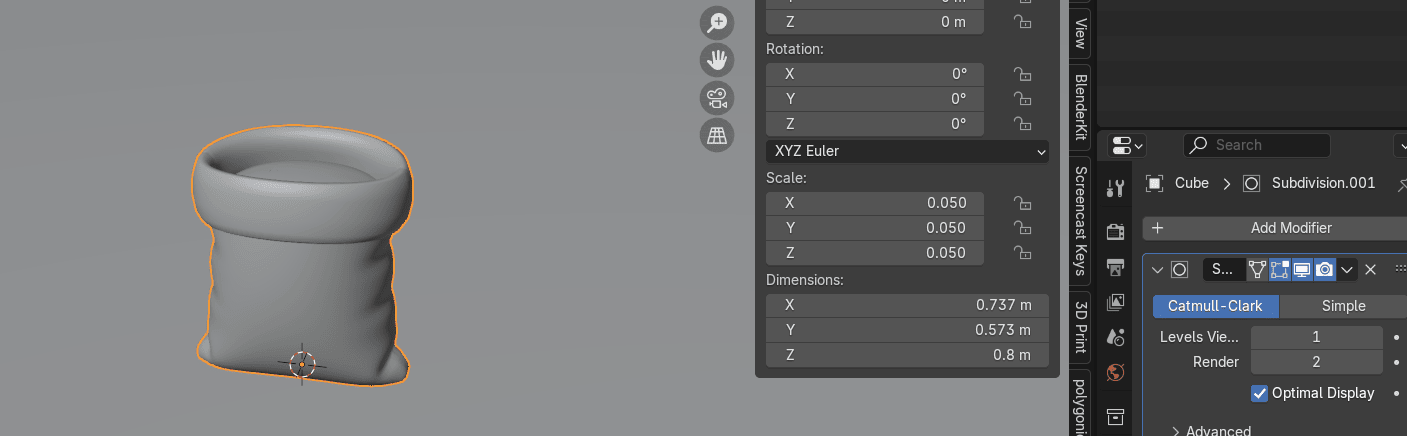
We need to apply Solidify modifier first, then we can apply scale. So first apply Solidify
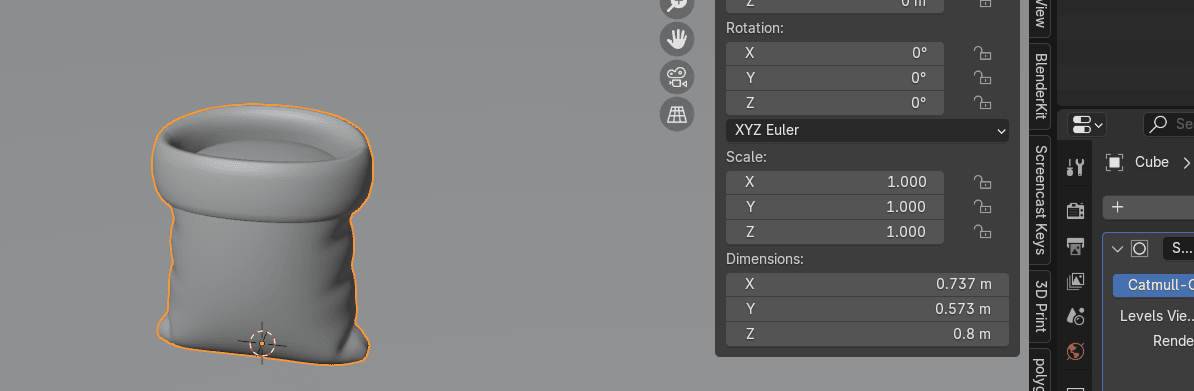
And then apply scale with “CTRL+A”
Beginners guide to Blender
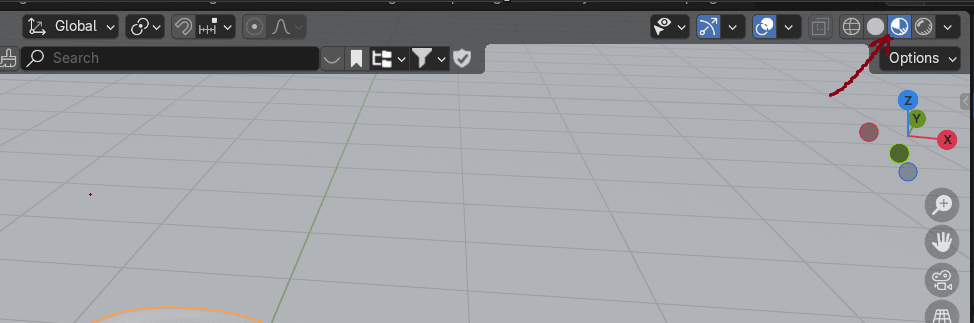
Switch to Material Preview mode
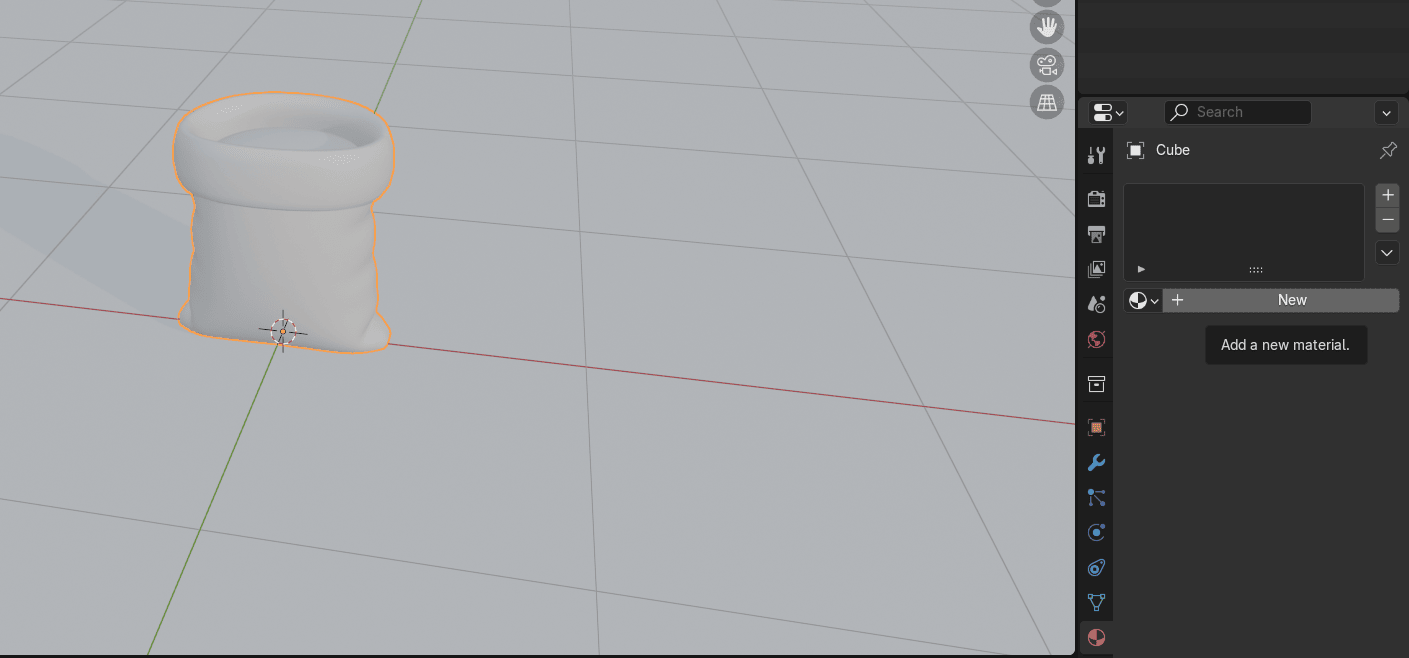
Go to Materials and press New.
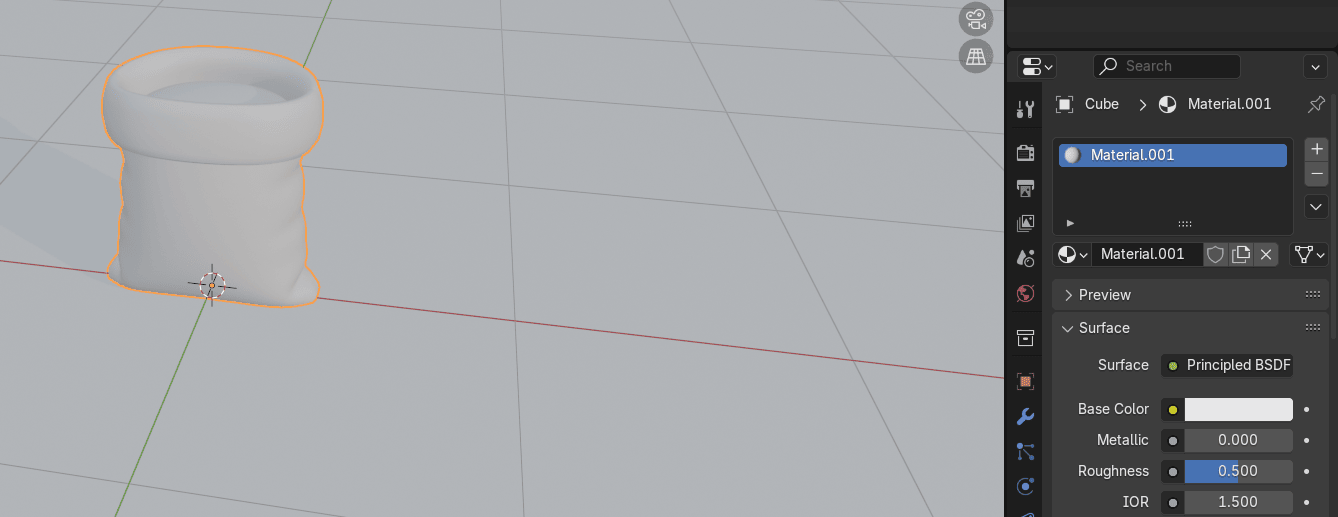
Change the Base color to any color you want.
Beginners guide to Blender
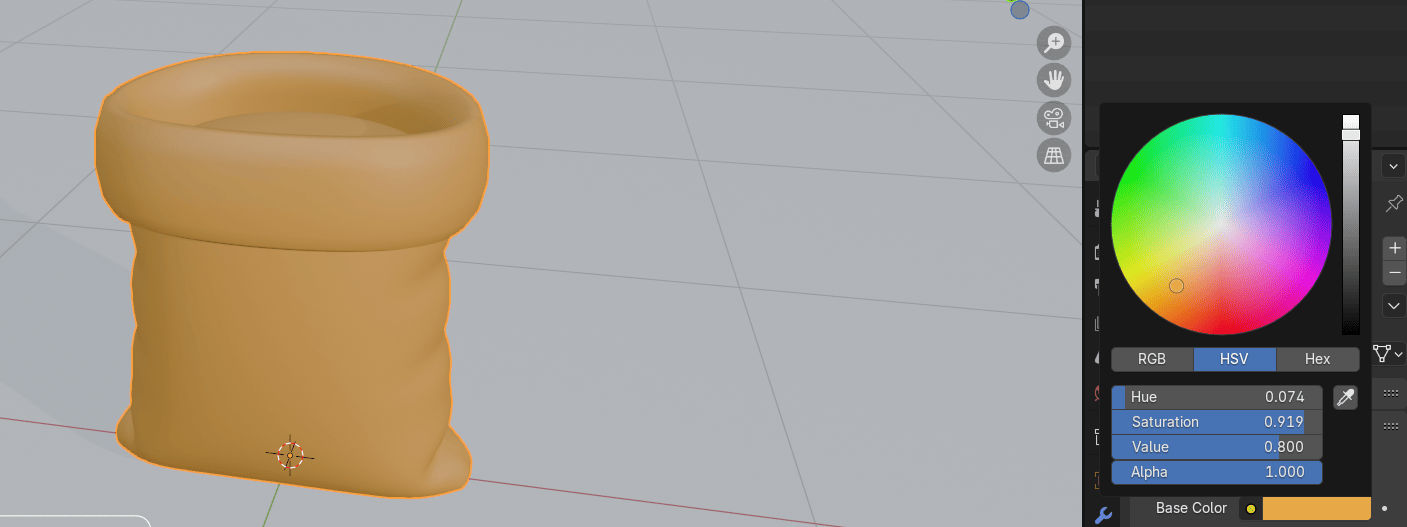
I choose this one
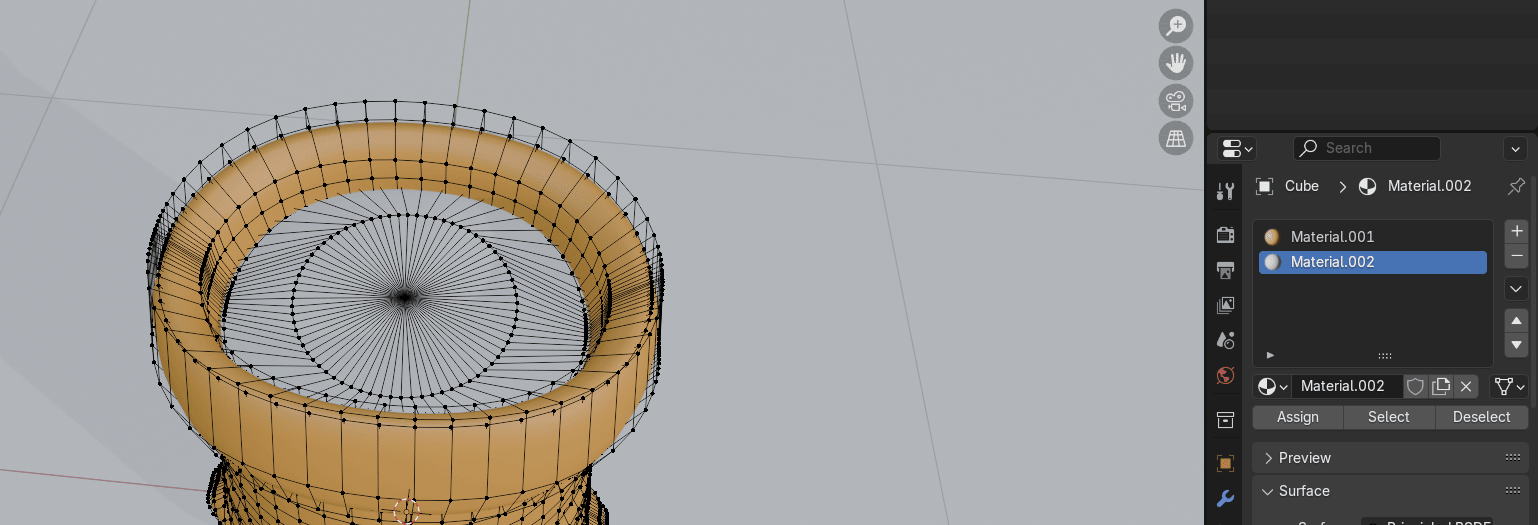
Add a new Matreial by clicking on that + sign

Switch to edit mode with “TAB”
Select this vertex
and press “L” for linked
Beginners guide to Blender
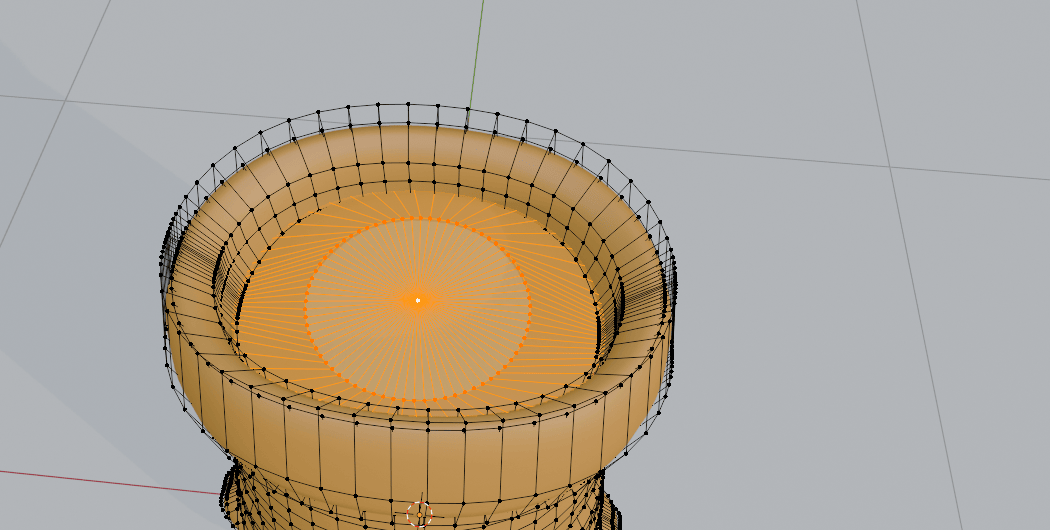
Click “Assign” and “New”
And change base color of grain to any color you want. I choose this one.
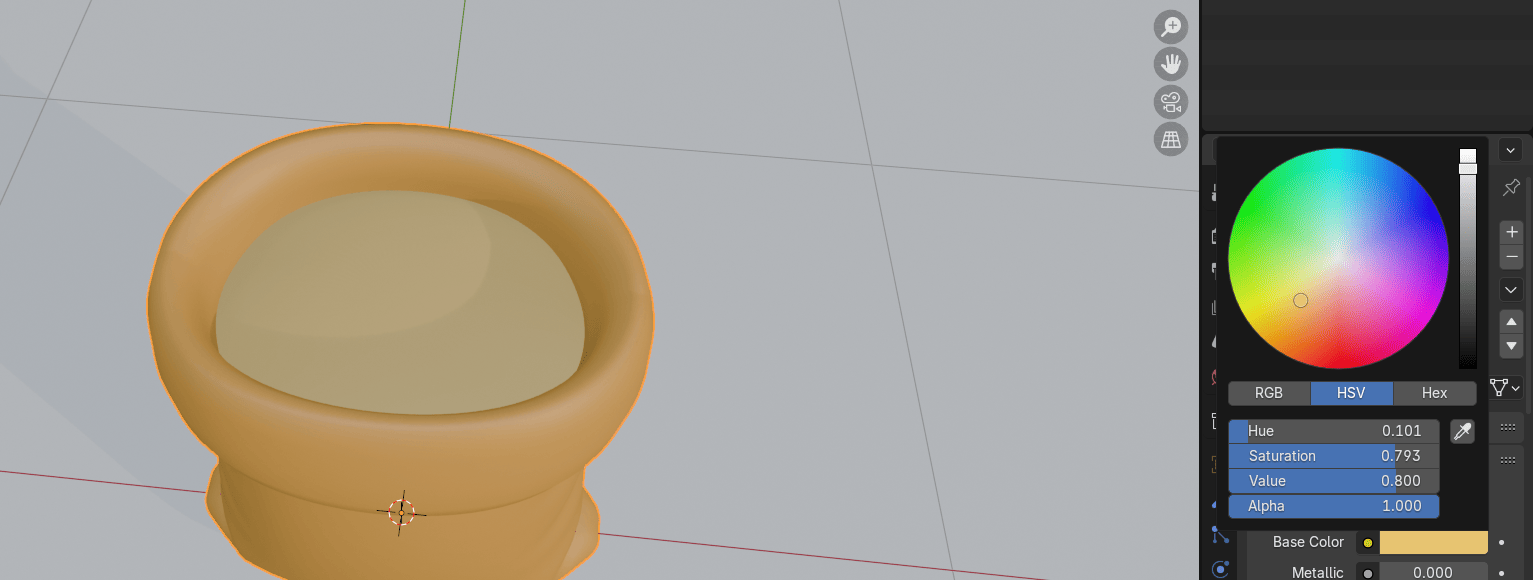
In the end rename your objects and materials.
Beginners guide to Blender
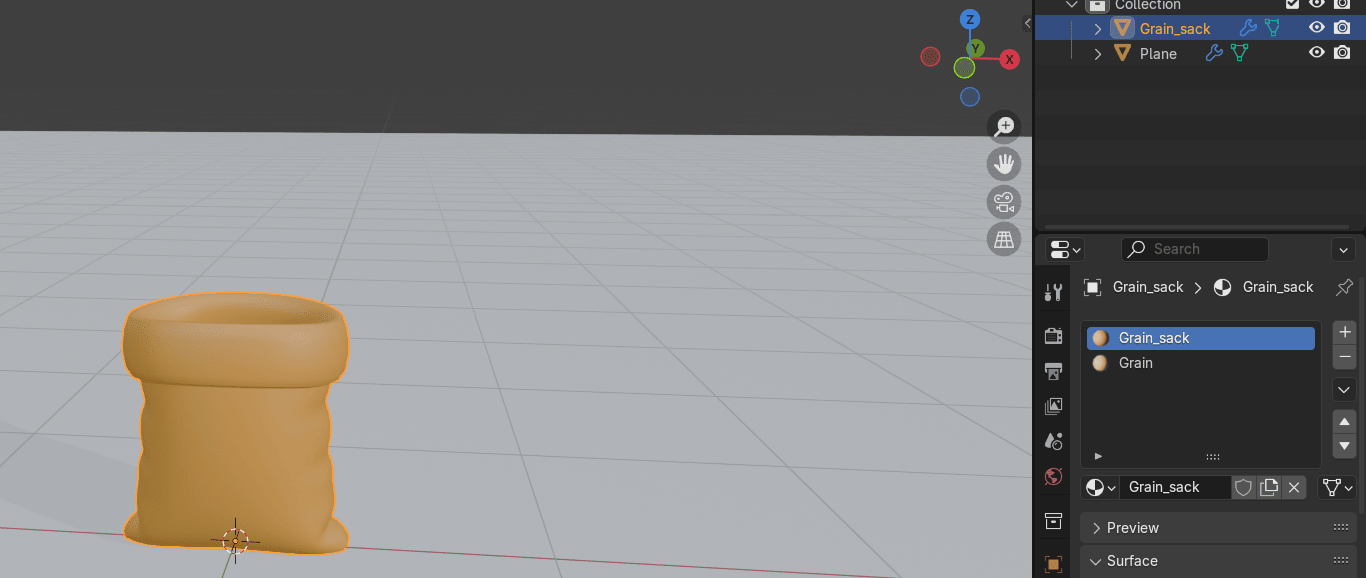
Now you know how to model and texture a cute cartoony grain sack!
Let me know in the comments would you like more tutorials for cute cartoony stuff and feelfree to give me an idea what should I model next.
That’s all for today!
If you had fun learning with me, don’t forget to subscribe to my channel.
I recently started a Patreon with more exclusive content like tutorials, 3D models, .blend files,behind-the-scenes videos, etc. I am also often sharing free 3D models, making quizzes, etc.
There is something for both free and paid members, so don’t forget to check it out.
And if you have any questions, write them down in the comments :D
Happy Blending everyone! Byeee, see you next time.